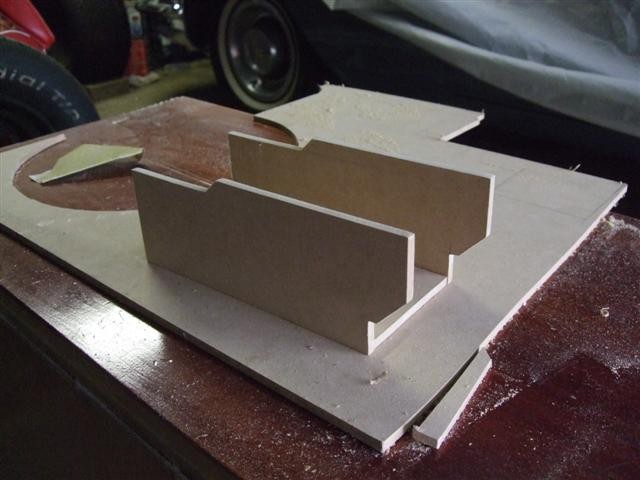
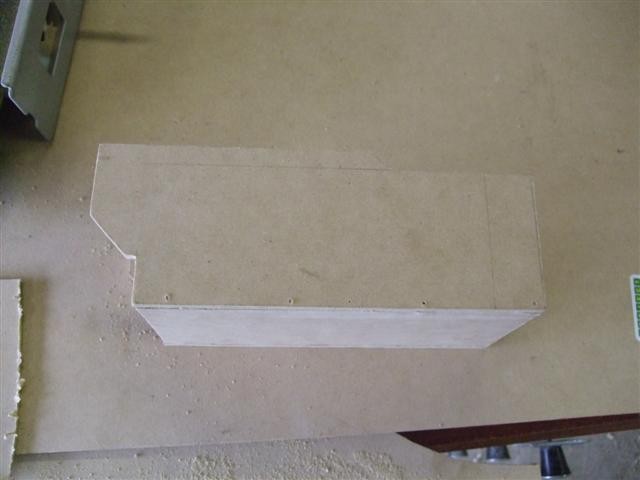
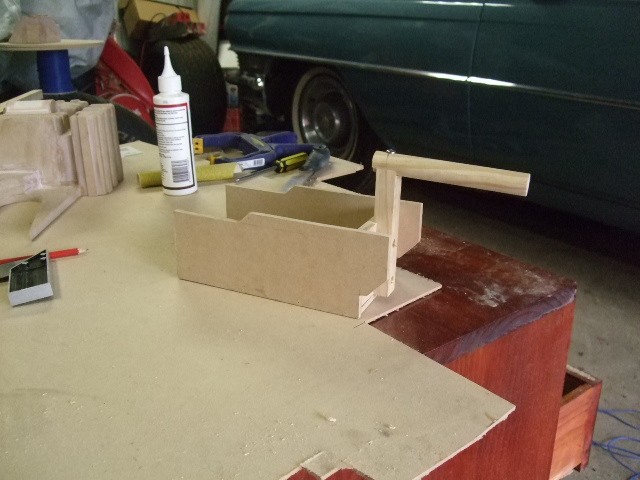
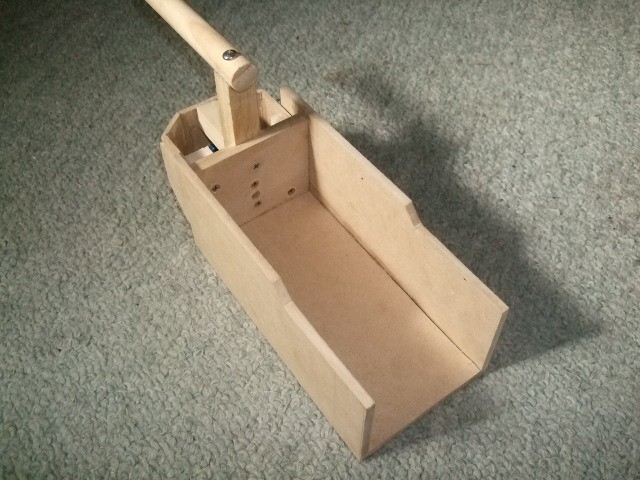
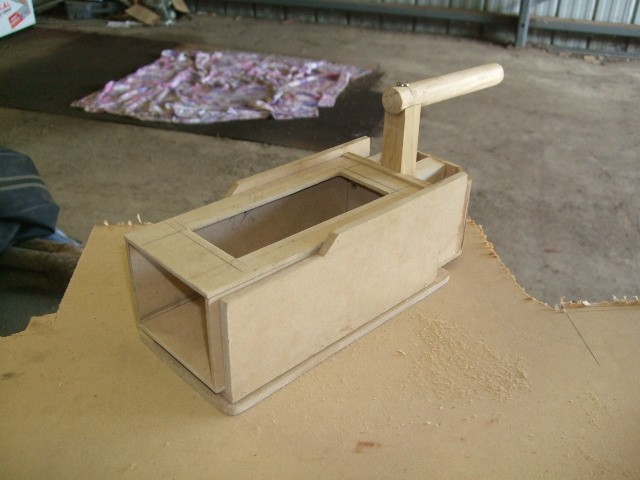
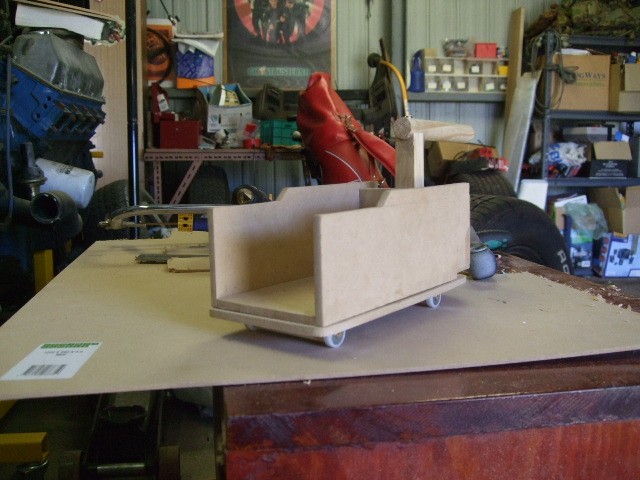
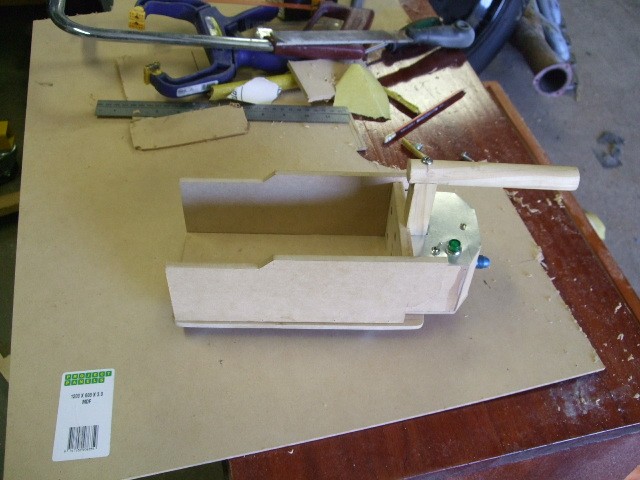
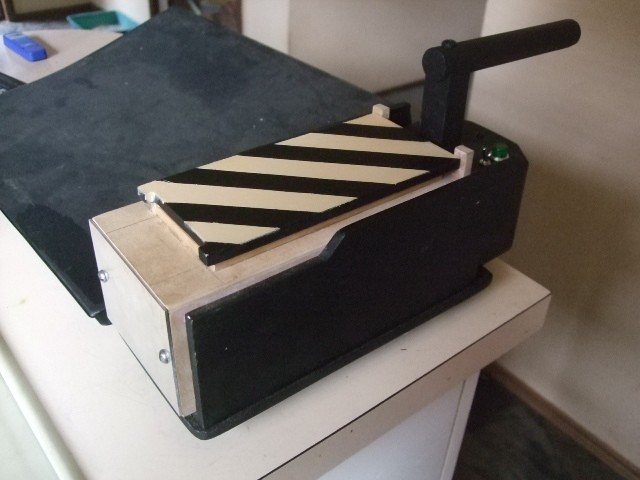
I’m using Sean’s plans, and have used 1/4" MDF. I found that tiny nails are easier to countersink than screws, so the side-walls are nailed and glued to the bottom plate.
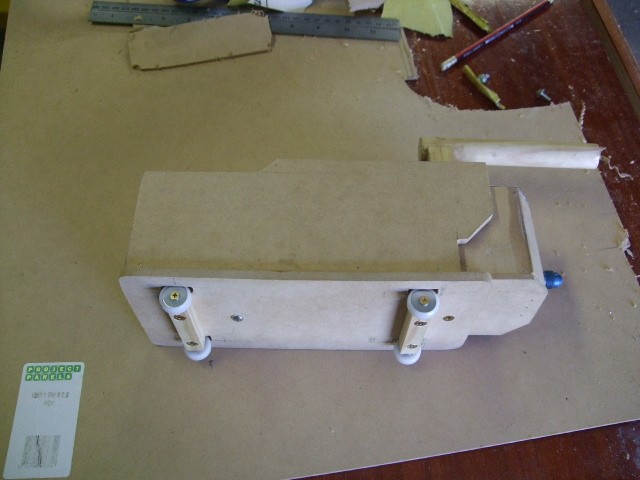
I also got some window rollers from the hardware store, although a little pricey ($17 a packet), I figured they’d be easier to use than making my own wheels.
Nah, it’s probably not worth the effort to have a removable cartridge. Especially if the doors and lights are functional. It’d only be worthwhile if I had a prop Containment Unit to go with it, hehe.
Ah, well maybe we should do a static prop version aswell to use for smoke effects, the detachable cartridge version we can do when we win lotto, buy an ecto, live in a firehouse where Ben can slide down the pole in his GB jim jams and we hire a secretary with a New Yorker accent… So maybe next year then yeah?
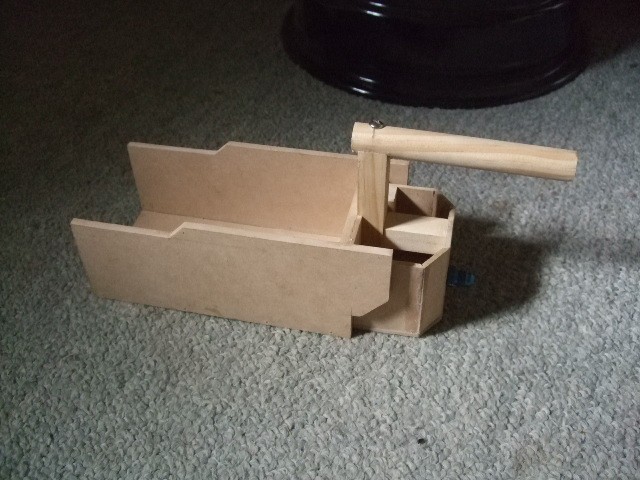
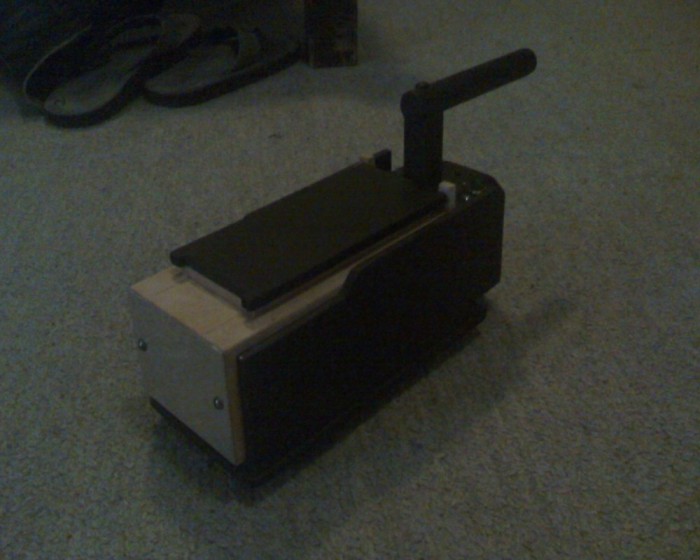
As you can see, battery box is mostly done, just needs the top plate with the switch & LED, and a bit of finishing and sanding. I’ll head down to the electronics shop on Monday and see what they’ve got on the shelf that I can use for the blinking light and switch.
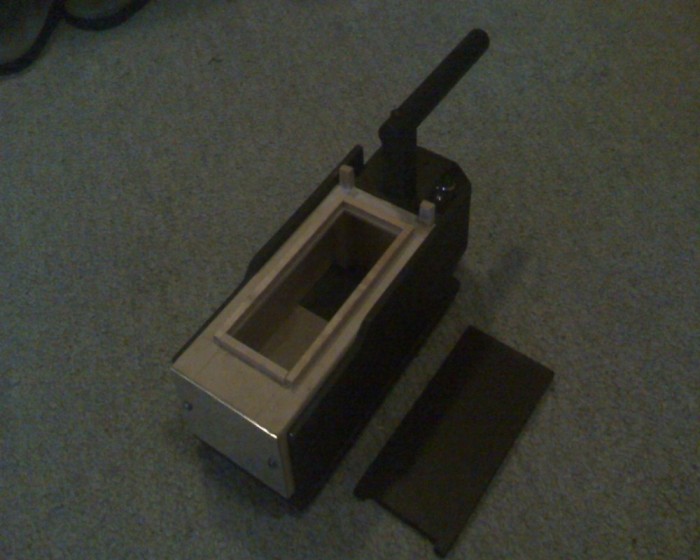
Another little update. I’ve cut out the sections for the inner cartridge, nothing’s joined yet but it’s good to get an idea of how it fits in to the outer carrier.
I can tell that from here on it’ll start to get fiddly and complicated, hehe.
I went back to the hardware store this morning and found some better wheels to use. These are screen door rollers, p/no 4281 from Rolltrak. The work great, and I didn’t have to mess around bearings and brass rods and stuff as per V71’s plans.
I also got some lights and stuff from the electronics shop. They were out of red lenses, so I got a green one to use temporarily. I also noticed that they stock red LED’s with built-in oscillators to make them flash, which I thought would be great for that light on the battery pack.
Yeah those wheels go good, Bunnings have a large selection, but those were the most suitable I could find.
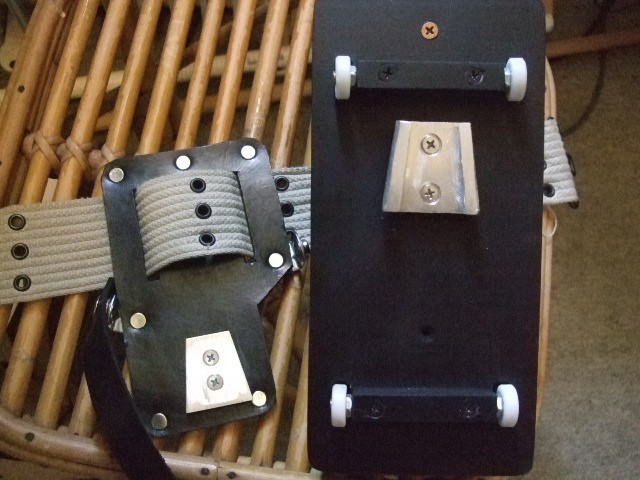
I haven’t done much on the trap lately because I’ve been busy doing other stuff, but I had a go at making my own trap and gun hooks out of aluminium. They turned out pretty good! This is my trap hook, the female hook is offset from the trap by about 3mm with washers just to clear the wheels, and I’ve modified MMM’s trap holster by drilling out the dixie hook and replacing it with this aluminium “male” hook.
Overall these hooks aren’t hard to make. You just need a bench vice (with soft jaws), a hammer, angle grinder with cutting disc, and a power drill. And a file for smoothing out the sharp edges.
I tried making my own hooks with a vise… I must have used too thick aluminum, but I was getting cracks and splits where the metal is bent into the grooves.
And even worse, once I slide them together, they stuck like that.
I ended up just getting more of the flush mount brackets from Ace instead.
When I folded over the edges of the female bracket I used something slightly thicker than 3mm to space it out. My steel file had the right thickness, so I clamped it and the bracket in the vice and tapped it over with a hammer. I tried to file and smooth out the female bracket as much as possible to stop it binding with the male bit.
I’d like some opinions on what shade of yellow people have used for the trap doors? I tried a pale yellow ochre after noticing the trap photos weren’t “bright yellow” which is usually the standard, but it might be too pale. Any thoughts?