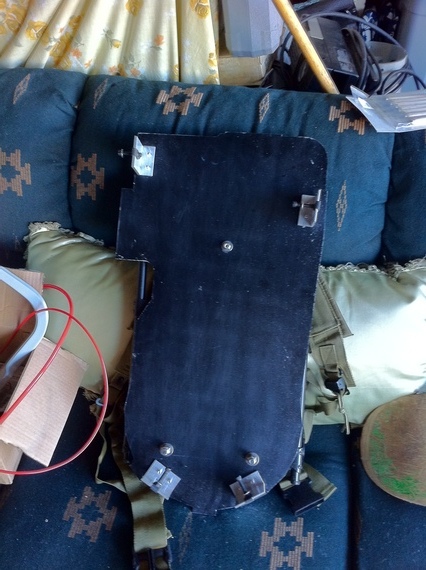
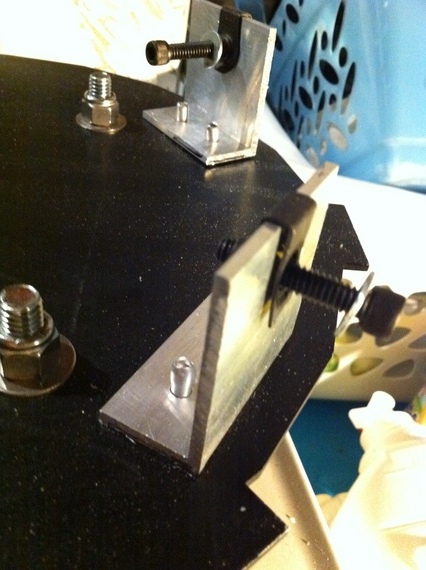
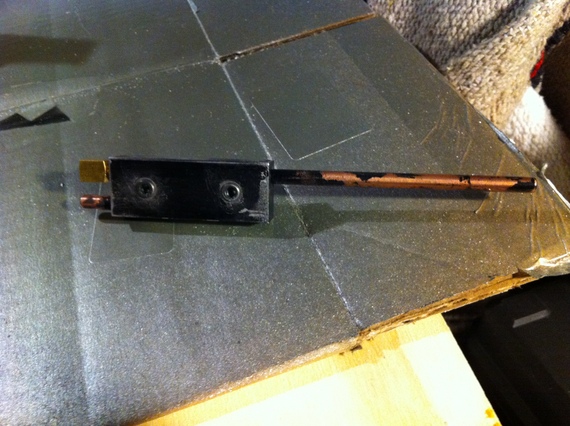
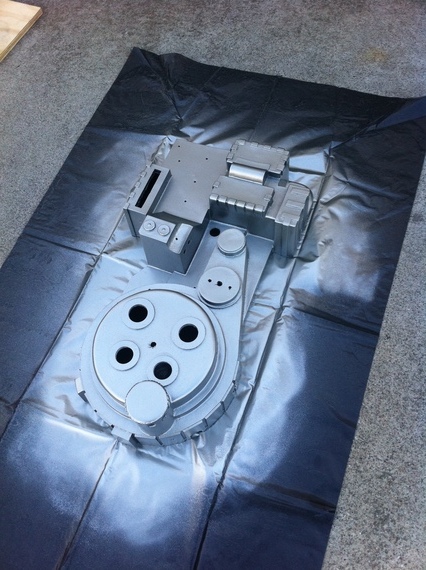
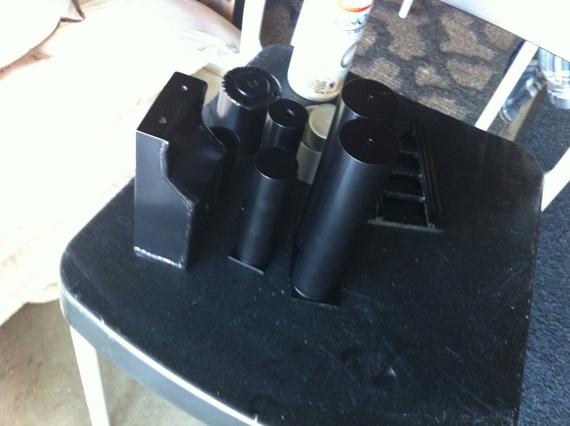
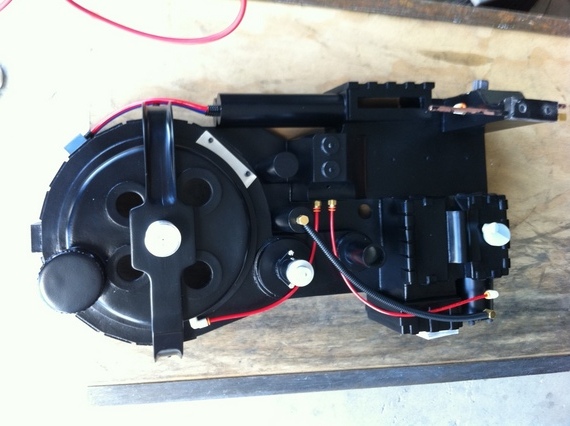
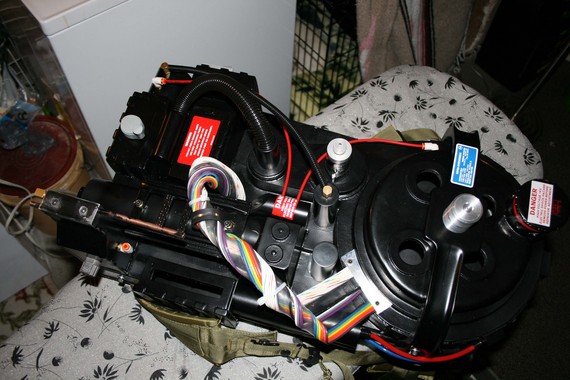
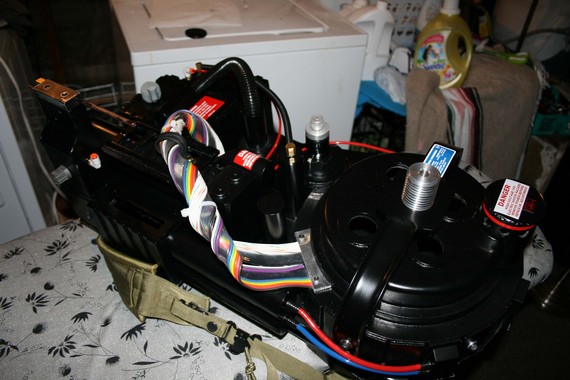
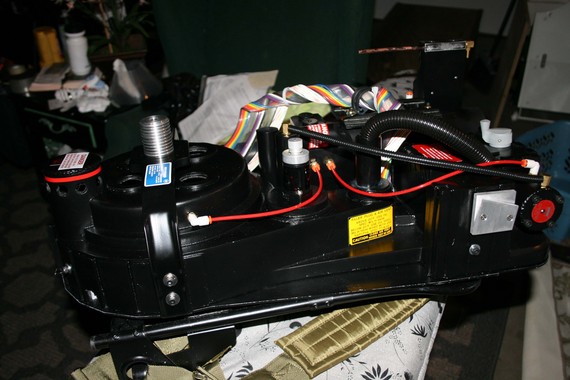
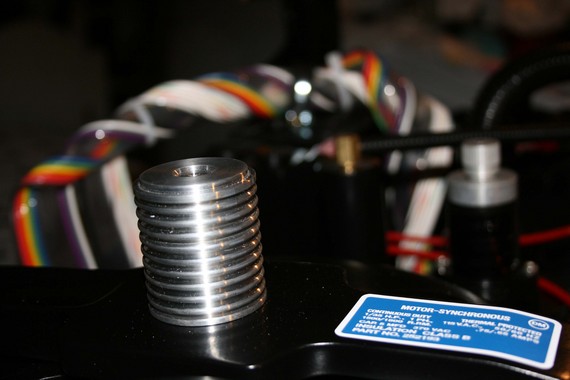
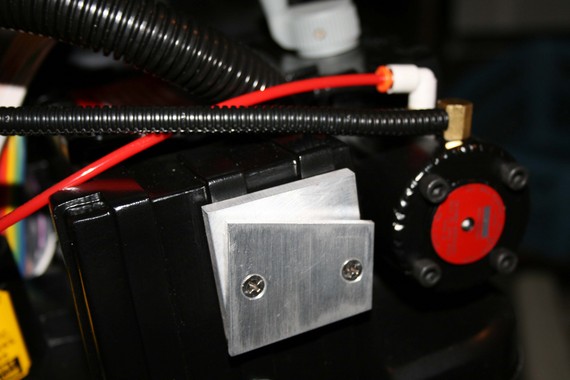
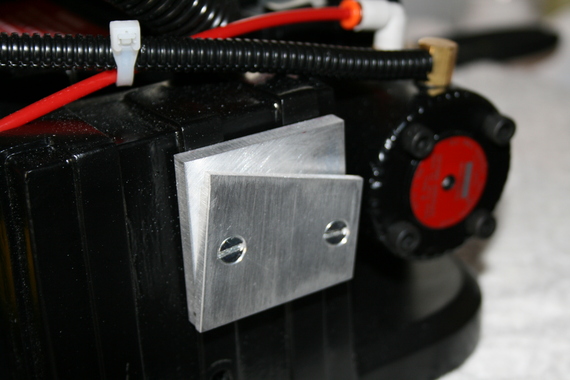
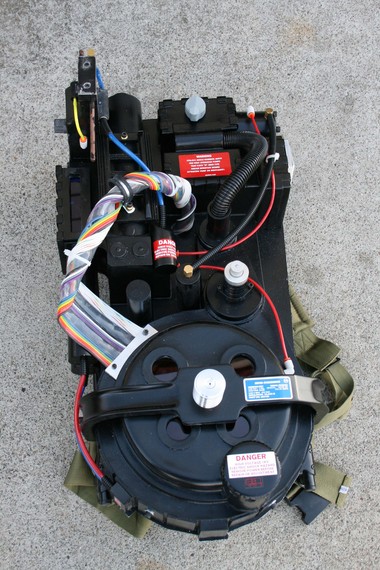
I’ve a few people thread the aluminum bracket to secure the shell to the mb, but that just didnt safe to me. After reading through the “Attaching shell to Motherboard” thread, I saw that someone mentioned these bad boys. Dont remember who it was, but thank you.
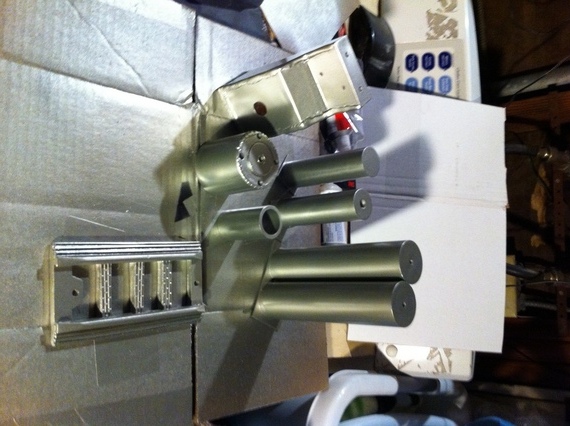
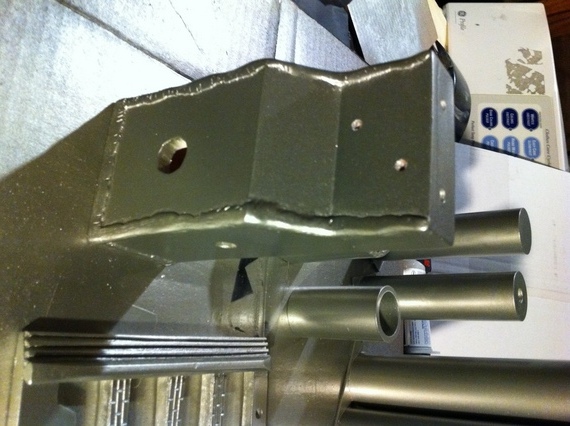
All id love to see you do is rough up that shock mount.. weather it with some gold paint like Filandrius did…looks really cool
and one huge thing that sticks out to me is your booster frame sadly… If you have some extra moola, id have a look at nick a trons new one…hes selling them now and they are about as authentic as you can get…when you see the difference I think you will agree…your pack is looking awesome, but that would make it super awesome!
But other than that, looking super hot and you have done some really nice work putting it together!
Thanks man. I definitely plan on doing some weathering to the entire pack, but I’m just waiting till its complete. I’m also waiting on a few things to finish it up. Also I did just see nicks booster frames which are awesome, and I’ll probably end up picking it up sooner rather than later.
It’s still a work in progress. I’m just trying to take my time to make sure I do everything right, which is pretty hard cause I just want to hurry up and get it done. I’ll definitely be posting updates as it continues to progress.
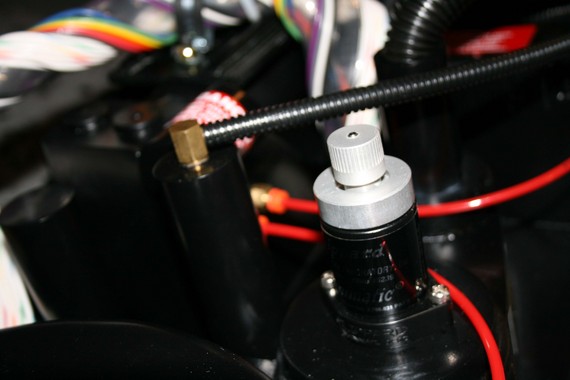
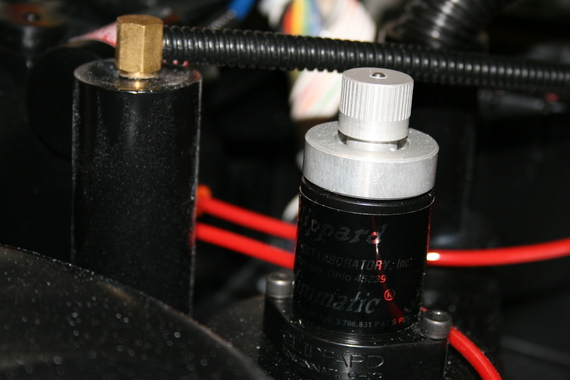
Besides changing the booster frame i would also change a few more things…nothing major though, its only details like changing the screws of the clippard on the pack, changing the screws for the v-hook, cutting off the orange plastic parts from the straights and the elbows, adding longer parts of the small split loom on the tubing that goes from the injectors to the spacer. Really not much work to do that but it would make it look a lot more accurate.
Other than that its an overall very nice looking pack
I appreciate all the info guys. I’ll definitely be making some changes, and I’ve actually already made a few.
I plan on picking some screws tomorrow mainly for the clippard and the v-hook. Correct me if im wrong, but for the clippard they’re simply socket head cap screws right? 10/32?
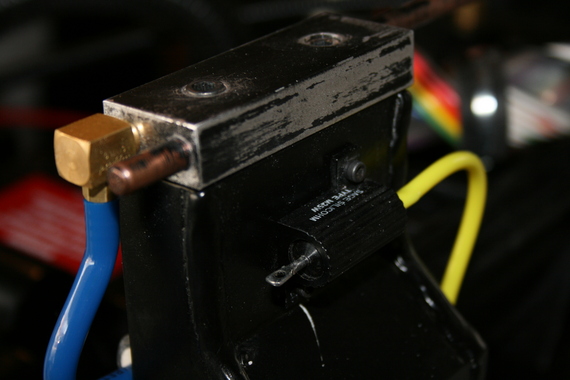
Also, I’m having trouble finding the screws for the ion arm resistors, I believe they are 4-40 socket head cap screws. The problem is finding them in my area. I actually ordered some online as a last result but they ended up sending me some rubber washers. How they managed to screw that up, I have no clue?! But I’ll be giving them a call tomorrow to hopefully settle that. But if anyone knows of any stores that carry them that would be awesome. I’ve checked Lowes and Home Depot with no luck.
4-40 socket head caps for the resistors are the correct screw. I found mine at ACE hardware. If you have an ACE in your area it’s the place to go. I found almost everything I needed for my pack there.
If your having trouble finding the 4-40’s at ACE Hardware or a Tru-value . Try a local hobby shop that sells parts for radio controlled cars or planes.