I did mine without. The way I did it, was cut all the pieces out of styrene, screwed one of the pieces to the instrument bar, and then built up the other pieces, then put my switches in and glued it onto the piece on the instrument bar. I never took pics of how I did it unfortunately.
I seem to remember seeing screen grabs of them somewhere showing them open at the bottom Jack now you mention it, but assumed these were the stunt versions?
I aim to make my trigger box solid as I feel it is more accurate, just more mucking about to fit the switches etc without full access inside the box
Woof… Let us know how that works out for ya. I had to have the access in the back to get my switches in there. (In all fairness my gun body is Pepakura so it’s a bit different.) But everything can get REAL tight in there.
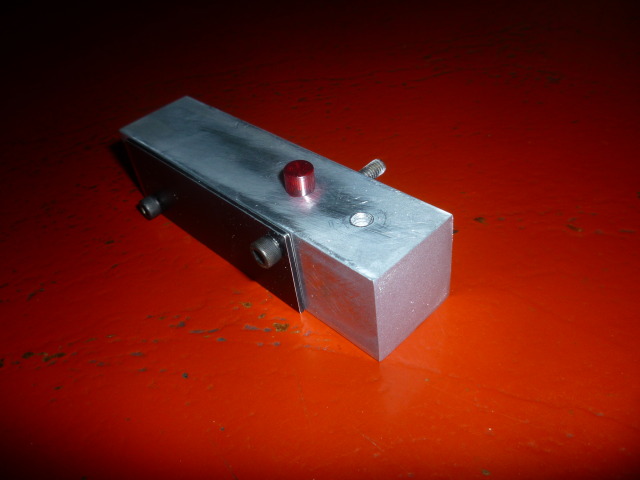
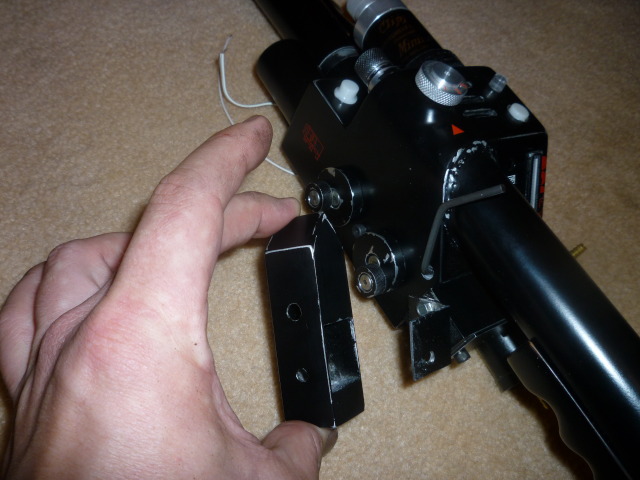
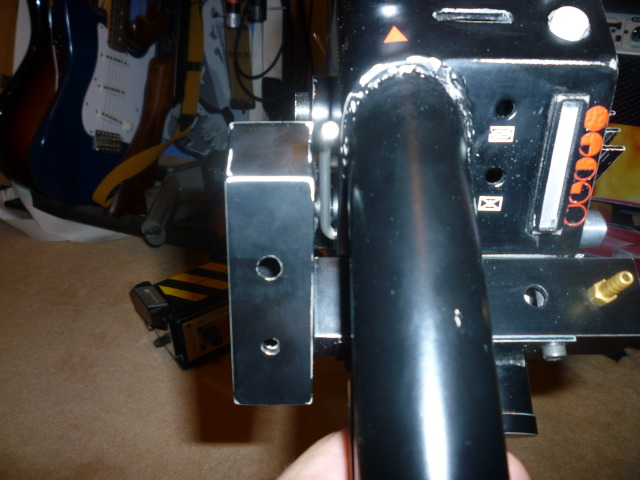
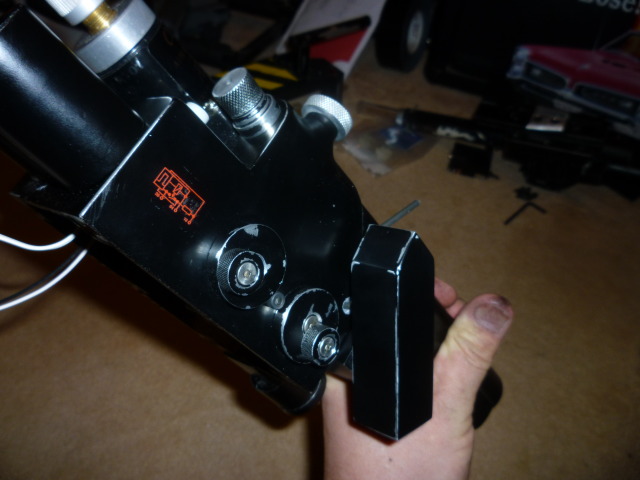
So what I came up with was to cut a small section out of the side of the trigger box where it attaches to the instrument bar, mount an angled piece of aluminium which sits internally to the trigger box and has a hole for the toggle switch as seen below.
the trigger box slips over this (its a nice snug fit) with the push switch installed and the toggle poking through the hole in both the agled mounting piece and the trigger box, then when the toggle is tightened down the whole assembly is secure. tough as nails!
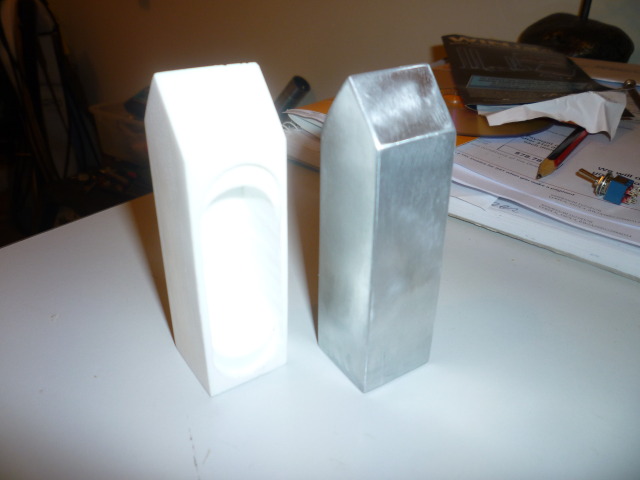
both the instrument bar & trigger box are 25mm square aluminium tube. I cut the instrument bar to length then filled each end with automotive putty (layed it side down on a little piece of glass for a perfectly flat finish to the putty, minimal sanding required) and cut a small flat piece off the spare tube for the cover plate.
For the trigger box I cut a piece to size, the dremelled slots in the tip, folded the 2 halves to make the pointy end and my brother welded it.
seriously this was SOOOOO simple anyone could do it, perhaps if you dont have access to or know anyone that can weld, a fabricator/metalworking place would probably do it for a couple of bucks as it is a quick job.
If anyone wants to do this and needs some tips I am happy to help as this is a great way to have DIY aluminium parts, very cheap, accurate to GB1 as the trigger box is 1 piece and running the wires & switches was a breeze with my mounting bracket!
I like that idea. My first thrower i ever built had no internal access whatsoever…i HATED it. So i made everyhing on the years build removable, accessible and able o be fully maintained.