So we made this up last year and I posted it on the RPF. I figured I would share it here as well since it was a budget build and it may give others ideas for inexpensive packs for kids.
So our son finally decided he wanted to be a Ghostbuster for Halloween. For some this may not be a big deal, but the geek in us was ecstatic. My fiance owns a Halloween store locally, so we were able to procure a GB style flight suit. However the pack that it came with was inflatable and HUGE on him.
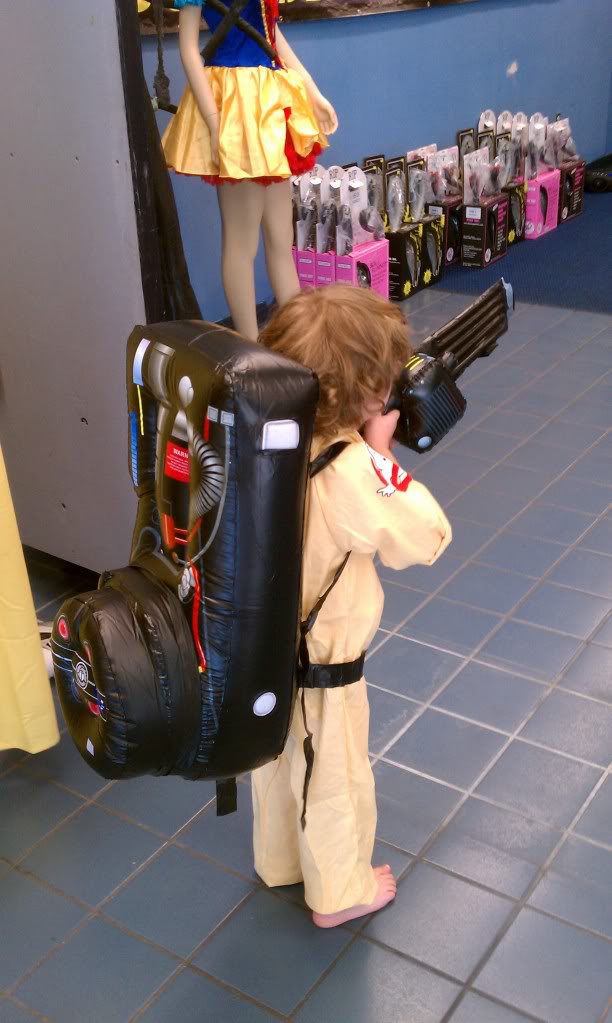
The fact that it was huge on him and that he likes to wear his costumes ALL the time, the fiance mentioned we should make him a somewhat better pack. So we searched, and searched and found quite a few child size pack builds on here. We drew our inspiration from the $15 pack build thread, but as I got more into the build, I decided to go a more detailed route. We were planning on finishing it this week because he will be going to Spooky Empire with us this weekend. He is hoping to meet a “Real Ghostbuster”. So if anyone on here is part of the local Ghostbusters that will be in attendance, be on the lookout for a new recruit.
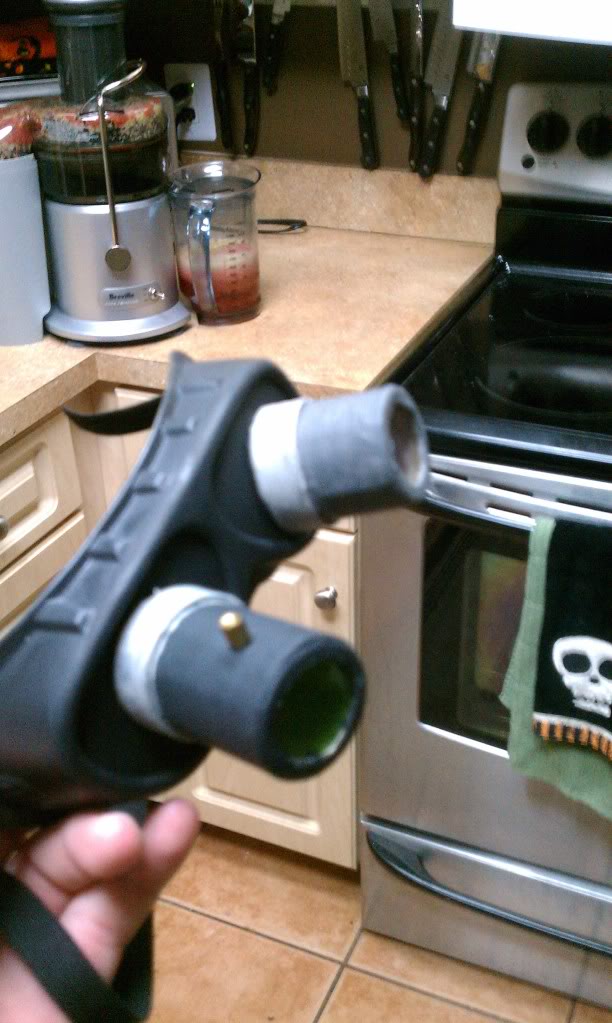
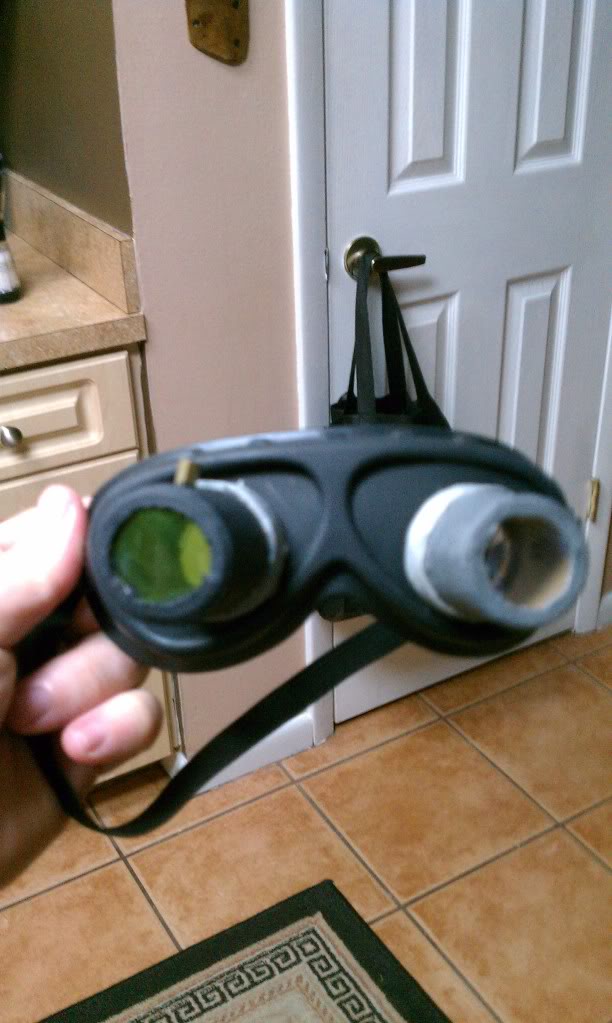
This is what we have done so far, he will have a pack with lights, ecto goggles, and a light up PKE meter. We still have some painting and detail work to do, but it is almost done. The fiance even went as far as making up a name badge for him. He decided to use his first name instead of his last in case any of the purists were offended.
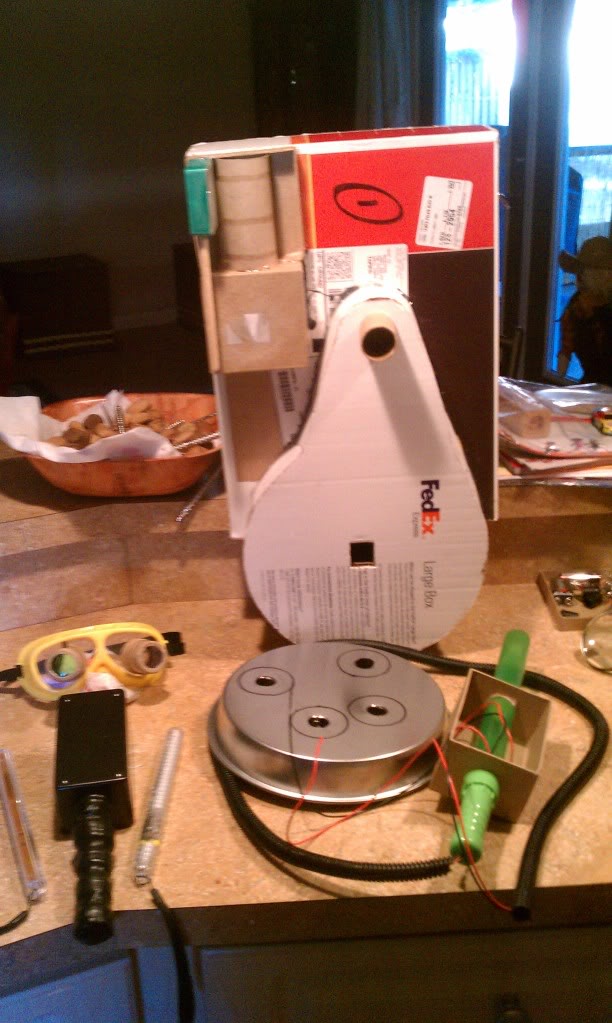
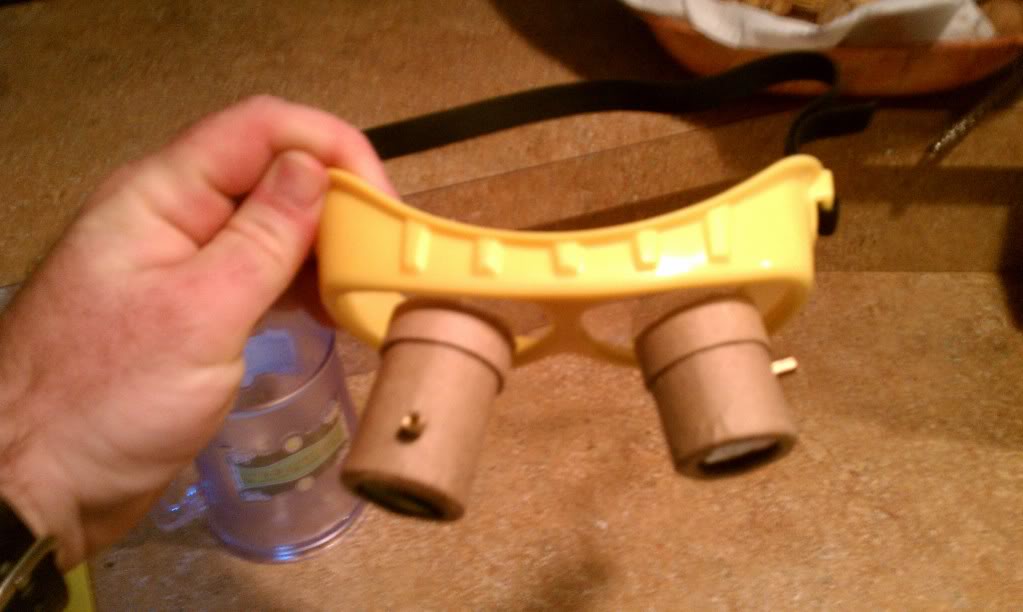
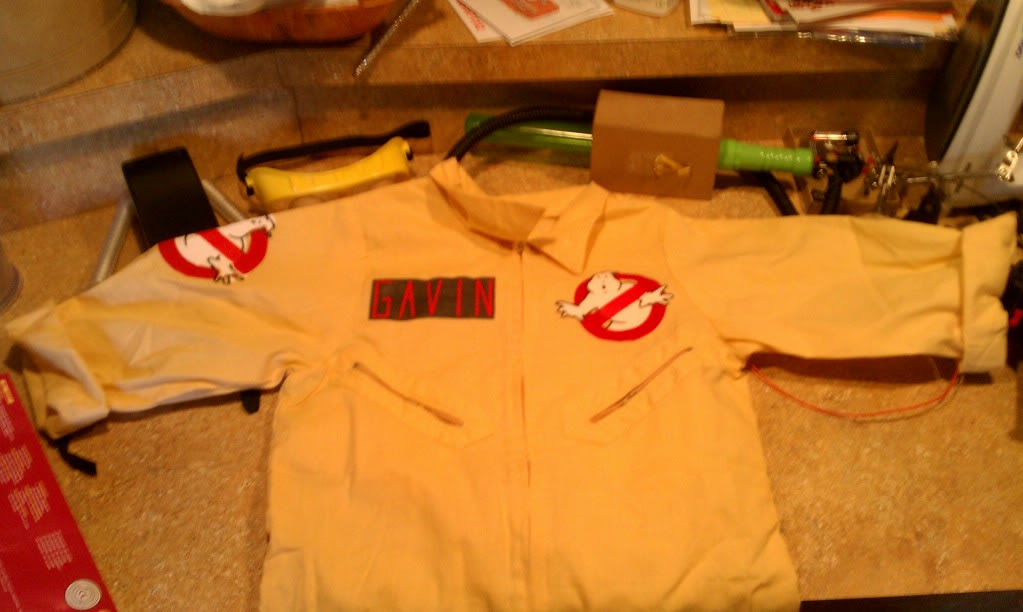
Got more work done on the costume last night. The fiance finished up the painting on the goggles:
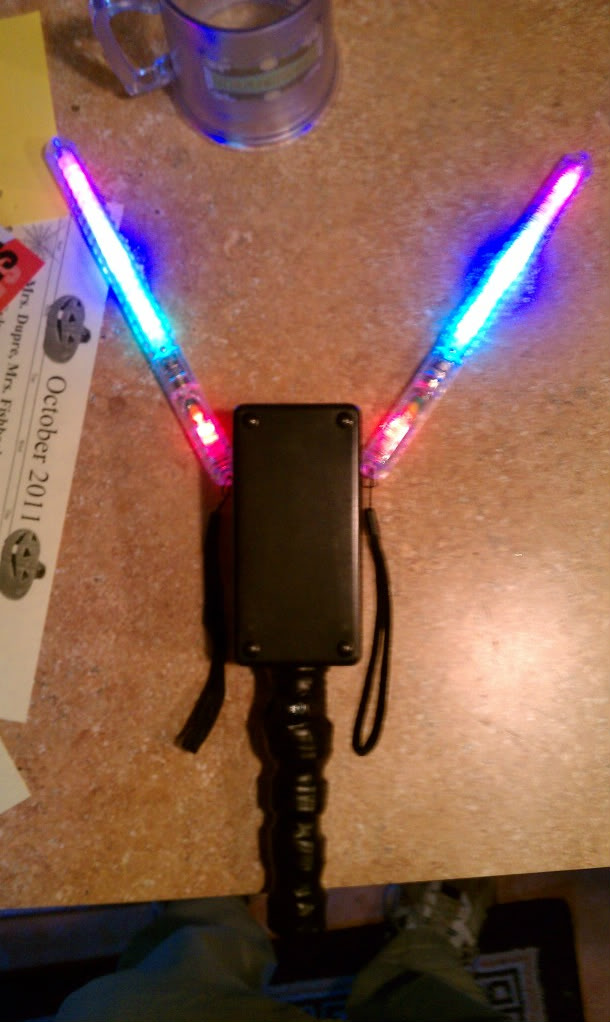
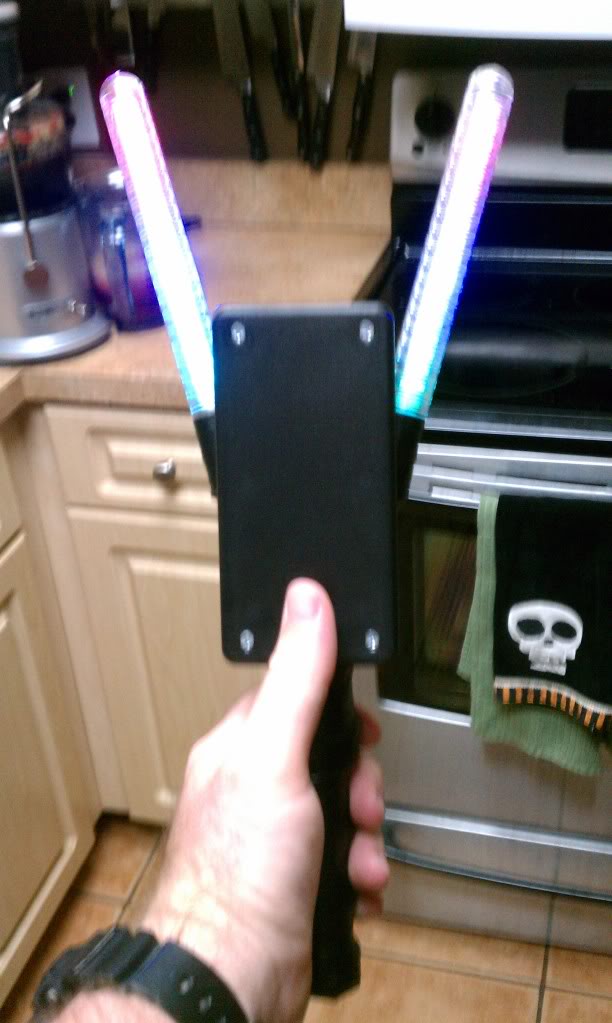
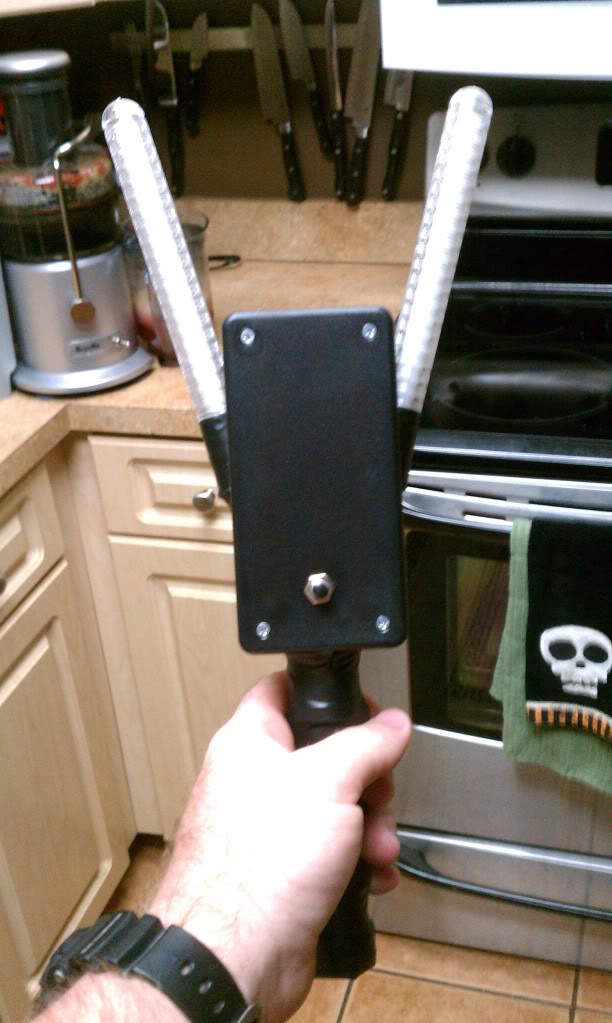
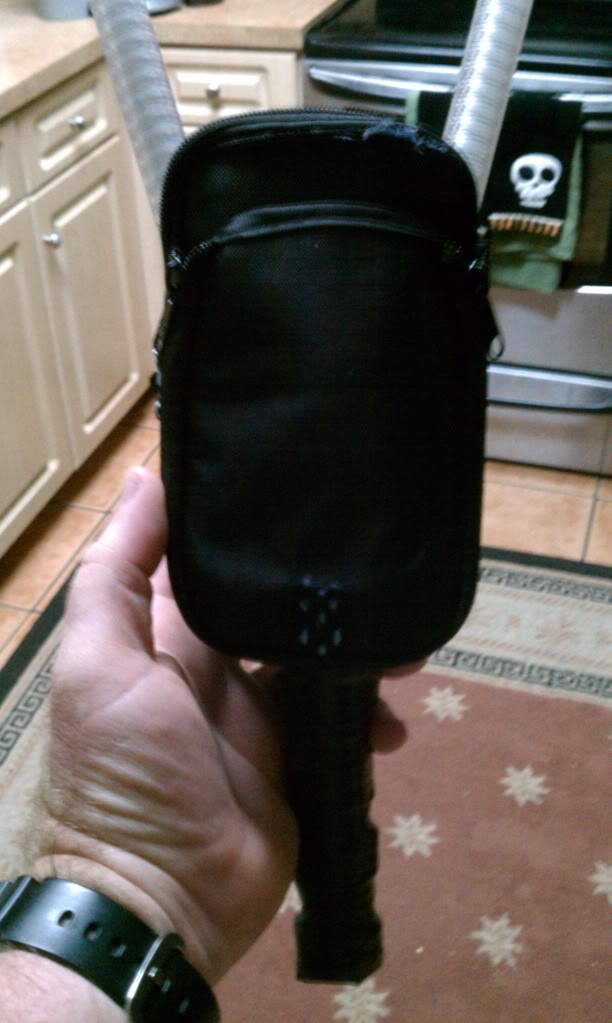
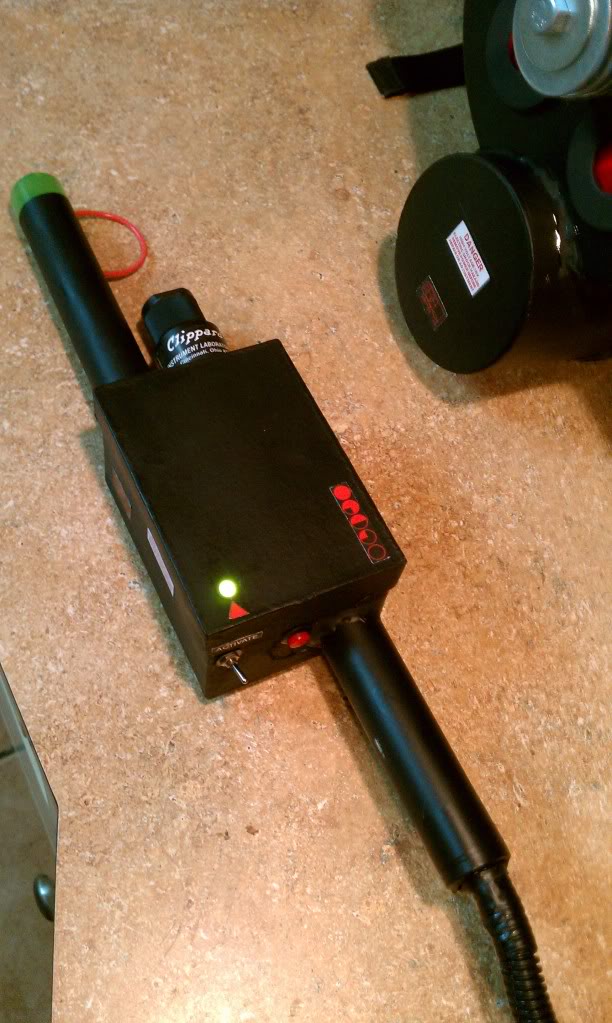
I also finished up the PKE meter, used a couple of those light up sticks you can get for a dollar at Target. I cut them open and wired in a momentary switch to activate both at the same time. The sticks are stationary for the time being, didn’t have enough time to work out a moving mechanism. Also created a makeshift pouch for him to carry it on his belt. The fiance is making up a sticker for the display window, should have that on today.

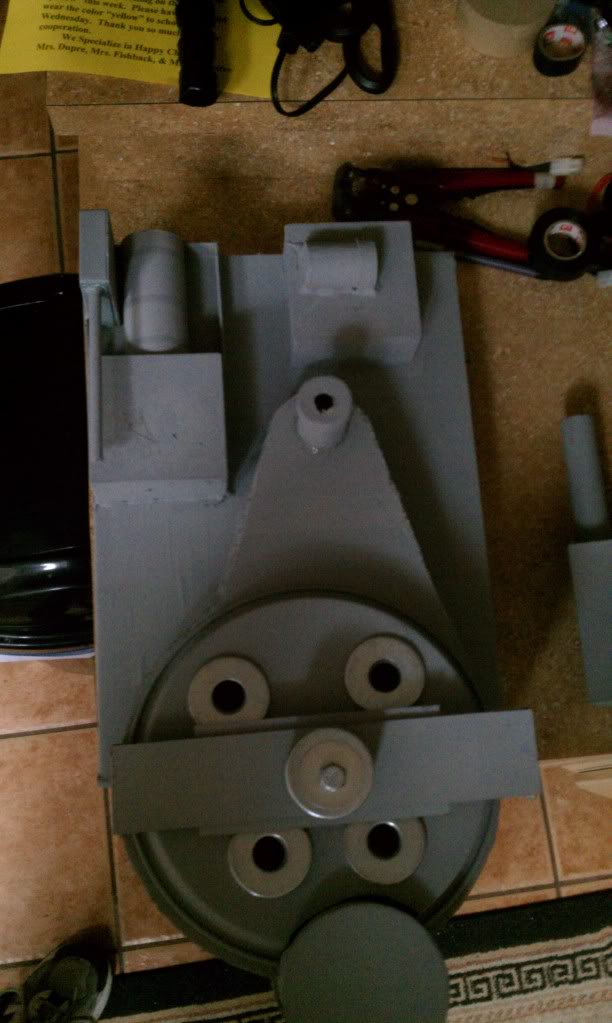
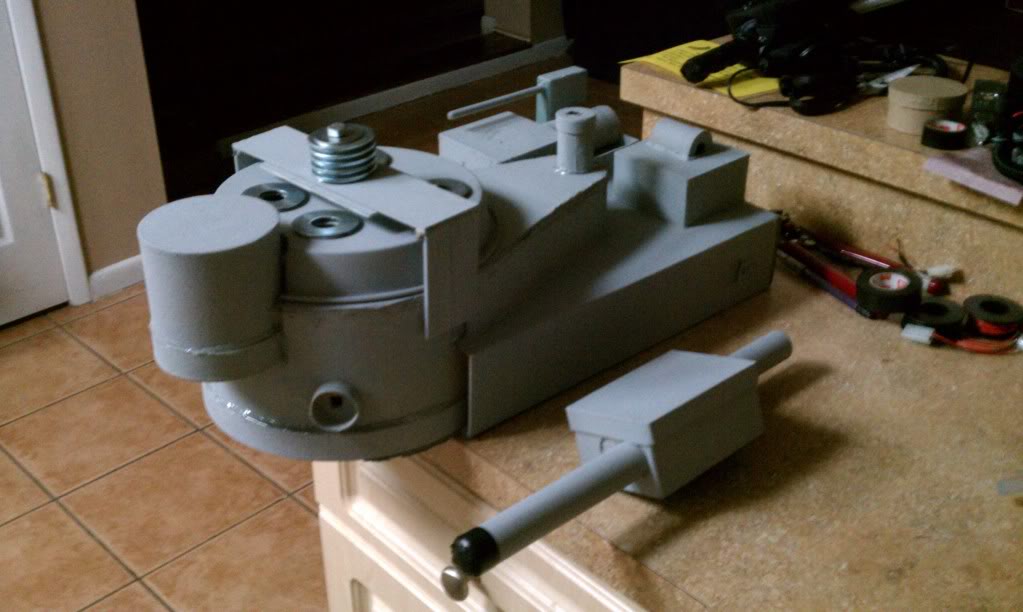
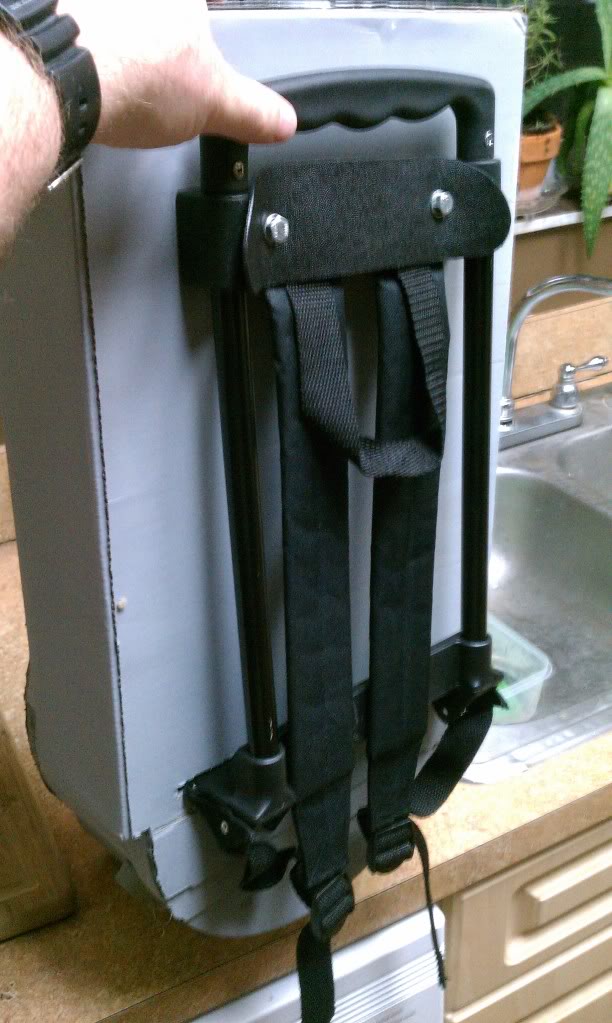
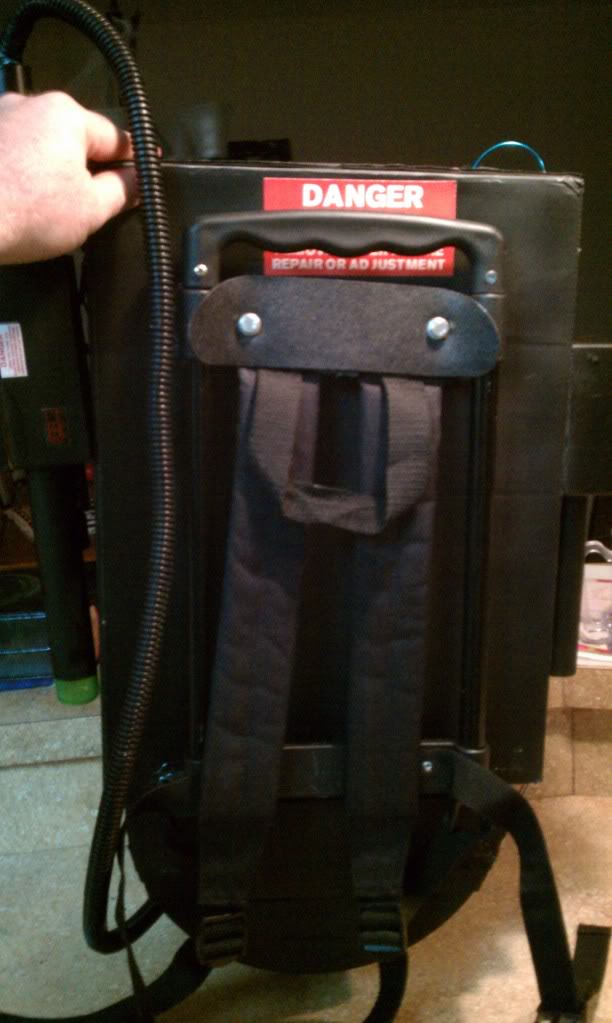
And finally the pack progress. I was going for some of the more recognizable features on the pack, by no means is it screen accurate, but not bad for 2 days. The pack is primed, and will be painted up today. Wiring is almost done, and we will have the mini “Alice” pack attached today as well.
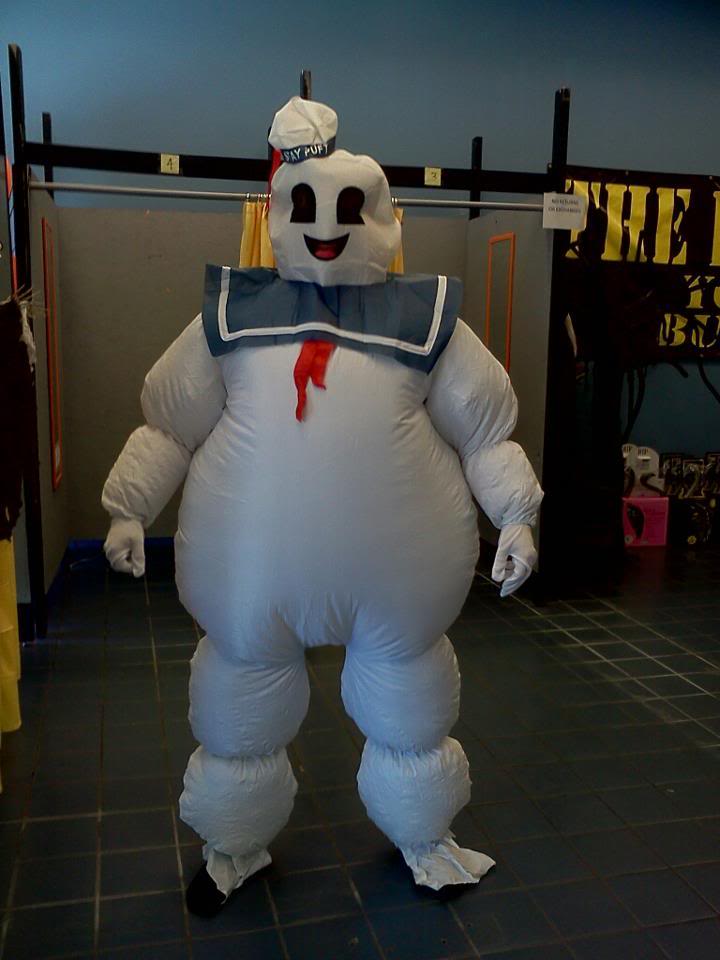
Courtesy of my fiance’s Halloween store, I will be surprising my son at the convention wearing this:
More progress was made on the pack last night! The fiance finished the painting of the pack earlier in the day and I did the final assembly and wiring last night. There are a few more details that need to be added, labels, misc. wires, etc.. but for the most part it is done.
I rigged it up to a toggle on the proton gun, which controls the main power and pack lights. Then i hooked up a momentary switch to activate the proton gun light.
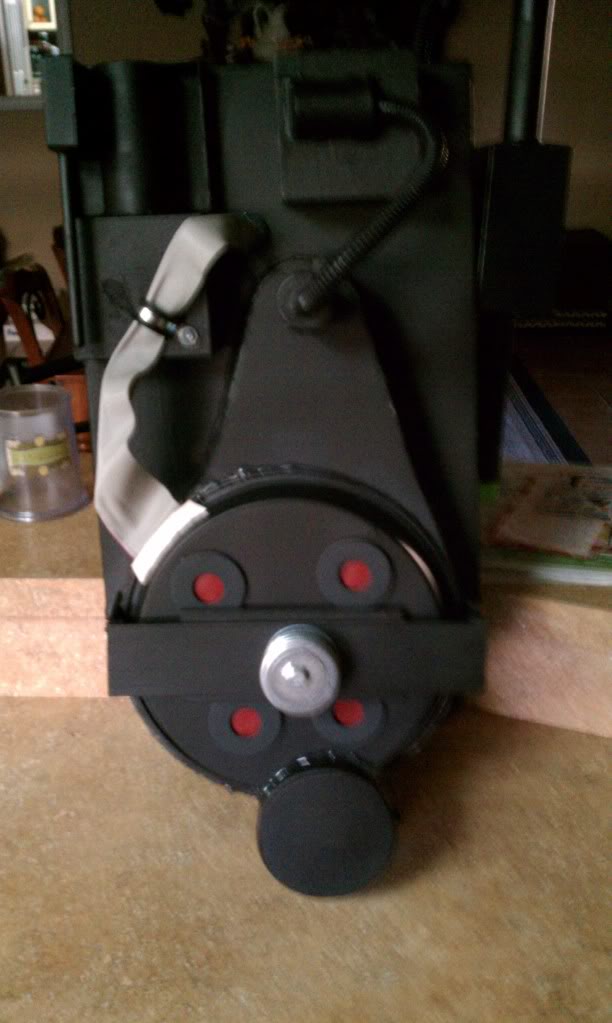
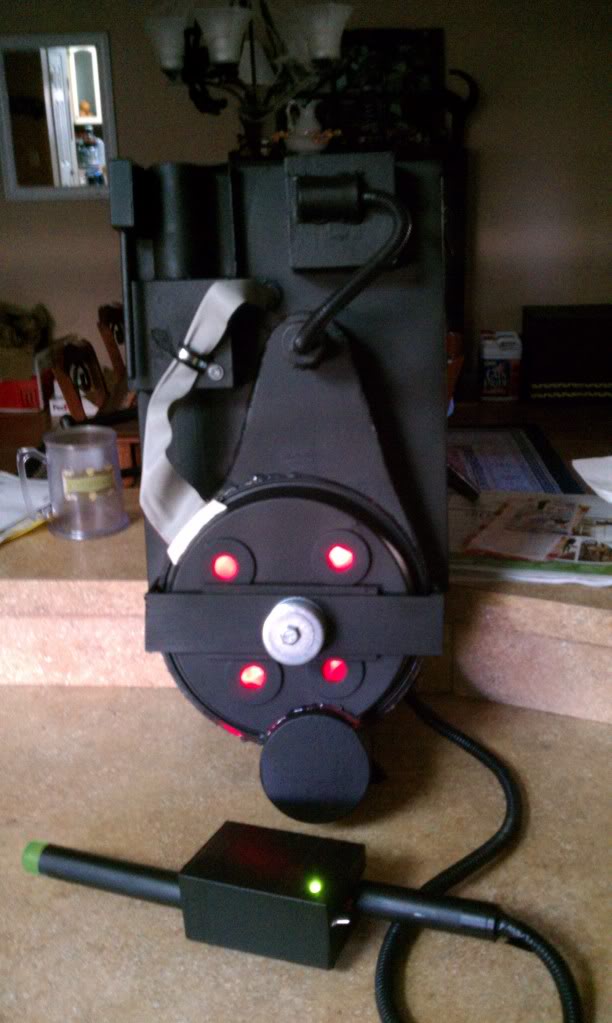
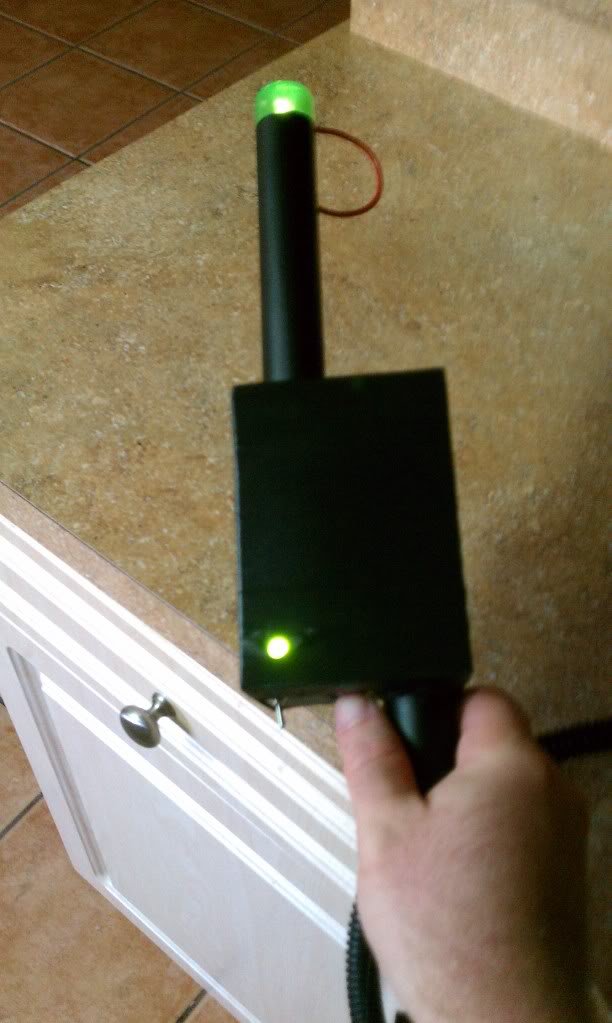
MORE work done on the pack last night. Added the power cell and injectors, both Clippard control valves, beam line, and PPD. Also ran all the “decorative” wiring to the new parts. Will be printing out the labels today on sticker paper, then I think I can call this pack done.
BTW…the fiance decided to go as Zuul to the convention…yes I know, BADASS.
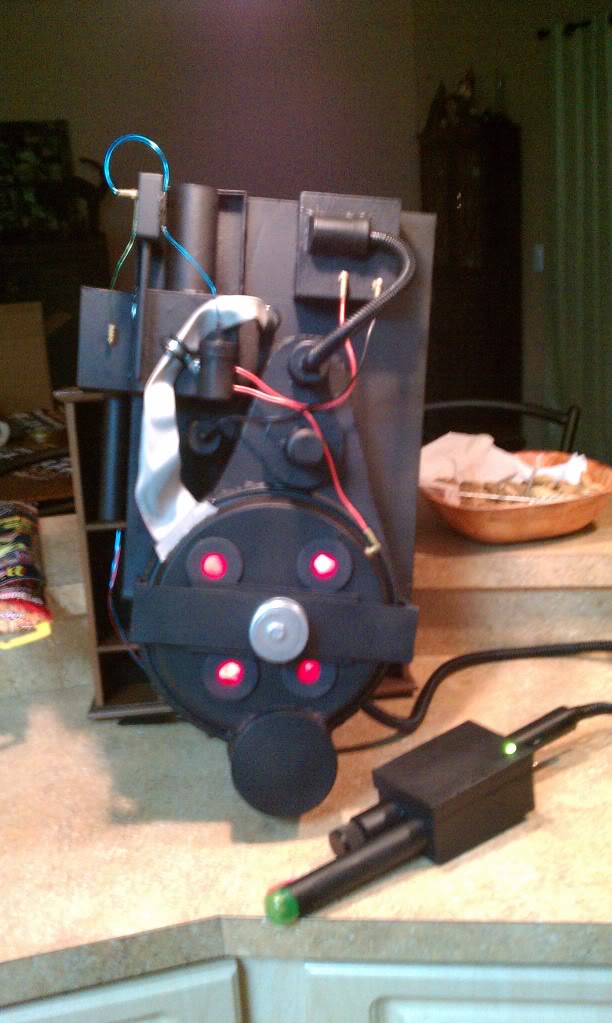
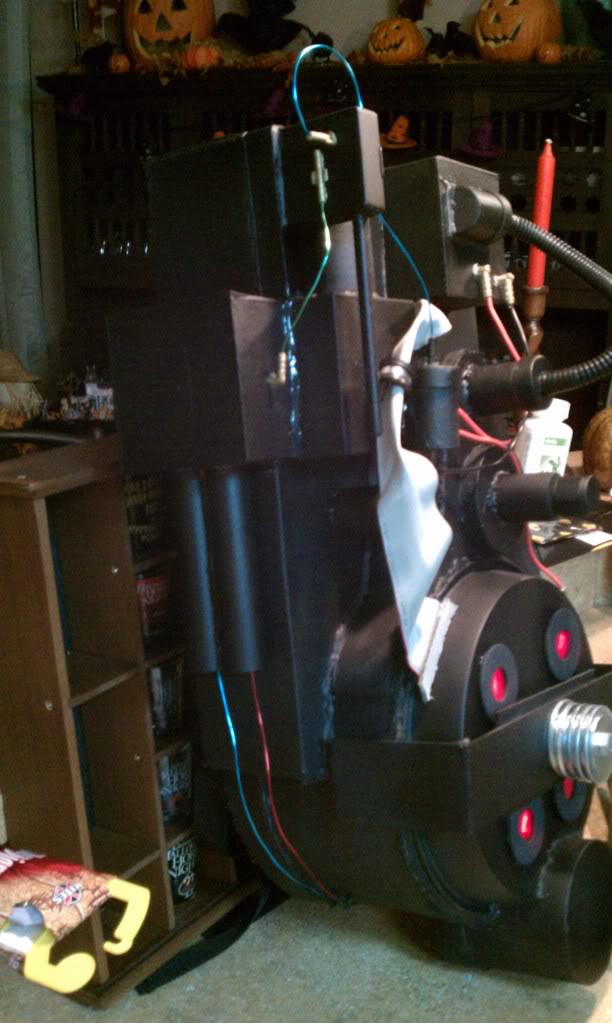
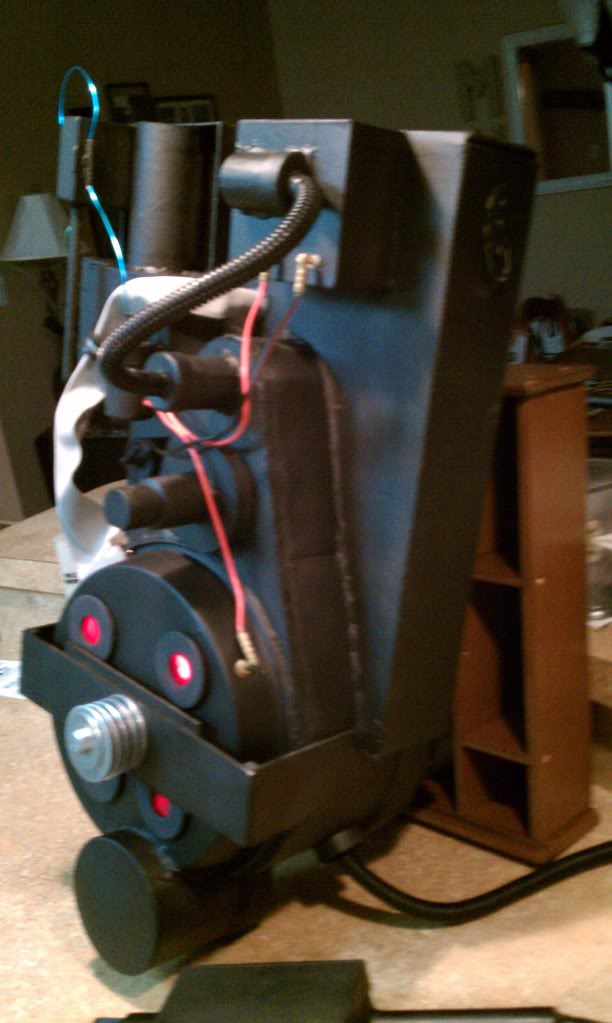
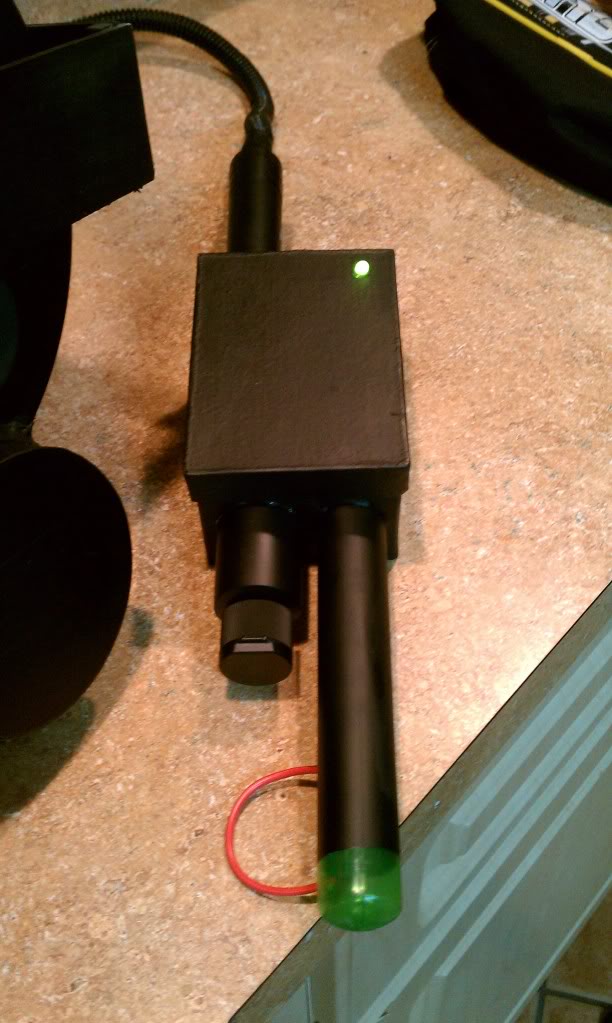

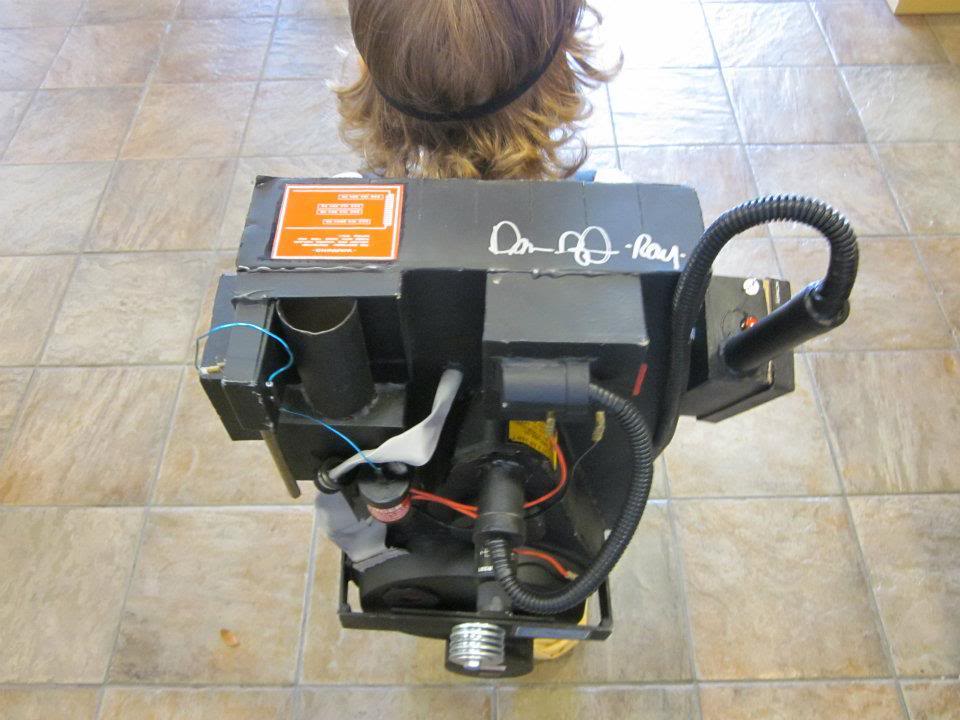
PACK IS FINALLY DONE!!! Woohoo, never thought I would actually come to the point where I would say it is good enough, but I did. All of the decals have been applied and I must say the pack is looking good. The next set of pictures after this will be from the convention!
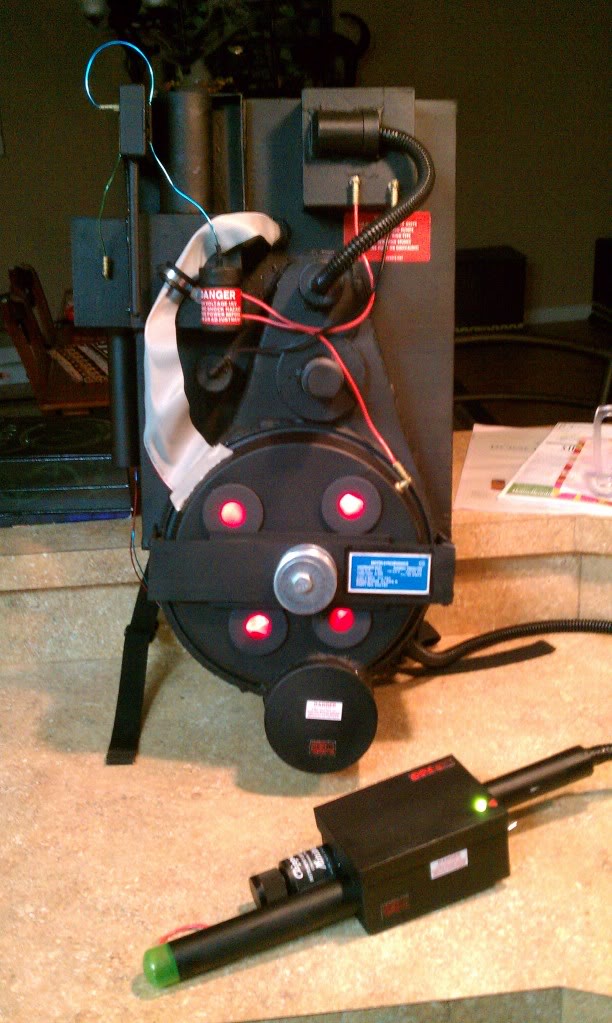

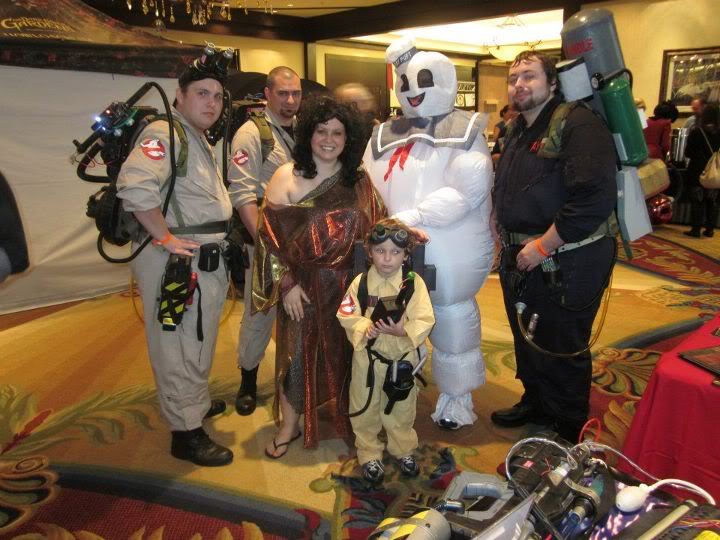
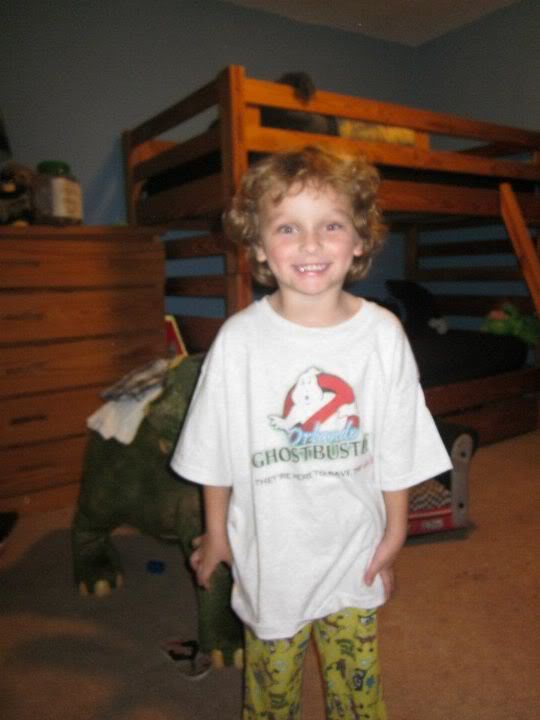
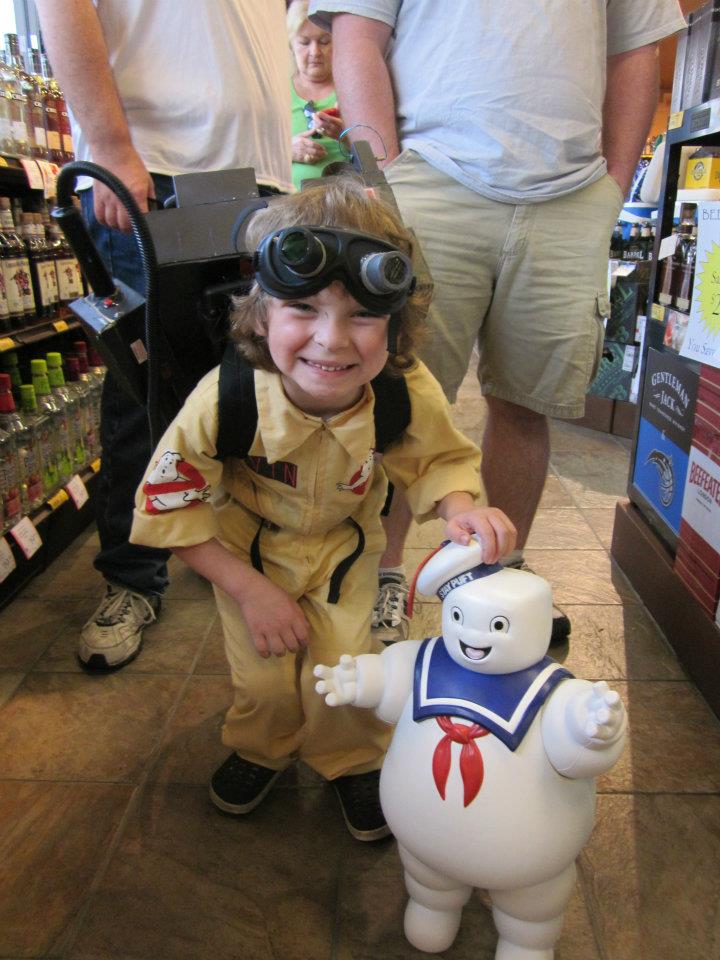
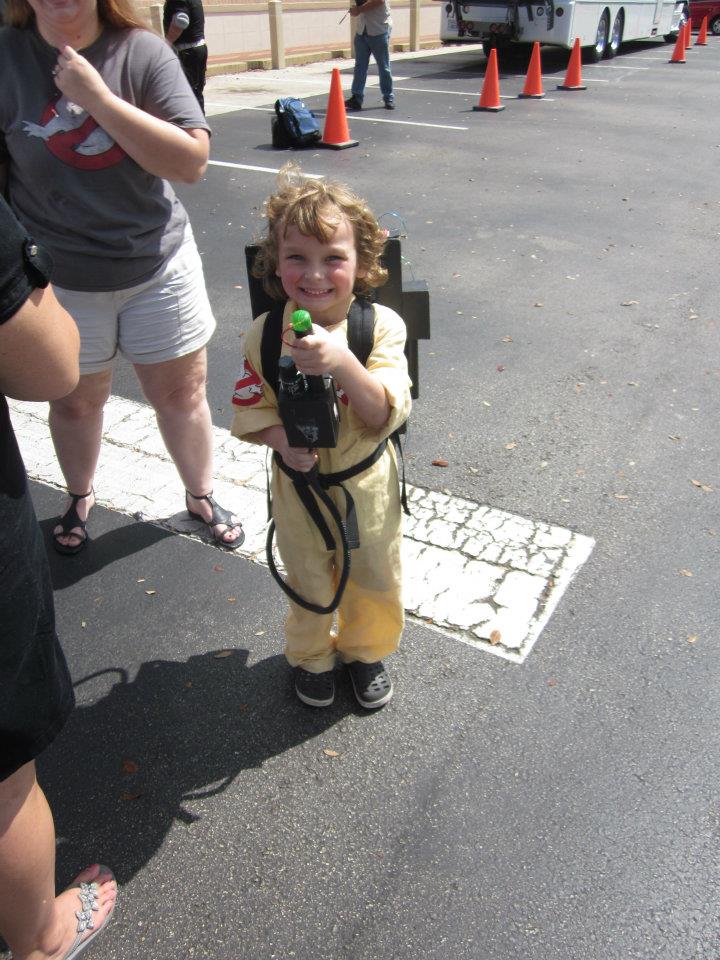
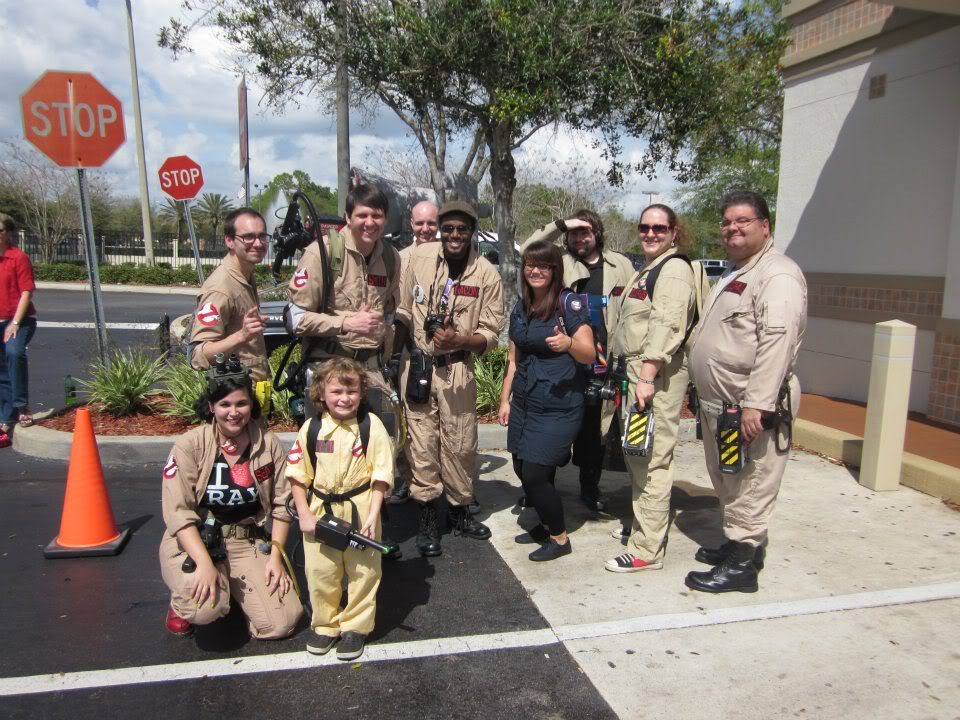
We had a great time at the convention, our son LOVED meeting the GB guys. We kept getting stopped every 5 seconds for pictures, but other than that it was fun. Major thumbs up to all of the GB guys for being so nice.
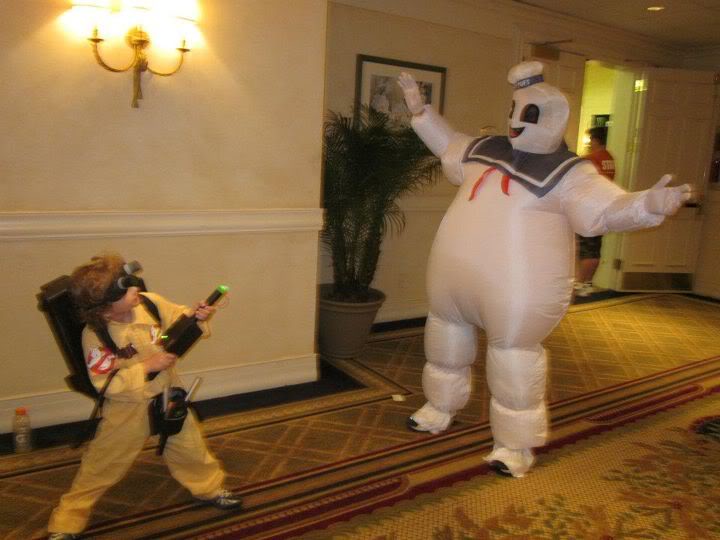
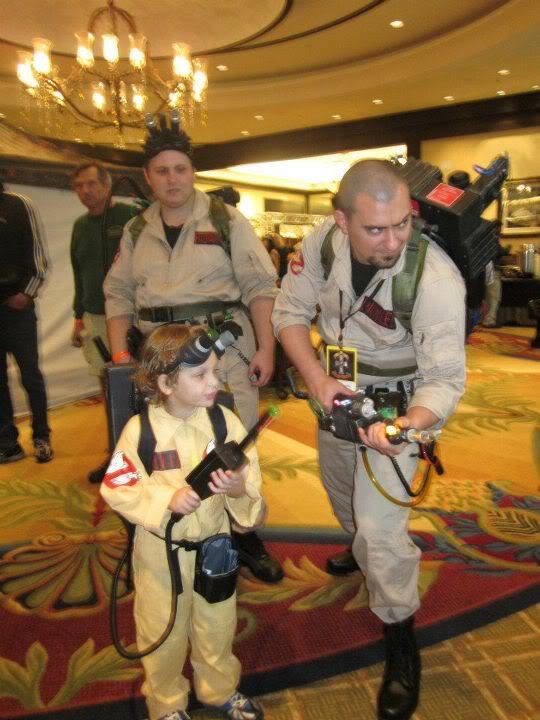
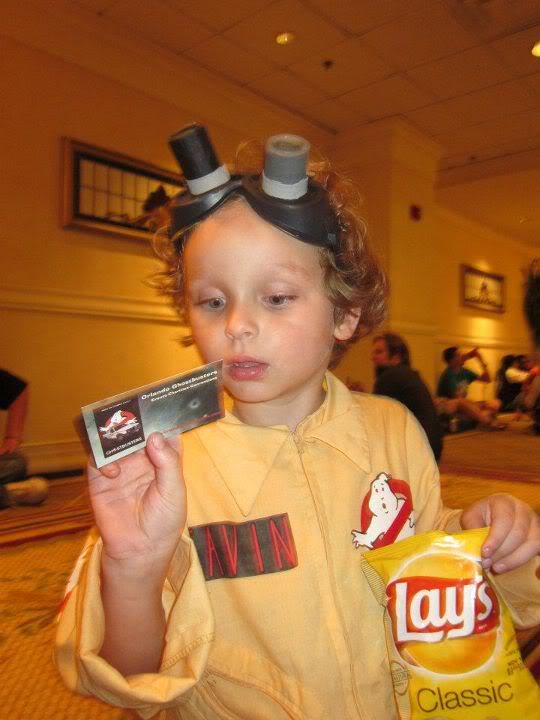
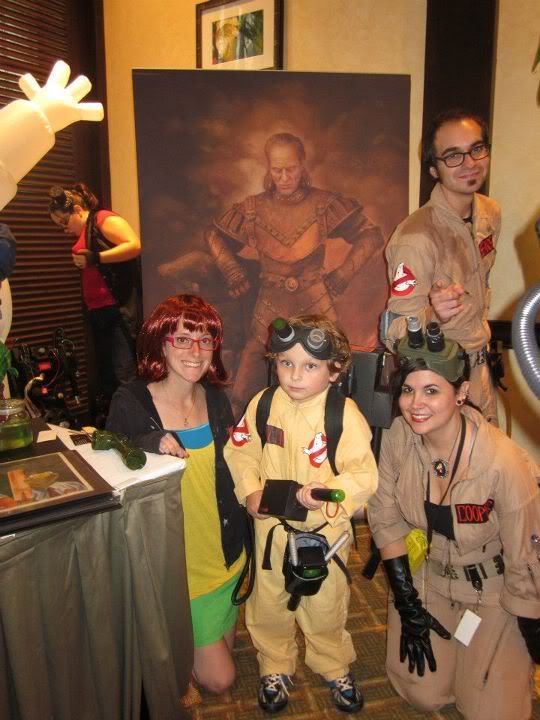
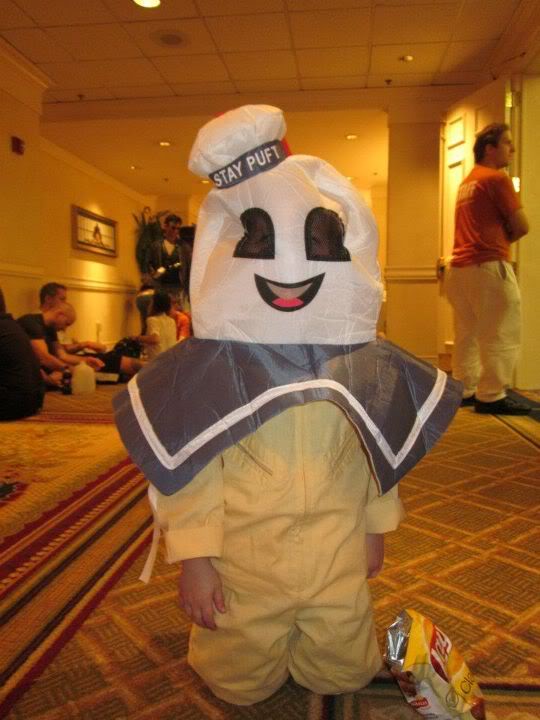
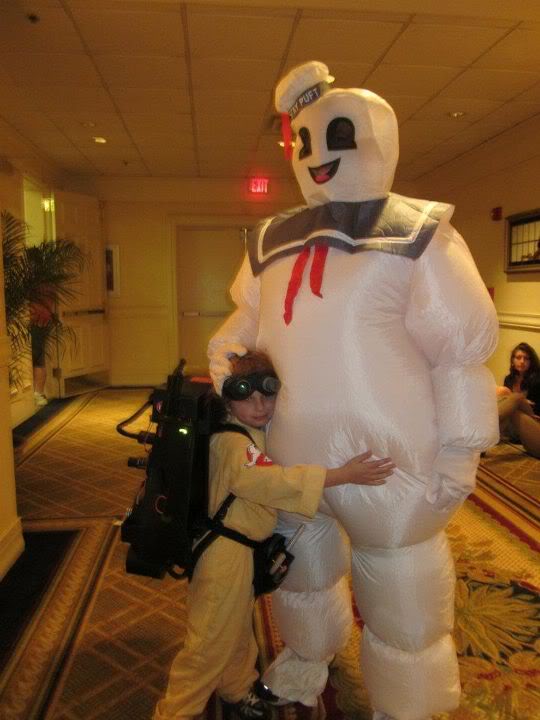
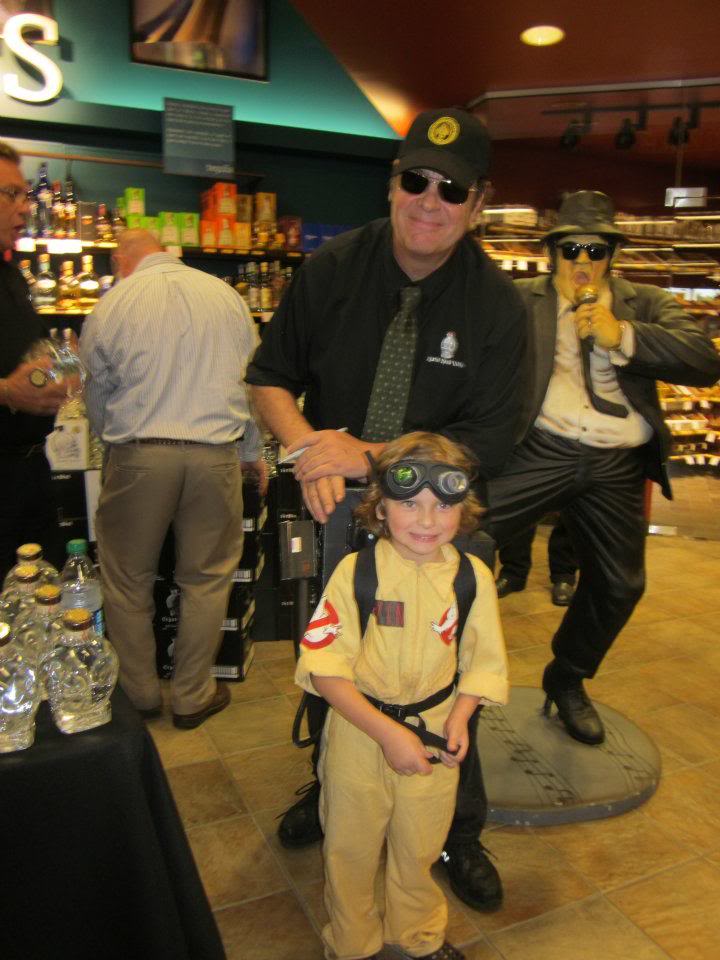
And of course some shameless whoring of our son meeting Dan.
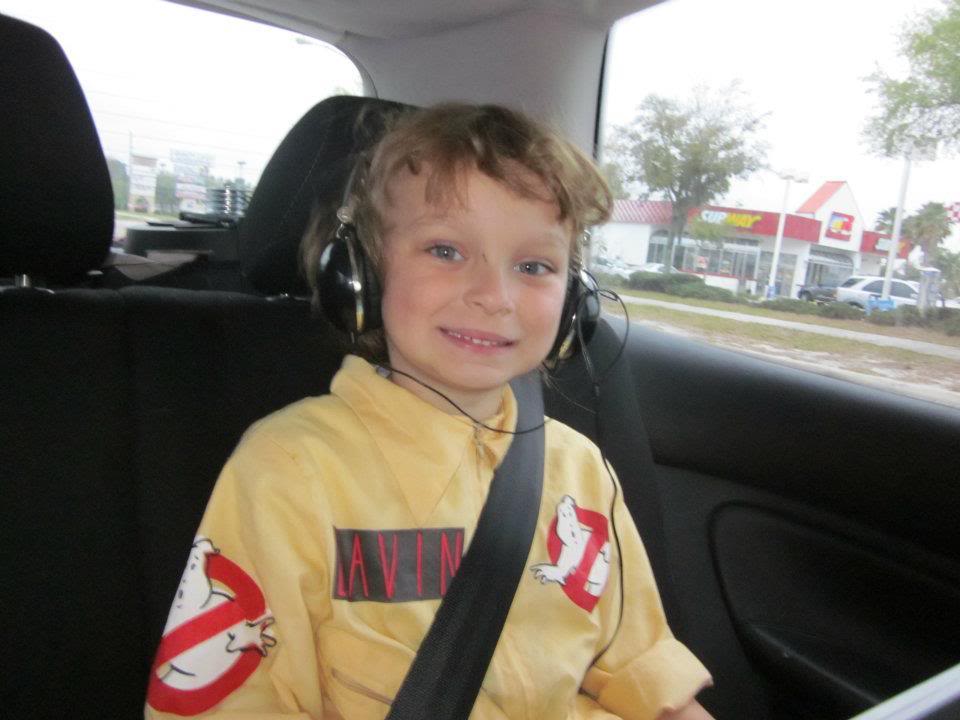
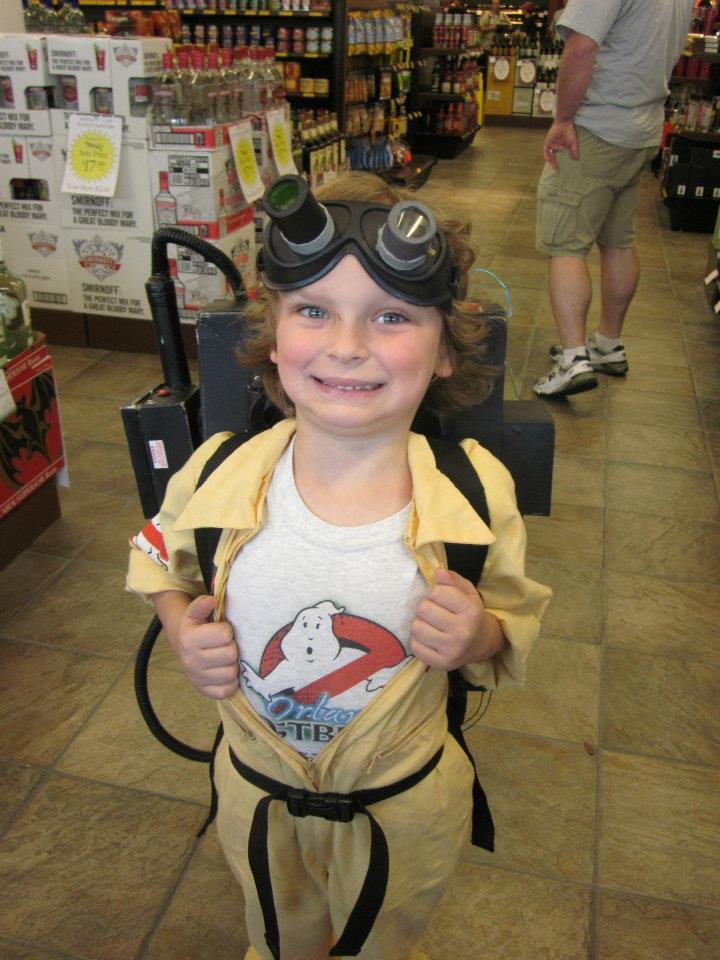
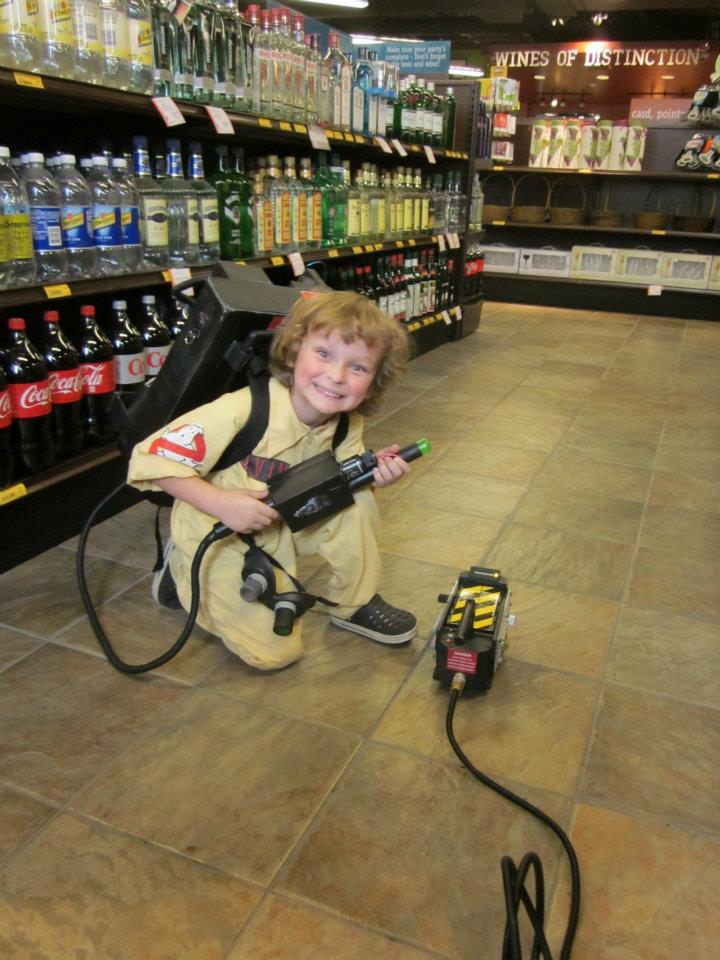
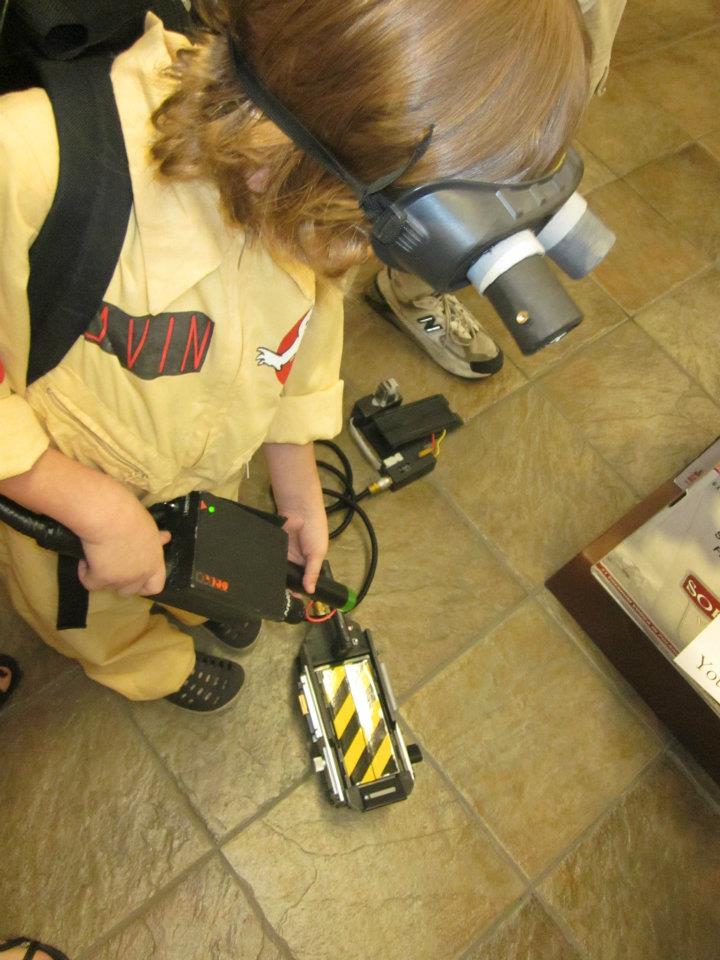
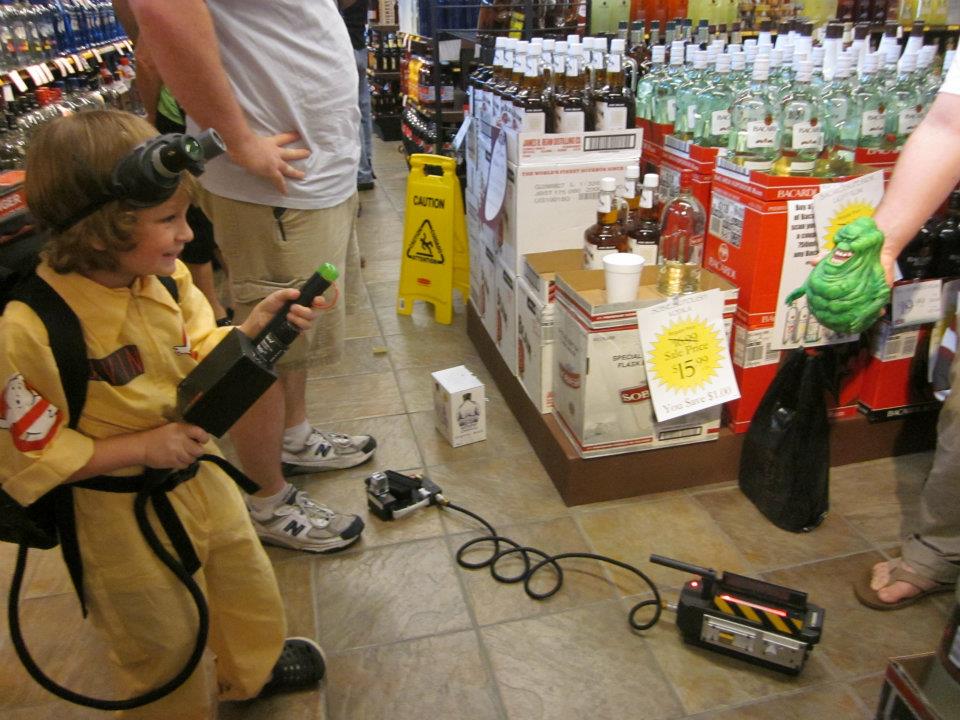
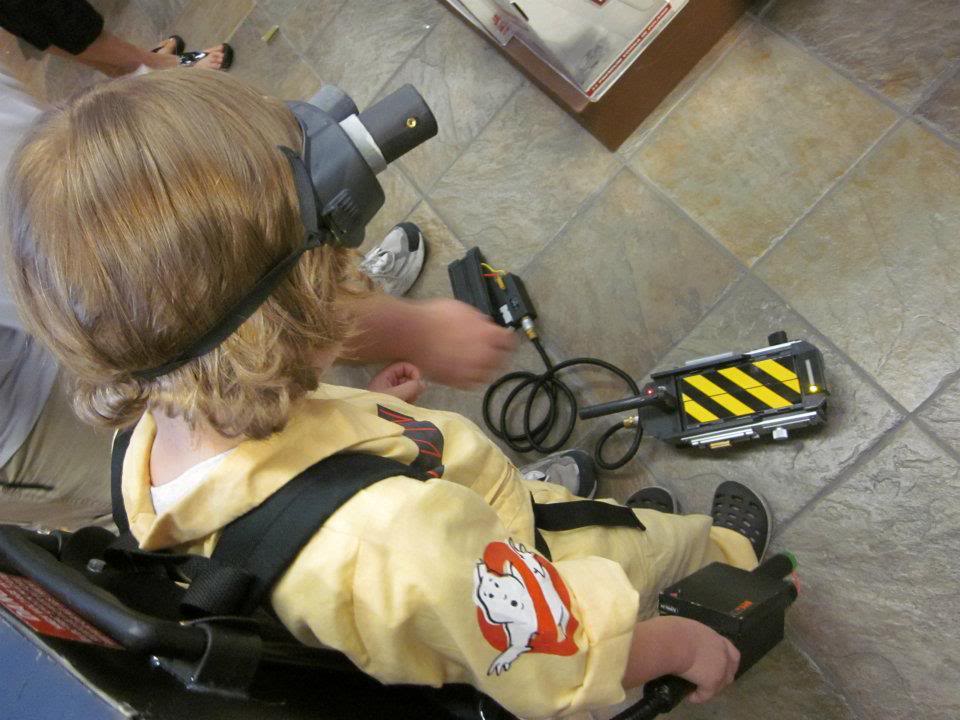
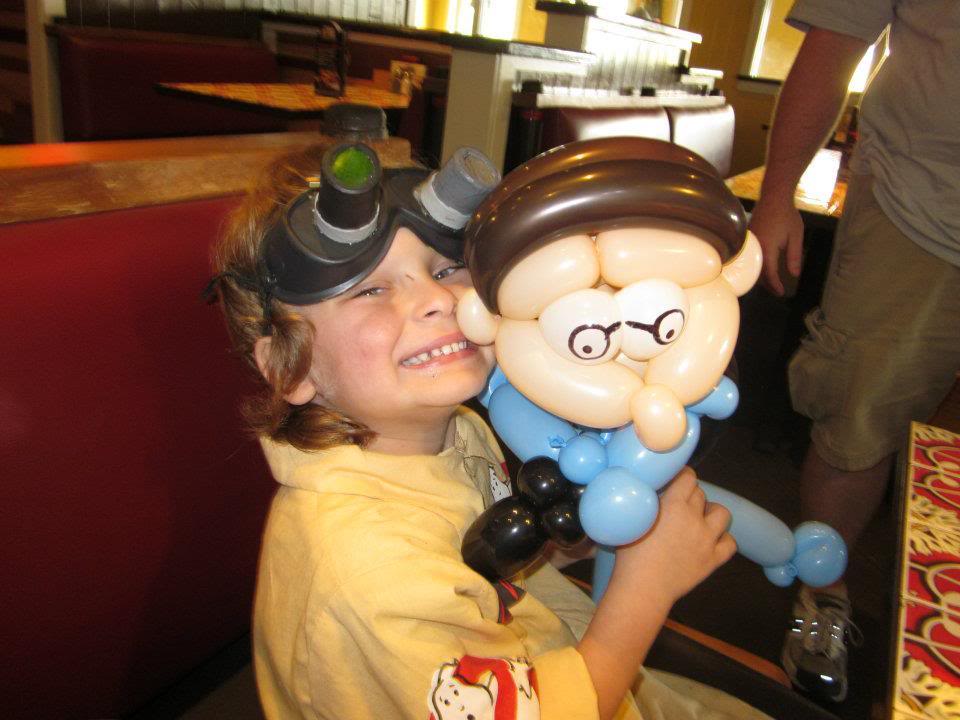
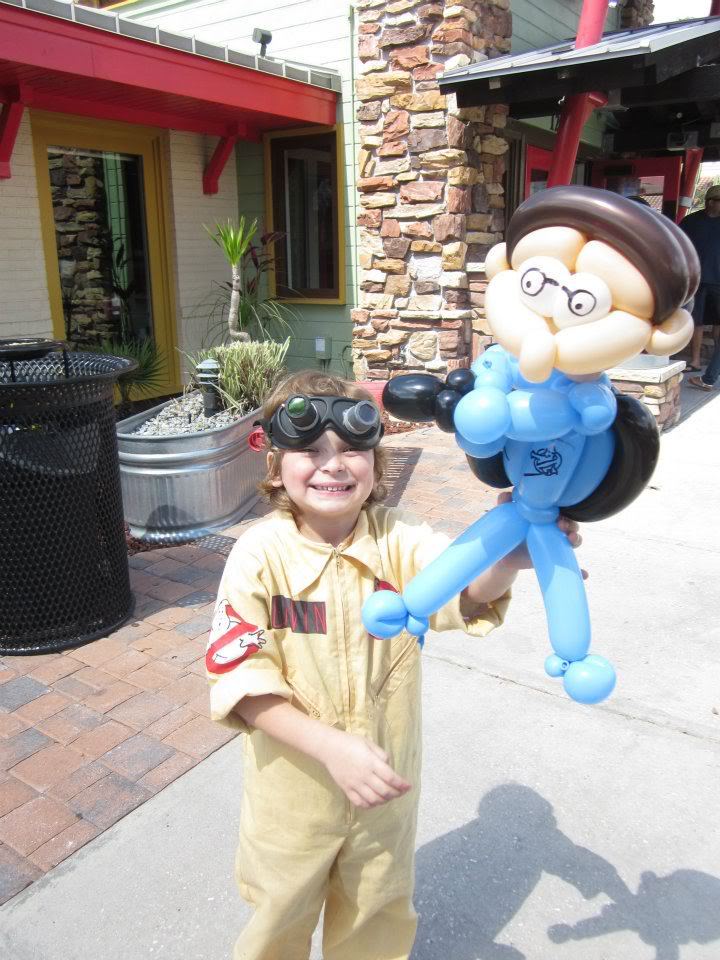
There was this totally awesome balloon guy at Chile’s that made a ghostbuster for Gavin upon request.