This build has been a almost a year in the making and will probably take just as long to complete. Anywho, lets get started shall we?
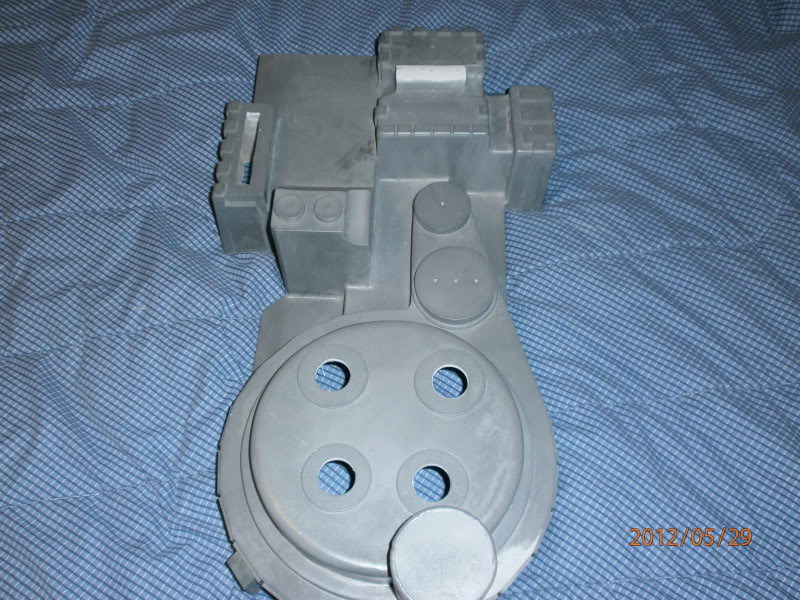
I’ll be using the awesome Bigi330 shell. Here it is straight from the box.
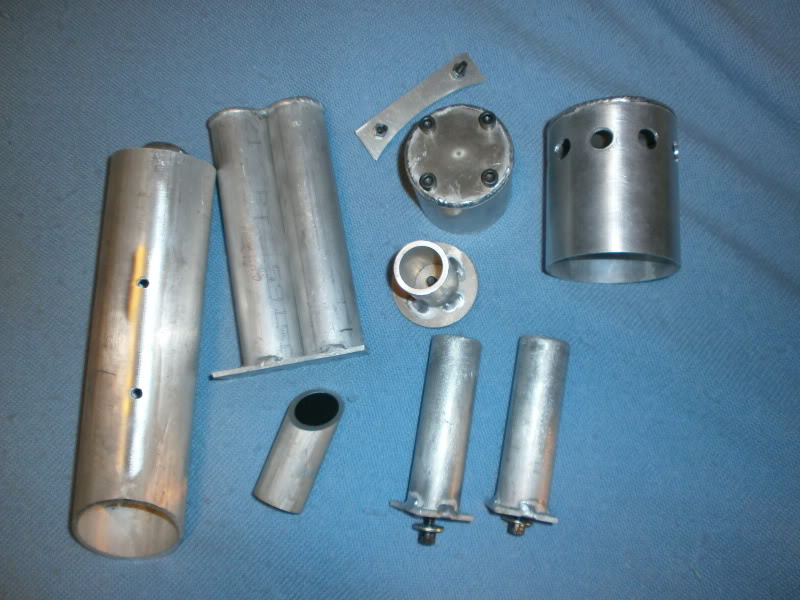
Also included were all types of shiny aluminum goodies.
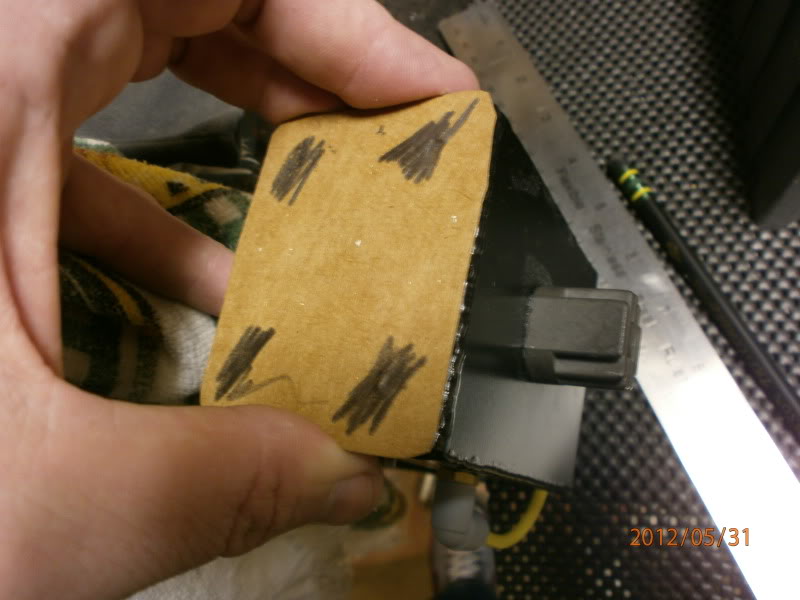
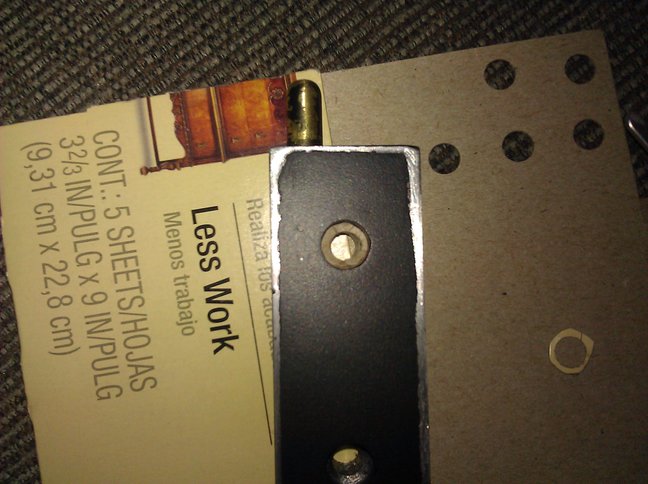
I wasn’t quite sure how to mark and drill the holes for the Ion arm so I took a small piece of cardboard and placed it on the back over the mounting holes. Using a pencil, I made a quick rubbing to show the hole placement.
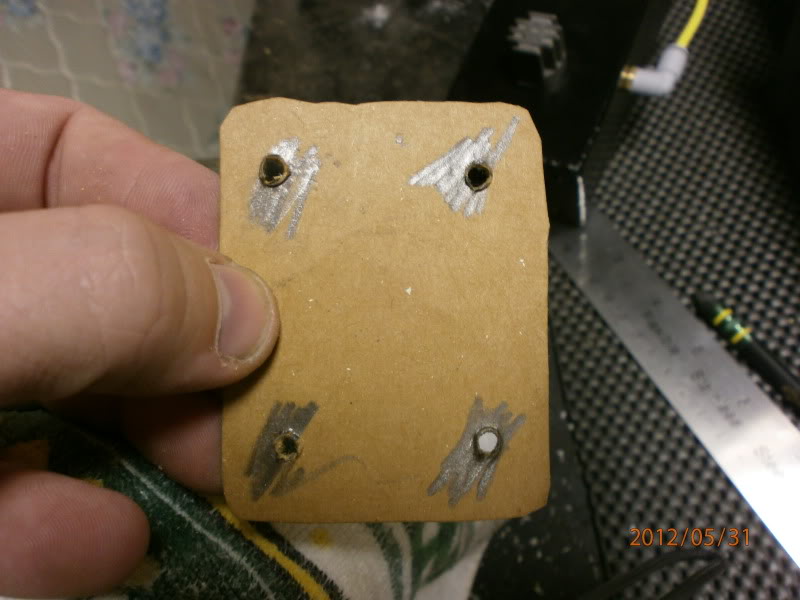
Then I simply drilled the holes and tadaaa! Instant template.
After drilling a few more holes I realized that I wasn’t 100% sure how exactly the PPD and the booster tube were attached, so after a quick PM to Vin, he gave me some tips. (A lot of you proton pack pro’s probably already know this method but I’ll post up the pictures of how I did it to help out the other newbies.)
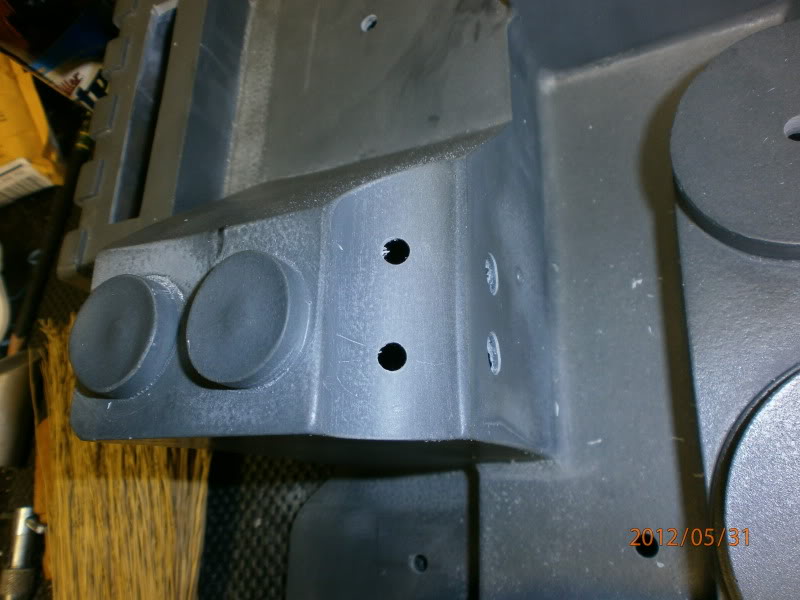
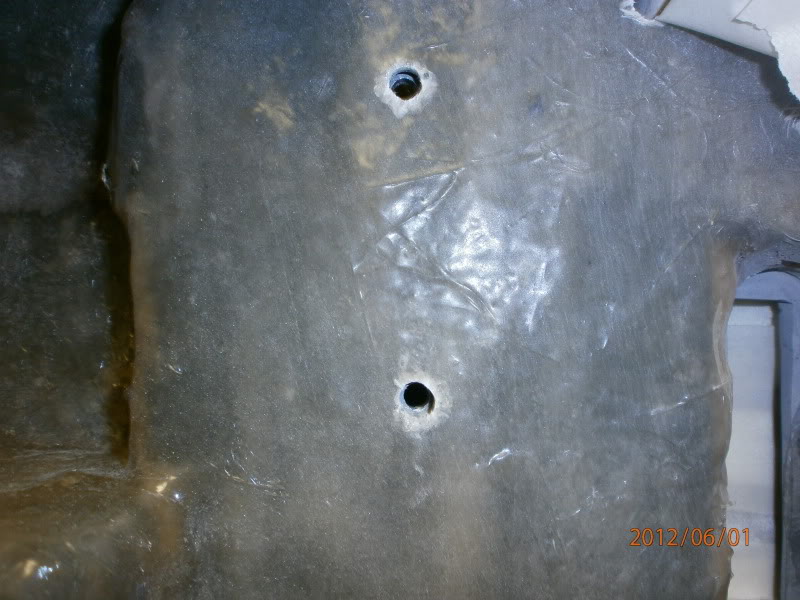
For the PPD, first drill some holes in the center of the curved area.
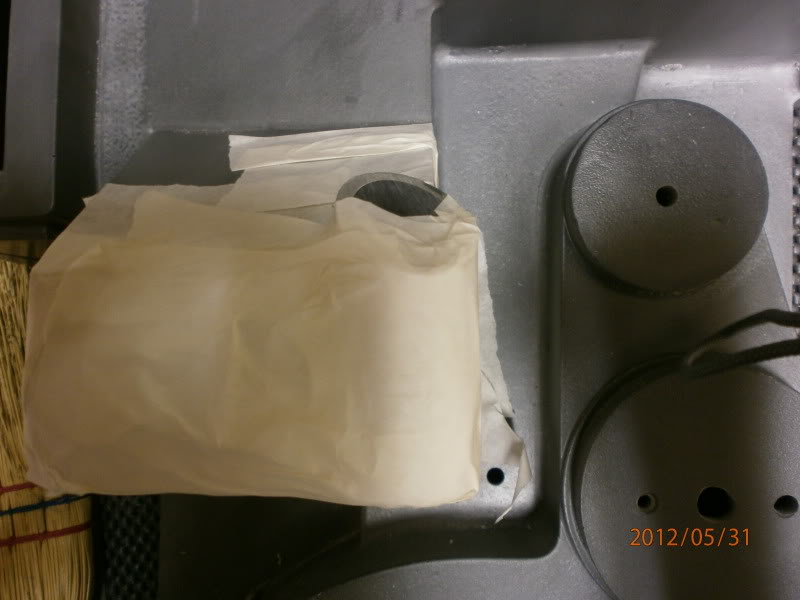
Next, center and tape the PPD to the shell.
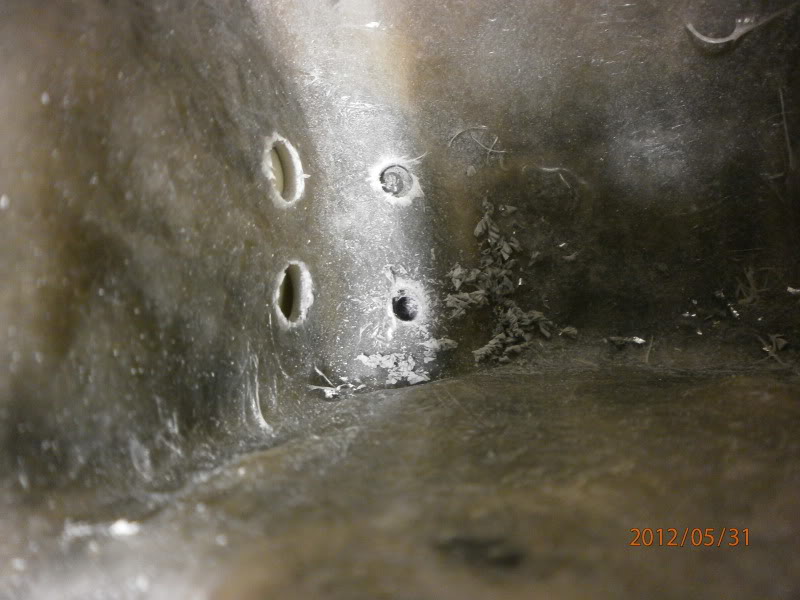
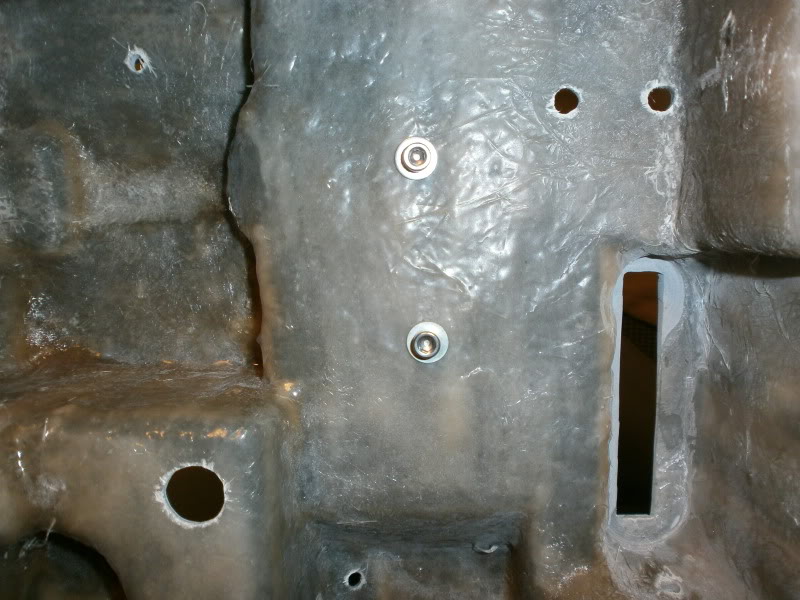
Flip the shell over and drill into the PPD.
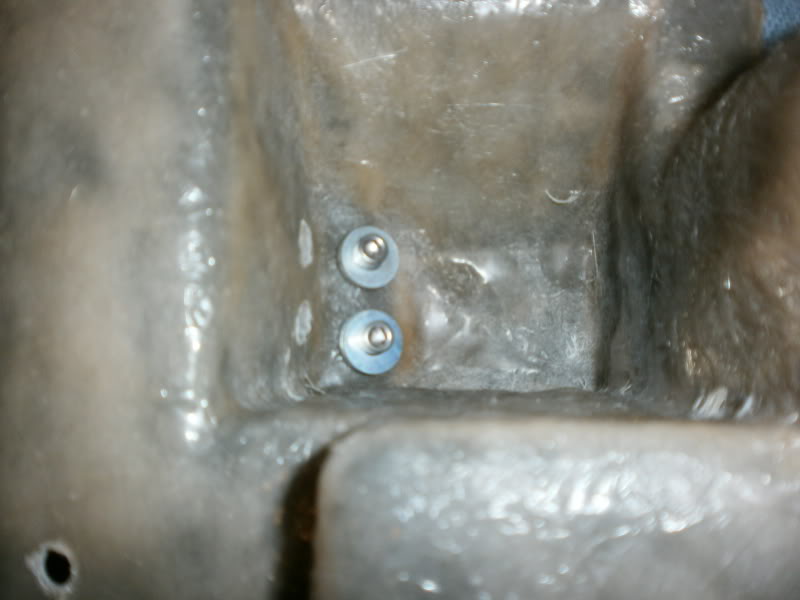
I used a 13/64 bit (i think you can also use a #7), then tapped for 1/4-20.
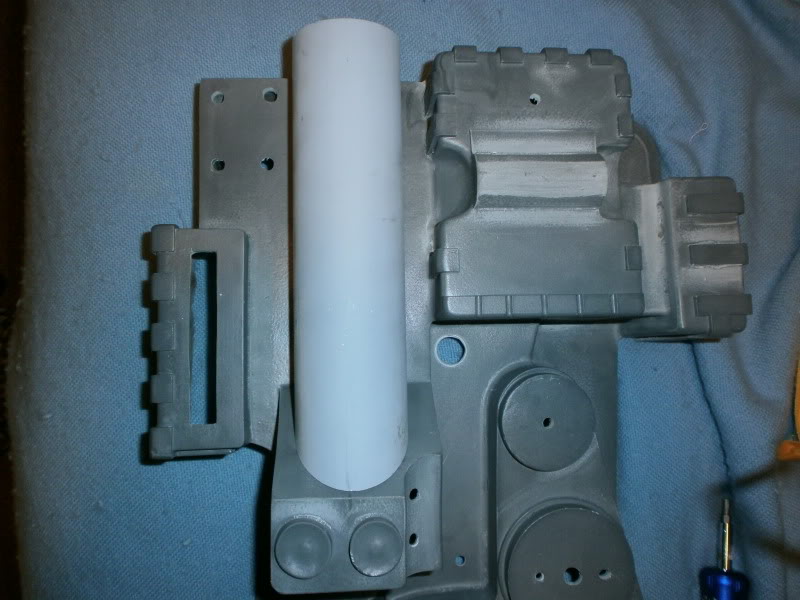
I used the same method for the booster tube.
Thanks for the help Vin, you rock.
If anything looks off please let me know. I’m always open to suggestion.
Next step, chopping off the N-filter for the aluminum one.
All looks good to me! Ill be watching this build for sure!
Thanks Nick, I’ll try not to let you down, lol.
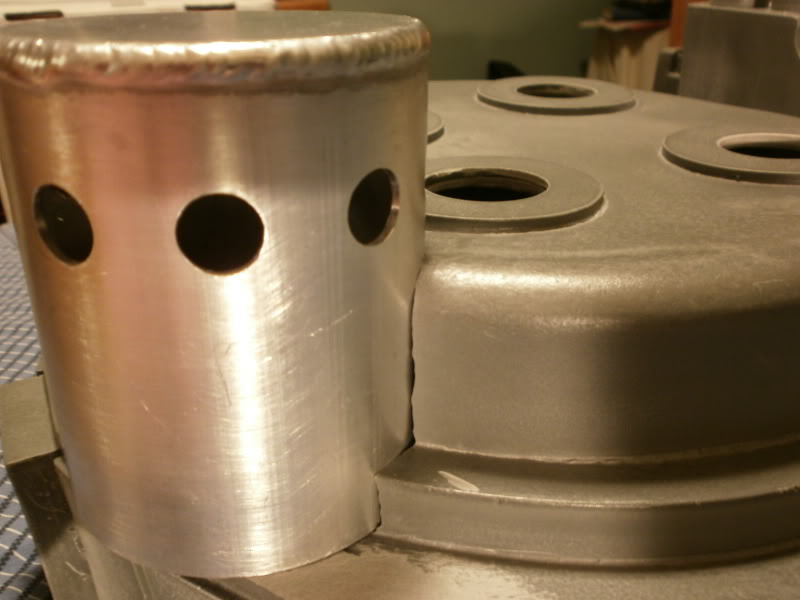
So tonight I grew a pair and chopped off the N-filter. I was really nervous that I would sneeze or stroke out and completely screw this up, but I’m extremely happy how it turned out.
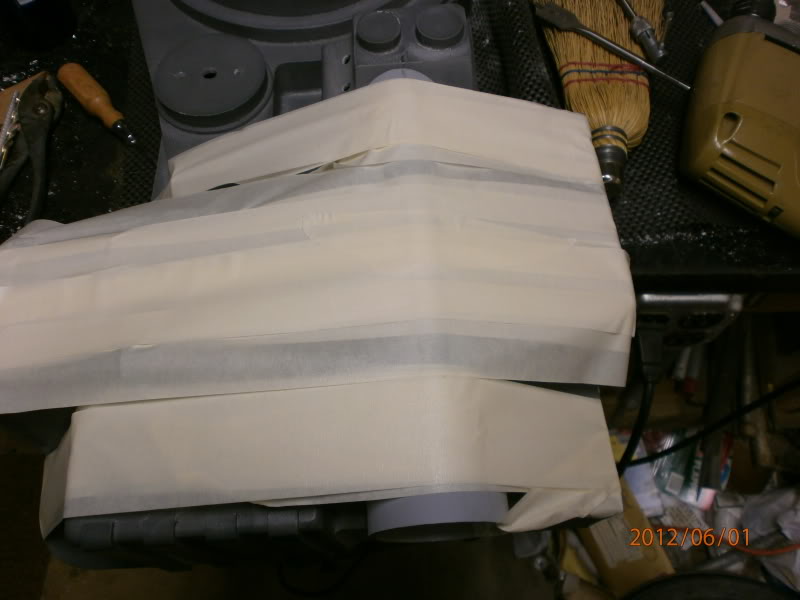
I used an old trick from back when I was working construction and had to trim fiberglass bathtubs. If you use masking tape your less likely to have chips and cracks. Let’s put this to the test shall we?
Fast forward an hour and…
Success!! A nice clean hole where the N-filter once was.
Test fit time.
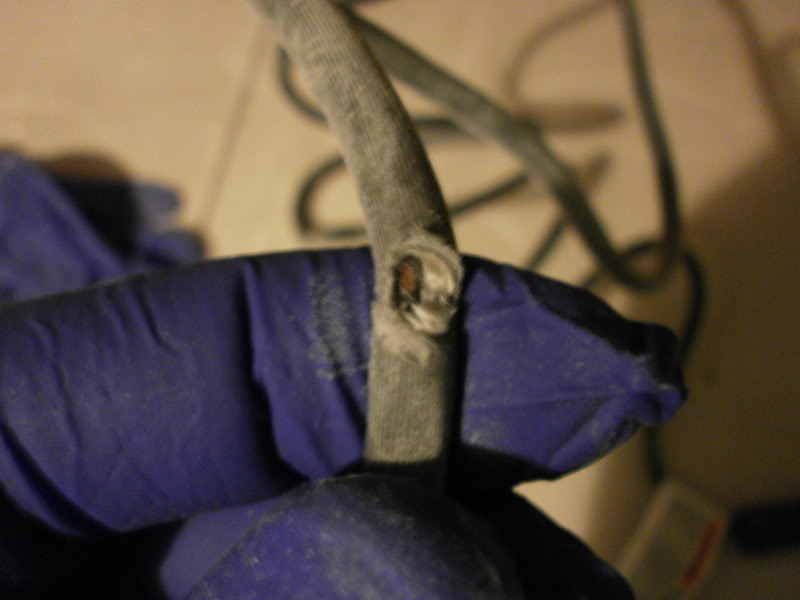
I did screw something up though. After making the last swipe with the dremel I didn’t completely turn it off. I accidentally put it into low speed and set it on the table. DIRECTLY ON TOP OF THE POWER CORD.
OOPS.
Looks good so far. Keep the updates coming.
What is this? An update? INCONCEIVABLE!
My free time in the last 6 months has been absolutely zilch. I recently purchased a “fixer upper” and true to the word, every freaking moment of my free time has been devoted to restoring this house. Needless to say, I haven’t touched my Ghostbusters project in a long time.
Now that the house is as finished as it can get in these cold winter months, I finally have some free time to work on my shell.
Now this might not seem like a necro-bump worthy update, but for someone who has had to sit on the sidelines and watch so many awesome build threads pop up lately, any chance to work on my shell is due a small celebration.
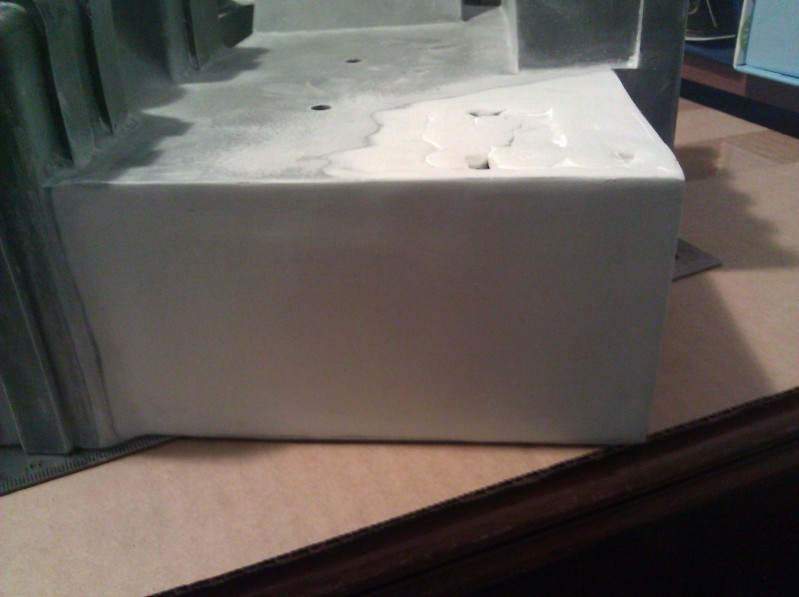
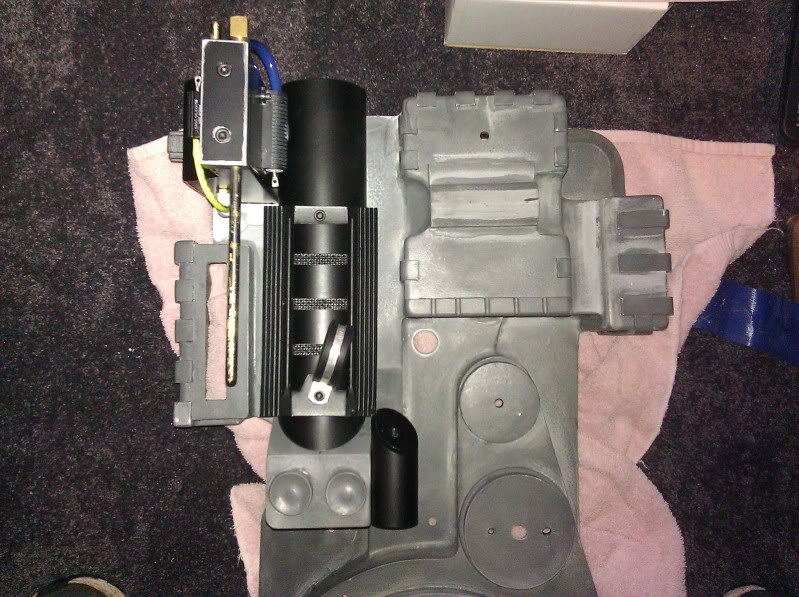
I finally was able to fill in some slightly warped areas on the shell. (the EDA is sanded smooth also, I just forgot to take a picture).
With this being done it finally marks the point were all the holes are drilled, all the pieces test fitted, and this bad boy is ready for paint. Most builds take two years, right?
From planning to aquiring parts to final assembly? Yeah id say so. I’m on year 3 of my game pack.
I’m pretty lazy so mine take FOREVER. Build is looking great so far very impressive
Speaking of your game pack. What happened to your build thread? That was not only informative (I want to do a pep build) but highly entertaining to read.
EDIT: Nevermind I read the last post about it being locked.
Looking good brotato! Yeah, it’s been 4 years since my last build, so you’re doing good with a two year period for a build.
Lol facebook killed all my photo links and I can’t go back and fix them. Thank you for the compliment! I wanted it to be informative but not boring!
Ill be sure to remember that.
UPDATE!
So I tried to attach the Ion Rod and the pre-cut holes on the Ion Arm just didn’t match up. So I used some apoxie and filled in the hole.
After drilling and tapping a new hole I noticed that the Ion Rod didn’t sit flush and wiggled a bit when fully tightened. I DEMAND PERFECTION!! So I found out by sheer luck that a hole punch gave me the exact diameter hole I needed to make some shims.
So here we are now. A finished Ion Arm!!!
Also had the time and sunlight to paint all my aluminum parts today! JOY!
(picture not available)
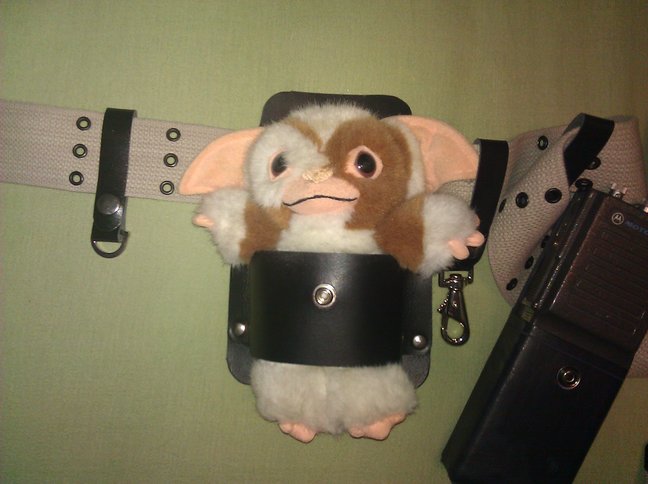
So as a parting gift I also present to you my completed belt gizmo.
Just kidding.
This is a not so great kit but I did what I could to get it looking decent. Saving up for a better kit now.
Oh man, you get a karma point from me just for that gizmo joke alone.
Personally i think you should wear the first gizmo…if i didnt have a spongeface belt gizmo I would…thats just histerical
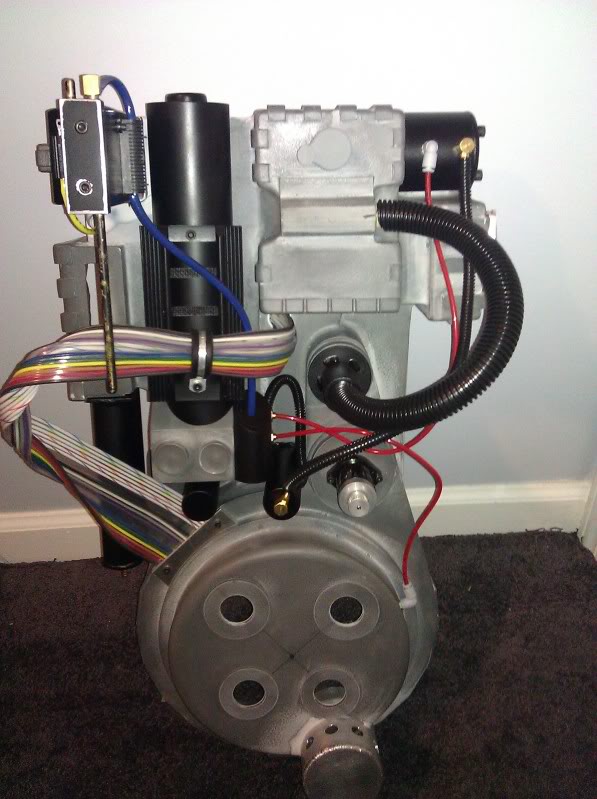
I wanted to see what my pack looked like with all my painted tidbits and whatnot on it. Then I just kept going until I had most everything attached.
Now the hoses are not trimmed and all that, but its a pretty good indication of how things will look. Like how my booster tube is a little too far right. (I’m in the process of fixing it today)
But that ribbon cable is a ■■■■ to get wrapped and make it look good. Any suggestions?
I fixed the placement of the booster tube and I’m much happier now.
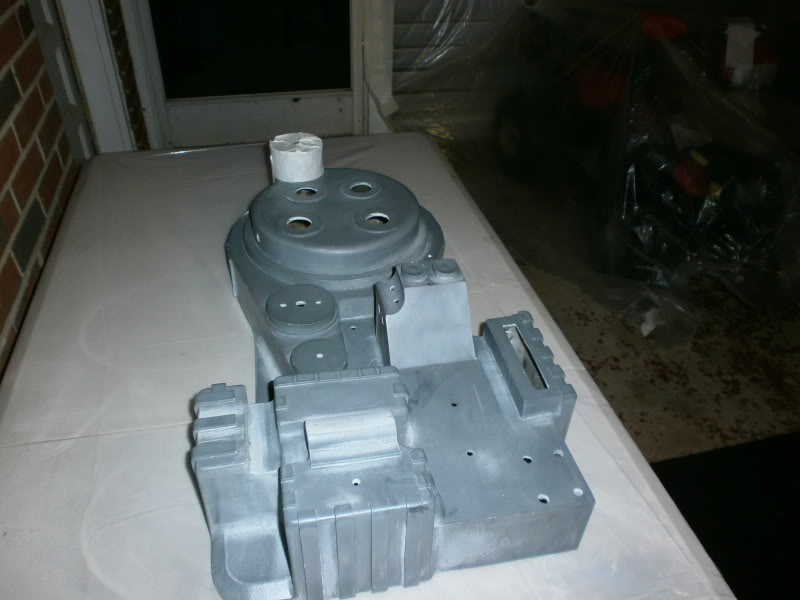
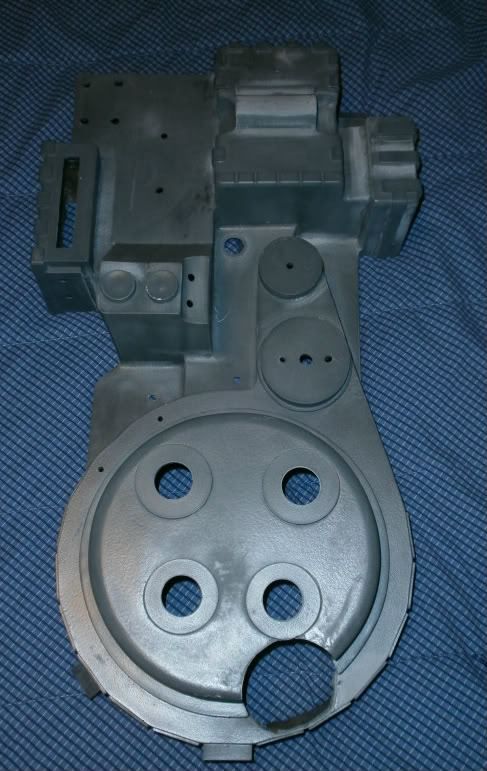
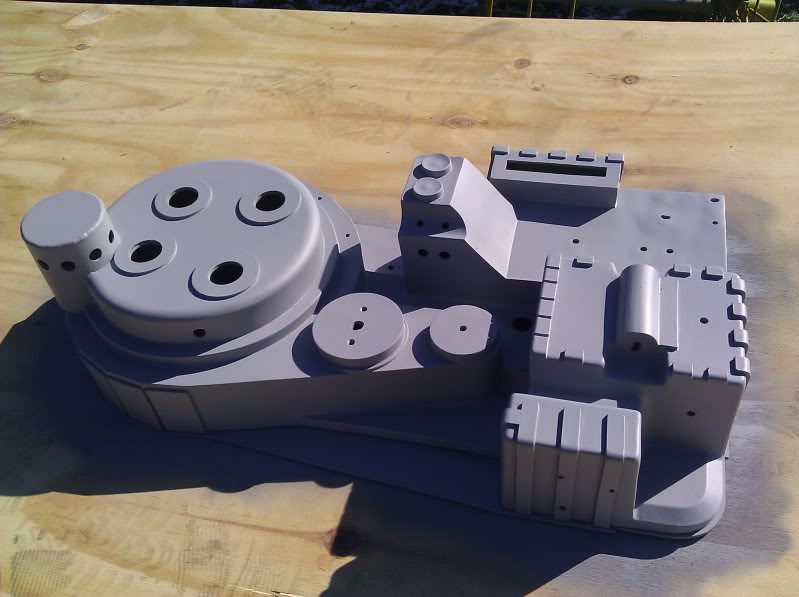
Also today I had time to slap some primer on the shell!
Ok. I did not have good results with the hammered paint at all. Looks like I’m going to have to sand it all down and start over.
I think I’ll do the spray texture next time.