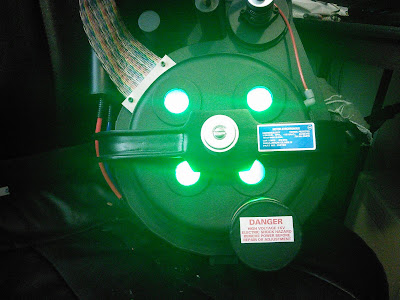
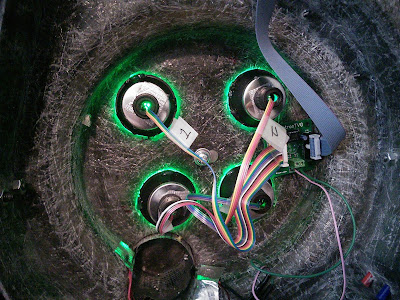
I planned to tackle the pack wiring next, but I first needed to figure out where the sound board and battery would go. Julz did a fantastic job of arranging the insides of his pack (here), and while I’d love to do something like that, I didn’t feel I could accomplish that with my small collection of tools and newbie skills. Instead I planned to keep things simple and just put some velcro on the back of the sound board and battery, then attach it to a plastic plate (non-conductive) glued to the upper-right part of motherboard.
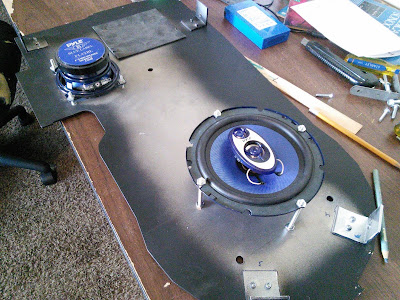
The challenge with this setup would be that the GBFans sound board has a volume knob on the bottom, so it wouldn’t be able to sit flat. But this would be fine as I really wanted to run a separate volume control anyway (since getting into the pack to adjust the volume would be a pain). I learned that you can’t have two potentiometers wired up at the same time, so it turns out I’d need to remove that volume pot from the board so I could run a separate, extended pot to control the volume. This would also allow the sound board sit flat on the plastic plate.
Volume pot removed:
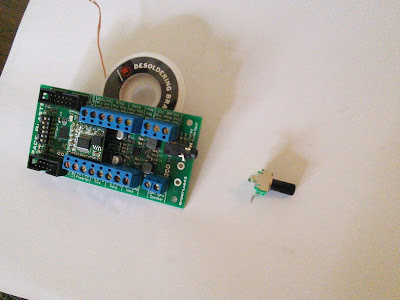
It’s probably easier to remove the pot by just clipping the leads, but I opted for the cleaner removal process by desoldering it.
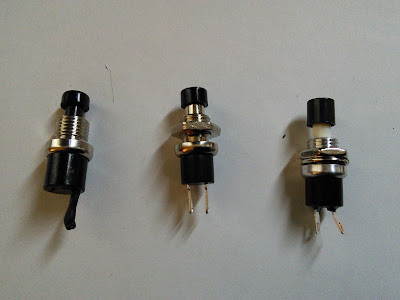
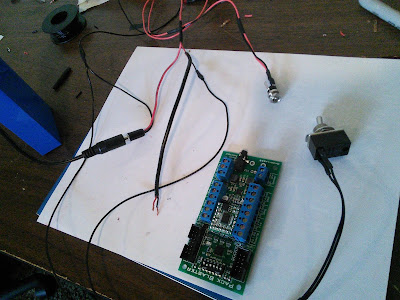
I then started laying out the circuit for all the wires. I went to Radio Shack and picked up a power switch and a DC Jack. I also wanted to be able to disconnect the battery more easily, so I bought a DC plug as well.
Since it was recommended to remove the red LED in the battery (from GBFans shop), I decided to pull it apart and give that a try.
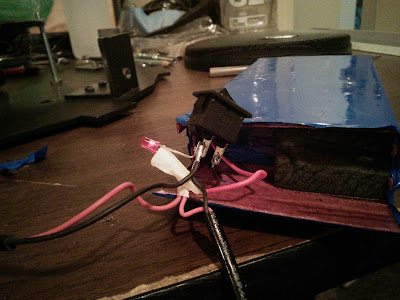
I was especially surprised to see that the charging wire and jack were connected to the same circuit for the output power plug. I guess I was expecting the charging circuit to be separate, but then I suppose I really don’t know anything about how rechargeable batteries work. 
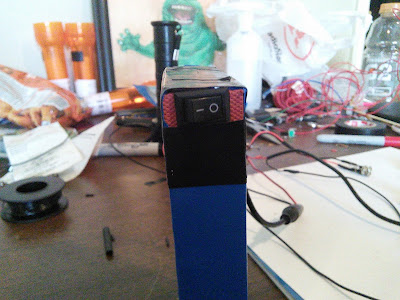
It wasn’t too difficult to desolder the LED and tape everything back up. Even though I planned to wire up another switch, I left the existing one there in case I ever needed it. I just have to remember to turn that switch on before closing up the pack. The custom switch I add will control the power to the sound board.
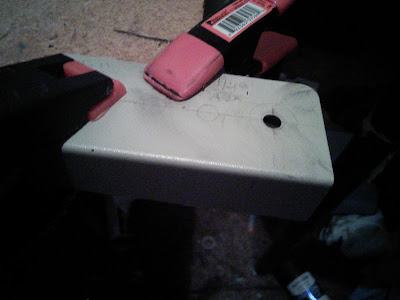
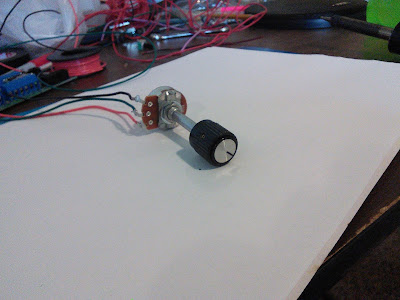
I also picked up a 10k potentiometer from Radio Shack for the extended volume control. This was the only decent one they had at my local shack. It has an extra long shaft on it that would need to be cut down to size. While I wanted to run this to the thrower, it seemed that due to its size it might be difficult to install it into the gun body with everything else crammed in there. I planned to just mount it on the pack…somewhere. I also grabbed a nice little knob for it.
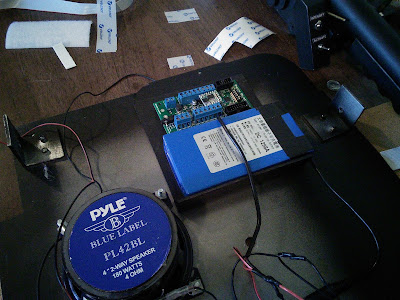
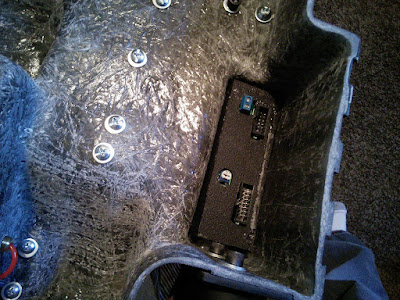
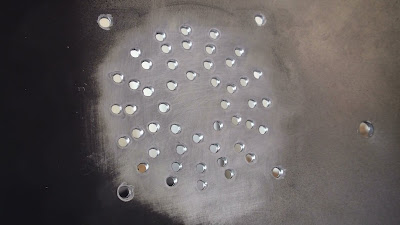
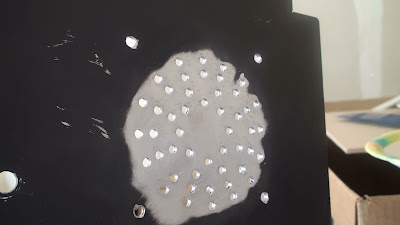
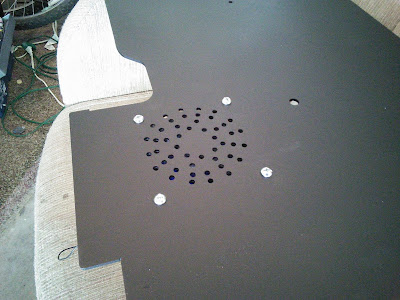
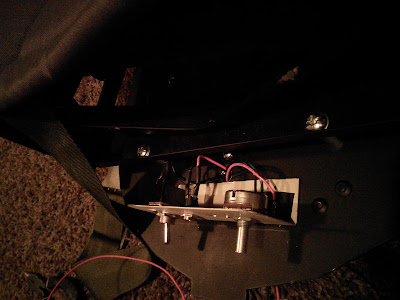
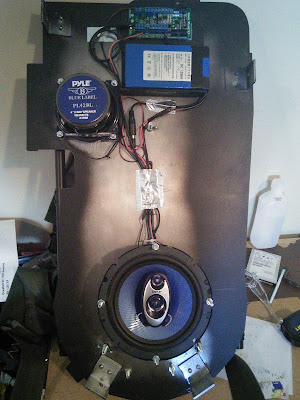
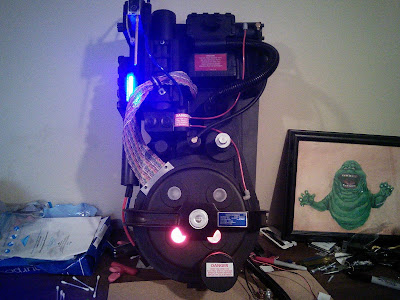
And here’s what my sound board and battery look like velcro’d to the motherboard plastic plate: