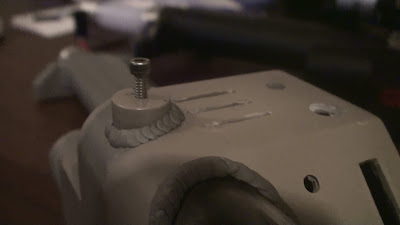
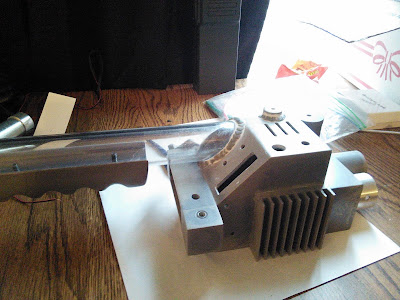
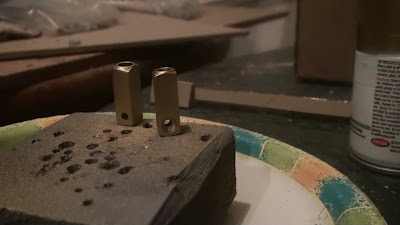
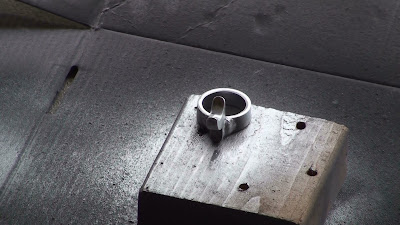
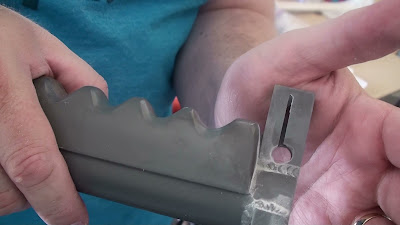
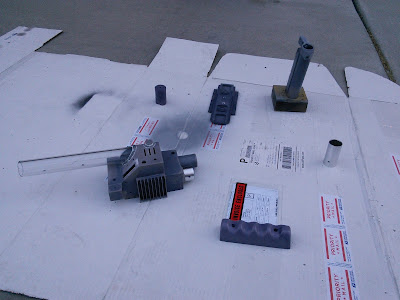
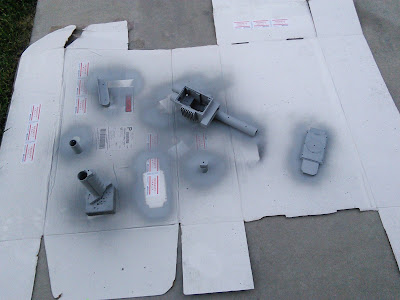
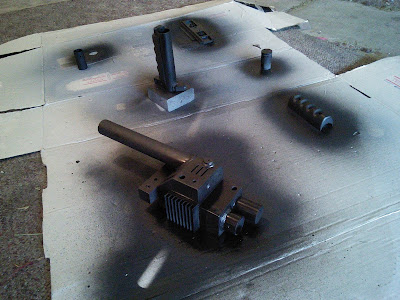
I was hesitant to do a fake weld as my previous attempts on other parts ended ugly, but following TC’s Guide, I was able to come up with something pretty decent I think.
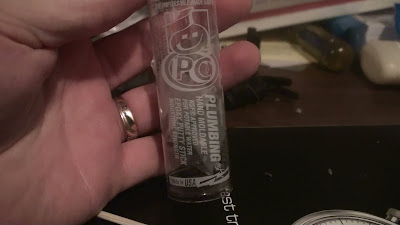
I used this plumber’s putty:
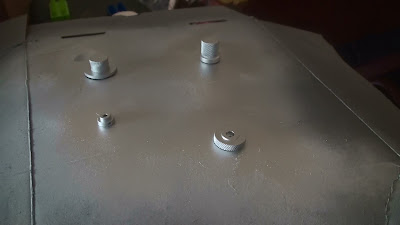
I then filled in the cracks with some acrylic/silicone caulk:
Of course it could be better, but not bad. I think the weld line should be a tad more narrow, but I think it looks pretty good. Even better when painted.
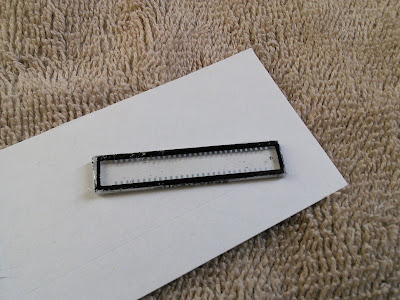
I can’t recall if it’s screen accurate or not, but I really like the way the bar graph bezel looks on the thrower, so I ordered one from Spongeface.
I thought this would be something simple, but it ended up being kind of challenging for me to put together. I added the tint to the lenticular material but I got some dust particles underneath. There was enough tint to try a second time, and although better, I still couldn’t avoid getting a few dust particles. Then, despite being extra careful, I still scratched my lenticular material slightly. And I won’t tell you about my difficulties in trying to get the decal onto the plexiglass. :sigh:
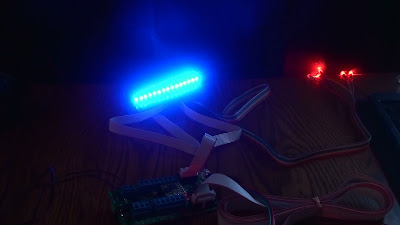
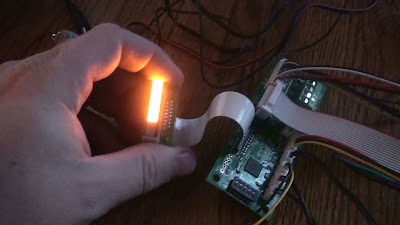
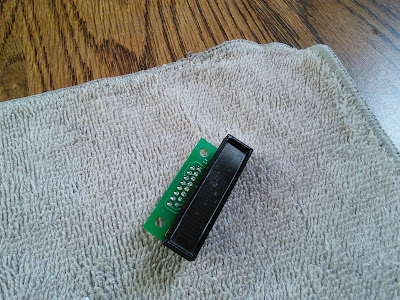
Anyway, here are a couple of photos for the curious.
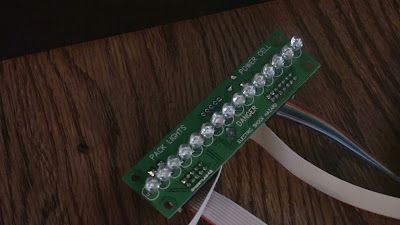
I really like how it snaps perfectly onto the bar graph leds on the GBFans kit:
The decal didn’t come out as clean as I’d like, but it’ll have to do:
Unfortunately I didn’t have any photos of the fully assembled bezel at this point, but I’ll show that on the finished thrower at a later time.
The decal was the hardest part of the build. I did mine the the day and as I as taking the decade from the water it folded on the paper and I have a solid freak out moment. Back in the water it went. It easily took close to 10 minutes to get that damn thing on. So worth it though.
Ha! Sounds almost just like my experience! My decal went for a swim and I chased it around the bowl for a minute or two and it kept folding and…GRRR! :-x
Don’t worry. I’m sure you’ll have better luck than I did, especially with a name like “Venkman’s Swagger”.
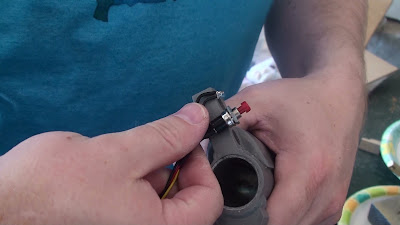
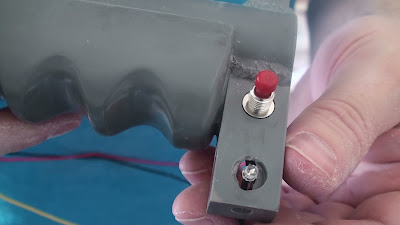
The next step I took was figuring out how to get the button and LED into the ear.
I couldn’t imagine out how to fit the components and wires into the ear without modifying it too much. With the height of the button, it would certainly stick out. At this point I pretty much conceded that the wires would be sticking out the bottom, even though it would be nice to have it all fit without protruding wires.
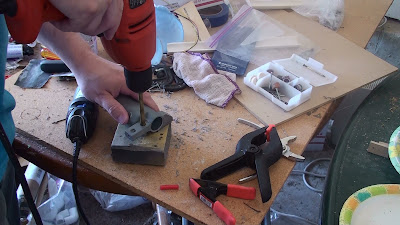
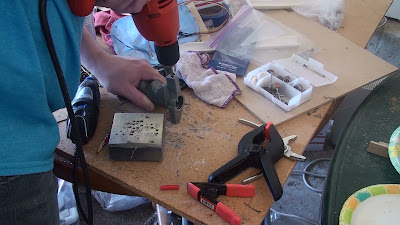
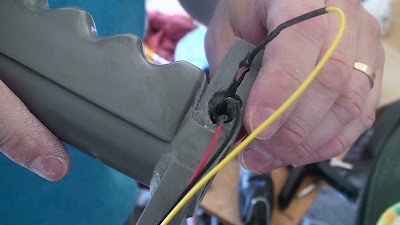
So I drilled into the ear:
I still couldn’t mush the wires in through the horizontal tunnel I bore through the side, so I carved out a groove in the bottom:
Widened it a little:
Sort of like this:
I really didn’t like cutting into the ear to accomplish this task, but it is what it is I guess.
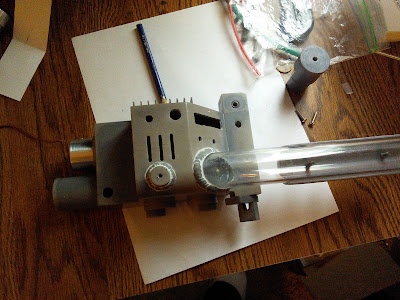
The next challenge I faced was running the wires from the ear down into the gun body. For my thrower, I’m using a slightly different method of a rotating barrel, which involves an aluminum inner barrel for which the outer resin barrel assembly rotates on. This makes it so the wires can’t go directly into the barrel from the ear as this would obstruct the barrel from rotating. The solution is to run the wires down the special trench within the outer barrel assembly.
Trench:
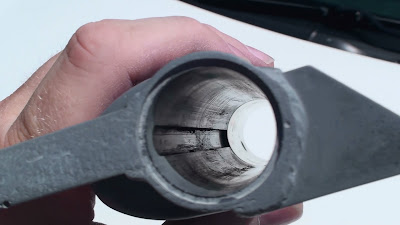
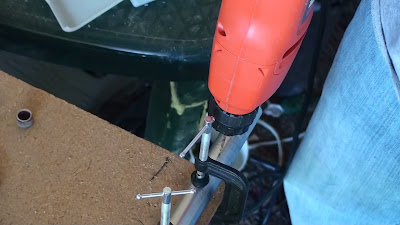
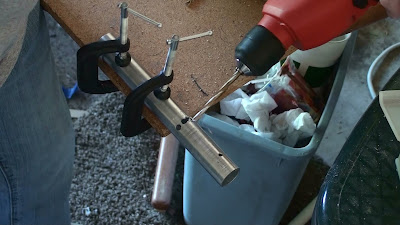
Now even with the wires running down the trench, they would be blocked by the aluminum tube at the end where it mounts to the nub on the gun body. The wires will either need to go outside the barrel and underneath the handle (screen accurate), or back into the barrel where they are hidden. Either way, this would require some drilling. I opted for the cleaner, wires inside option.
Drilling into the inner barrel:
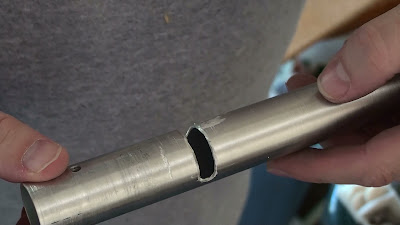
I kind of did a hack job on the slot with my dremel, but it will work just fine.
The wires run back through this slot in the inner barrel which will still allow the outer resin barrel to rotate around it.
All credit goes to Throwing Chicken for helping me work out the kinks (literally) with this solution.
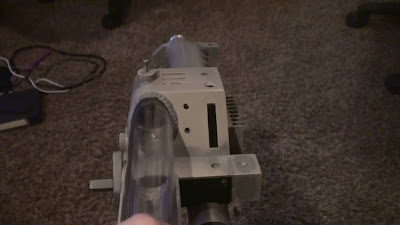
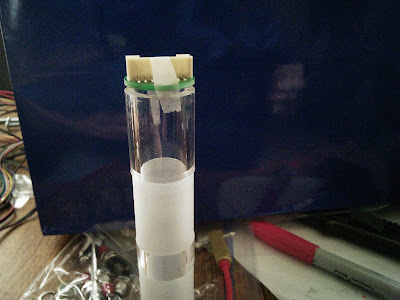
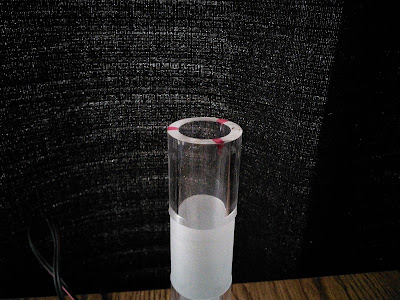
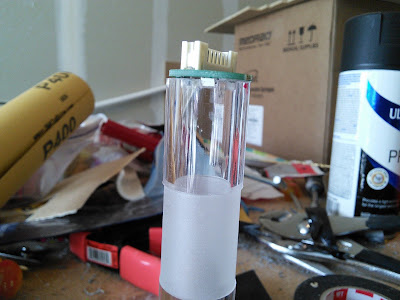
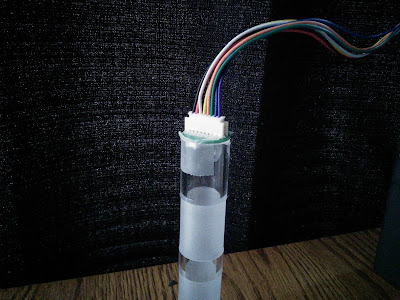
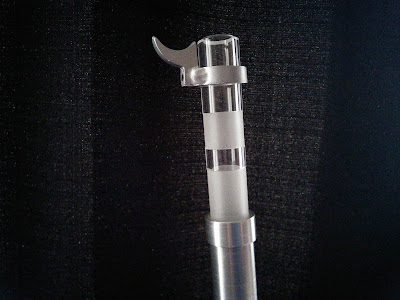
I also opted for the WandTip Expansion Kit from Spongeface. The tricky part here was attaching it to the acrylic tube. Alan Hawkins had a pretty nifty idea how to accomplish this in his thread. My solution? I used Scotch tape. :lol:
I taped this to the bottom of my acrylic tube (from Freeky Geeky). I didn’t like how it fit, so I marked off where the LEDs were sitting.
And carved out some little grooves for the LEDs to slide into.
(It’s a little off-centered in the photo, but I fixed that later).
And then I just taped it to the tube!
Yeah, it’s a little tacky, but I didn’t want anything permanently affixed here. Once it’s inside the barrel, it fits nice and tight so it’s not going anywhere.
Nice build. And I feel your pain on the N Filter hole issue. That damn thing was by far the most stressful part of my build. Off centered and chipped holes, epoxyed and sanded. What a pain. But yours turned out nice in the end…
Yeah. But now that it’s all over we can laugh about it, right? :lol:
…well, probably not. Gonna need a few more years before it’s even remotely humorous.
V-Swag, you can borrow any of my ideas that you want, but I should warn you on some of these things I’m making up as I go. If it falls apart while you’re out doing your swag thang with your friends, I claim no responsibility!
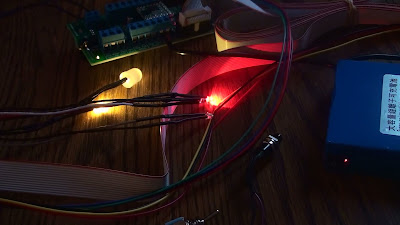
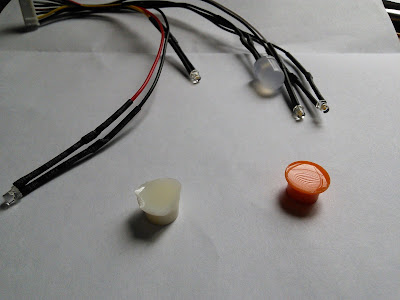
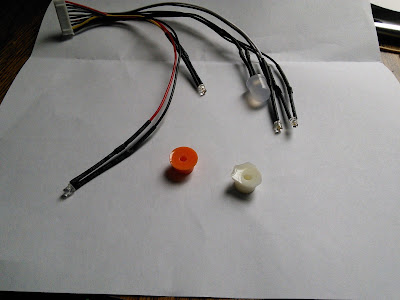
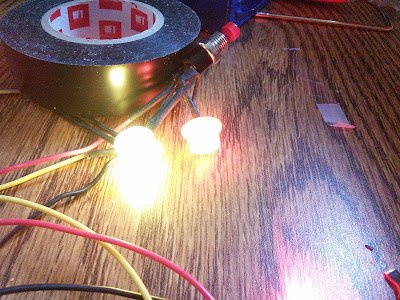
The TC v3H thrower kit comes with a couple of hat light lenses. They are just the hat part and don’t have the socket attached. Here they are upside down as I was pondering how to fit them into the gun with the LEDs. The white one I trimmed down on the side so it will fit better as it will be recessed inside the thrower body.
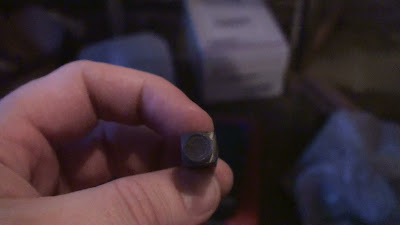
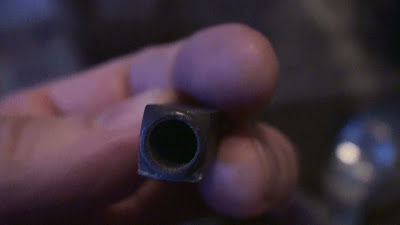
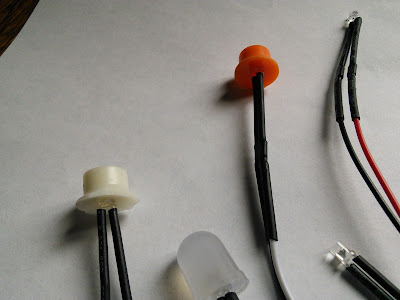
I decided to just drill out a couple of holes partially into the hats:
The hole diameter is just barely smaller than the LEDs which allows them to fit snugly inside. I love putting stuff together without glue, so I can easily swap parts out later if I need to.
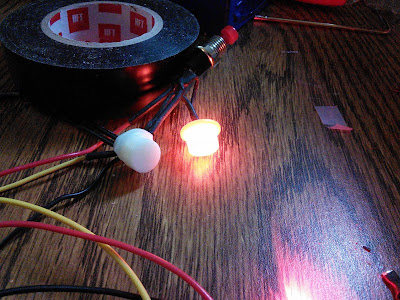
And the light still emits through these quite nicely: