Haha! I knew it would happen!!! Man, I need to be a guest on World of the Psychic! :lol:
I’ve been keeping my eye on your build, Sycko. I almost went for an SC shell for this build, so I’m interested in seeing yours finished. There’s a good chance I’ll be building a pack for a friend in the future, and we will probably use the more inexpensive SC shell. I think it’s a great option, and doesn’t cause itchy hands.
Lol. You should be. Have a hairless pet? Weird… Lol
Thank you for following my build. Iv been watching yours as well. I’m doing the sc shell to get my feet wet, ill be attempting a resin shell in a couple years. I wanna save and puck up pieces so all I have to do is work on it and not wait to order stuff. I’ll be updating some photos to my build after work. Maybe if the rain holds out I can do some painting. Also I plan on doing a trap out of some mdf. That’ll be a hoot. And I still have to work on my goggles. I’d say I have about a month left give or take a week on the build.
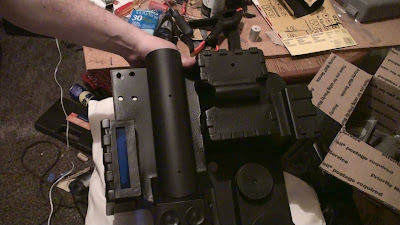
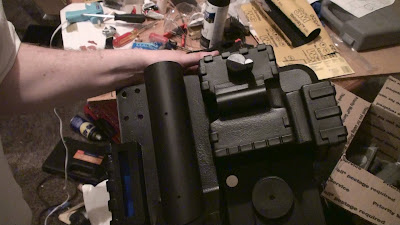
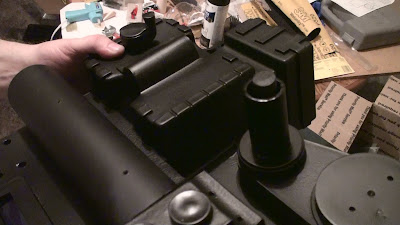
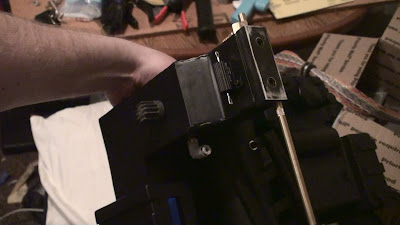
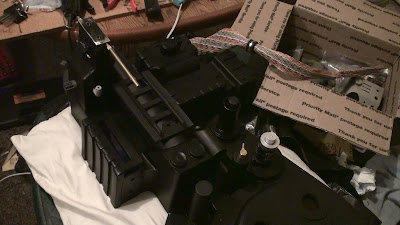
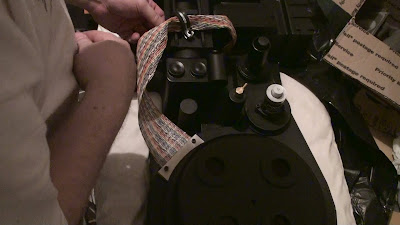
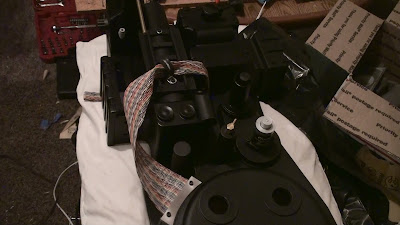
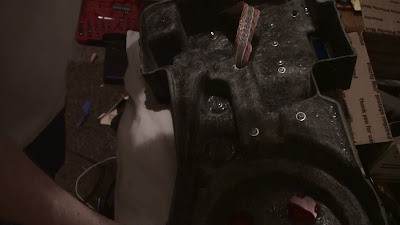
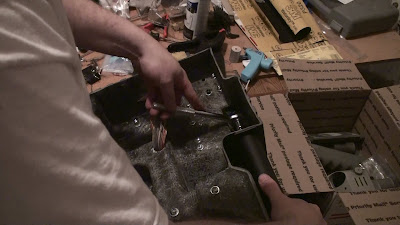
This is where I had the most fun. Putting all the parts back on the shell!
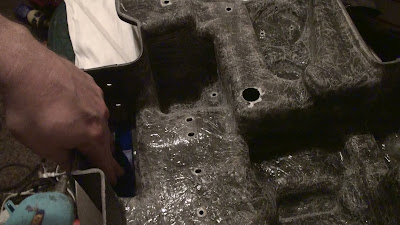
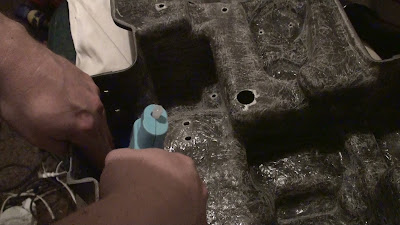
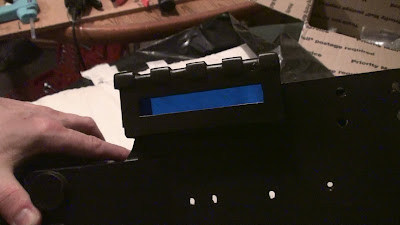
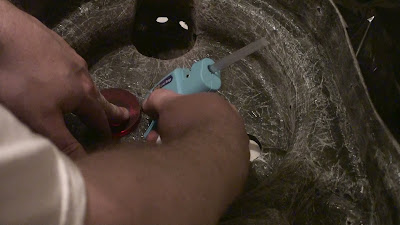
I started with the blue lens (from GBFans shop). I just used hot glue since I don’t want this to be permanently attached. I’d like the option to swap it out if needed.
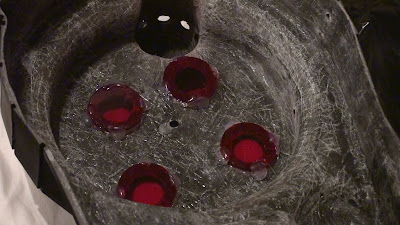
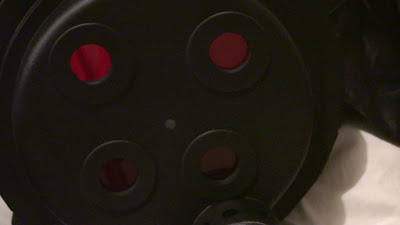
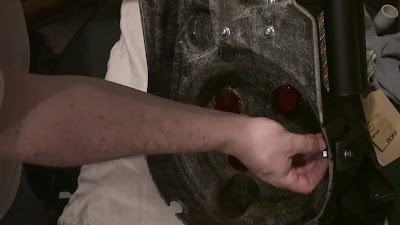
I did the same with the cyclotron lenses (also from GBFans shop):
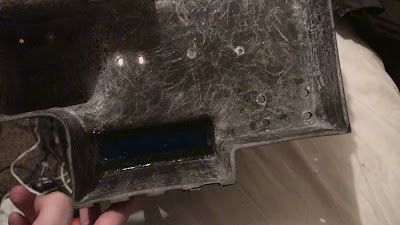
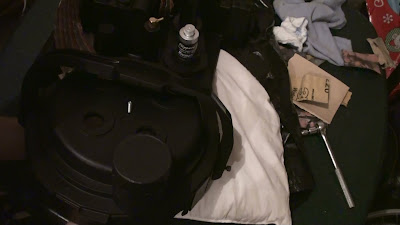
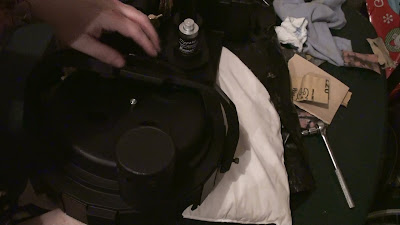
I also got a nice soft pillow to put underneath the shell while I do this. I didn’t want to chip or scuff anything up just yet. I think I’ll do the weathering more naturally later on.
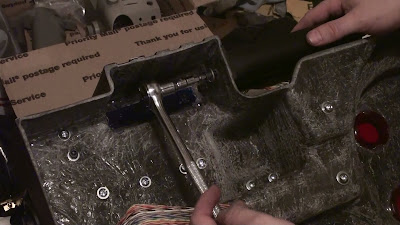
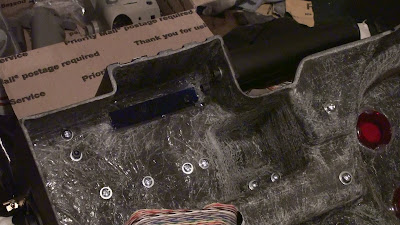
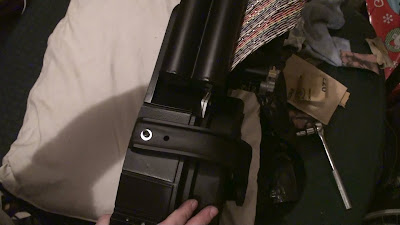
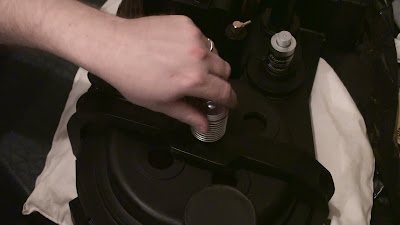
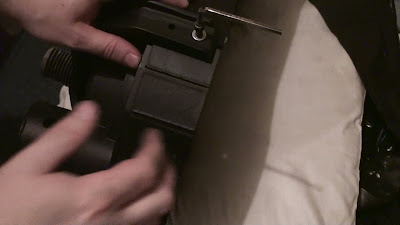
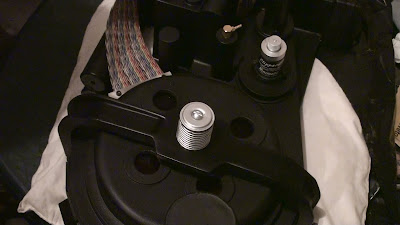
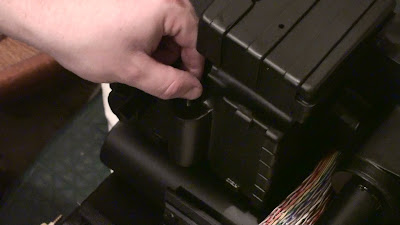
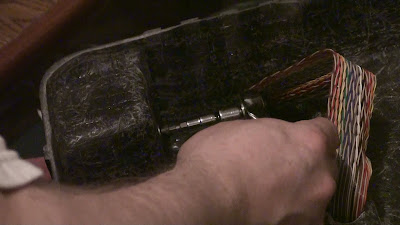
Injectors required a bit more effort as it is pretty tight in that spot. I had to get creative and used a ratchet with the appropriate attachments. There certainly was no escaping itchy hands here!
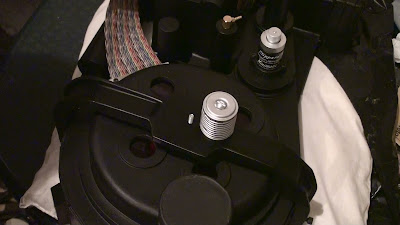
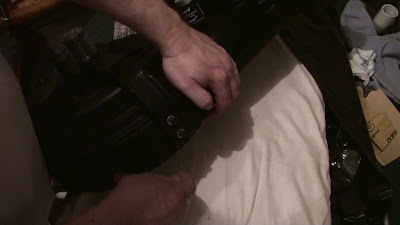
I’m still debating whether I like the hex cap heads or button heads on the sides. Cap heads for now I guess:
The resin shock mount replica was tapped on the bottom and just screwed onto the bolt from the top of the bumper. The screw head on top is part of the cast:
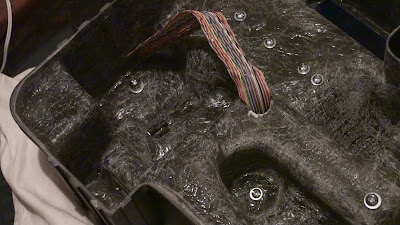
Attaching the HGA with a single screw from the inside:
Attached:
I adjusted the rotation of the HGA at a later time.
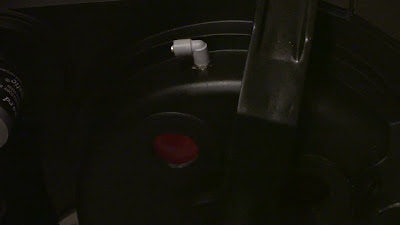
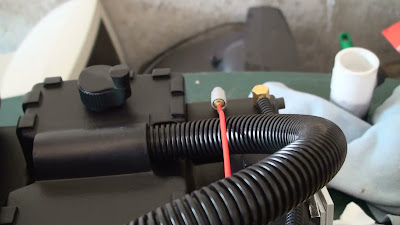
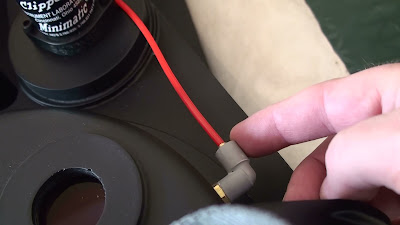
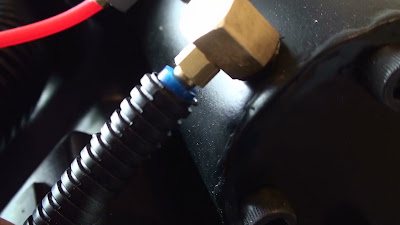
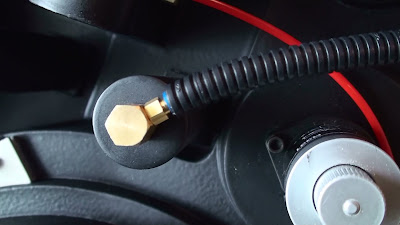
The last of the main parts ends with the SMC elbow on the cyclotron. I don’t know how I managed to get this on by screwing it in because it bumps into the base, but I did somehow:
And then I began attaching all of the tubing (all from GBFans shop). At some point I attached the V-Hook (from Freeky Geeky), but I didn’t have any shots of that.
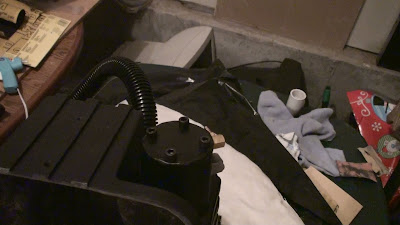
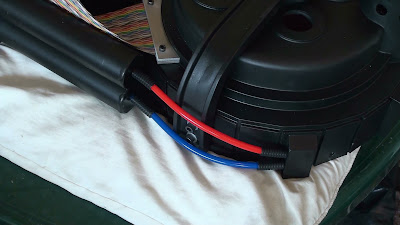
I started with this red tubing and the 1/4" split loom from the HGA. As I am trying to not make anything completely permanent on this pack in case I choose to swap it out later, I just put a dab of Elmer’s glue inside that SMC elbow to keep the red tubing from falling out.
Looped it through the two straight fittings inside the shell without cutting it, as I have seen others do. Then back out and into the SMC elbow on the cyclotron. The split loom is just loosely attached for a test fit at this point.
I believe the split loom actually covers a blue tube that is attached to the hose barbs. I wasn’t sure if I had enough tubing to do that at this point, so the split loom is just loosely attached for now.
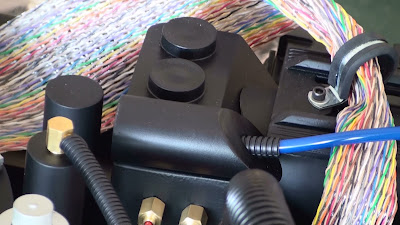
The next thing I added was the tubing for the injectors. I just drilled 1/4" holes into the injectors and into the shell at the other end. The tubing fits nice and tight in those holes without worry of them falling out.
Trimmed some of the 1/4" split loom for the ends. At this point the split loom is just loosely fitted, but I later added some tape at the ends of the tubing for a tighter fit.
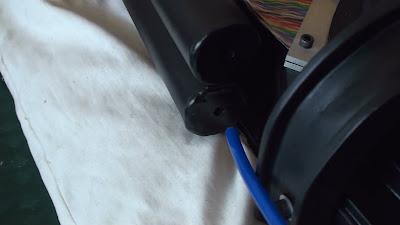
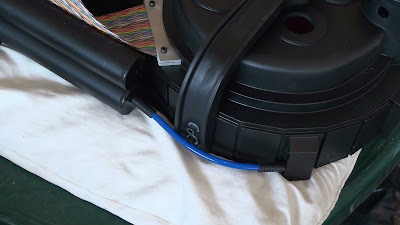
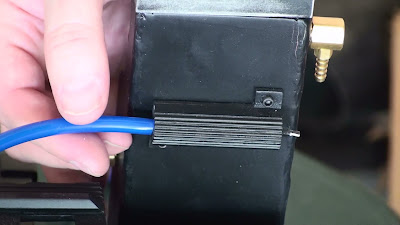
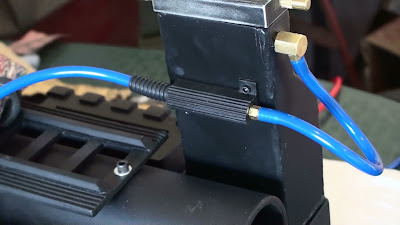
Here I size up and cut the blue tubing from the PPD to the long resistor.
Added the split loom to the end. It fit perfectly into the hole I had prepared in the PPD.
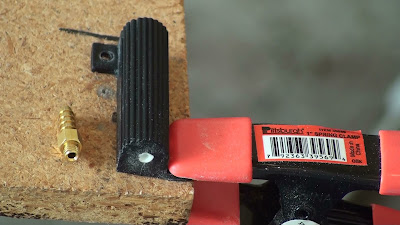
And then, here is where I overlooked one minor detail. How does that tubing attach to the resistor?
Hmmm. Something ain’t right:
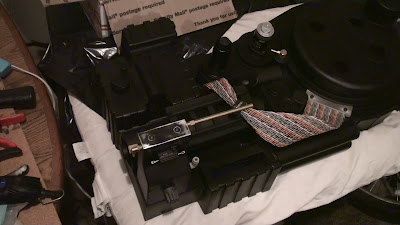
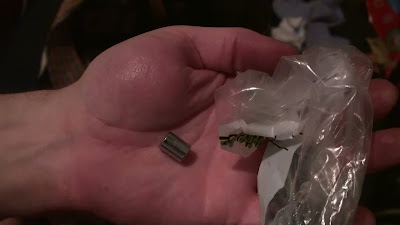
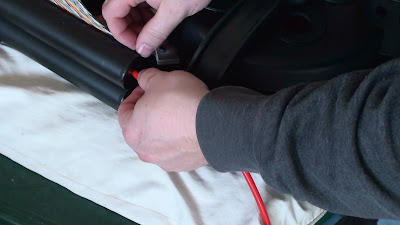
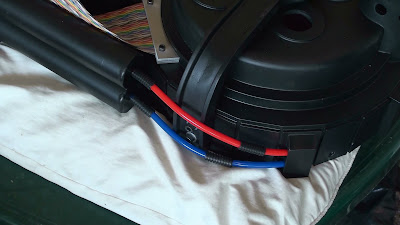
I went back and looked at the reference photos, and sure enough, I forgot something. The tubing is actually attached to a hose barb that is screwed into the resistor. Lucky for me, I had a couple of extra hose barbs! I sanded off the posts from the resistor, and drilled and tapped holes into the ends.
Added the split loom and attached the tubing. Also added the tubing from the Ion Arm to attach to the other end of the resistor. Much better!
And it turns out that I had just enough blue tubing left to run from the HGA to the Beam-Line. So I added that and put the split loom over the top of it.
It was kind of difficult to get the tubing to go all the way on the hose barbs for this part. Maybe I need to heat them up or something first. I’ll have to give it another go later.
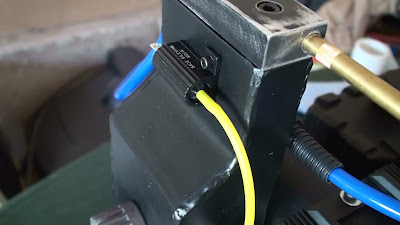
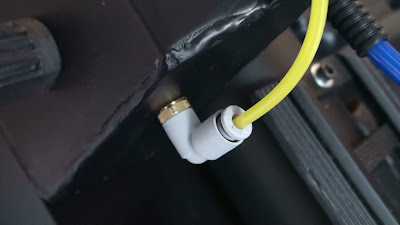
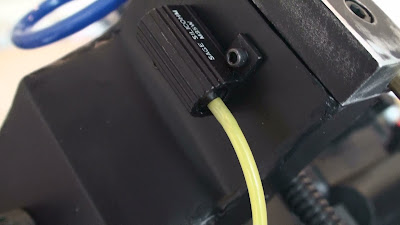
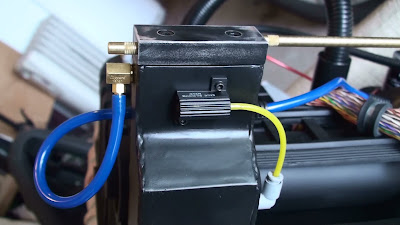
Yellow tubing attached to the smaller resistor on the Ion Arm.
The empty post on the other end of the resistor was bugging me. It really looks like something should be attached to it. Now I don’t know what is screen accurate, but I clipped off that post from the other end of the resistor. Seems to make better sense this way.
I just grabbed some drywall mesh tape and painted it for the screen inside the N-Filter. It’s not quite the right material so I’ll replace it as soon as I find something better.
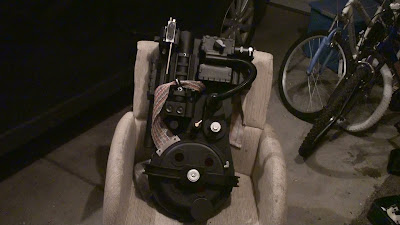
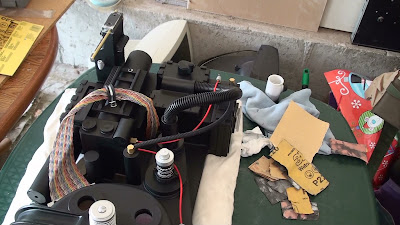
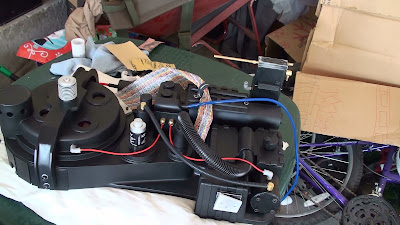
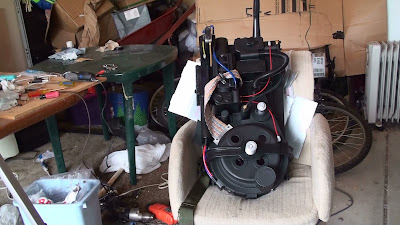
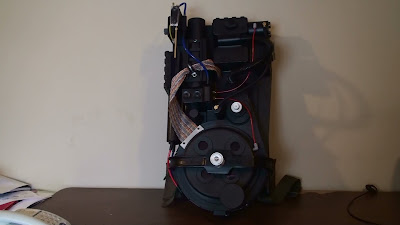
And this is pretty much what it looks like right now:
Whew! That catches me up on everything so far that I’ve worked on over the past few months. The next steps will be getting some labels made. I have the electronics ordered (from GBFans shop) so I’ll be adding lights and sound soon. I’ll probably start working on the gun here within the next couple of weeks as well.
It’s been awhile since I updated my build thread. My band is getting busy and ramping up for summer gigs so I’ve had to spend most my time rehearsing. While this takes away valuable free time for me to work on the pack, at least I will have some extra pocket change to put back into my music hobby use towards finishing my pack build.
Despite being busy, I was able to work on a few things. I made some labels for the pack and applied them (need to upload some photos for that). I also began working on my thrower (TC v3H) and I need to throw some progress pictures up for that as well. I received my GBFans light kits and other electronic goodies and I’m ready to install those into the pack, but I think I’ll finish the gun/thrower/wand first.
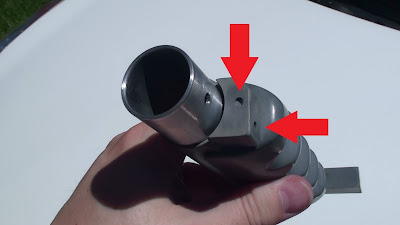
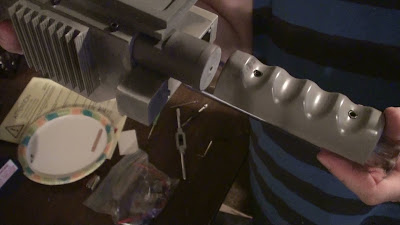
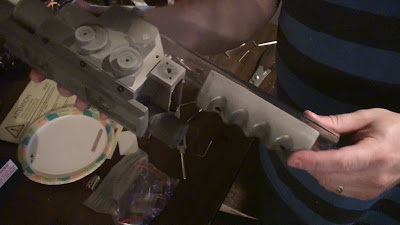
With that said, I was hoping one of you kind fellows could answer a question for me on the thrower. At the back end of the handle on the front barrel, there are two holes where screws would go. I don’t think they actually serve any purpose on this kit, but is it screen accurate to have cap head screws fitted in there? While the kit comes with screws, I don’t believe anything was included for this part, so I’ll have to purchase some separately. Does anyone know what size screws would be accurate here?
I guess nobody knew the answer to my question above. Oh well. I went ahead with my build and I’ll have to address that later.
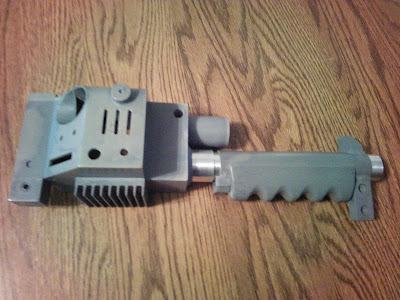
As mentioned above, I got a TC v3H resin gun kit, and it’s awesome!!! I do own a Matty wand that I considered using, but I really wanted the wand electronics to work together with the pack, and there isn’t (currently) an option for that. So ordered this wonderful kit from Throwing Chicken.
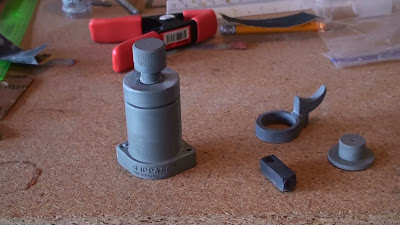
I didn’t have a photo of all the greebies, but here is the unfinished resin Clippard valve, banjo and side knob. The resin trigger tip is not included in this kit. I got the tip from Nick-A-Tron.
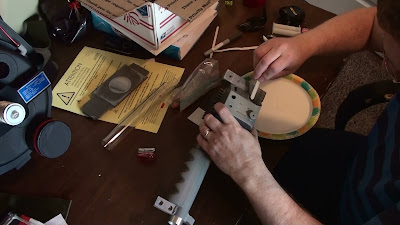
I had some left over length of polycarbonate tube that I had used on the pack. It was the perfect 1.125" OD for the handle, so I just cut that to length and epoxied it in.
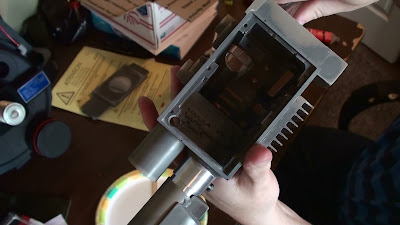
I then drilled all the holes for the greebies that didn’t already have holes. This kit is great in that it has indentations for where the holes should go, so there wasn’t much measuring, if any.
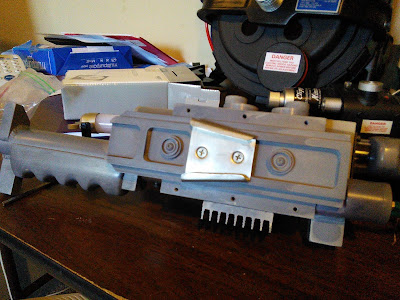
Handle was attached by tapping holes through the handle, into the polycarbonate tube and securing it using the appropriately sized hex head bolts:
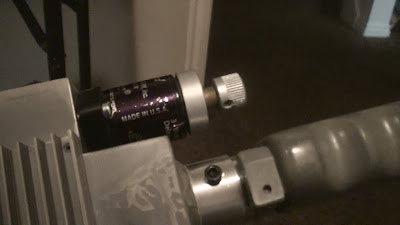
I wish I had a better shot of the Clippard valve when it was first done, but I guess I missed it. It looked pretty good considering I painted it and finished it myself (rather than buying it completed). But I scratched up the label trying to test mount it. I think the holes for the slotted screws were too far inward. The label was printed from my inkjet printer, so I can always do another or get a better one later.
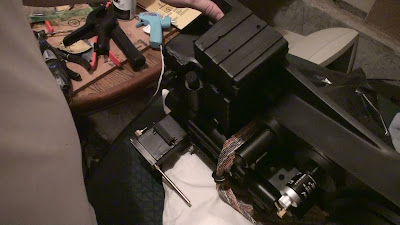
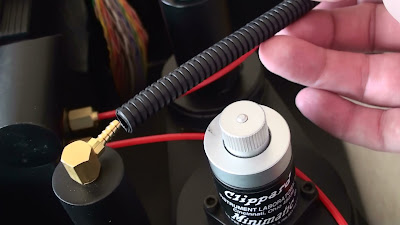
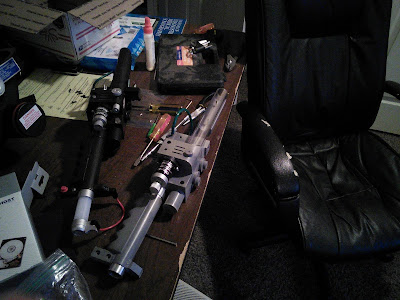
Here it is sitting next to my Matty thrower. I also got the green tubing loosely attached.