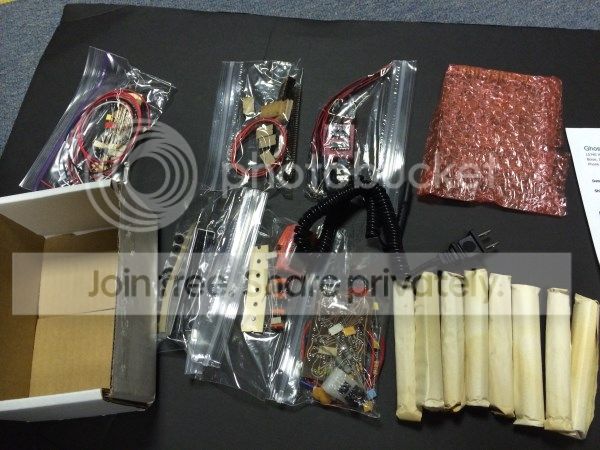
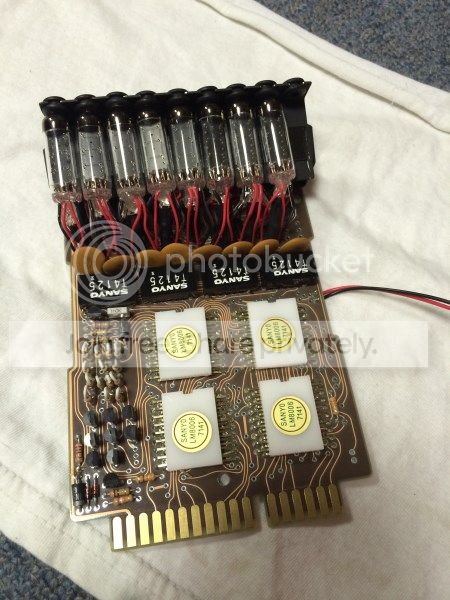
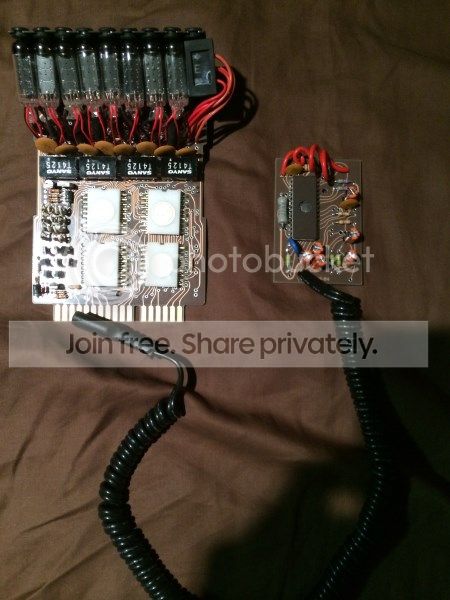
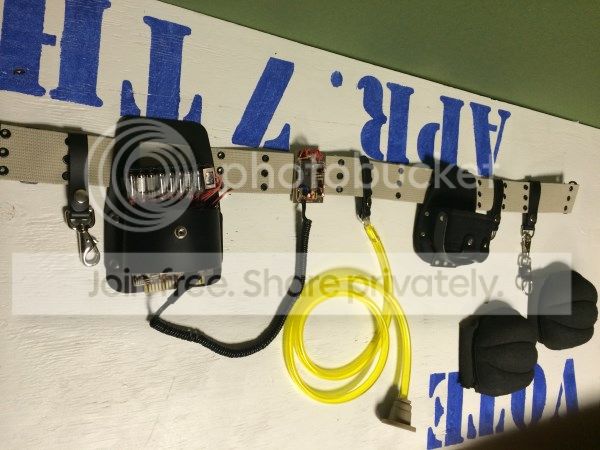
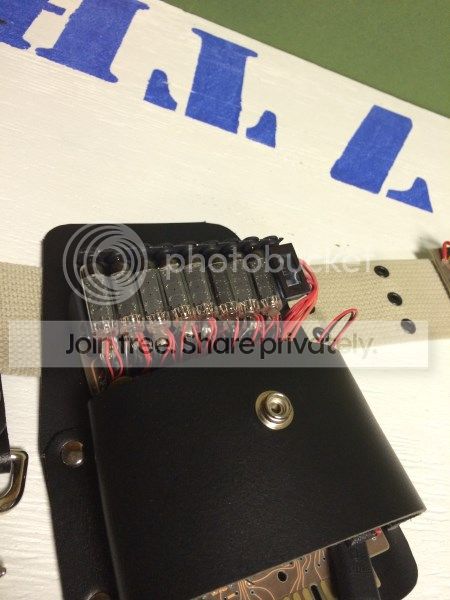
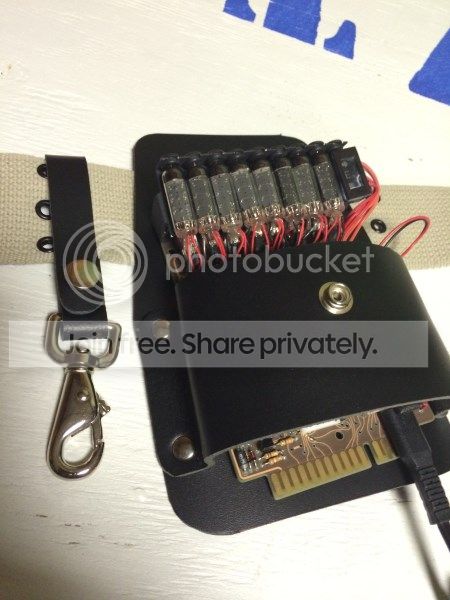
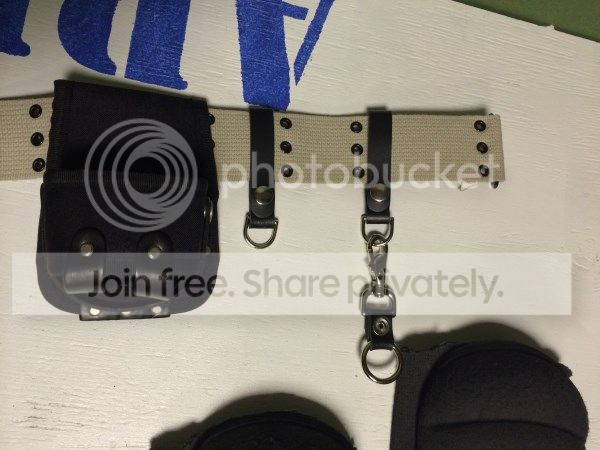
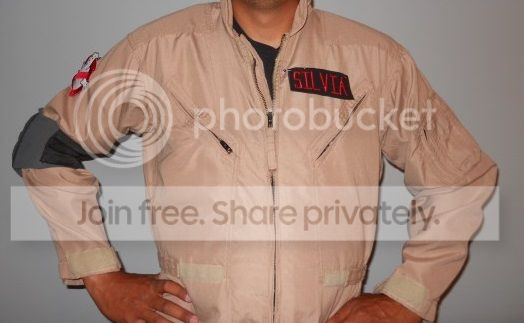
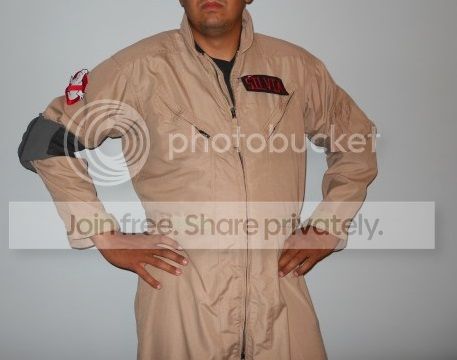
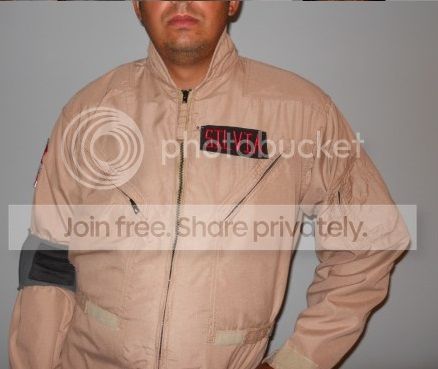
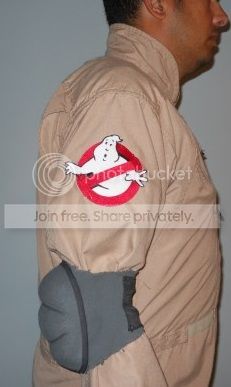
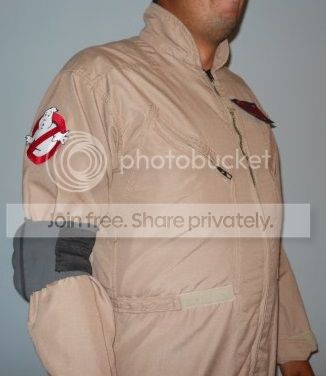
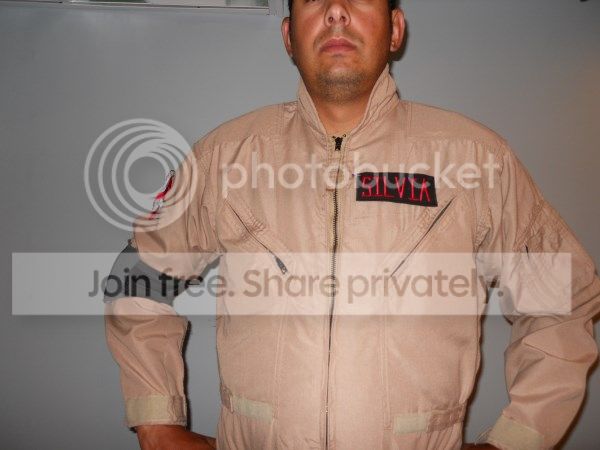
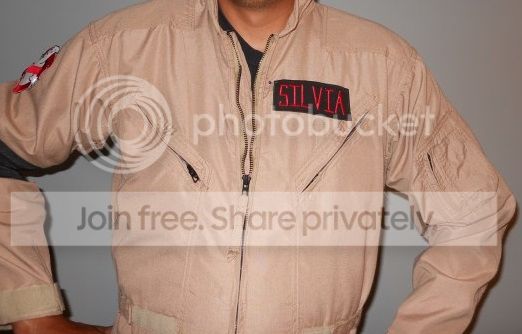
ok lets show off what i have been up to the last couple of weeks!! first off i want to show my favorite part of the uniform! spongefaces belt gizmo!!
amazing product, and amazingly neat way he packaged it, very very impressed with his product!
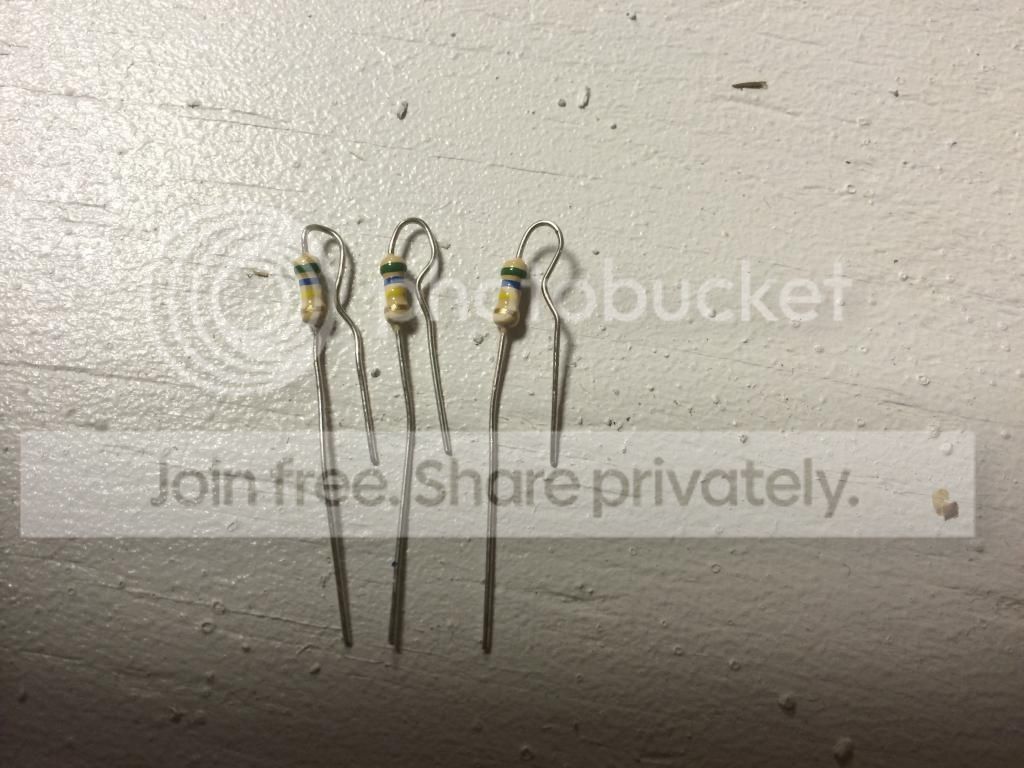
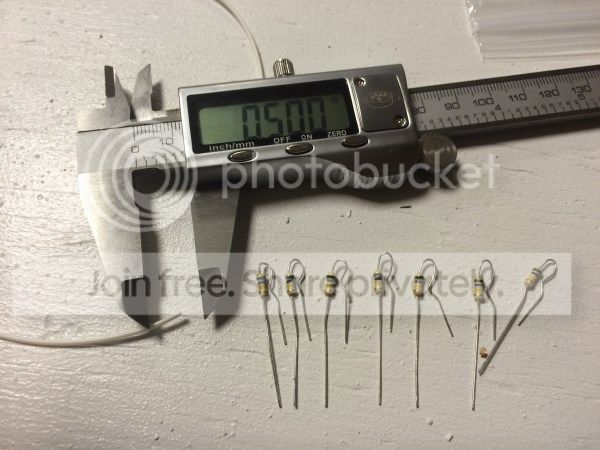
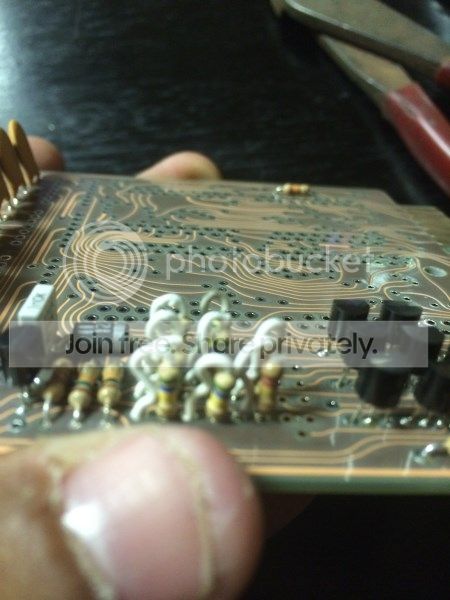
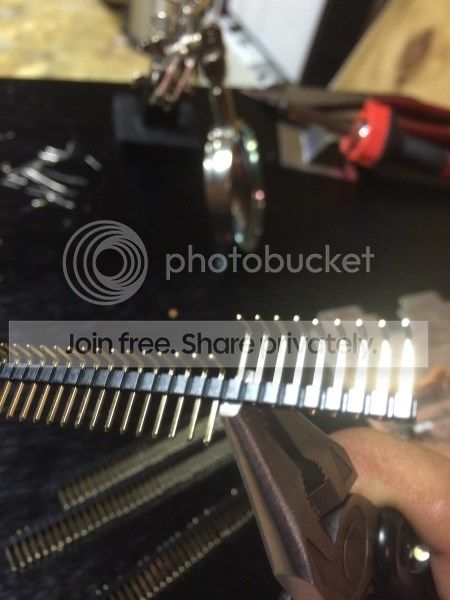
my first attempt at bending them with needle nose, which i ended up working it out better after i put the heat shrink on it
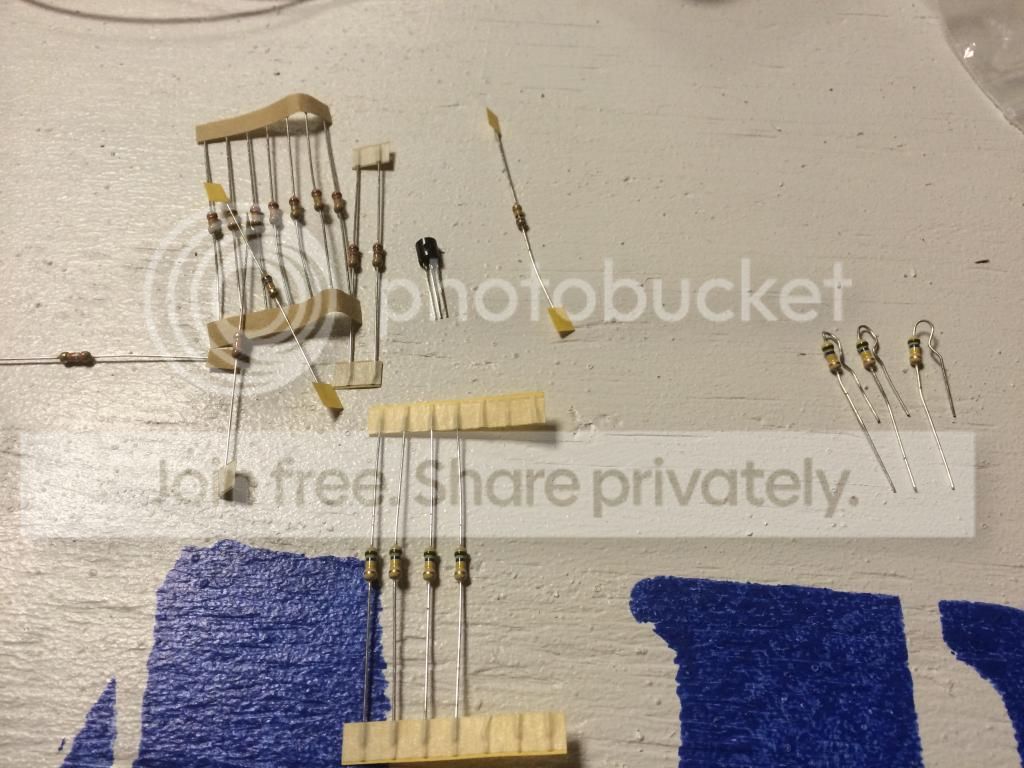
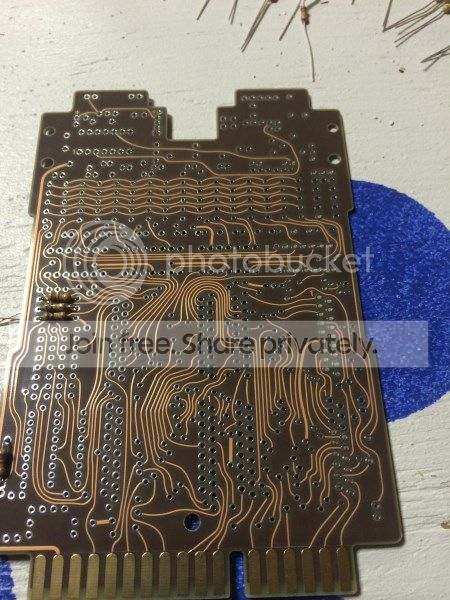
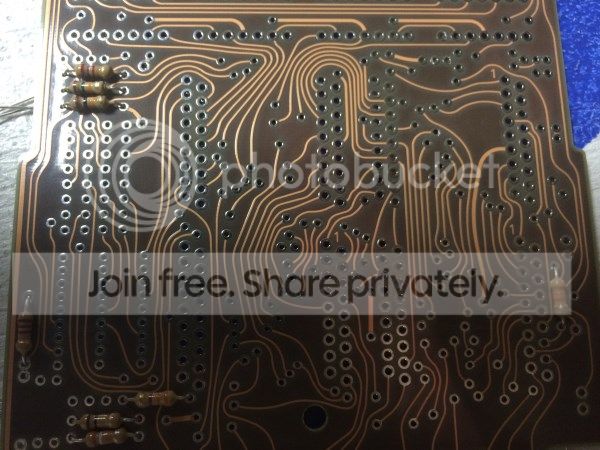
warming up, installing the little resistors. this is wear the squinting began!!
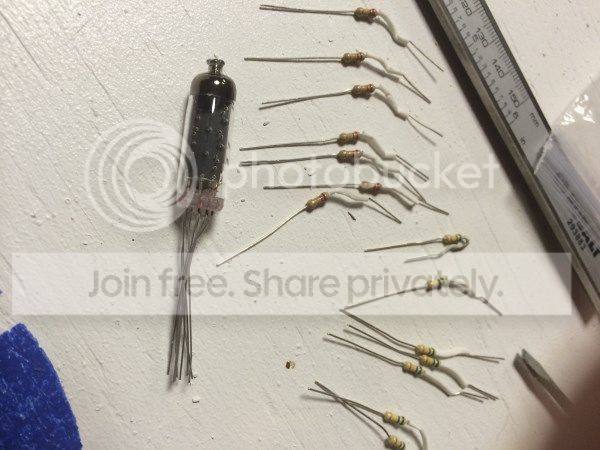
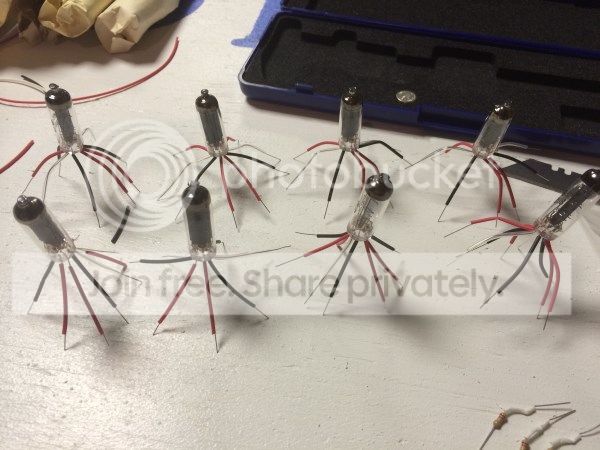
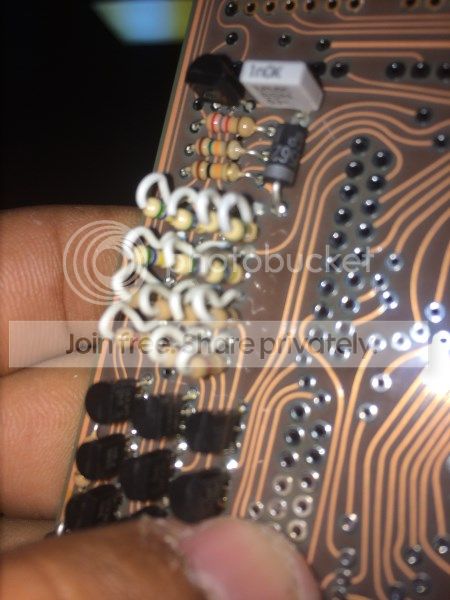
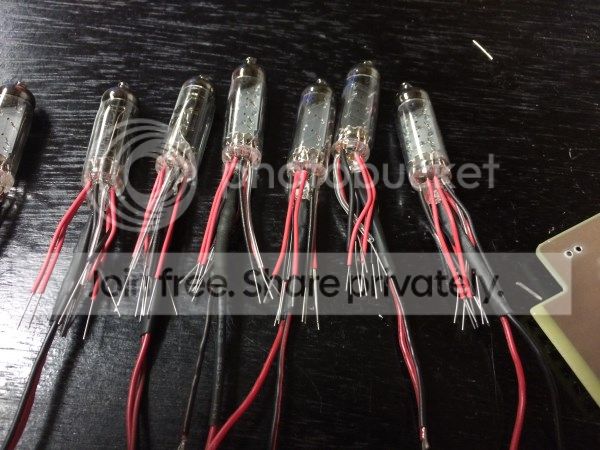
my little army of nexi’s, i feel like i was playing warhammer or something when sliding the correctly measured heat shrink on lol
finished up the little guys, now on to the next step! during this process i was getting alittle nervous
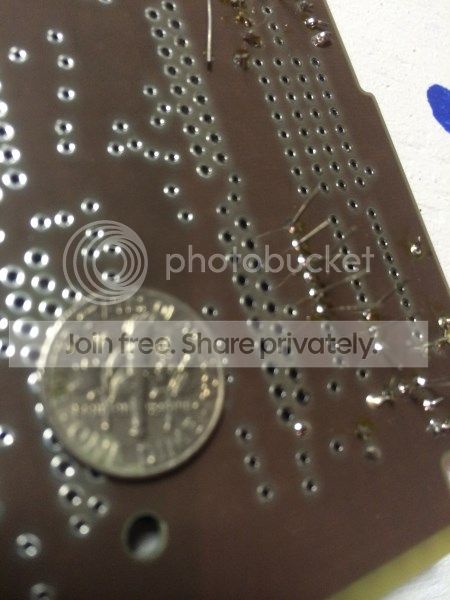
jabemt soldered something this small in awhile, im usually soldering connector ends on, or splicing wires, this was something totally different for me
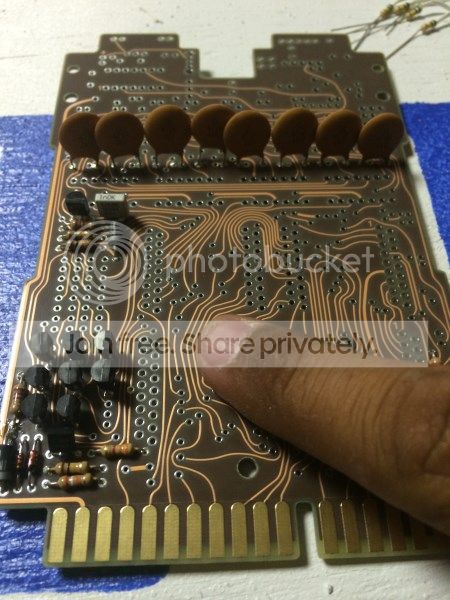
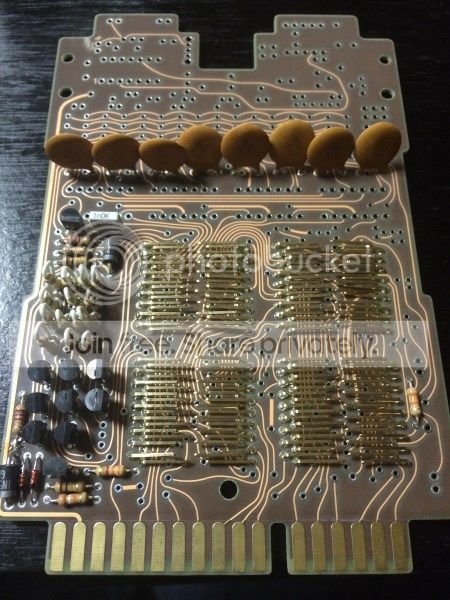
here you can see where i screwed up, not only did i install some of the brown discs in the wrong order, but i also had them sitting too high. i ended up heating them back up, and fixing them. which is kinda upsetting because you dont see it behind my belt holster
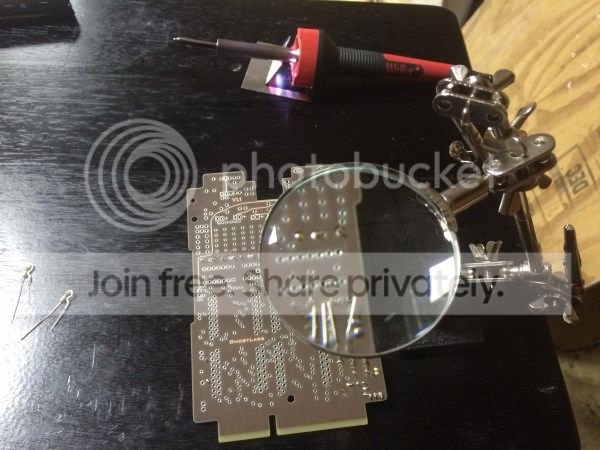
i bought this helper hand setup when i repaired a few capacitors on my tv. it sure did come in handy with this project!
heated up and shrunk! i used a test subject and instead of using the heat gun, used a lighter to see if i could getr the white color looking older and dirty. i tried it on one and it didnt come out the way i liked, so i stuck with the heat gun
just like doug suggested, the heat gun worked amazingly
this had to be the worse part…
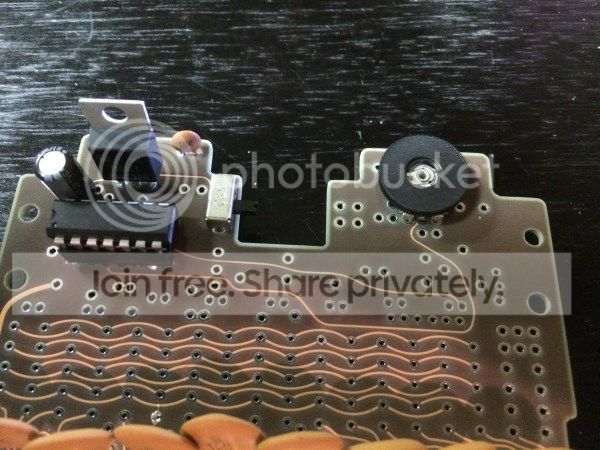
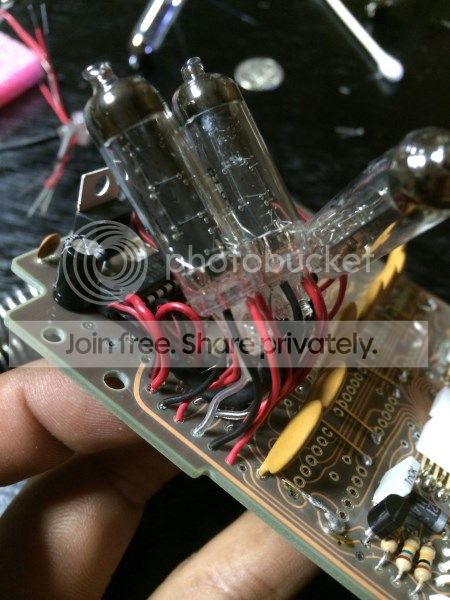
i was too afraid of sanding down the tops of the LEDs for the nexi’s so i used clear poxy to attach them, it took me one night to glue them, and when i went to bend and measure them i detached 1… so i had to glue all over. i also forgot to mention one of the LEDs came defective, she wouldnt light? so i stripped the black heat shrink off it and sure enough one wire feel right out! i soldered it back on and we were good to go! i also installed the LED on the edge of the board, so incase something ever happened i can easily access it
scariest part by far…
bending them up!
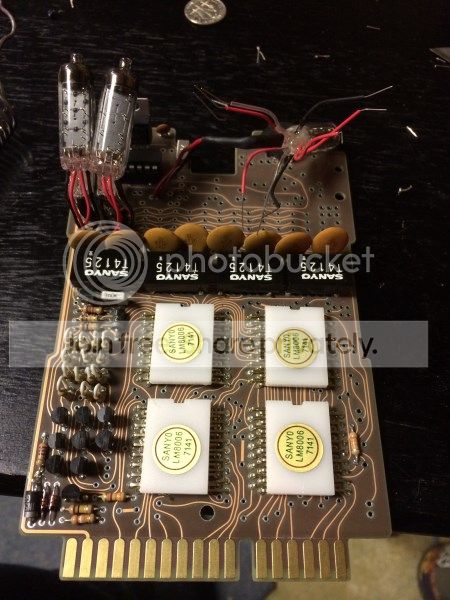
chips in place, not glued yet, and the brown discs still havent been tweaked
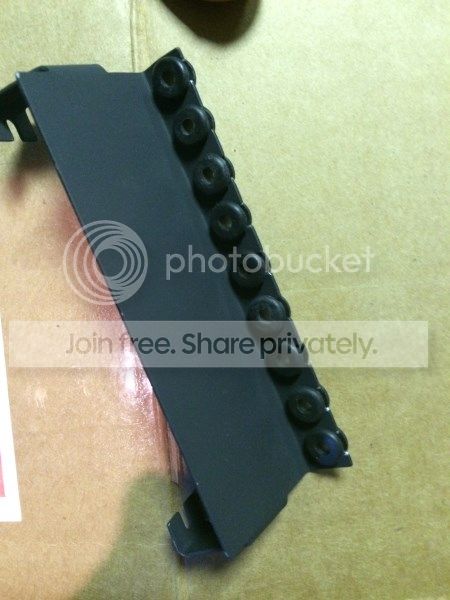
went with flat black
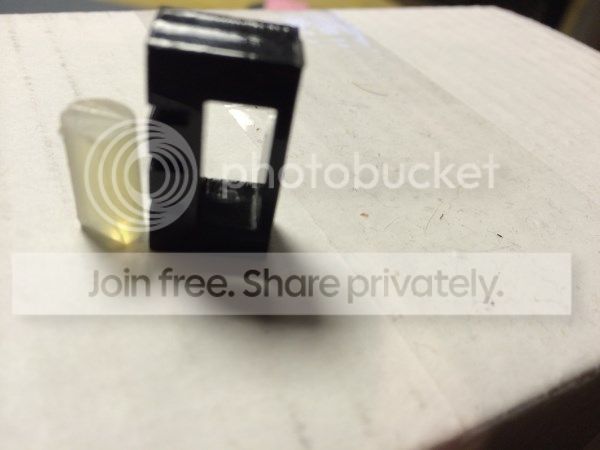
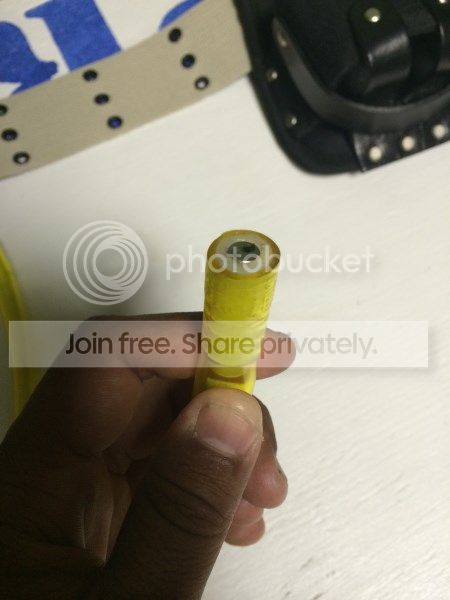
now for the straw… i didnt have a clear one, so i used a glue stick!! when i installed it it was super tight, so i sliced the side to get it in, with the film on top it looks exactly like the straw, i was impressed with myself on that one! 
almost there, the circuit worked out and everything flashed like it did in demo video, thank god!
almost done, here you can see on the error box, the super glue gel i used (and i used VERY little drops) had some kind of chemical reaction with the plastic, fogging it… i was upset the following morning when i checked on it, at first i thought it actually ate a hole in it! but its only smoked… i keep telling myself i want old and dirty looking but this kinda upsets me
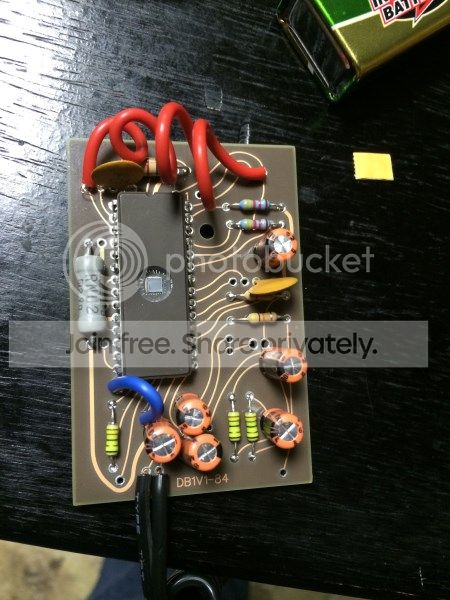
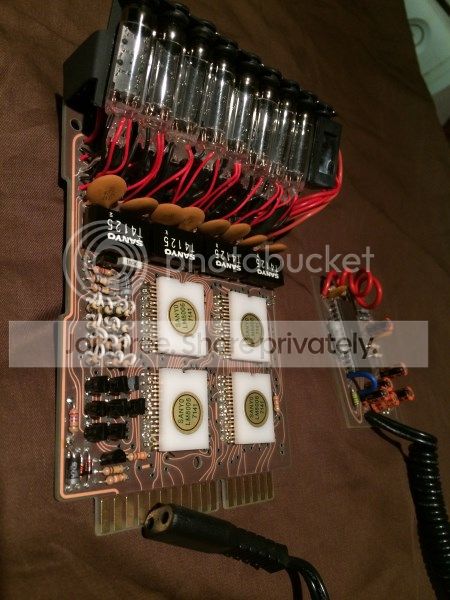
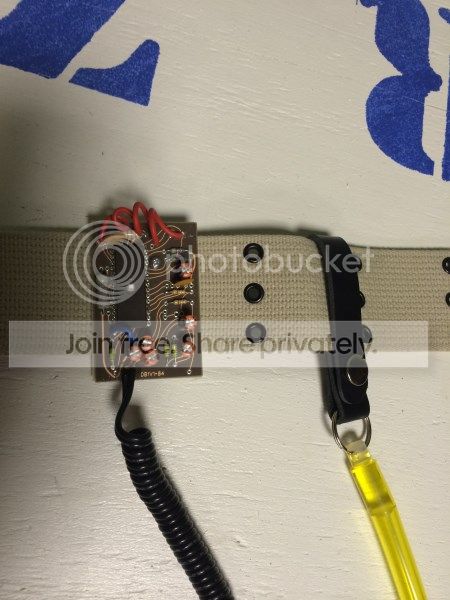
this is where i cheated… i like the MEGA micro chip, with the baby chip inside it, and wanted to use it, but i also love the red coil wire on the DBs on the GB2 gizmo. so i kinda made my own DB, hope i dont get flamed for it!!
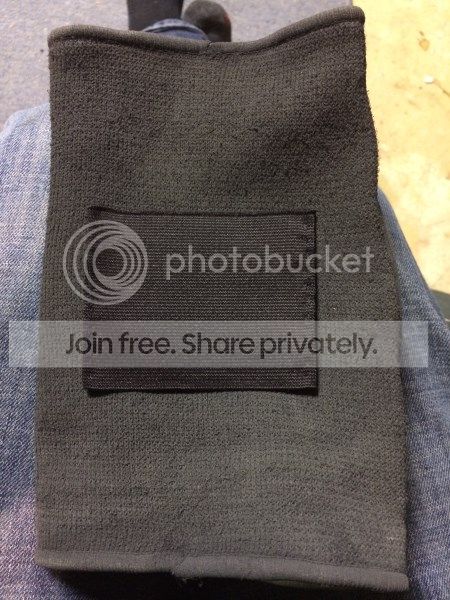
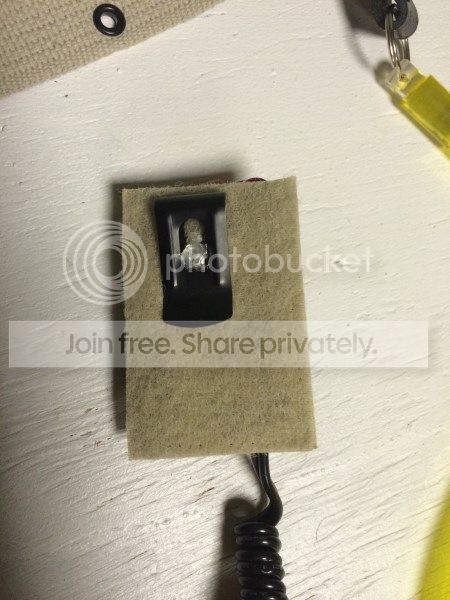
on the back i used the velcro (soft side) off my nomex suit, i sanded down the back of both boards, but saw on here someone used a piece of fabric or carpet on the back of the DB. i had de-stitched my velcro tag so i figured why not?!

here again u can see the super glue carnage… i cant believe it bleed threw with the only little amount i used… i figured i would have to glue it again because i used such small drops
at this time i was debating on the pillow, and making my shaver cord detachable… but i ended up epoxying the cord, and installing the pillow, i didnt have much luck like doug suggested heating up wire and pushing it threw the pillow. the wires always seemed to bend, so i heated up paper clips, the heat shrink he supplied worked great! and with VERY little filing the paper clips fit into the MB
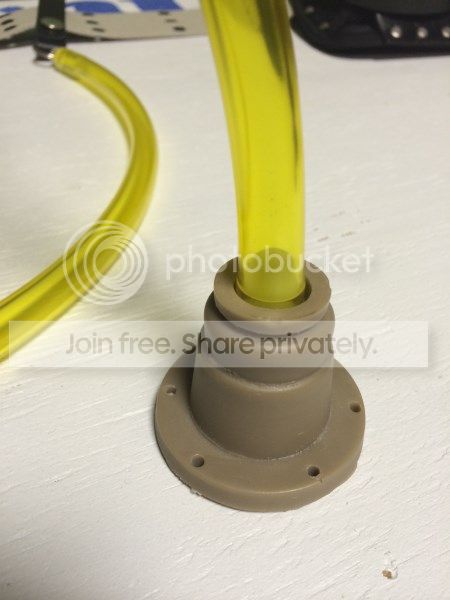
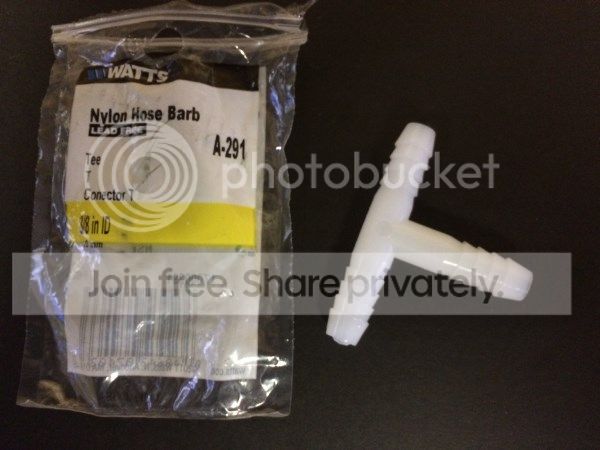
i also got to install my white T, it LOOKS and works much better!! the black end could be pulled out very easily, this white one went on HARD and i dont think i can pull it off if i tried!
universal black vac T from autozone
clear T from lowes
for the guys looking for this T, here is the part number #A-291
quick mock up of the belt
i think im going to bend a U shaped piece of aluminum at the shop and glue it to the inside of the gimzo holster making it alittle flatter. i sprayed it with water and put my tool box on top of it trying to fold it, but it only lasted a few hours and then she popped back up lol. maybe the metal with hold the front shape better, and i can also incorporate the holder for the 9v
tyger cheex belt clamps, and holster, 2 thumbs up!!
 i did how ever saturday night skip out and hit up joannes fabric as my girlfriend got her nails done a few stores down, i was way too tire to drive so when she said she was heading out that way i said “sure i;ll go with you to get ur nails done!”