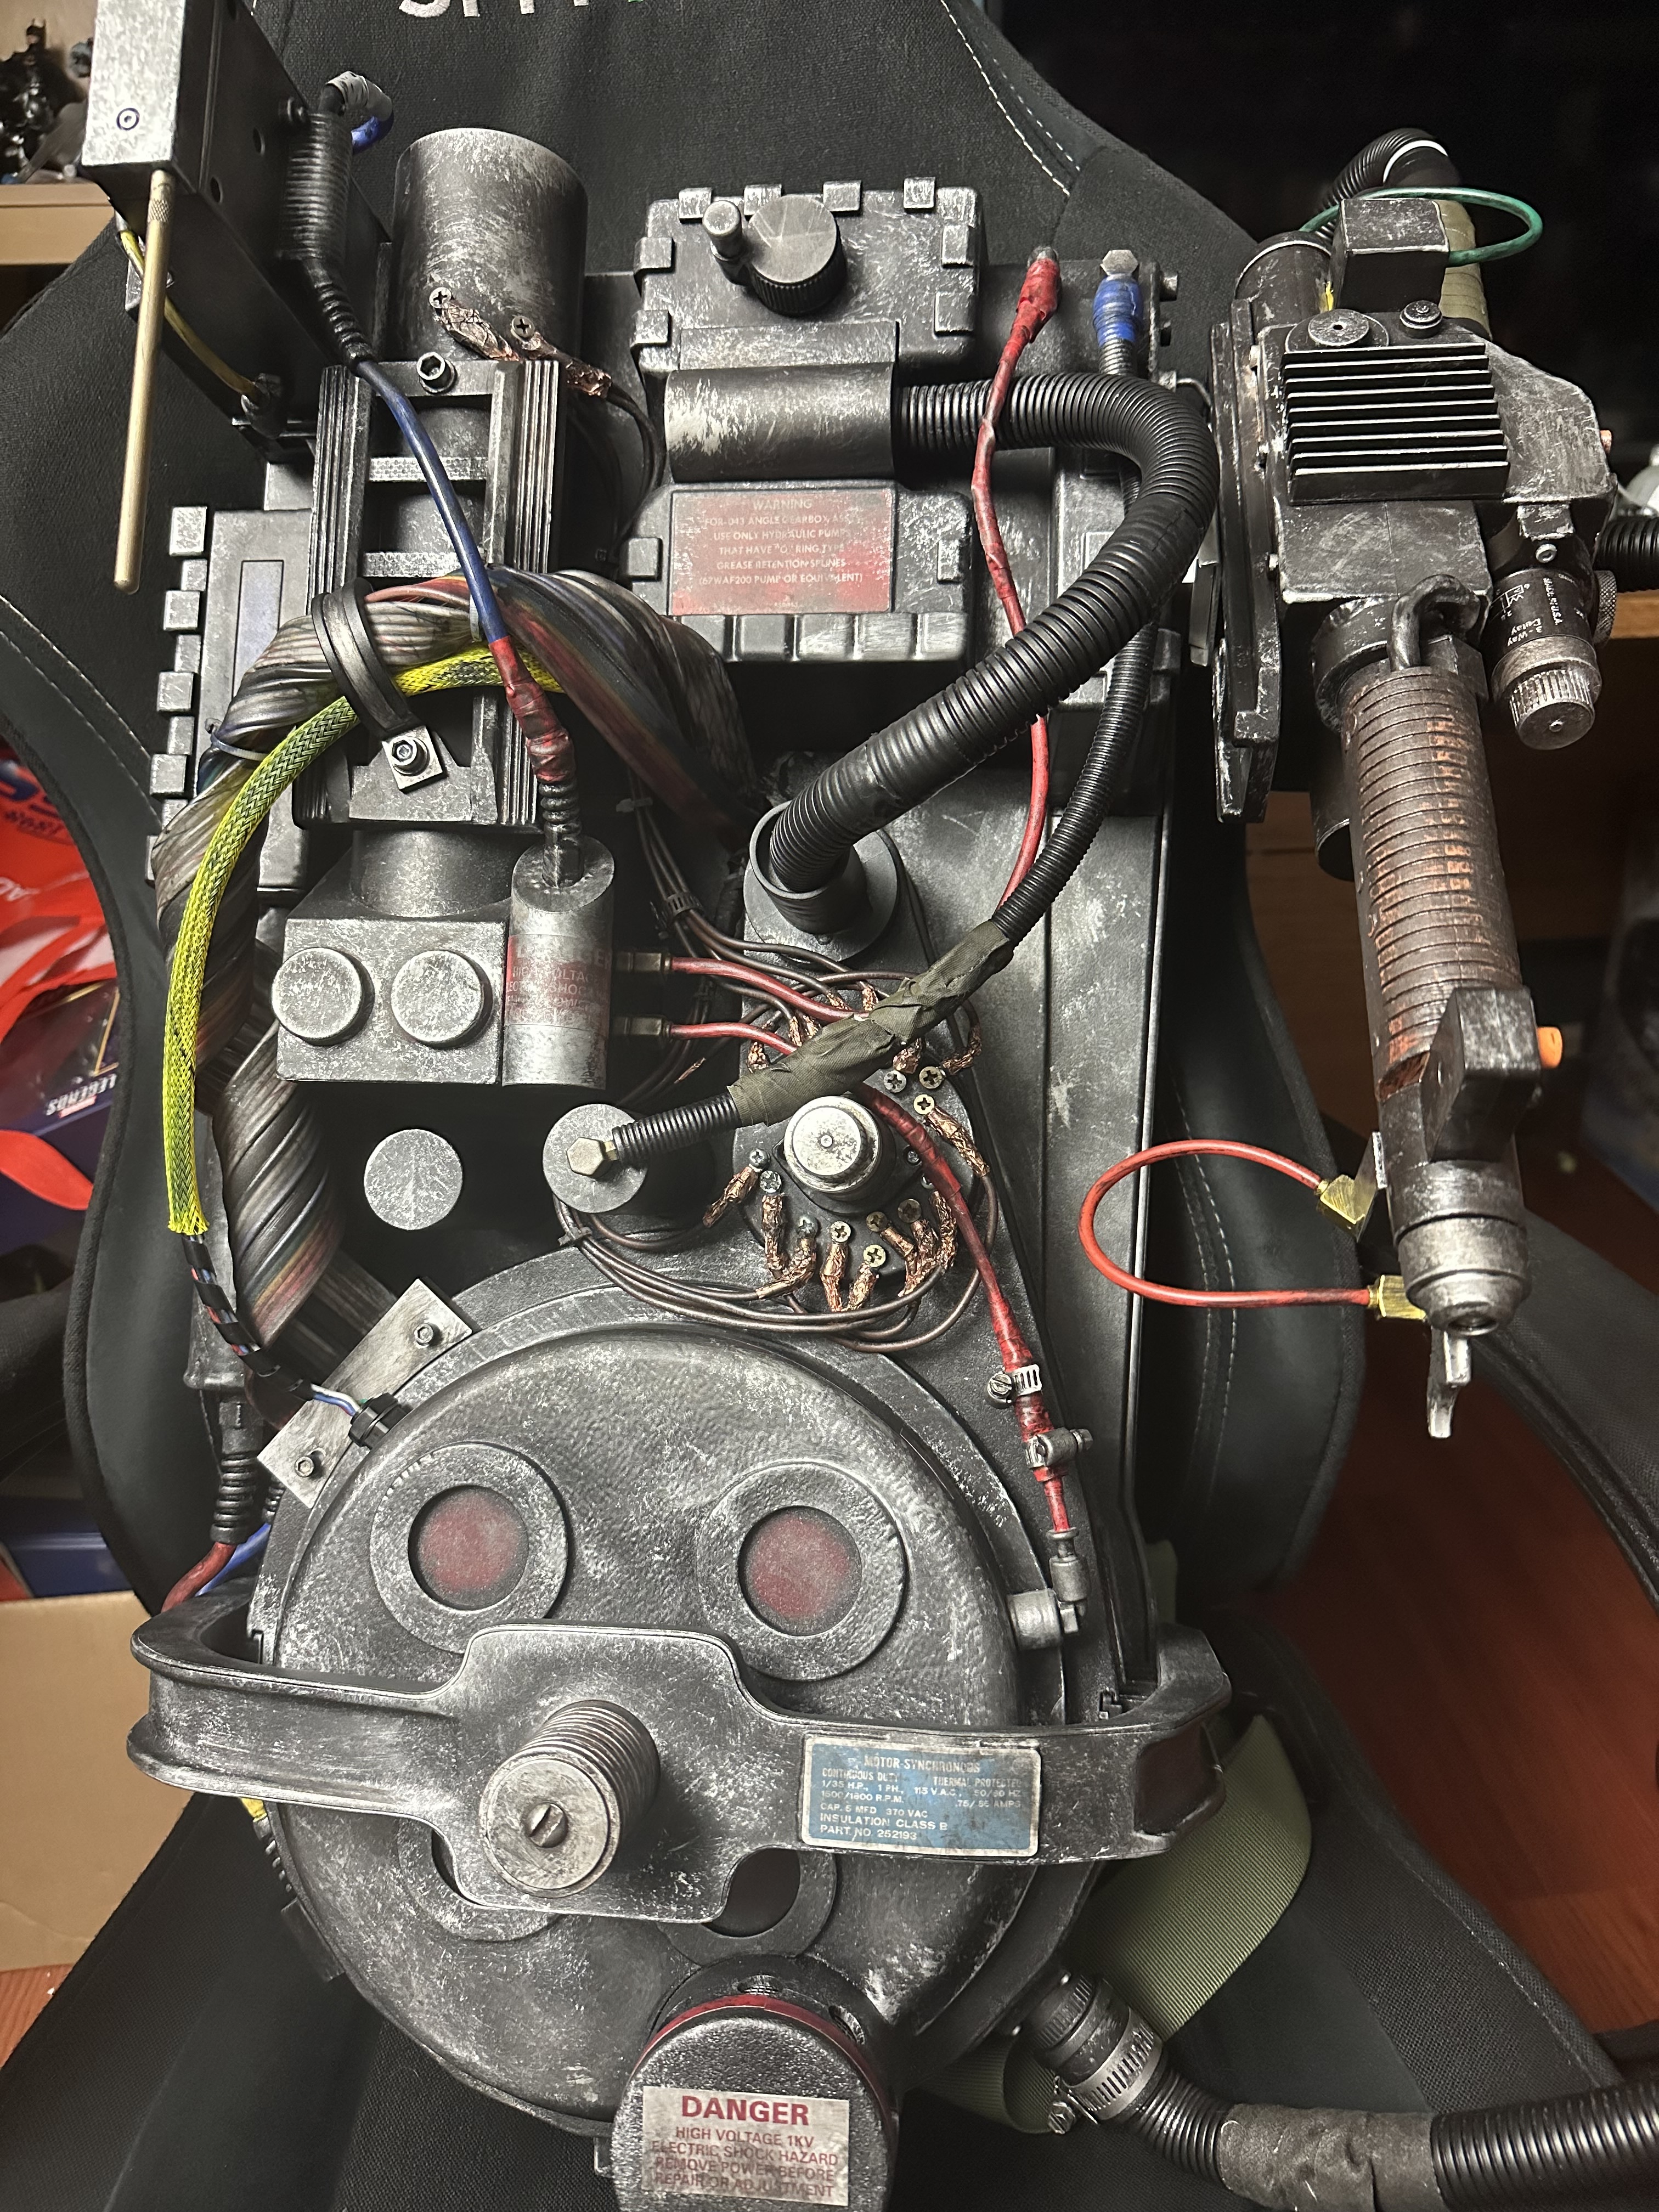
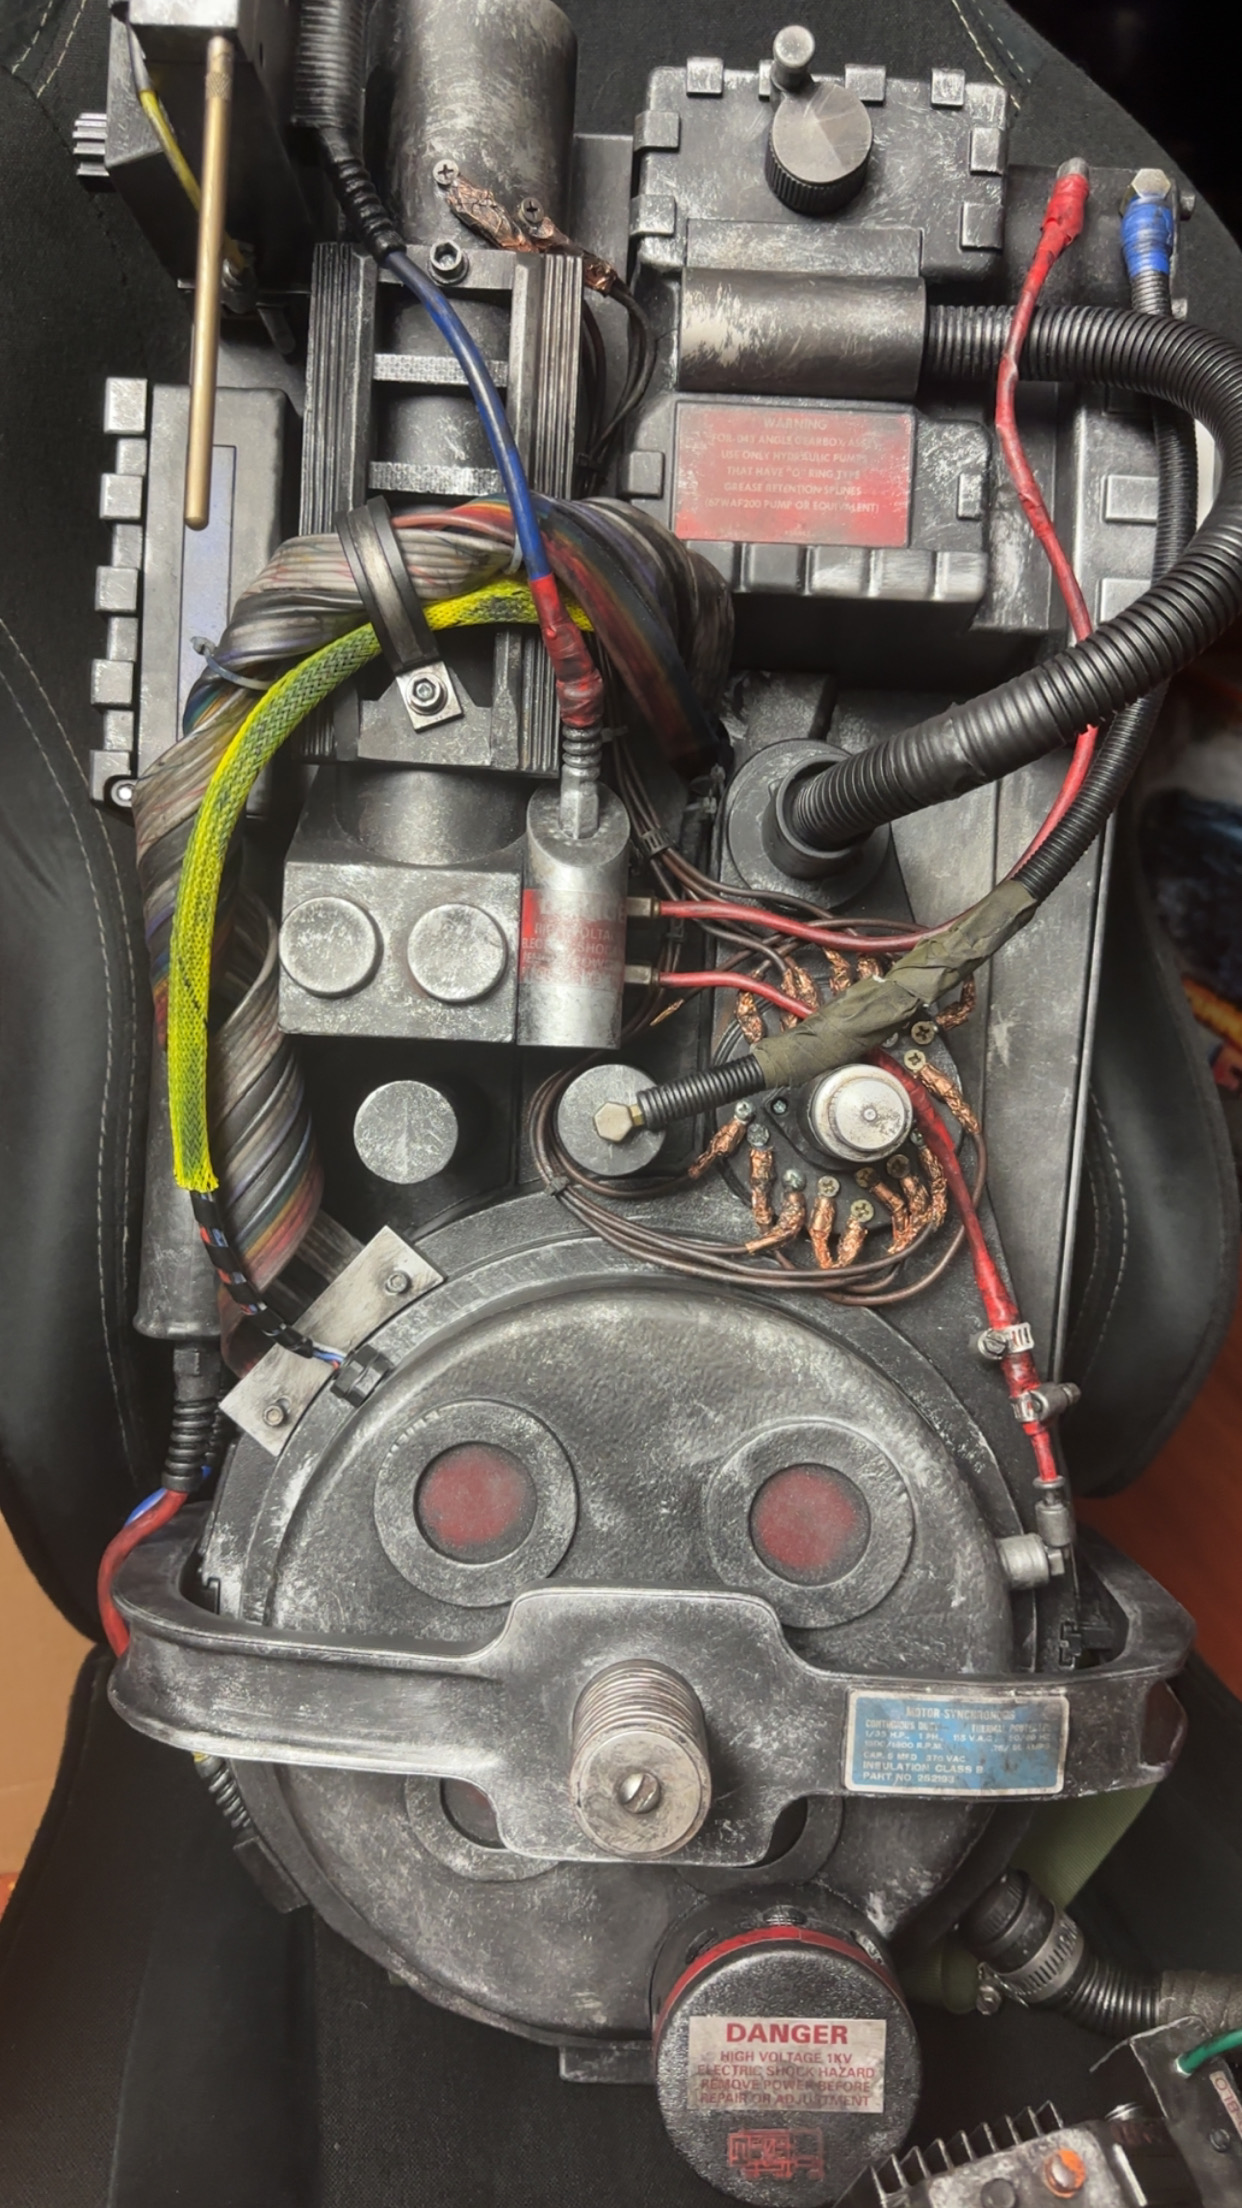
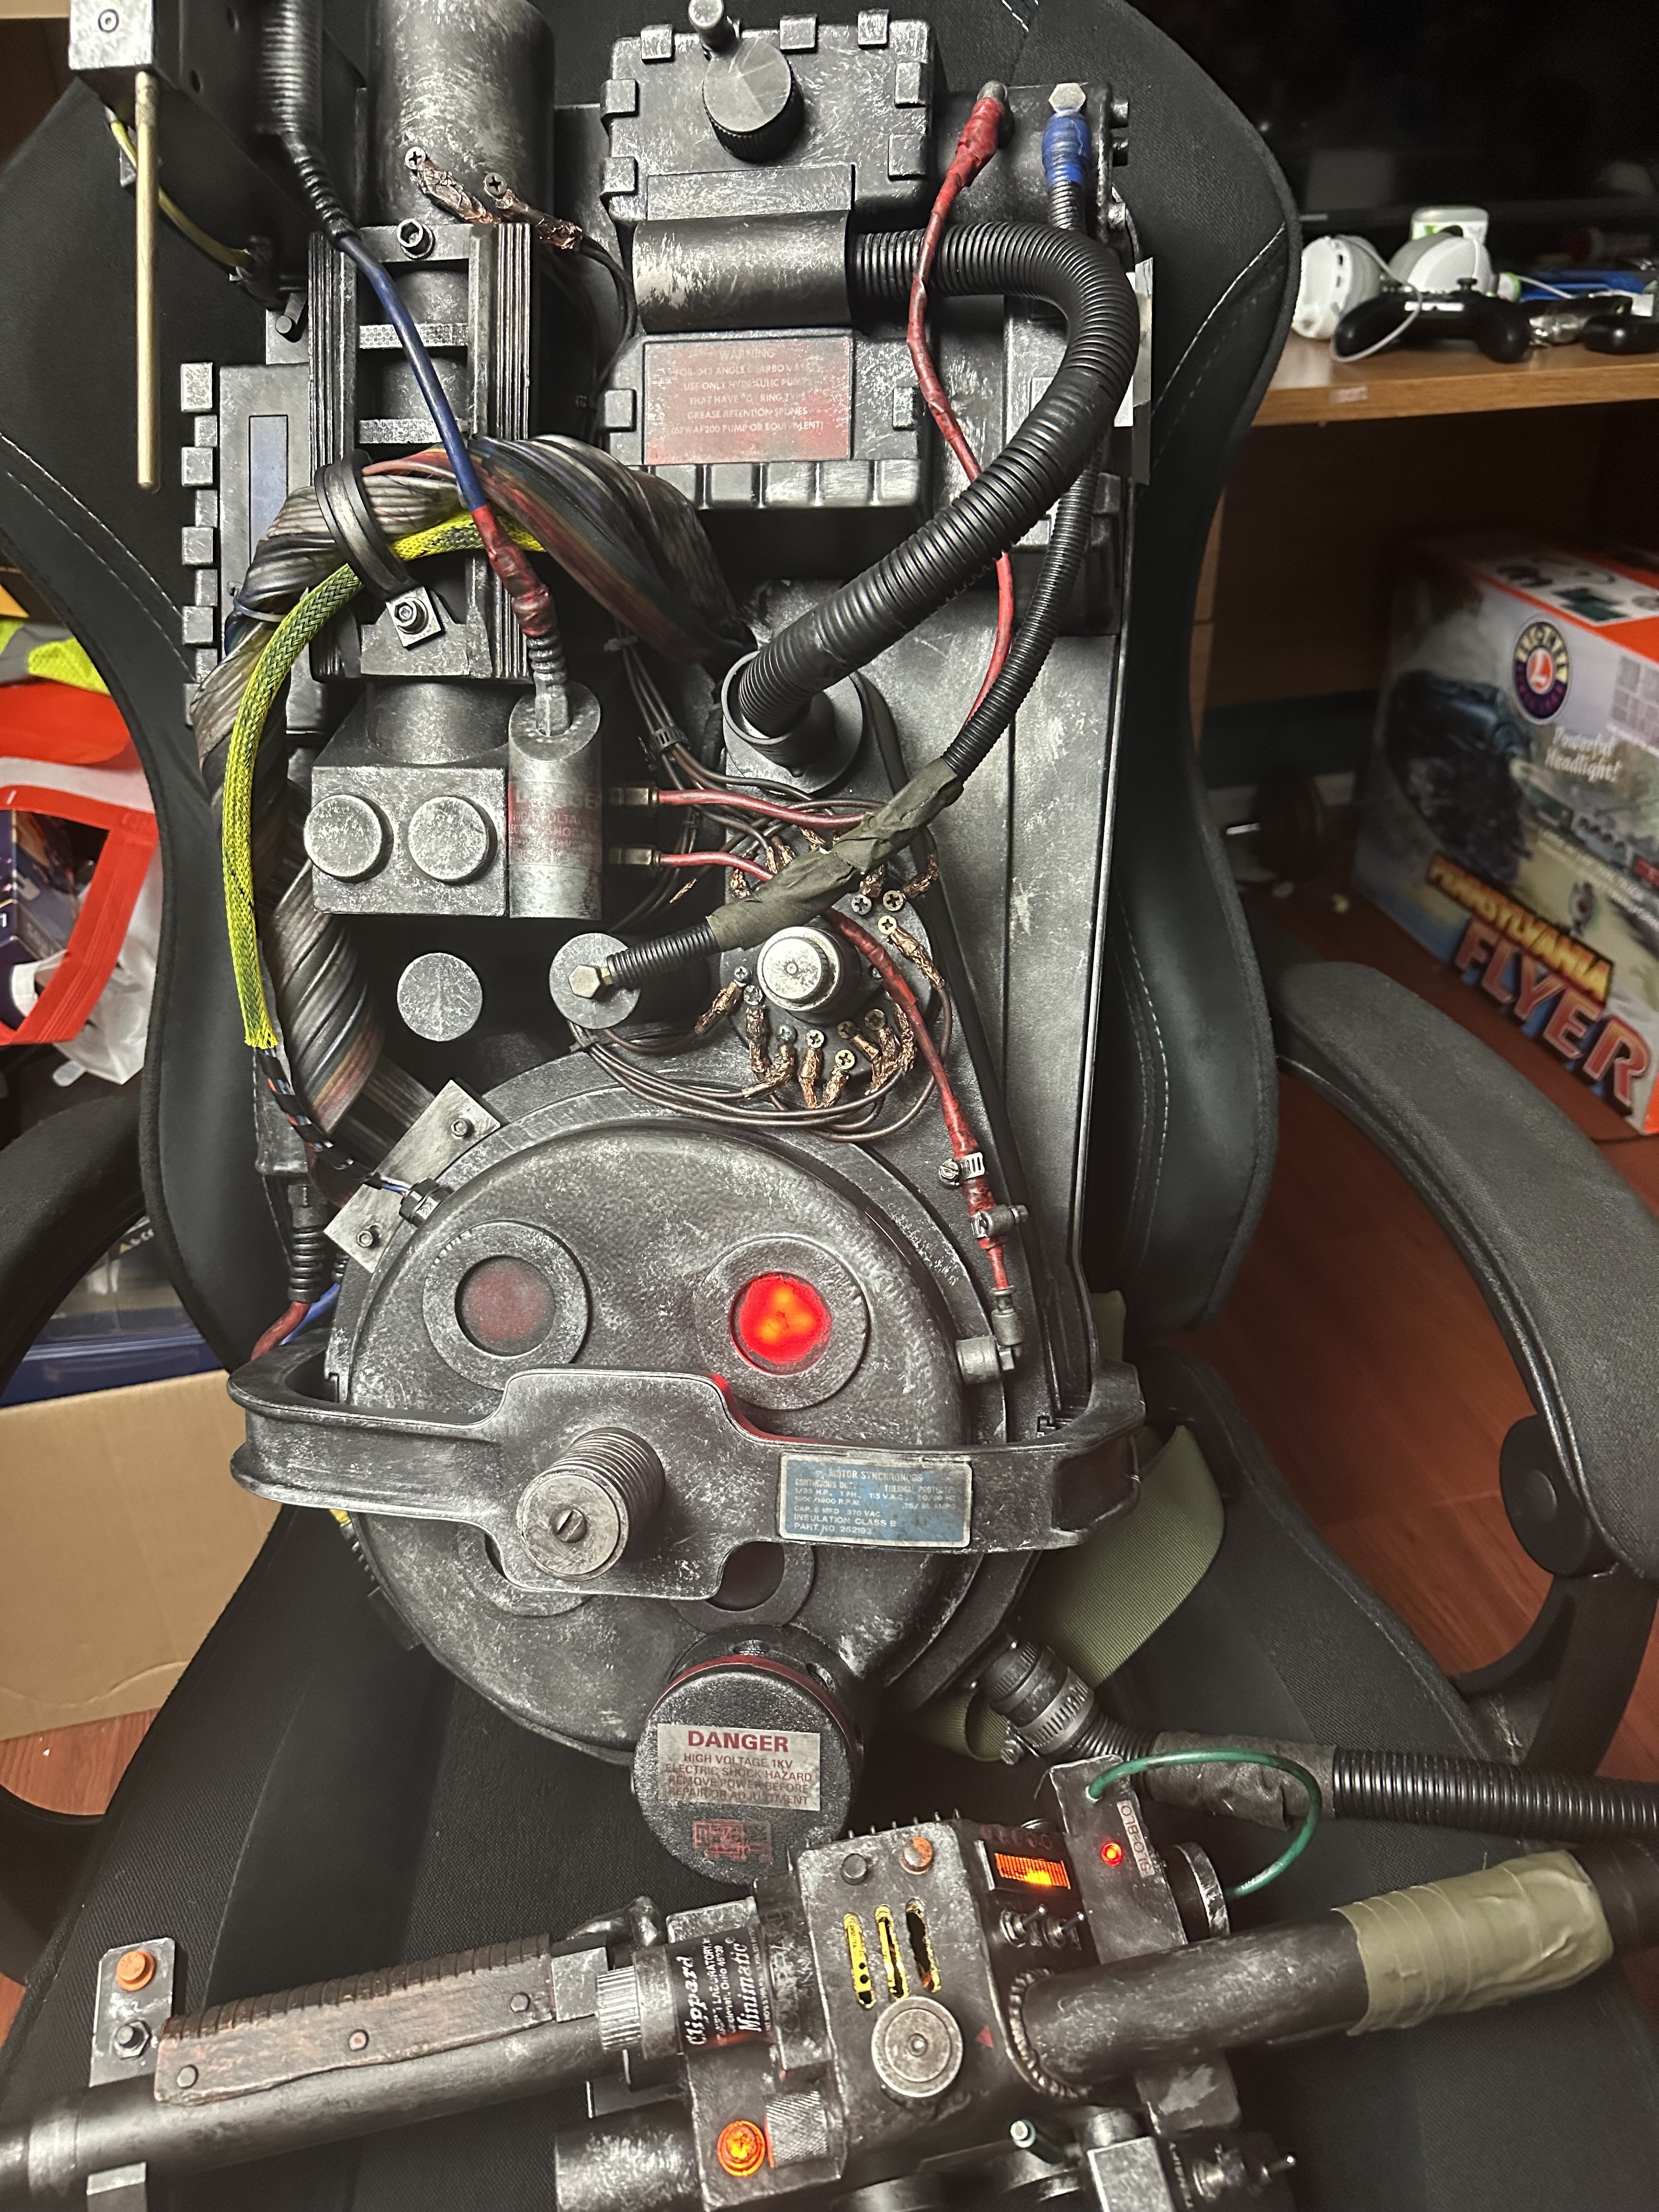
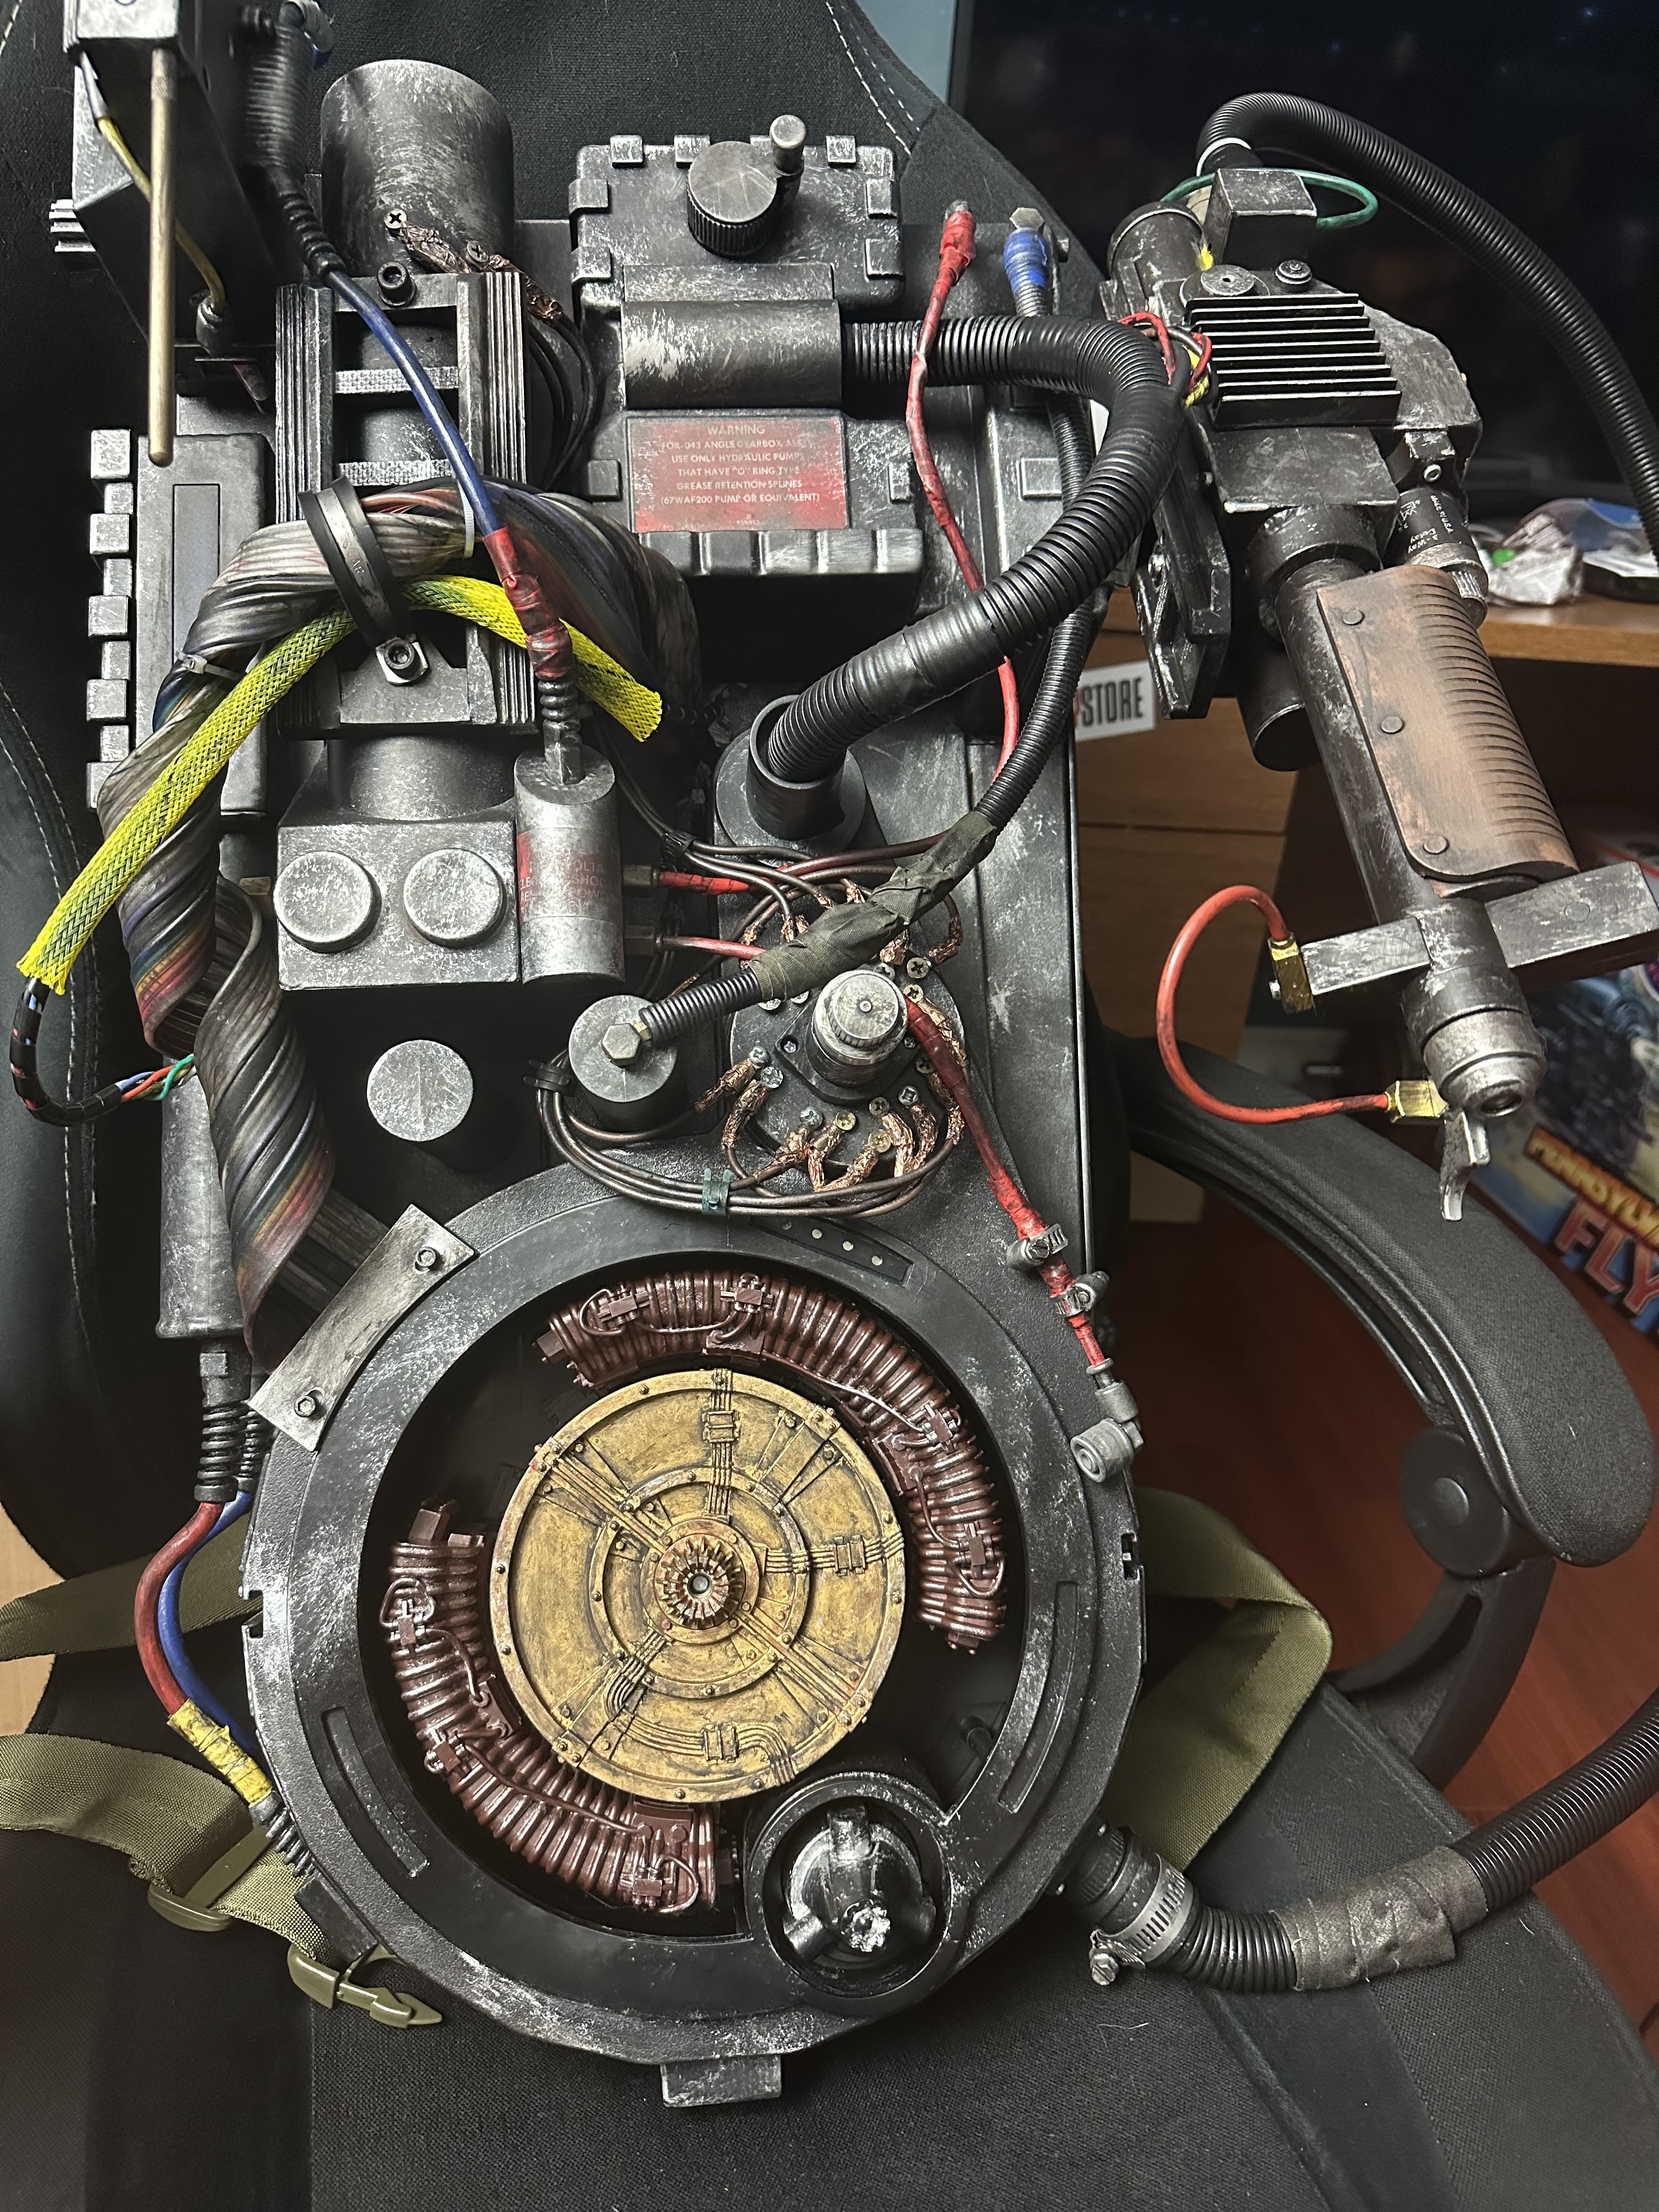
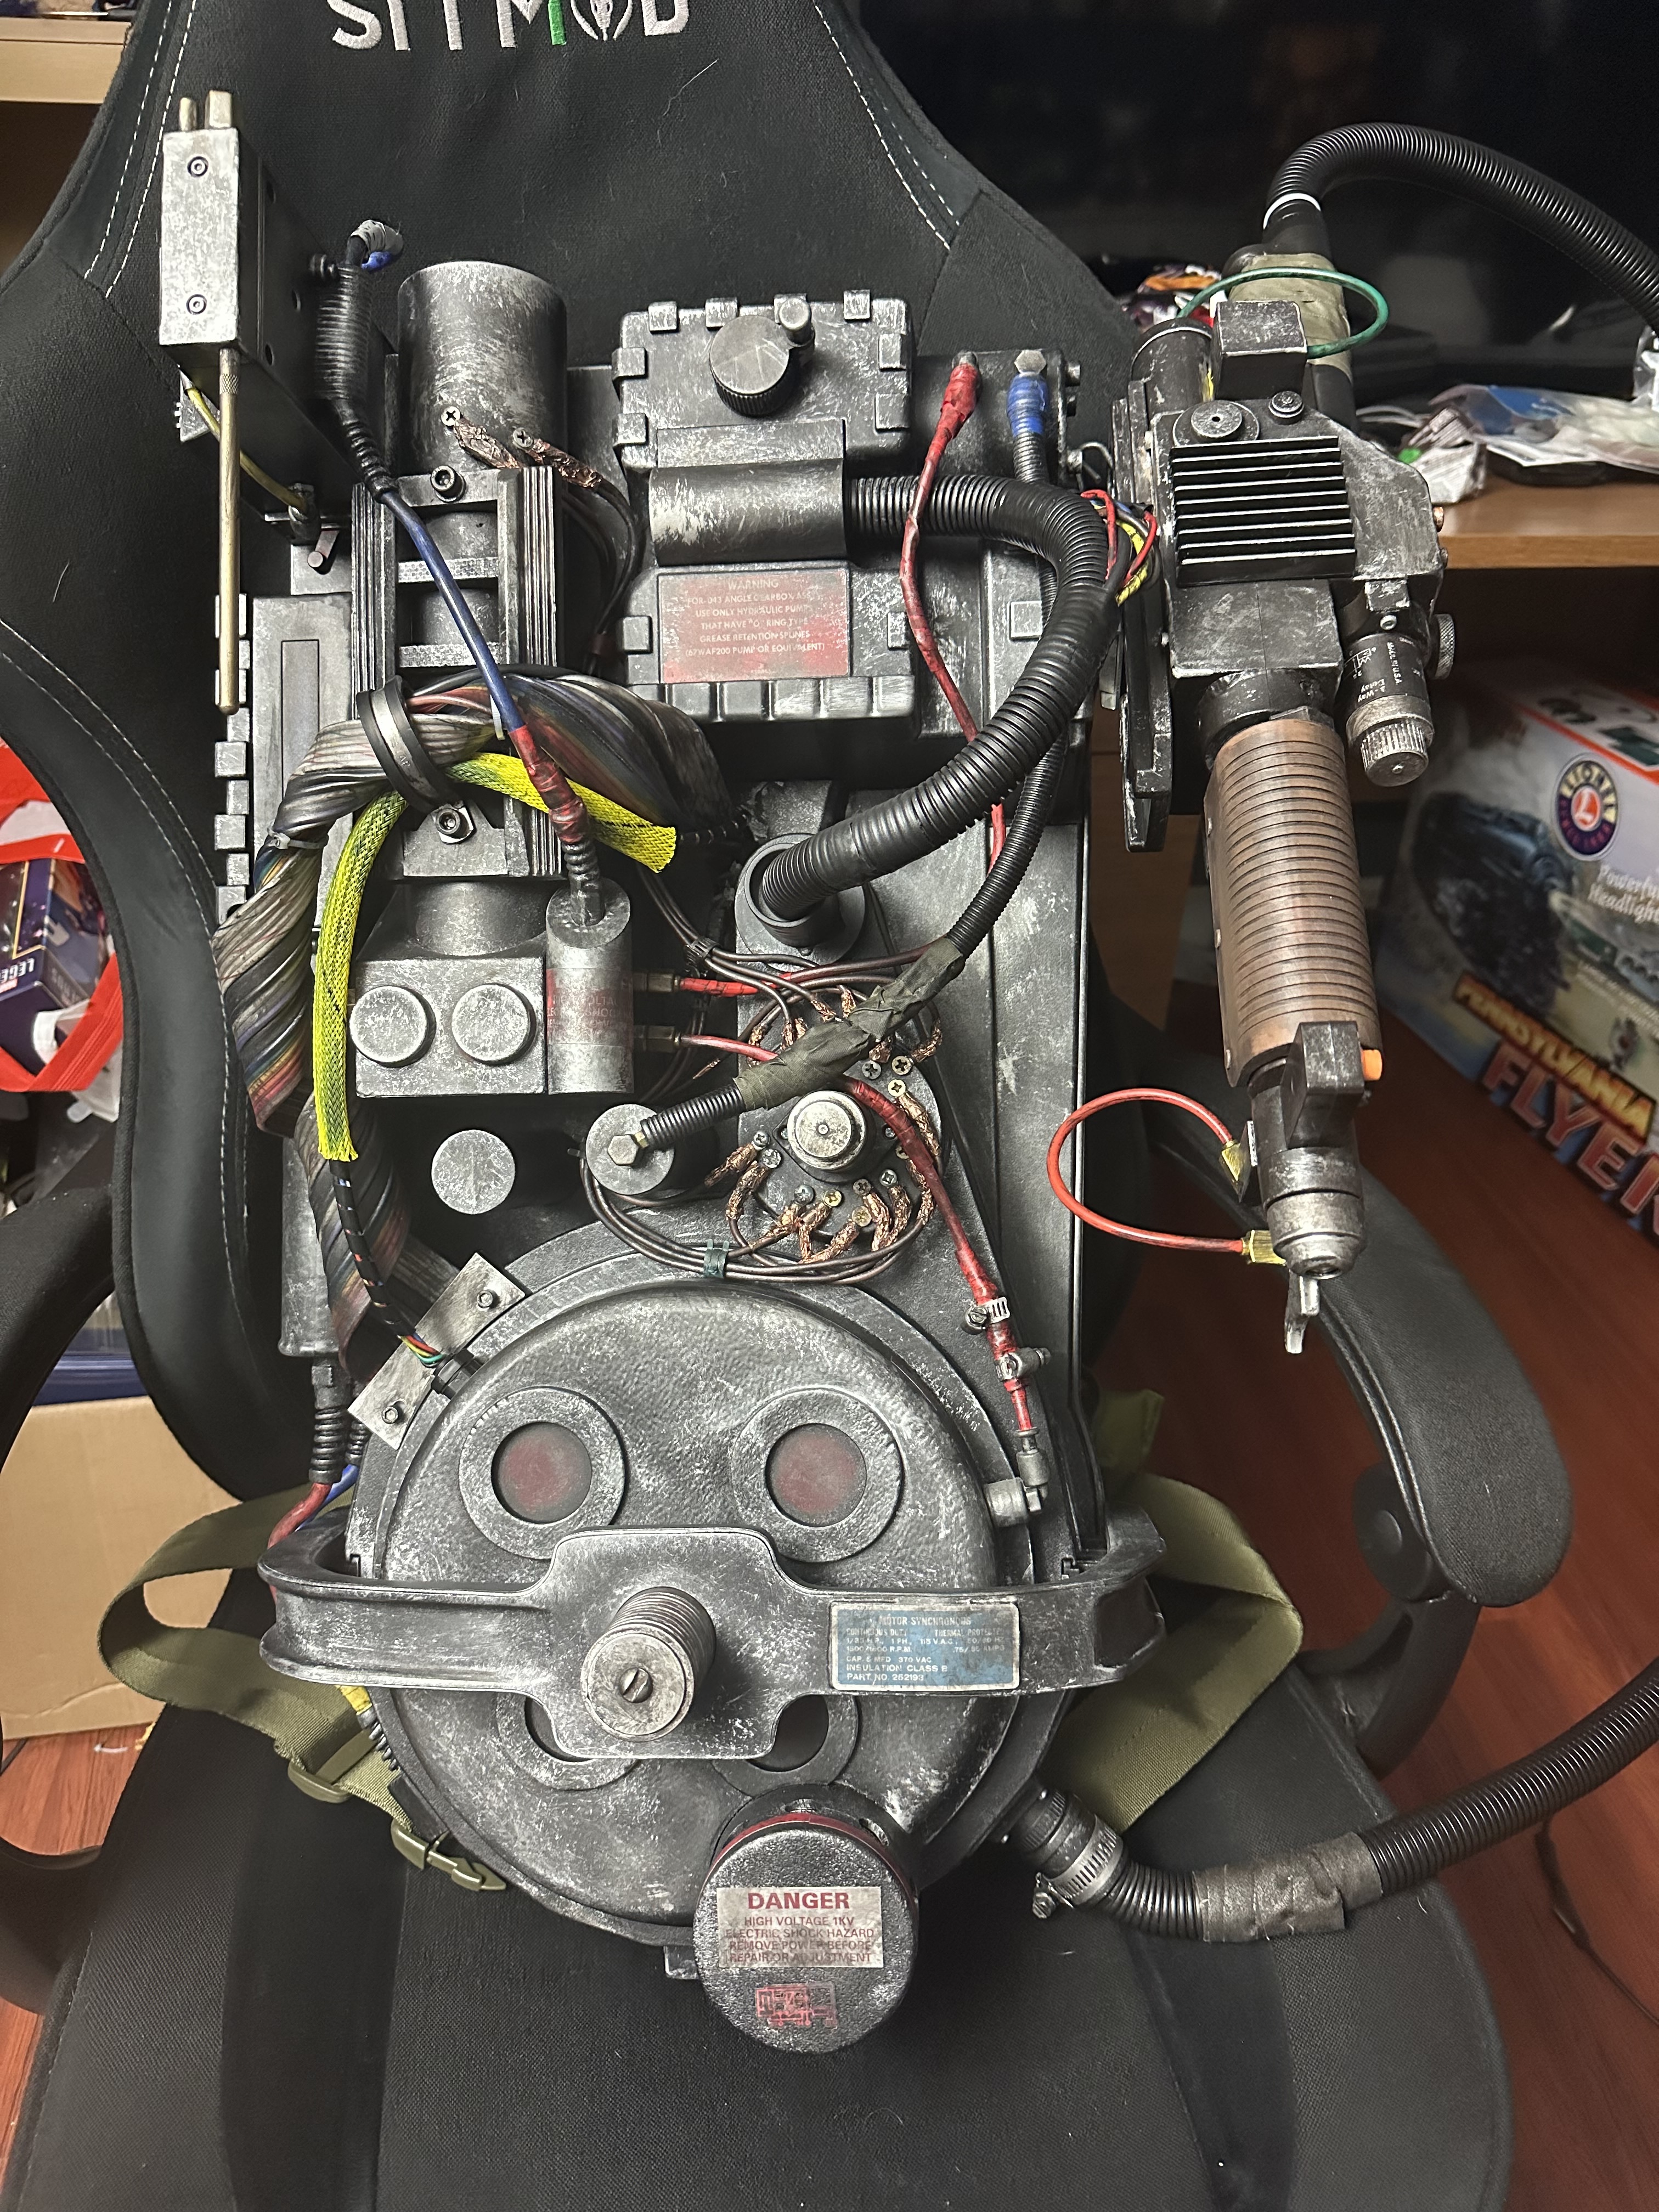
So just wanted to share my converted 84 to afterlife pack since from what I’ve seen im the only one who’s done this so far
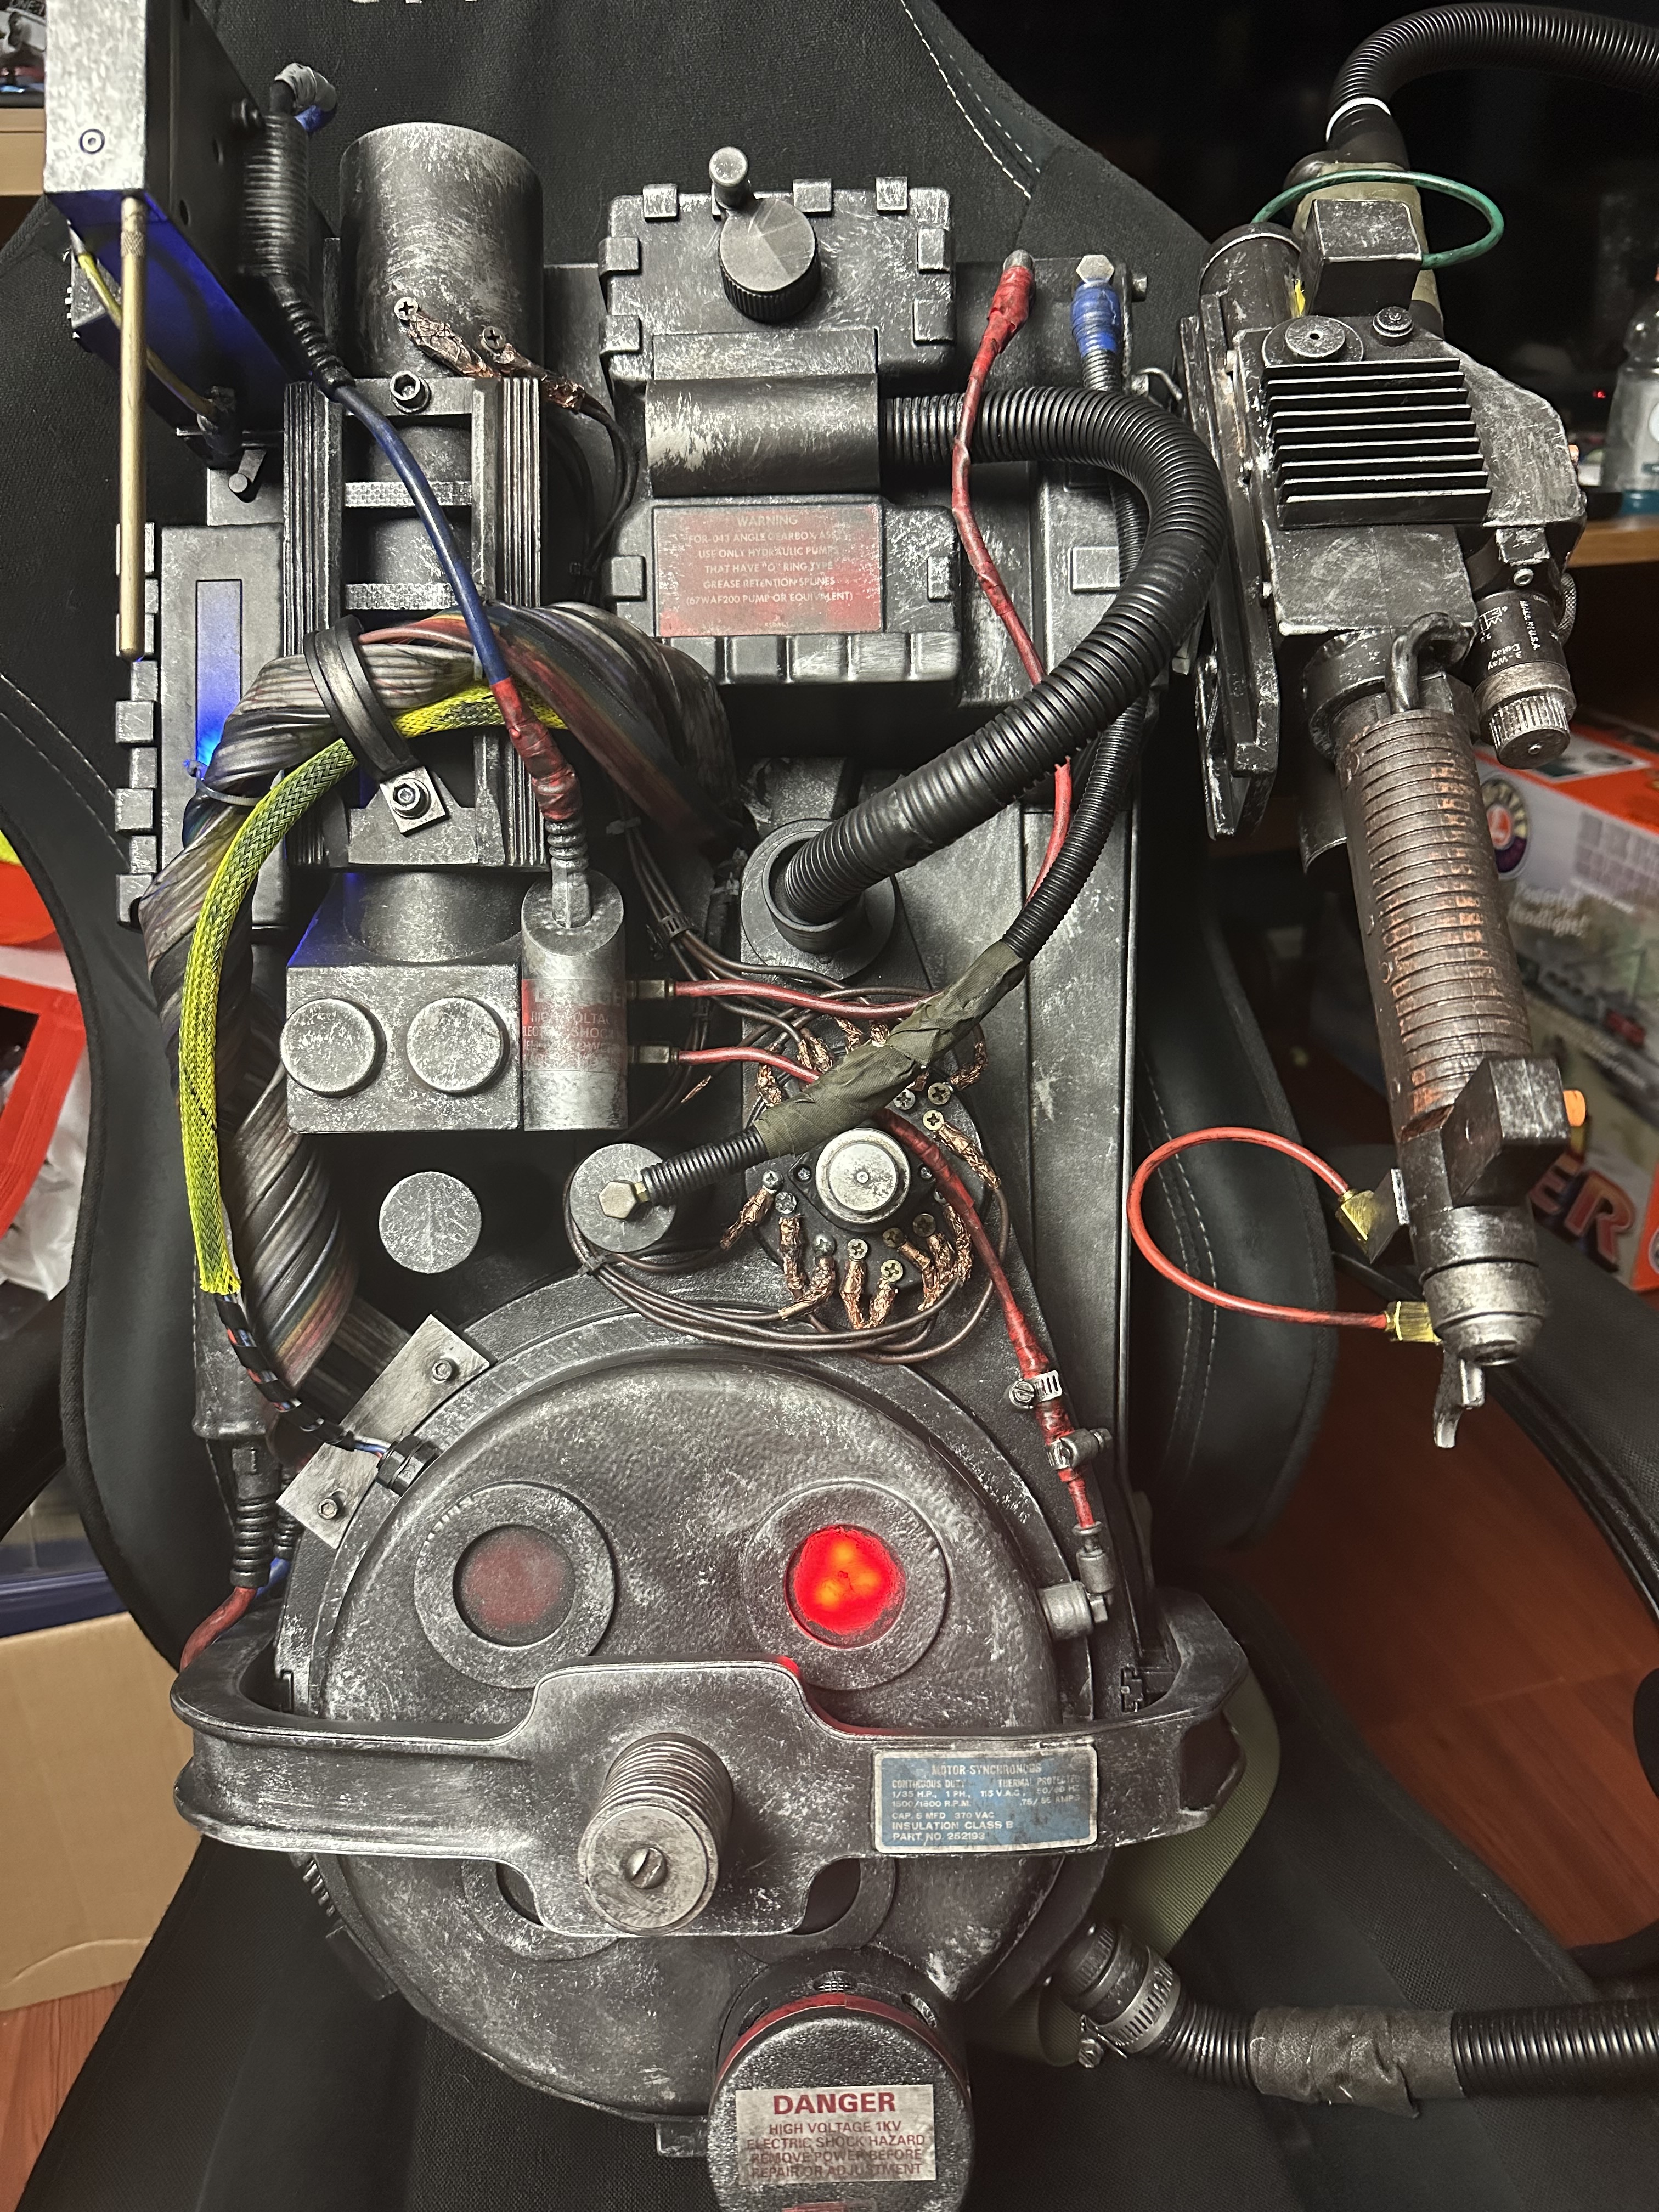
It’s not 100% finished but it’s pretty darn close as of now I don’t have the heat sink, hex tube cap, and a buttload of wires but I will soon also I should note it’s not strictly 1 to 1 accurate with any hero pack since I’ve been sort of using different reference photos and mashing both hero 1 and 2 together for a sort of in universe consistency since it changed in certain shots and scenes in afterlife and because I thought it made my pack a little different than most afterlife’s out there but for the most part I based it off of hero 2 since those were the clearest pictures for a lot of the nitty gritty details
For anyone who’s wanting to do this I’ll explain how I did it for the paint I used rub n buff mainly silver but a little black too I let most of the RnB dry and then used it for best effect but I also let some of it dry on a brush for a while which added a powdery dusty effect I also used black acrylic paint a ton of it along with a clear coat to lock it in place because without it rub n buff Literally rubs off
I also got some better decals from mobysigncompany on Etsy with the paint job I applied some of the black acrylic and then wiped it off with a towel which makes it look as shown
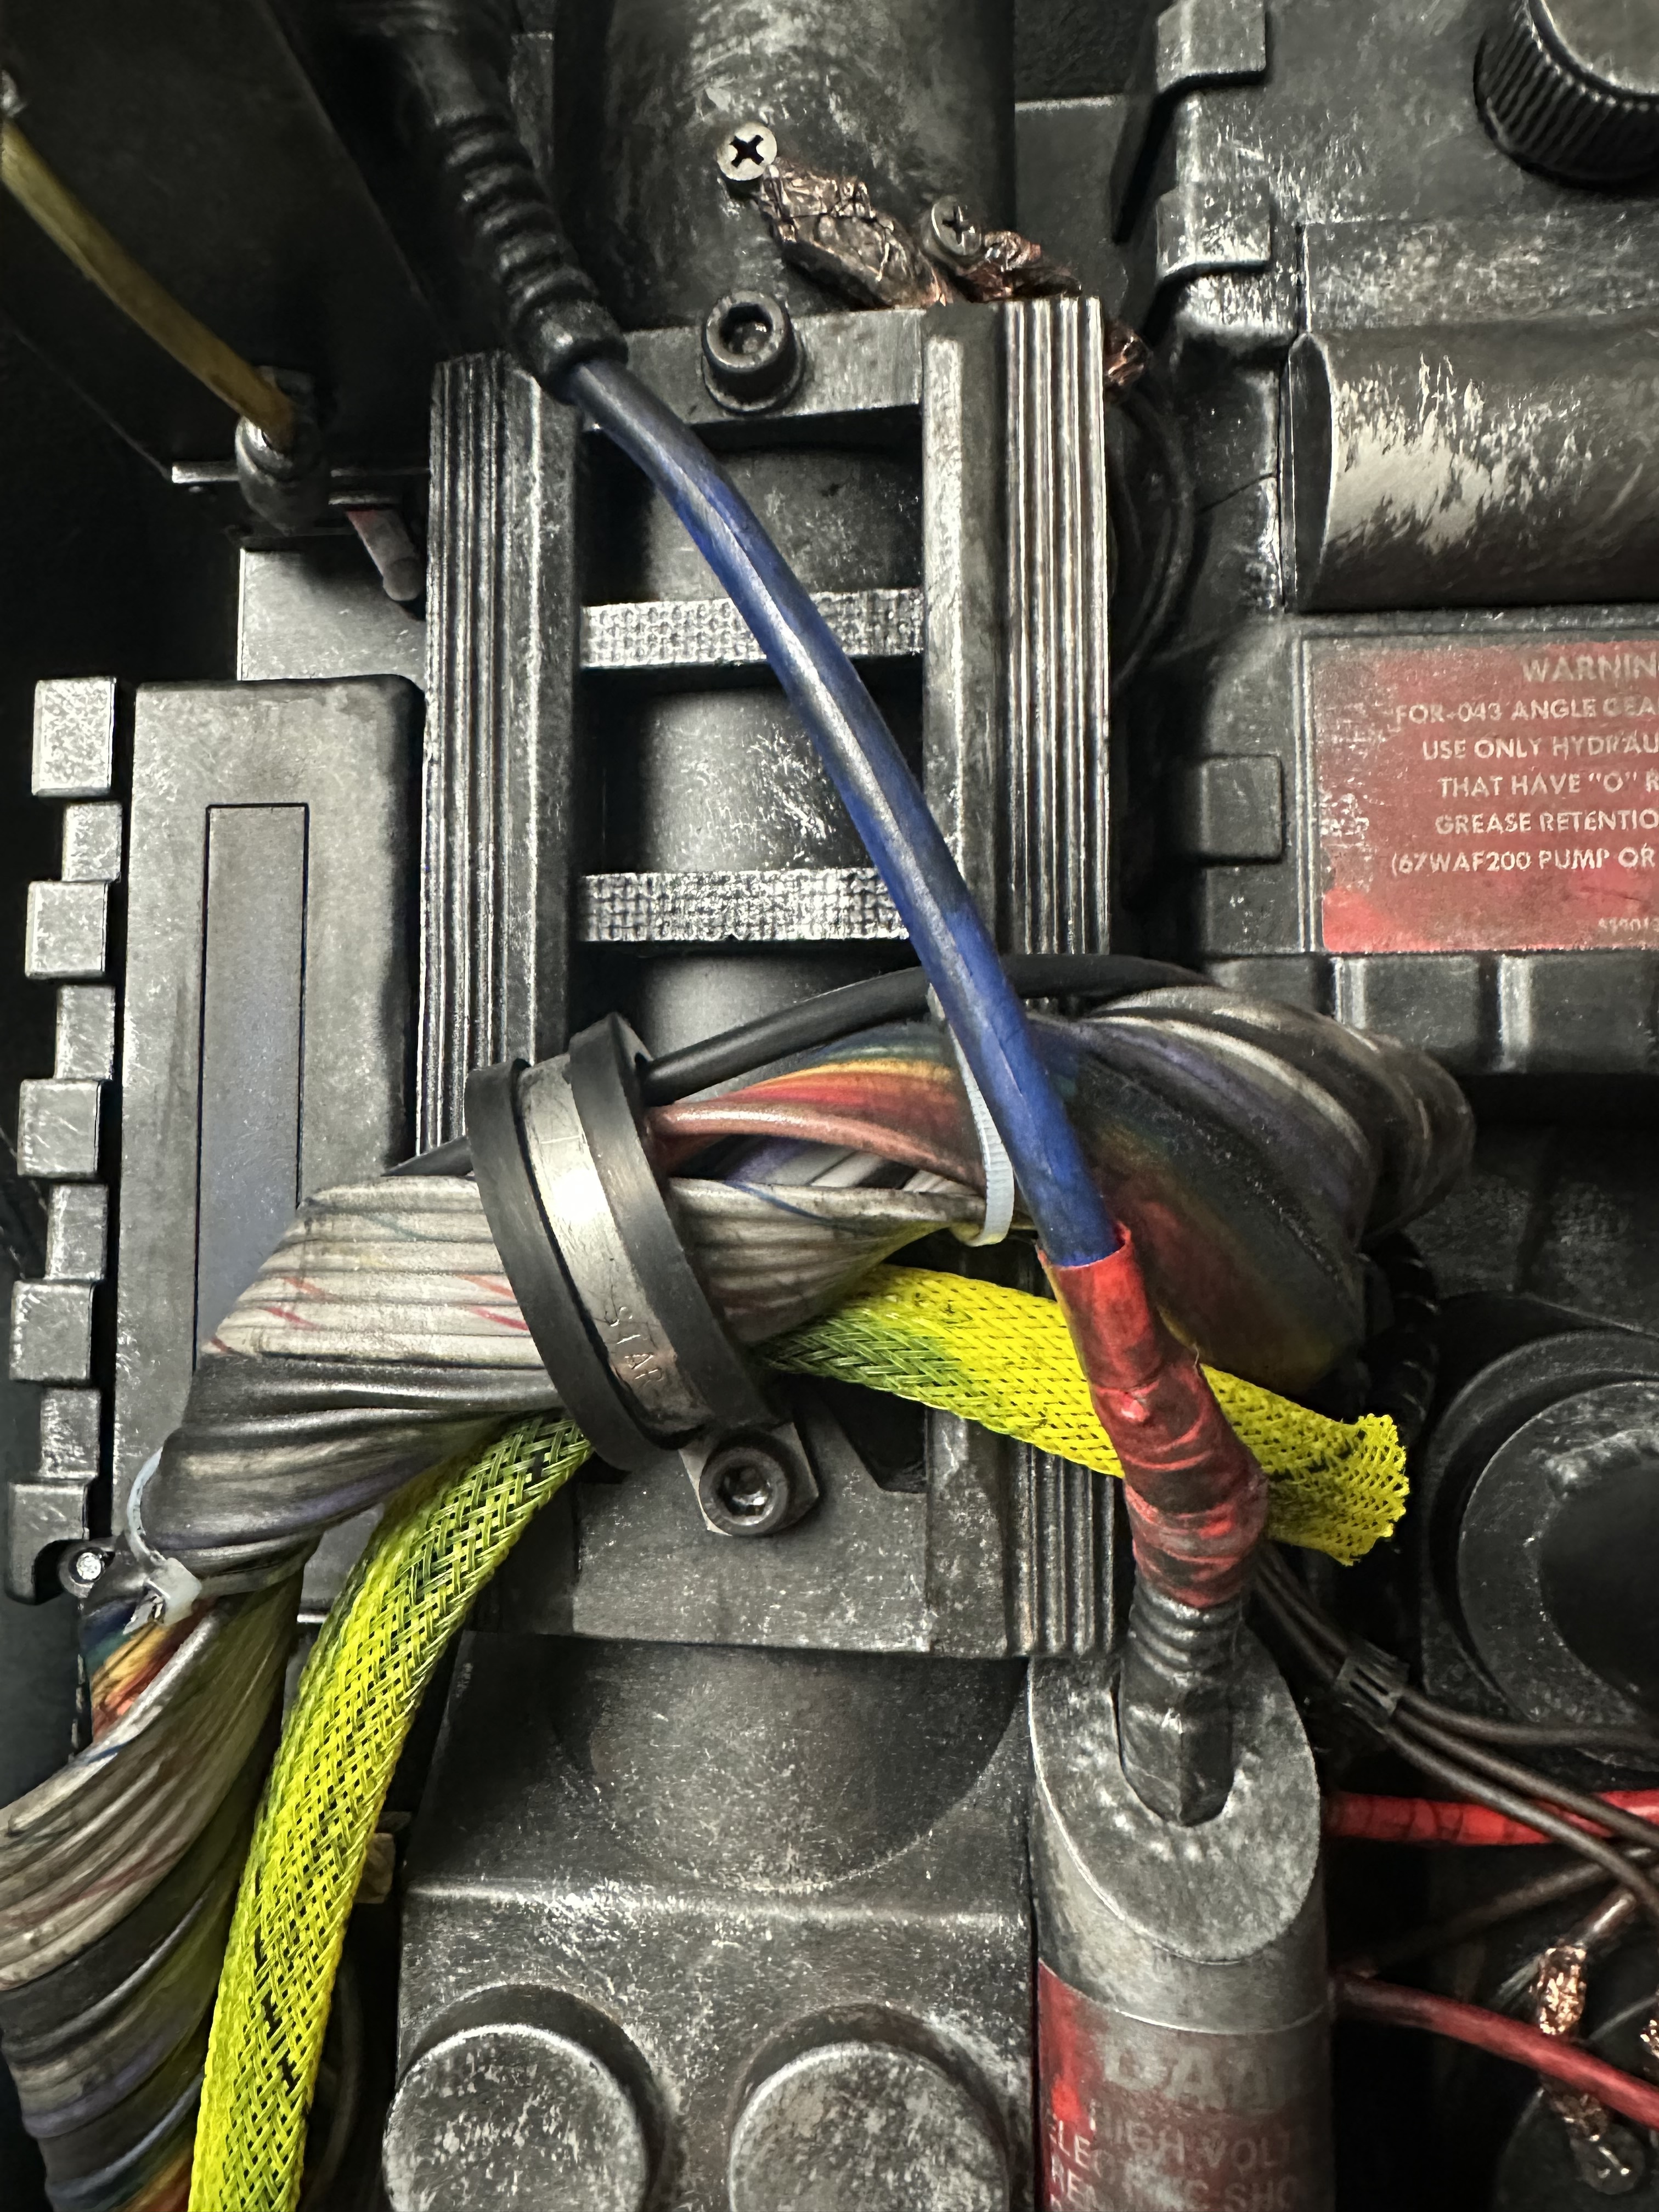
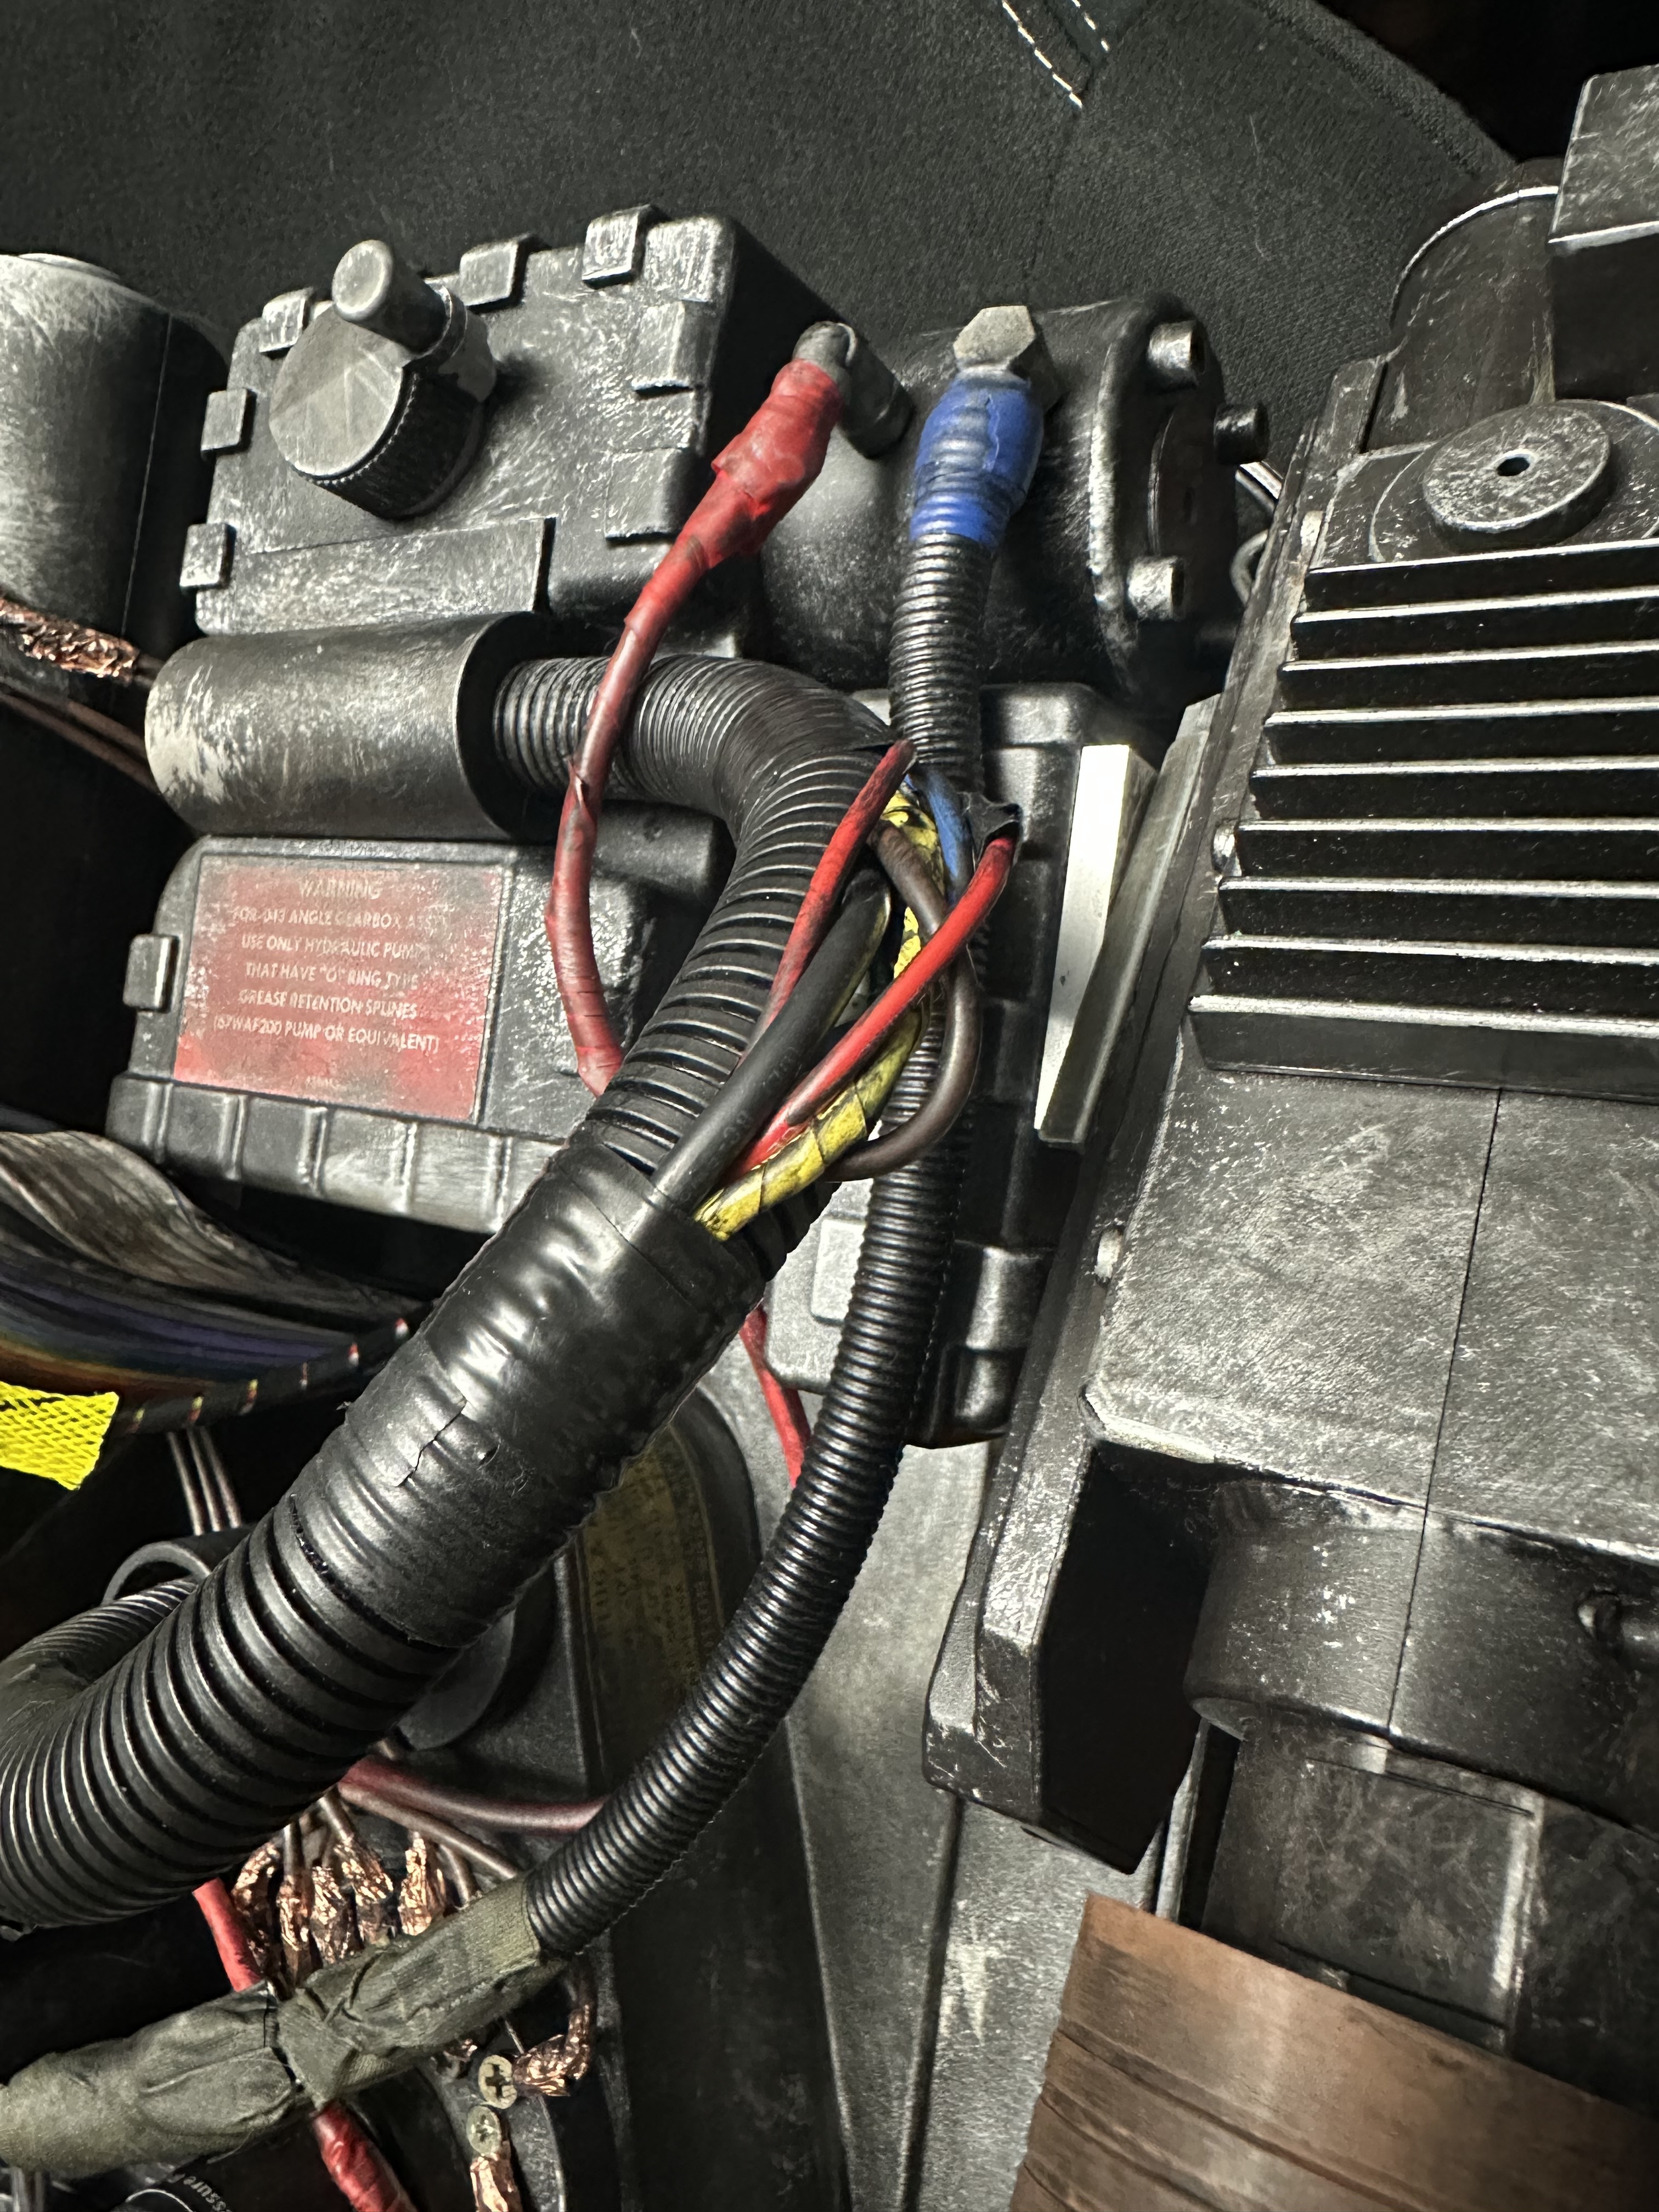
For the wires on the clipperd valve I used 16 gauge brown wires with some terminals I then attached with copper tape wrapped around it which is surprisingly sturdy
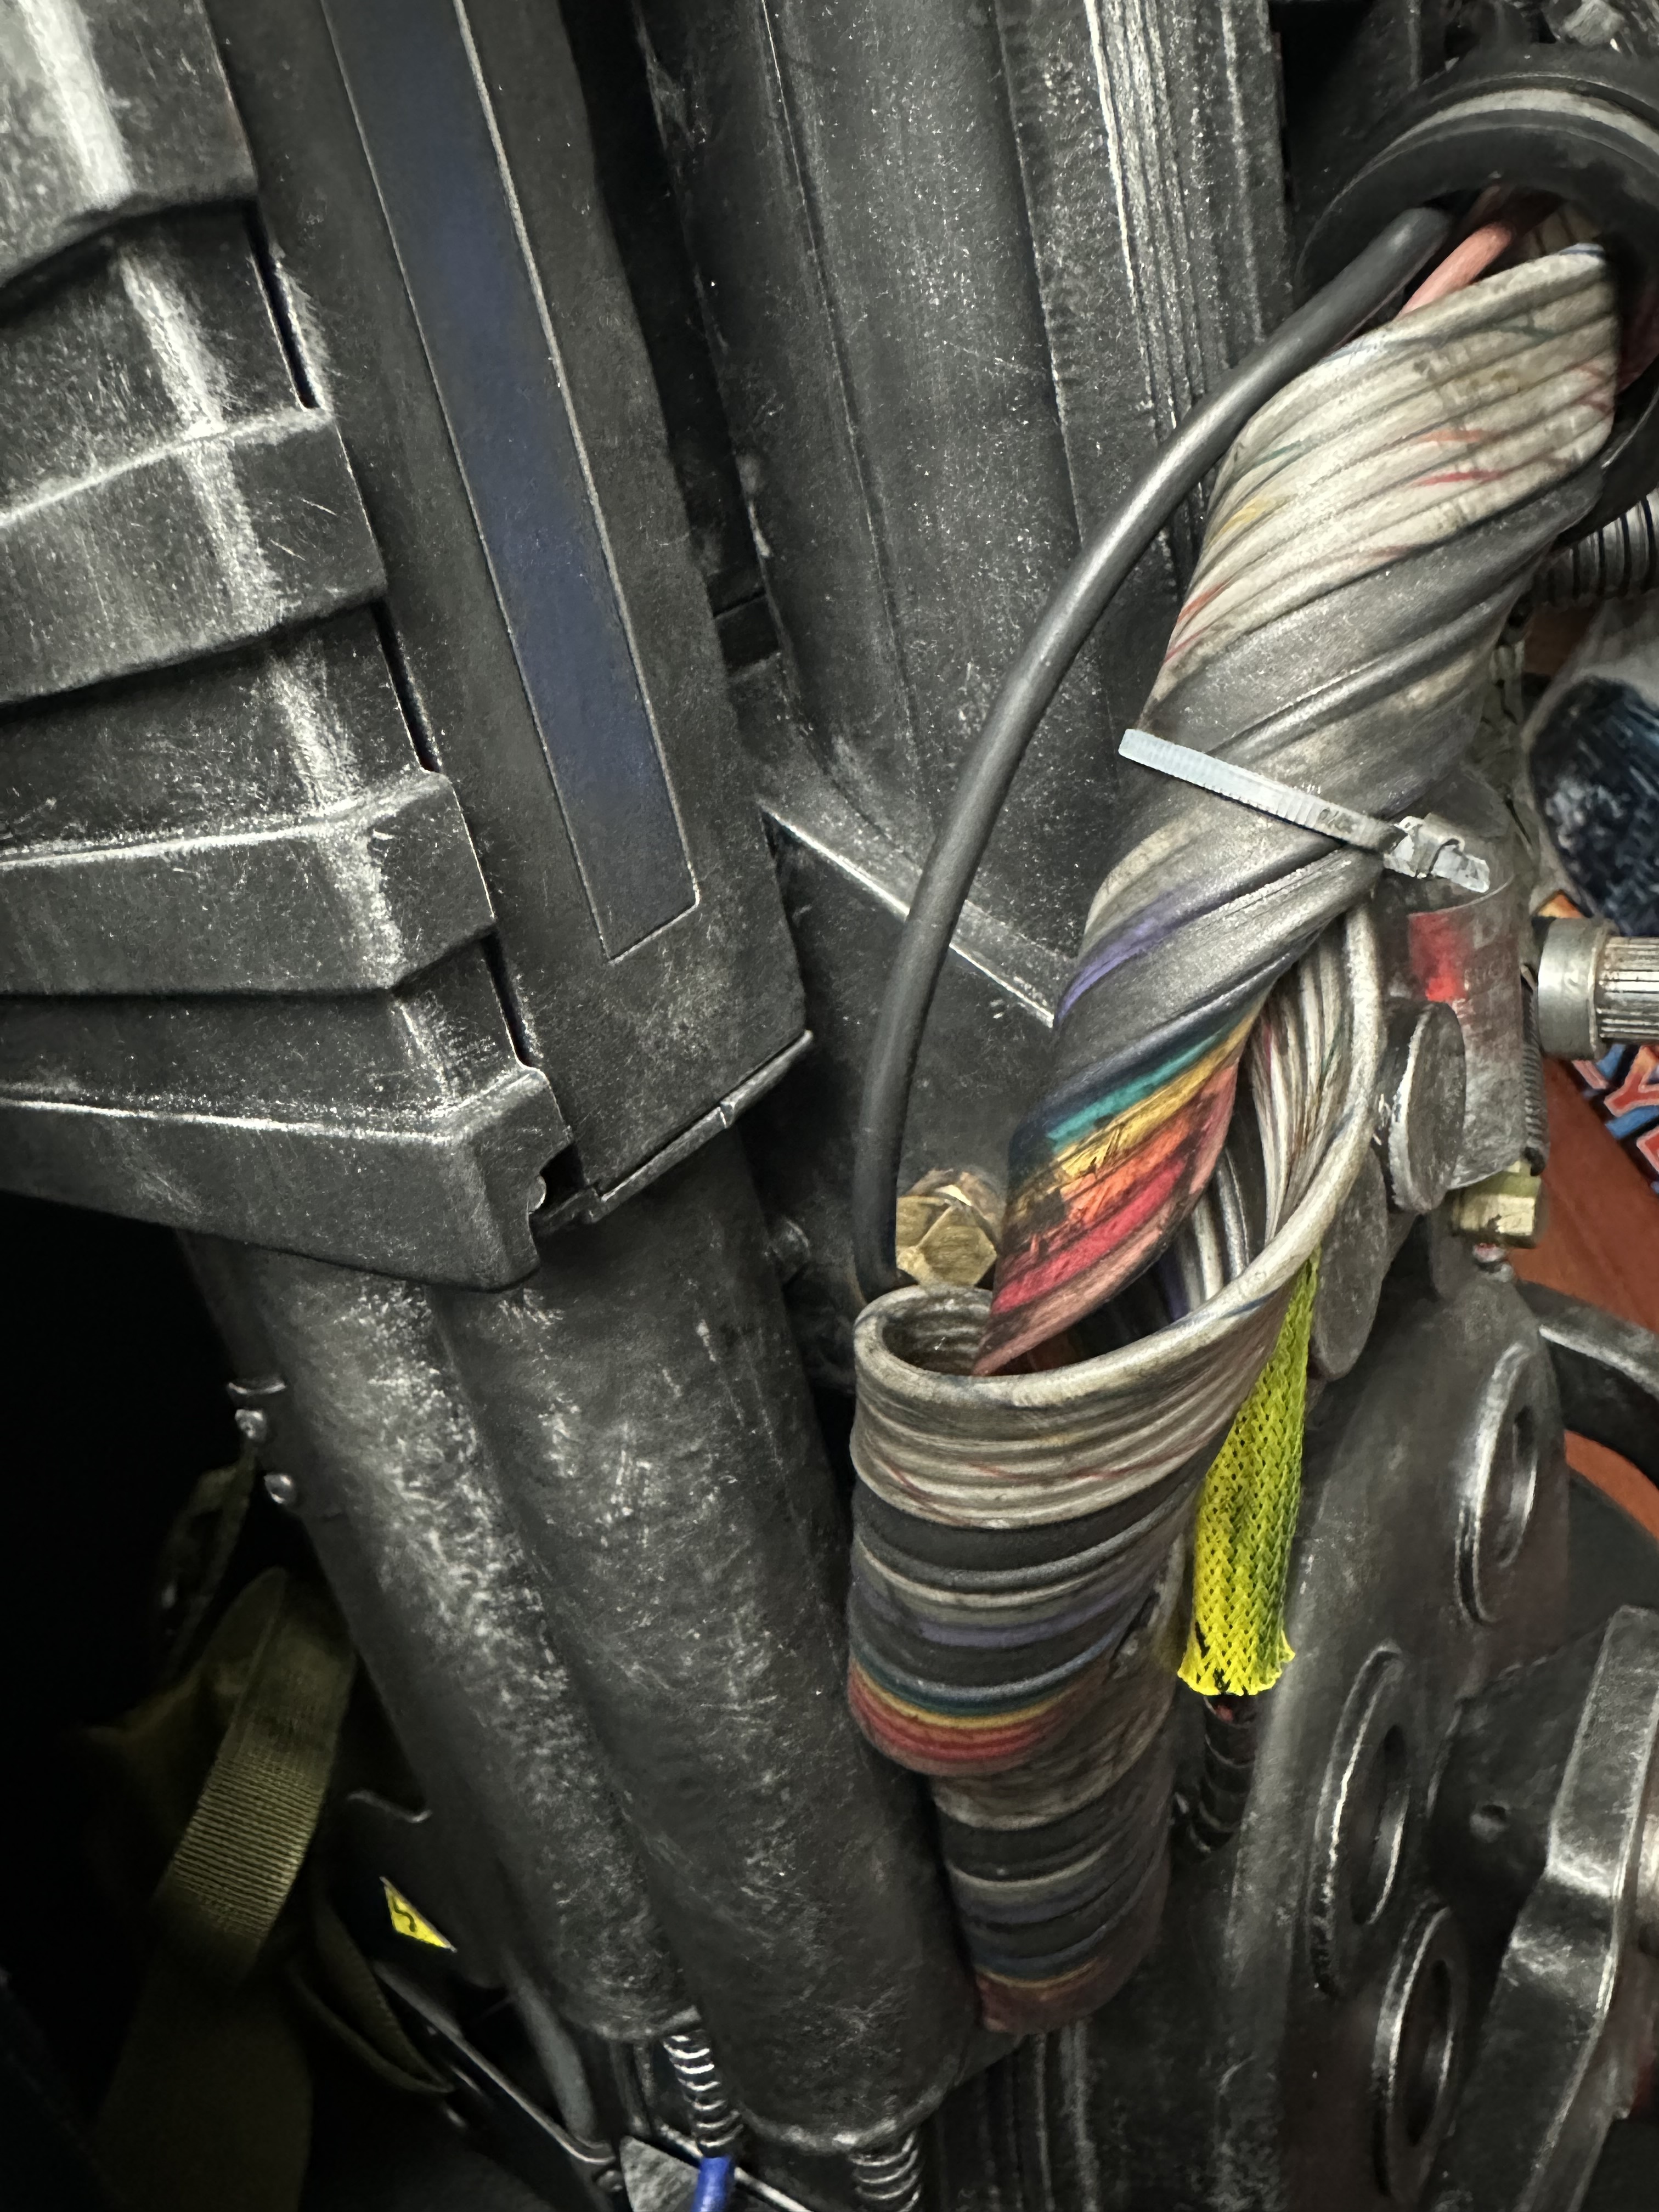
And for the yellow cable i also got off of Etsy though the listing for the specific one I got is now gone to attach it I had to open up the pack to secure it but on the cyclotron cover I just drilled through it which isn’t the cleanest look internally but outside wise it’s fine and is secure though if anyone else who does this conversion I hope you can do it better than me
So far this is what I’ve got cosmetically and Im waiting on some parts to arrive along with my Gpstar kit for the afterlife lights and sounds but I’ll update this once I’ve added stuff to it
And for those wondering on why I didn’t just get a spenglers pack to begin with for starters I missed out when they first did the crowdfunding and because being late to it I’ve only seen them resold for crazy amounts of money and along with me being in Alaska it’s hard to get one up here without breaking the bank plus the 84 pack is just all around a better pack to make into a afterlife pack because of it having a proper ribbon cable, accurately colored wires, and not having the crappy paint job the Spengler pack had (I personally just don’t like it) it made for a nice canvas to be modded and shaped into what it is now and I just also personally like the spenglers pack look with its wear and tear and upgrades it makes and already awesome unlicensed nuclear accelerator into something different and personally I think a little cooler
@soundwave84 Looks amazing! I’m just in the process of doing quite a big overhaul of the 84 pack, but going with a ‘fresh’ just built in 1984 aesthetic, but I did actually buy a second 84 pack and I’ve also thought about making an Afterlife version, as like you, I missed out on the original Haslab.
Also, if you’re thinking about changing the cyclotron lights/sounds from 84 to Afterlife, I’d definitely recommend one of the GPStar kits. I’ve just installed their Base kit on mine and it allows you to switch between 84/89/Afterlife and Frozen Empire. I got the Base kit as I want to do the wand too, but if you just want the pack lights and sounds, you could probably just get their pack-only Lite kit which is cheaper. You’ll just need to also get the 4x 9 LED replacement lights for the cyclotron lid.
Thank you so much! And I wish you good luck on your builds also I’ve ordered my Gpstar kit back in mid July I’m just waiting on it to ship and arrive lol thank you again
Ahh yes I had to wait a few weeks for my GPStar kit to arrive. They’re really friendly though, so if you’re keen to get it I’m sure it wouldn’t hurt to give them a little nudge
Also, I’d recommend watching this video before you start your install:
This just covers the ‘Lite’ kit, but the process is basically the same for all their newer kits. I wish I’d watched this before I installed my kit. The instructions you need to download from their website still mostly reference the older GPStar 1 kits, but the newer kits are GPStar 2, so there were some parts in the instructions that were different to what I received and left me scratching my head a bit!
It’s a great kit though. I’ve pretty much finished the pack install so this weekend I’m planning to make a start on the wand, which I’ve been kind of dreading as I’ve heard the wand is a lot harder to work on
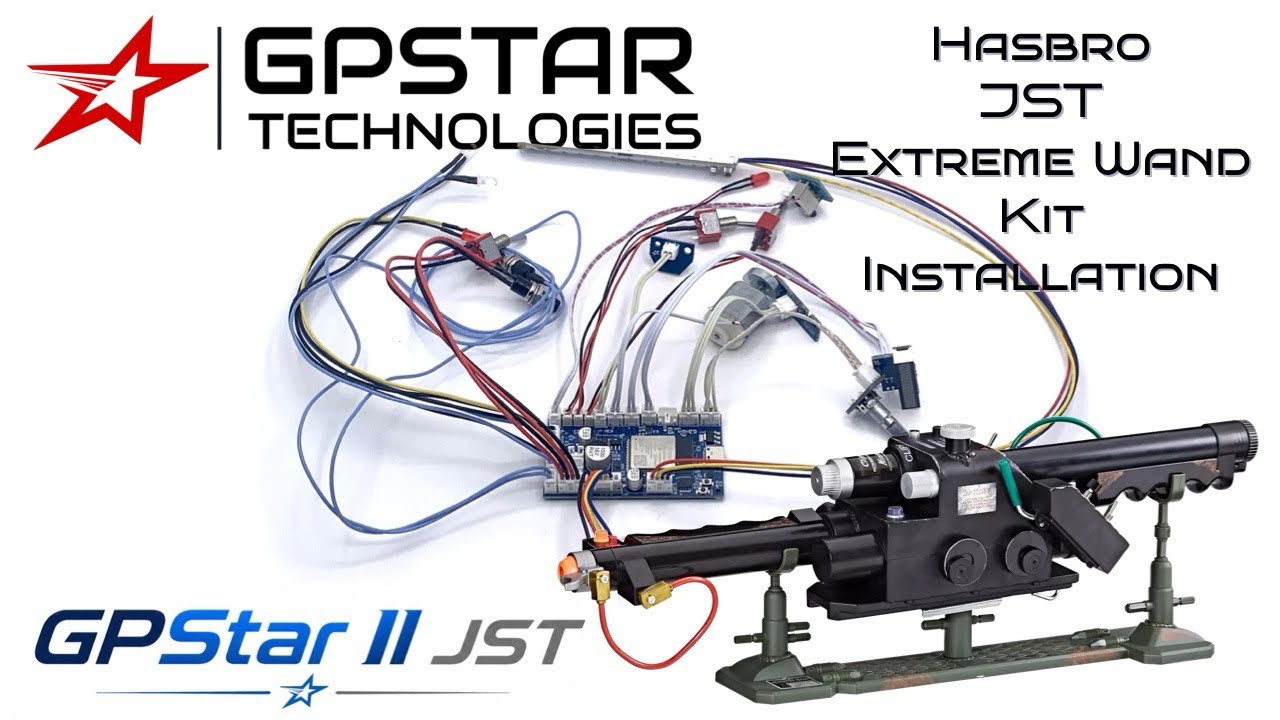
Thank you and I’ve been studying all the installation videos religiously so I hopefully got it lol but I’ve been dreading the wand too if you got the jst kit like me I’ve heard it’s easier but still annoying
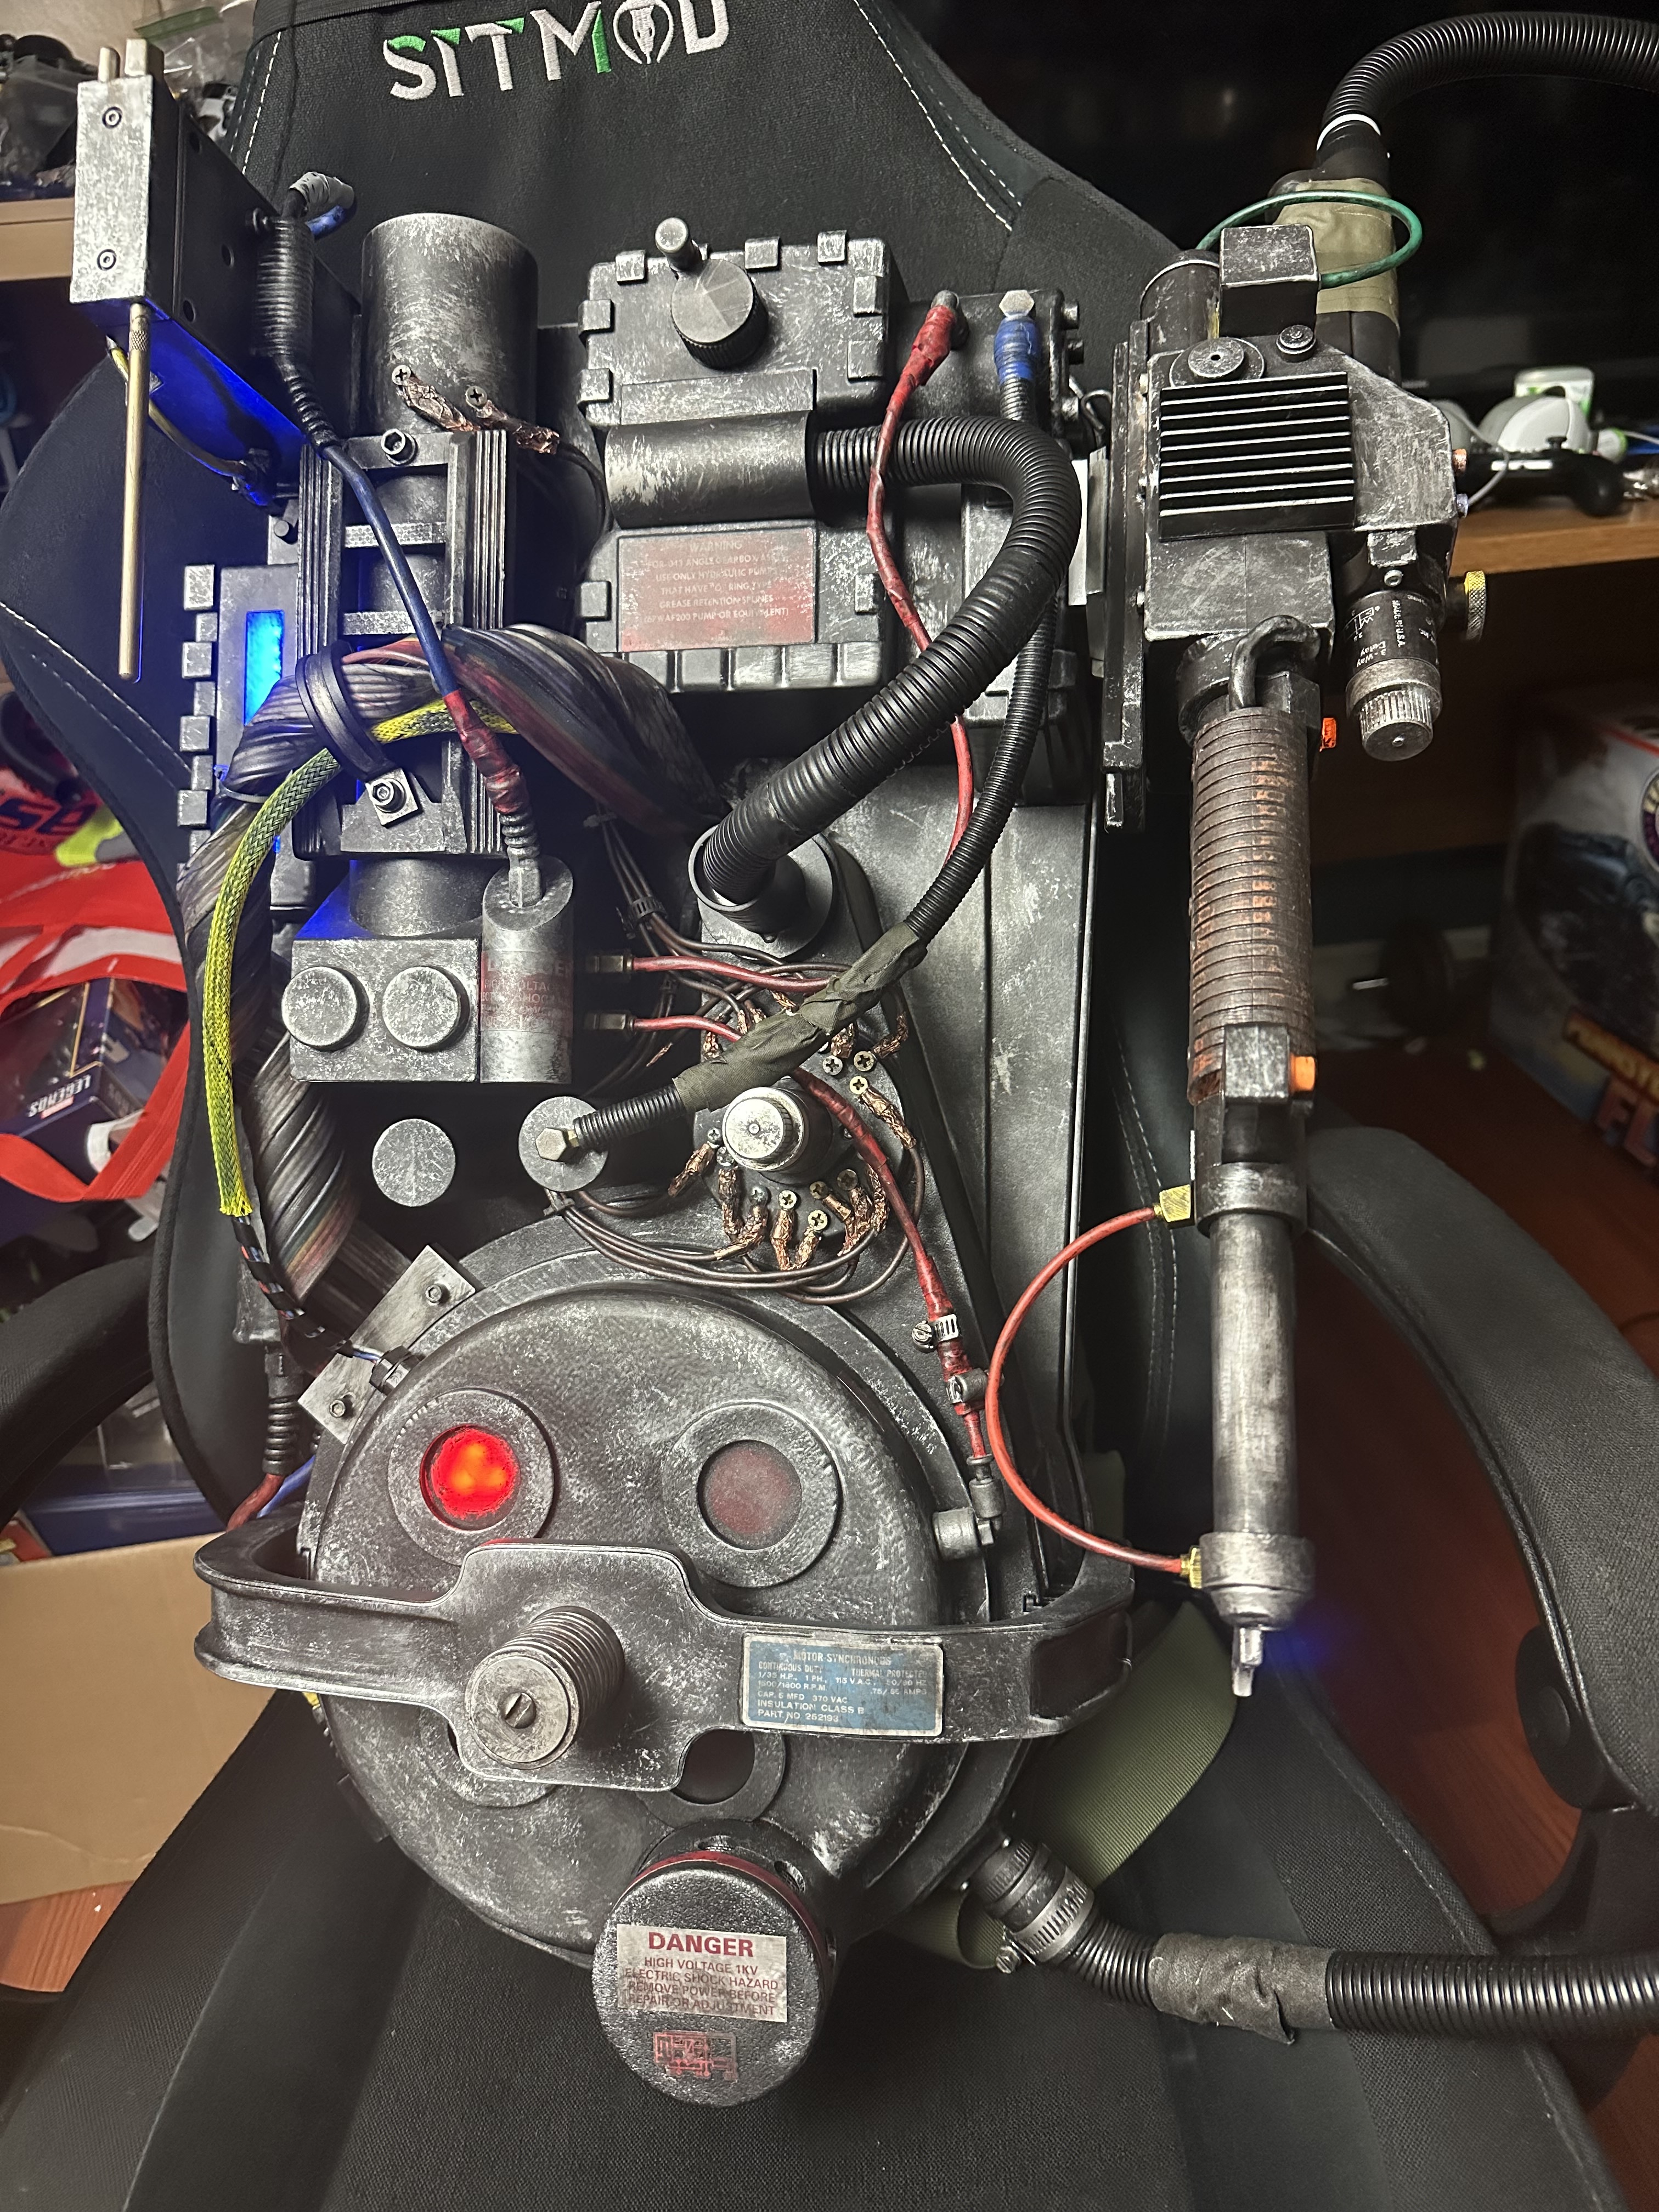
I’ve added a little bit here and there since my last post on this beaut so I wanted to share
Moved some wires around to be more accurate to the phoebe hero packs which makes them pop a little more along with getting rid of the fake bolts and p clamp on the ladder and put real ones there
Added the black cable with it’s correct brass fitting plus the spring clamps along with a beefier shotgun grip to match the real one and did a barrel twist mod
Added the wires coming out of the split loom I got it as best as I could with what I had and I think it turned out cool still inaccurate but I like it
Painted the cyclotron but I’m yet to paint the rest of the interior
Added a Alice frame with a tools and talent mounting kit and the usual inaccurate pool noodle wrapped in electrical tape attached by zip ties as neck foam which is inaccurate to afterlife but for Halloween it’ll do
I’m almost finished with this project I need to add the heatsink, hex tube cap, paint the interior, and add the proper hose but I’m just waiting for my gpstar kit to arrive before I replace the that and to add the gas mask tube on it
Besides that I’m really proud of how it’s turned out this far
Okay so the wand install wasn’t too bad, but you’ll definitely need to watch that video!
Also a little tip I picked up, make sure you label all the wires as you install the components, as once you’ve got everything in there it’s a bit hard to see/remember which wires are which when you go to plug them into the main board.