Yeah, with Crix’s board.
Oh ok. So i guess his has an amp built in?
Nah, mburkit recommends this: http://www.electronickits.com/kit/complete/ampl/CANUK153.htm
I think I may go with that rather than the kit I was looking at, as it “comes with” a potentiometer (which I plan to detatch and use with the front knob of my gun for volume).
Oh, actually, this was the kit I saw at Frys: http://www.electronickits.com/kit/complete/ampl/VEK4001.htm
A little bit of progress made today.

Looking good. I’d lose the washers under the toggle switches though. Just move them to the inside. The movie throwers didn’t have the toggle switch washers.
Yeah, I noticed that after (the trigger box is correct). No big deal, I have to remove them to paint it anyway, obviously.
I also have to do some work to the bottom plate and/or gun body, as the plate doesnt fit on the body properly. It’s almost like its warped…
Lookie lookie what showed up today:

Grind down the frame flush around the bargraph. The real throwers have a piece of acrylic over the thing.
Yeah, and the light kit I was looking at the other day had a frame that you insert so I’ll probably do that. Just not sure how hard resin is to sand, havent tried it yet. Wish I had a dremel…
Resin isn’t too bad to sand, but go slow and try not to inhale too much of the dust. And I don’t know anything about a frame. I’d refer to jackdoud’s gun light thread and see how he did them.
Woo look what showed up!
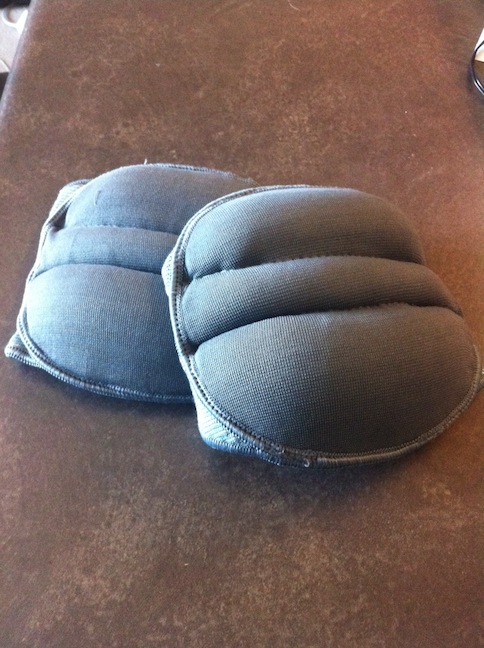
I also started assembling my thrower, and had to fill a few screwups I made 
I also started working on repairing my shell. Man, this thing is in much worse shape than I had originally thought. Theres cracks all over the place. I thought it was just a few bad spots, plus the two bottom plates that were bad. Yikes. I’m tempted to sell this one and buy an undamaged one…
I tried sculpting one of the bottom plates, and it came out okay, but I decided I wasn’t happy with it and scrapped it. I’m not sure how strong/stable it would be anyway. Heres a pic:
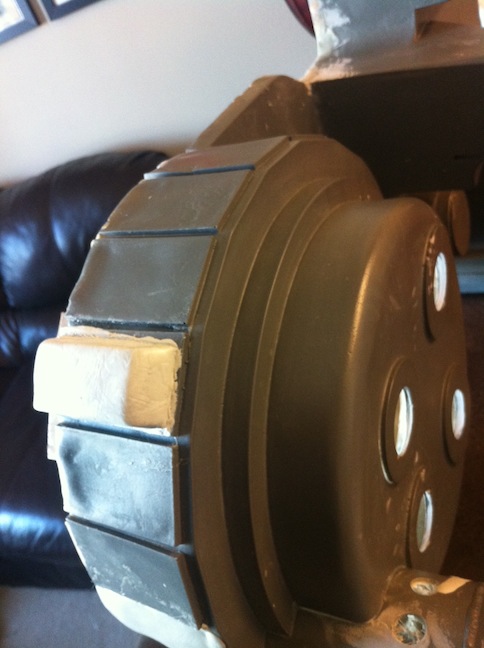
And finally, I ran across this today while out shopping… I couldn’t recall if the red stripe on the N-Filter is 1/4" or not, so I grabbed it anyway:
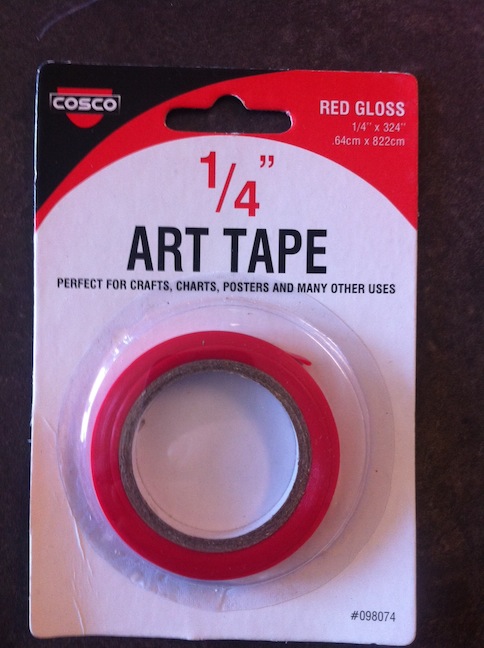
It’s 1/4". Automotive pin stripe works well.
Been too long since I updated this. I’ve been doing a lot of electronics work lately. Getting Crix’s sound kit (while extremely plug n play) has sparked my interest in learning about electronics so I’ve been spending a fortune on components and stuff 
Today I got my order from the GBFans store of some various things, and my flight suit and pistol belt. I ordered a XXL because the store said it was correct for my chest size. And while it fits in the chest well, the legs are a bit long. Unfortunately they can’t be hemmed because of the zippers, so I’m not sure what I’m going to do. It might be fine once its tucked into boots, though.
Have you managed to get all the wires through the slo-blo box to the trigger box ok, its the one thing thats totally confusing me. If you havent, good luck.
Yea, just drill a hole through the side all the way to the slo-blo opening.
Was thinking of getting a square of khaki velcro to put on my uniform so that I can swap out various logo patches. I know it won’t be screen accurate but it’s better than having to buy multiple flightsuits. Thoughts?
Almost ready for paint!

I’m surprised the handle looks that low in the gun box. Did you use smaller PVC?
I think that could just be the angle of the photo:

I don’t like the big fake welds some people do, so mine is just smooth.
Yesssss I found a 48R nomex suit on ebay for $20! Gonna have to remove the patches from the GBFans flight suit I bought already…