thanks bigi71!! must say seeing your scratch built pack progress has really inspired me with my own build here. so thankyou for sharing your build with us 
been working on a few other little parts today so will have some more photos up tomorrow 
thanks bigi71!! must say seeing your scratch built pack progress has really inspired me with my own build here. so thankyou for sharing your build with us
been working on a few other little parts today so will have some more photos up tomorrow
Hey Nick thats looking gorgeous!
I said it before but I love the finish on this! How cool do these part look as they are unattached to the pack!
superb!
This angle is actually too much for GB1. The edge of the male part of the hook (right edge in the pic) should be flush with the edge of the block under it. For GB2 I believe they just flipped the block under it which then causes the hook to be at a “better” angle for grabbing it off the pack.
Super glue isn’t ideal for working with styrene, it will provide pull strength but not sheering strength. So a bump the wrong way and the seam will break. It doesn’t melt the styrene. A better, and cheaper product (since it goes MUCH further) is called Welden. It’s a solvent specifically for “welding” styrene together. Low odor so you can work with it indoors and you don’t have to worry about getting it on your skin. You also have about 10 seconds to align the pieces before they start to set, though it’s not fully “hard” for 24 hours. Once it’s set though (about 10 seconds) you can keep on working.
thanks for that info namebrand . ill look into getting some of that for sure
No prob, when I started using Weldene (available at hobby shops), I LOVED working with styrene. Made it so much easier.
Very nice work there nick.
You’re right but I think the word you’re looking for is “parallel”. “Flush” means there’s no gap, but as you can see, there’s a gap between the end of the spacer and the male side of the V-hook, as seen in these DVD caps I took:
thankyou for all the kind words guys, and thankyou kind2311 for those great screen-caps! 
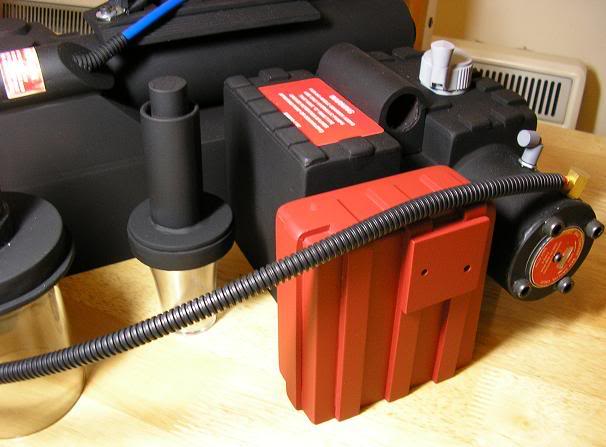
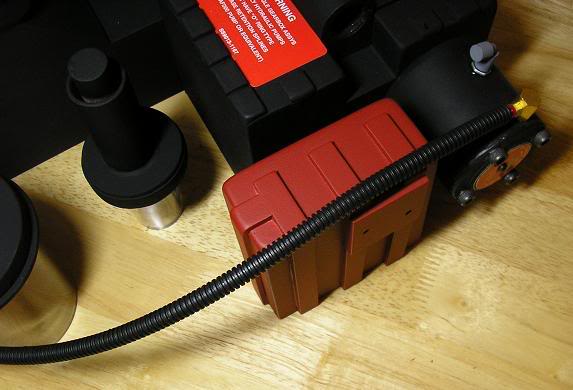
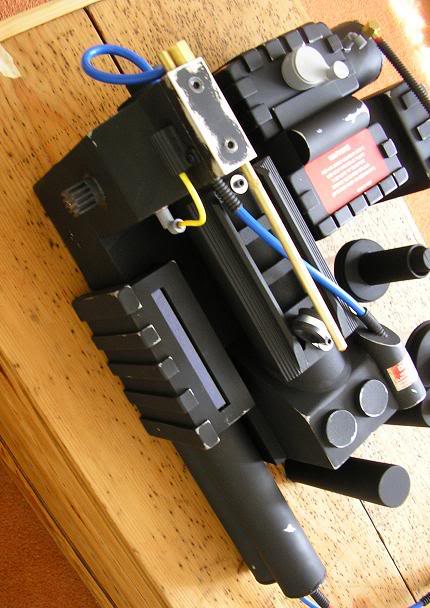
ok, i’ve made a bit more progress with the pack. still waiting for my motherboard to arrive so still can’t do a great deal yet. don’t want to glue everything together and find out its out of line with the mobo. well anyway, ive made the gun-mount box and built the clippard disc and gearbox hose connector. here is how shes looking…
It’s coming along nicely man.
thanks! im dying for the motherboard to arrive then it will be full steam ahead! 
I like how different are both our approach, but yet the completion will most likely be very close to one another. Its very motivating to look at someone else’s progress to compare work, particularly when its someone doing a very great job like you do.
i know just what you mean! i find great inspiration looking through you pack build too. will be great to see how both of ours turn out, see how similar 2 very different methods look once finished
update
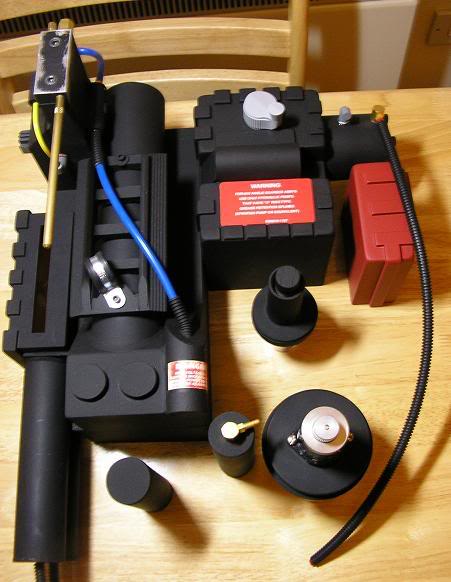
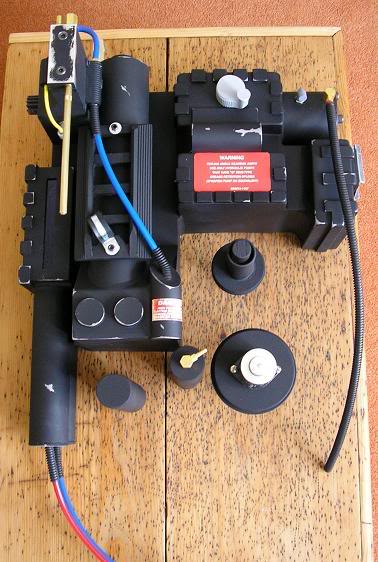
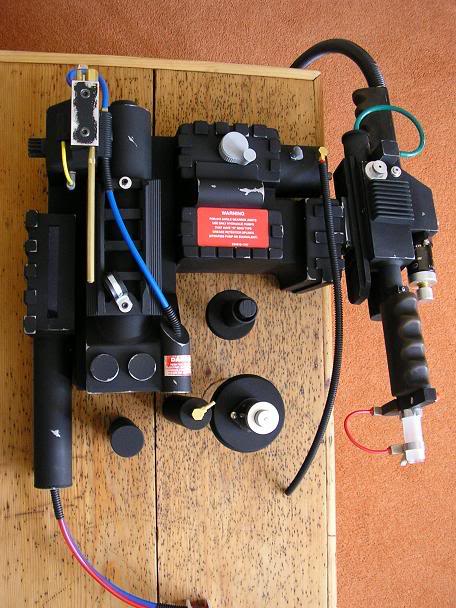
finished the top half of the pack (apart from the small curved corner that goes behind the HGA, need the mobo for that so i can get the right size). gun mount fixed on and painted, power cell lens installed and a basic weathered paintjob (going to work on this alot more when the whole pack is finished, its just to give an idea at the moment). here are some photos…
and a shot of the thrower attached…
Now THAT is sweet!
Nick once I have my pack finished you don’t suppose I could fly you over here to weather my pack!
sure thing! dont forget to book and extra seat for my big box of silver paints, pigment powders and fullers earth :lol: :lol:
Dude you pack is turning out very nice.
thanks! i’ll try and get a shot of the inside later (you have been warned!)
Lol ok man.
WOw! That is looking great Nick! I am really looking forward to seeing this when its finished. Great pics of the whole process too.