That or mburkit’s: mburkit's New GB1 Pack Build Thread (Picture Intensive) - Proton Packs - GBFans.com
[quote=“bobob”]
[quote=“bobob”]
Items i have so far.
1: Alice frame. (straps now fitted right)
2: a second alice frame
3: A pair of JL audio car speakers 4.5 inch. 4ohm
4: Canakit 7 watt amp.
5: Replica props sound chip.
6: board for sound chip
7::grey pistol belts x 4
8: nomex flightsuit
9: lenses for pack
10: leg hose
11: a few items from M M M
12: motherboard
13: shock mount knob
14: sevv`s shell
15::Jupiter electronocs. Pack light kit.
16: Jupiter electronocs. thrower light kit.
Items i have on order.
1: lc-1 alice frame lower strap.
Parts to order when ready.
nick-a-tron v3 wand
Well today my shell turned up and so did my Jupiter electronocs light kits.
As my shell did not turn up till about 4.00 today i diid not have time to do a lot but this is what i have done so far.
1: Fit the booster tube to my shell and screw it in place.
2: Drilled the holes in the N-Filter, And then added four screws to hold it to the shell.
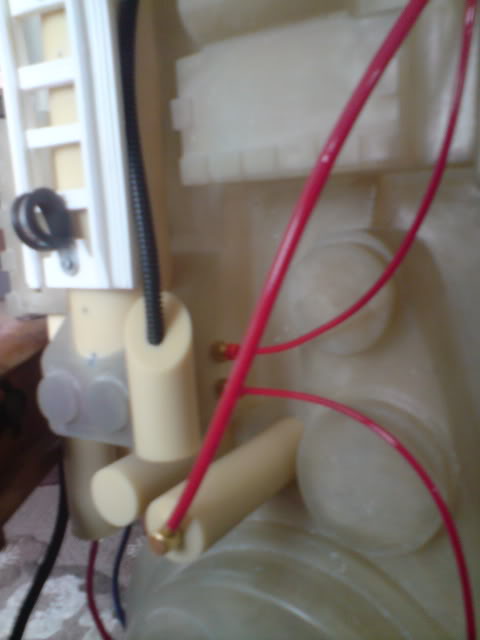
3: Inserted a big long screw to the top of both injectors.
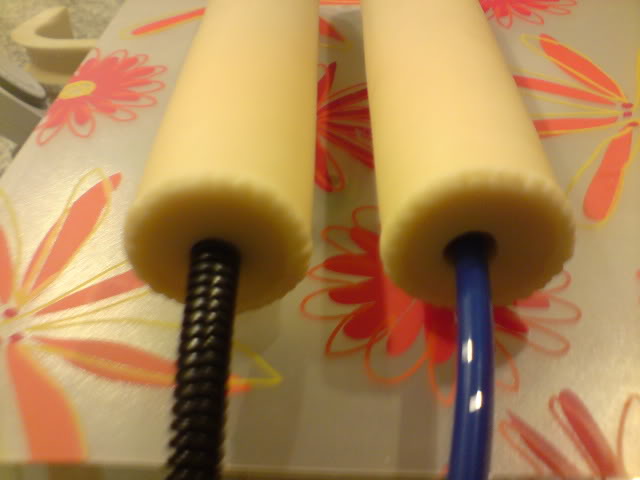
4: Then made a big hole in the bottom of the injectors to house the red and blue hose and the corrugated pipe.
5: cleaned up a few resin parts
Tomorrow will try and find a item to use insted of the hollow tube that comes with sevv`s shell. And fit a few more items to the shell.
Still unsure on how i will fix my ion arm to my pack yet.
Here is a photo of both injectors ane as no corrugated pipe fitted to it yet
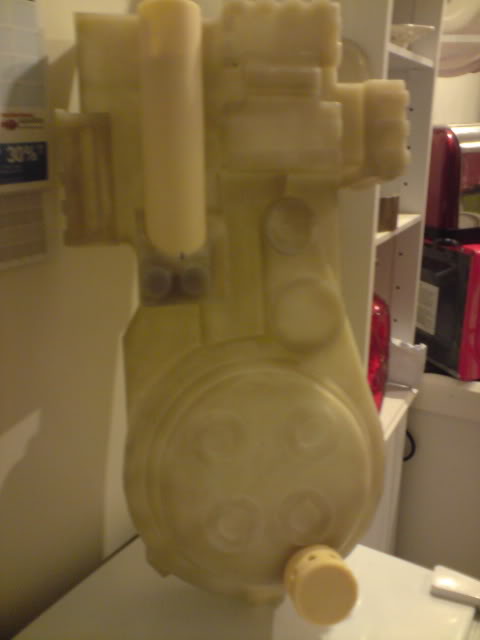
And here is my pack with the booster and n-filter fitted.
I had a resin ion arm off nick which is hollow so has a hole at the bottom. What I did was get an piece of mdf about 25mm thick and cut it to the size of the hole at the bottom of the ion arm. I then drilled 4 holes one in each side of the ion arm. Countersink the holes ( fairly deep). I then glued the wood inside the ion arm and screwed it as well so it’s nice and strong creating a bottom face for the ion arm. I then filled the holes in and cleaned the filler up so the heads of the screws could not be seen. I then drilled 2 holes through my shell and screwed the ion arm to the shell from inside the shell. The metal part of the ion arm at the top was screwed in place. I drilled and tapped the holes and used the m4 bolts that were supplied with the ion arm. I glued the resistors in place onto the ion arm but drilled some holes were the screws are and glued the screws in place. I think I have pics in my pack build thread of the wood in the ion arm. Also to help out with the weld I got a tube of poly fillet from homebase or b and g. The type that you use the gun to squeeze the fillet out. I then went up the sides squeezing a small amount out to create the weld. Takes about 24 hours to go off fully maybe a little longer with the cold weather.
Today I got up about 6.30 and done a few more things.
Most parts i have now fitted to the shell.
cut out the power cell area to fit the blue plastic.
Need to buy a bit of car filler to fill in a few holes onLy minor THINGS
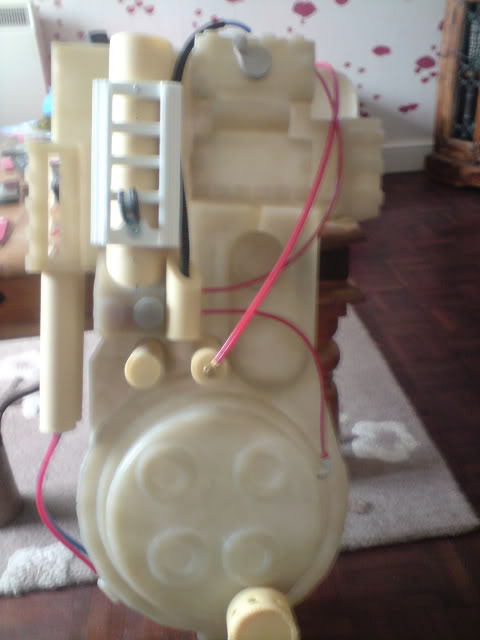
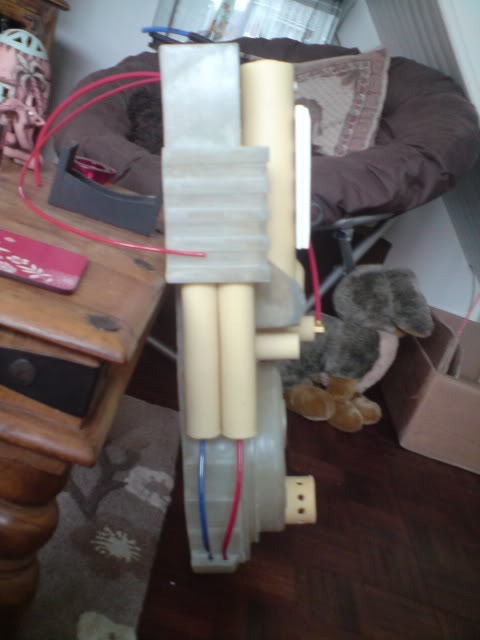
Pack is coming together nicely now. Looking forward to seeing the jupiter electronics gun lights as im looking at ordering some myself as i want to update my lights in my gun.
did you order the clippard R-701 and R-331 off them as well as i was thinking of changing my resin versions for some real ones.
Looks pretty sweet!
Just some friendly critiquing here, but I think your Booster Tube might be a tad off center. If you were facing the pack, it looks like its a little too far to the right. I could be wrong though.
I have had a play with the light kit. seems well made if you want me to do a wideo i will for you.
I will be using resin ones for now.
looks o.k to me might be the angle of the photo.
yeah a video would be good please showing what switch turns what light on thanks
Done a few more things today.
1: Added some wood inside my ion arm.
2: Added some wood inside the HGA.
3: Fixed the L shaped brackets to the motherboard.
4: Fitted the ion arm to the shell.
5: done some sanding to the thell to fit motherboard better
Today i done a few things to my pack.
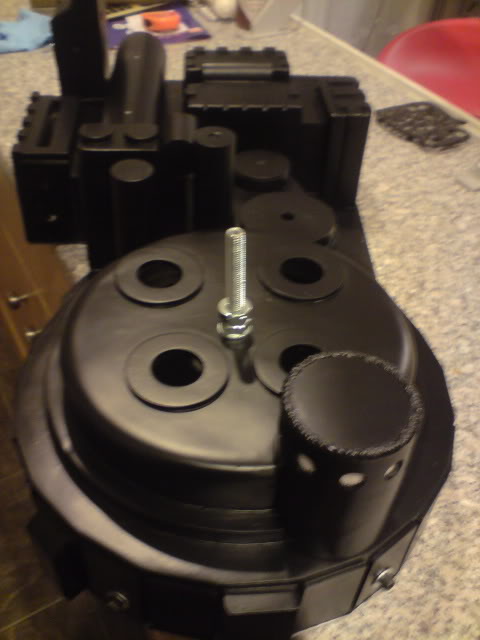
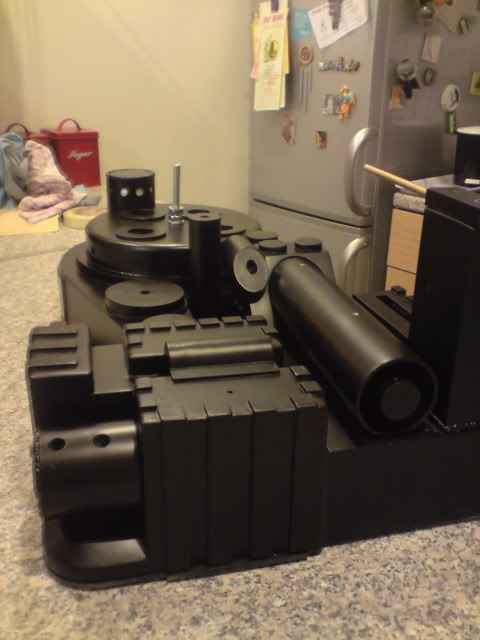
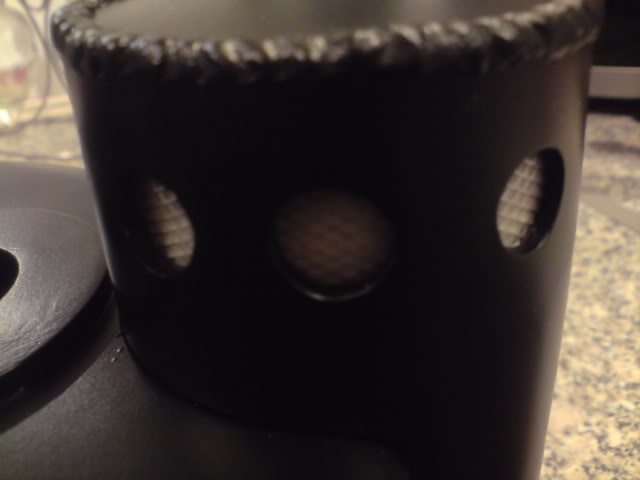
Added some black paint.
fitted mesh to the n-filter.
Trimmed the motherboard to fit a tad better.
Made holes for real clippard vavle.
i have a a few items that need a new home
a pair of Multi Media mayhem clippard valves,
Well here here is my almost complete pack. I have to fit a red and blue perspex lense as the glue went everywhere. .
Fitted the light kit to the pack and made holders for the leds, i thought it was a tad bright so added some red felt i think now it looks great. Even made a alloy plate to hold the board in place.
The part that took me a long time was the Spectra cable. it just looked ■■■■ so i had a great idea. cut a small length of garden hose and wraped the cable round it. the now fits nice and snug in the clamp on the booster and into the hole in the pack.
here are a few photos of the pack now.
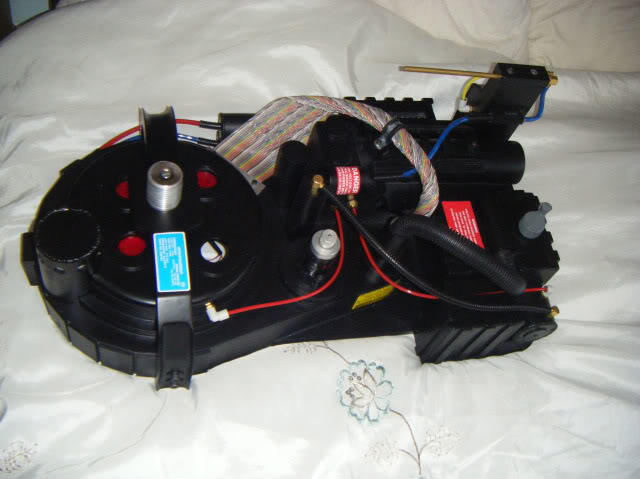
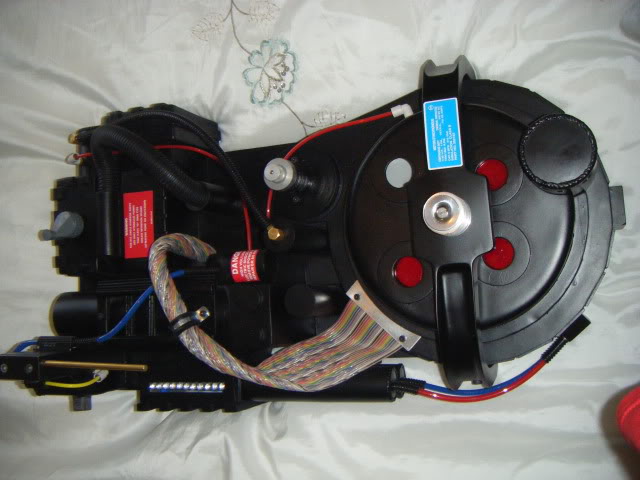
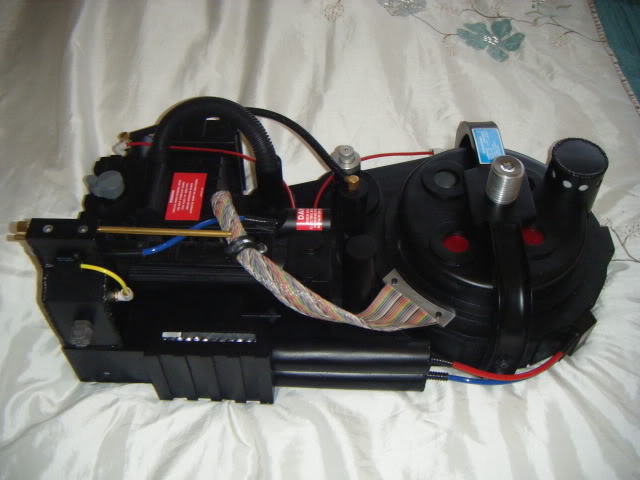
Here is a video of the light kit.
Pack is coming along really good. Can’t wait to see it finished. Are you weathering the pack or leaving it as it is
Thats a great pack!
think for now i will leave it as it is.
will look even better when i have one of your throwers fitted to it.
i have ordered lots of parts off nick and i have to say his parts are excellent quality and really good. Hardly any cleaning up to do on his resin parts. You having the individual parts for the thrower or the new complete cast thrower in the 2 halfs
As his new thrower could be a few more months i went for the v2 thrower.