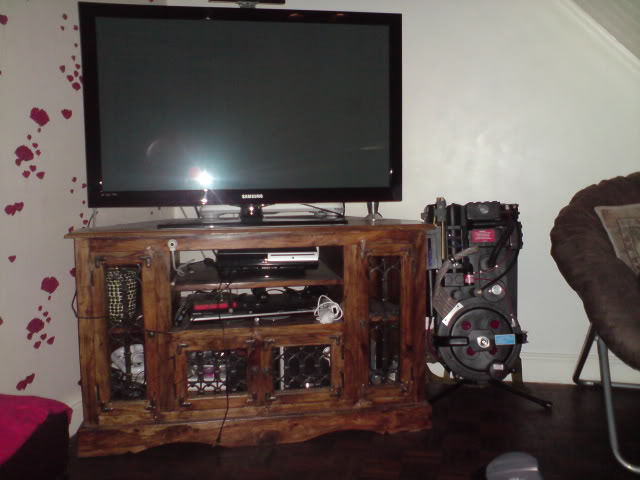
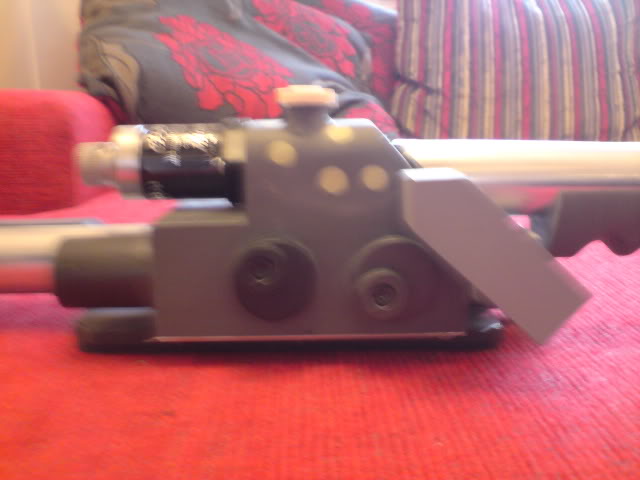
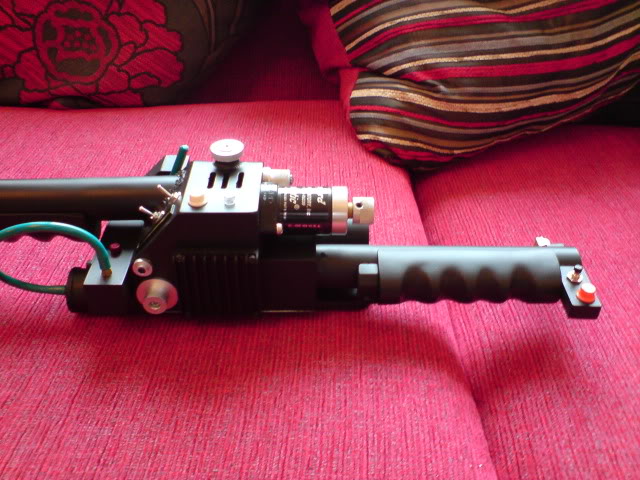
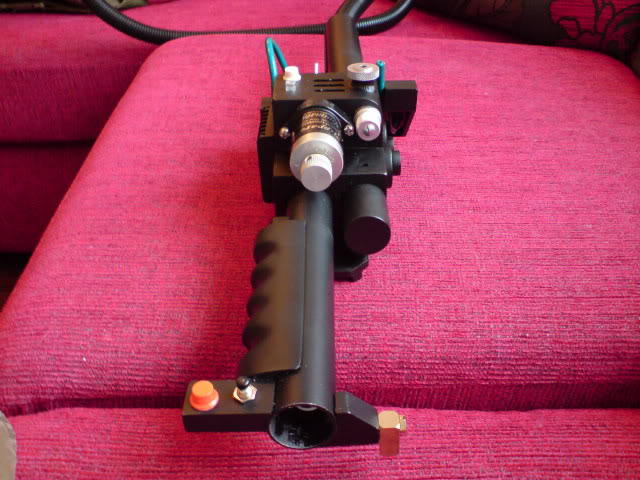
As it is raining heavy here and my quad bike is still in need of a set of front break pads. Done a few more things to the pack. fitted it to the alice frame. And tryed it on…Good god thease things are heavy.
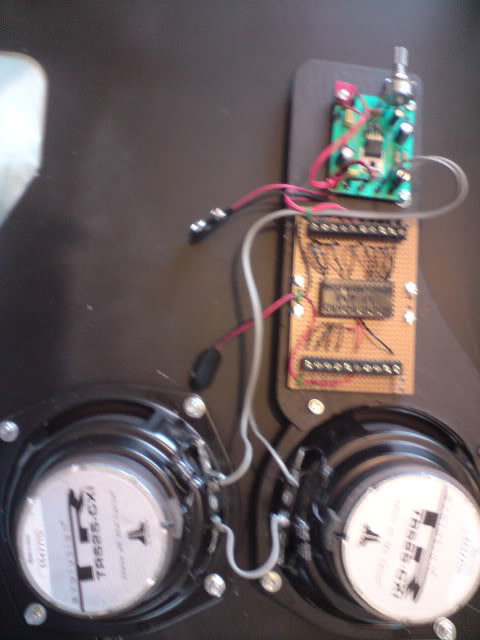
Well after the shock of the weight thought well i better add the 2 car speakers, Drilled and mounted them to the motherboard.
fitted the new perspex lenses that i messed up,
Fitted an external switch to turn lights on and off.
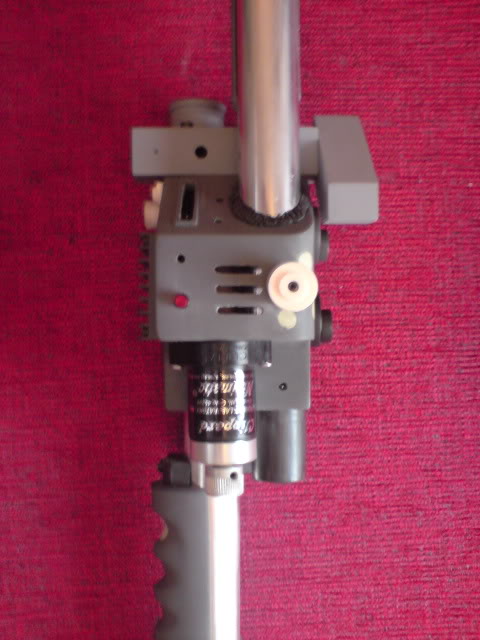
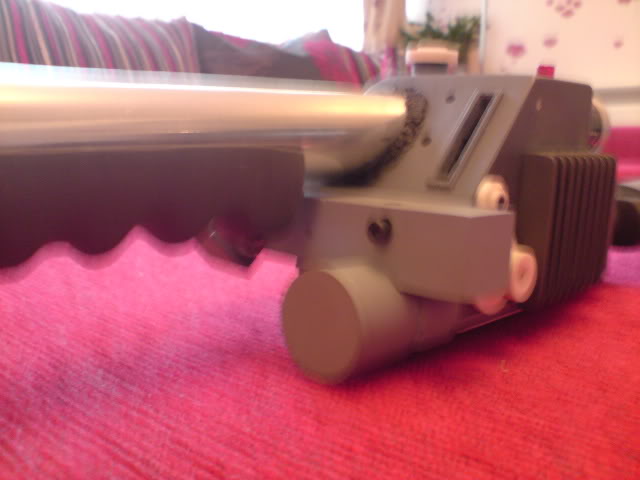
But finding it very hard to fit a few parts. Finding it hard to fit the trigger box that fits the left side that holds the 2 switches. Need a good photo of this part fitted to someones thrower.
And on some throwers noticed a part that comes out between this part and normaly as a green bit of hose over it what is this part ?
it’s a lever, most people use a bit of bent wire or a L wrench and then take a small peice of the tubing that goes from the slow blo box and put it over it.
Might want to make sure you drill all your holes for the clippard barbs and switches before painting… Drilling afterwards if not done carefully can wreck the paint
The red light cover goes on the rear lower peice not on the top of the main thrower. I would hollow out the back of the gun ear for the push button switch and orange hat light before painting.
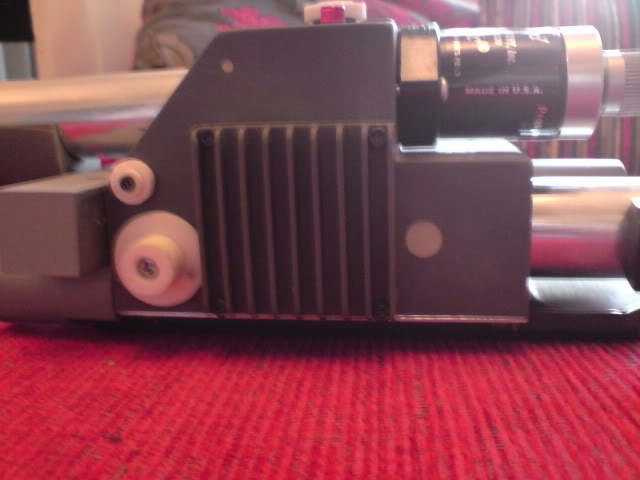
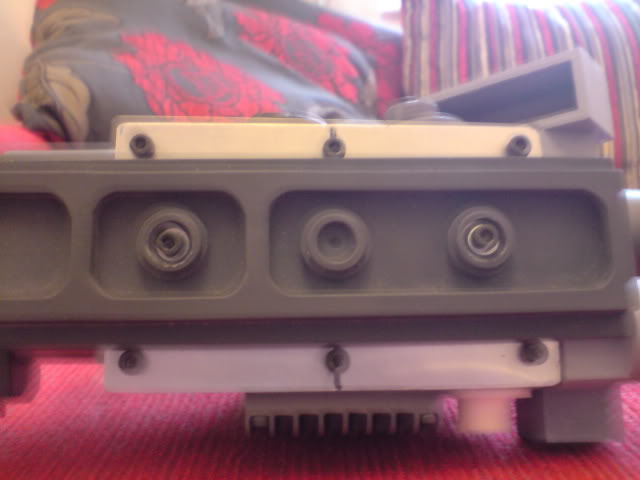
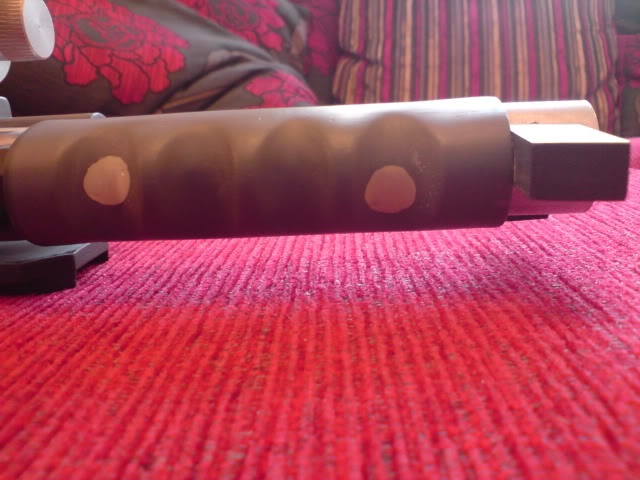
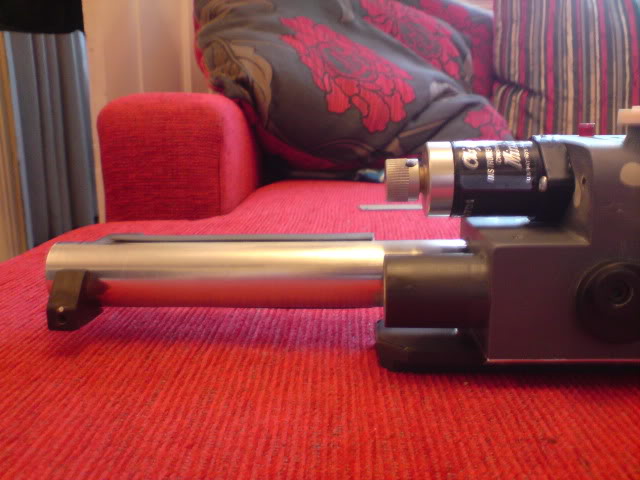
Finished the thrower apart from the clear end tube. fitted thrower to pack and wired everything up. still not got the push button to do the streams and sound yet on its way from hong kong
Pack looks great! How many lights does the power cell board have on your light kit? Looking at Jupiter’s sales page, the board only has 12 lights, and I thought an accurate board was15. However, your powercell looks like it has the 15 lights. Did you make a custom order?
No it as 12 leds but there about the same size as a D cell mag light bulb. When i first had the leds working with the sheet of blue purspex i thought it was way to bright. so in the end cut up an old playstation 2 game box (BLUE) and put that behind the blue purspex this as done an awsome job. And i did not like the 6 red leds for the red sections so for eatch of them i used a small peice of red felt.
The thrower looks really good. Just seen your video. You pretty much have it wired up the same as mine. Did you put a led in the orange hat light on the gun ear.