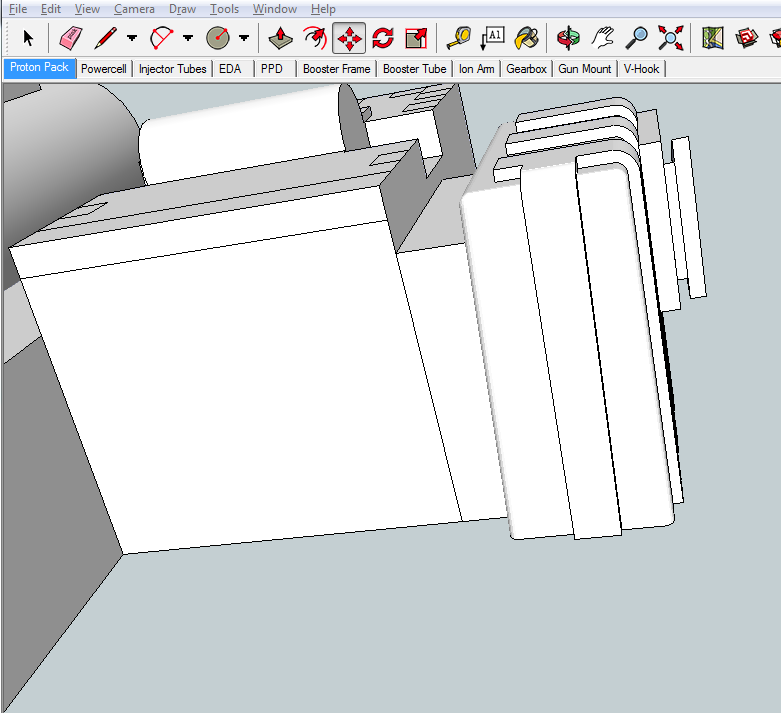
New GBFans Pack Plans

Summary

Introducing the new GBFans Pack Plans project. This project is a community effort to modernize and make newer more accurate Pack Plans with all of the little changes that have been discovered since Stefan’s plans were created. These plans will be somewhat idealized to account for changes between the different pack shells.These plans will have all of the odd angles and tapered edges.

The project is headed up mainly by Cole Funstuff at this time. We are looking for more contributors who will adhere to the system we have in place.

Sketchup

We are using Sketchup to create these plans. Sketchup is a free 3D editing system that anyone can download and use. This is the only software we will be using to create these plans at this time. If you plan to make changes or submit files, you must be providing the Sketchup files.

You can download Sketchup here: http://www.sketchup.com/

Github System

We will be using “Github” to keep the files organized into a repository. This is going to be the only place for the official files at this time. Once a few ‘stable’ releases have been done, the files will be hosted on GBFans. Github is a very important tool for maintaining revisions and also for allowing collaboration. You will be able to download the files, and modify the files into your own “Fork”. We will be monitoring any forks, and if you make good changes we will merge your changes into the main file structure.

https://github.com/ajquick/GBFans-Pack-Plans

Available Files

There will be 3+ different sets of files. This list will explain the files and how they can be used.

-Main Sketchup Files

These files are the ones that will be edited and maintained to make changes. You can edit these files directly in a Github fork. If your changes are correct they can be merged into the main system. These are the only files you should be making changes to. The following 2 categories are dependent on the main sketchup files.

-Drawing Files + PDFs

These drawings are generated from the Sketchup files. They are similar in style to Stefan’s plans.

-STL Files

These files are generated from the Sketchup files. They can be used for 3D Printing, and Github can use them to quickly visualize the changes between file versions.

License

These plans are protected under the Creative Commons ‘Share alike’ License 4.0. These files are open to be used by anyone for any purpose. You can use these plans to make parts to sell, you can use the 3d files to have parts 3d printed to sell. You can use these plans to make your own plans as a derivative work, but you MUST share alike. That means you must make your plans as openly available as we have made ours. You must make any derivatives open source in the same way we have done ours (with master files available for editing).

As always. You must give credit where credit is due. You must attribute the plans you are using as “GBFans Pack Plans” with a link to the project. If you contribute to this project, you must agree to this license. Meaning, you will not be considered the main author even if you submit a large amount of files. (You can add yourself to the list of contributors on the Github, and and mention which files you’ve authored).

Here is the license information:

image

This work is licensed under a Creative Commons Attribution-ShareAlike 4.0 International License.

Files are now up on Github.

I’d recommend you download the Github for Windows and keep a copy of the files synched to your computer to stay up to date with changes. Currently the top half of the pack is modeled and STL files are available.

https://github.com/ajquick/GBFans-Pack-Plans

Please download Sketchup and give feedback in this thread for changes and improvements. If you have the ability to work in Sketchup, please synch the files and start making changes / improvements… just make sure to discuss them here!

Let’s get this ball rolling guys! I know we can finish this off. :slight_smile:

I apologise for my recent absence. Family breakup, relocation requiring new job etc. etc. no internet at home til now…kept me away.

Great to see the project is still moving.

Sorry to hear about all that glad to see you are back.

You in for this project?

Good to see you back, Ramjet… although sorry to hear of the circumstances that arose during your absence.

Whilst we would definitely love for you to resume work on the project, if real life events would prevent you from doing so, we’d be more than understanding. :slight_smile:

Sorry everyone, I haven’t been able to put much time into this for the past couple weeks.

As AJ said, my files have been posted to Github. If you download the latest SketchUp, you should be able to open and play around with the model. I was working on the gearbox at the time and was trying to get the “finished” parts laid out in PDF form to be uploaded as well.

If people can keep the discussion rolling on the spacer and gearbox, it would help in keeping this moving forward. I can still model when I find the free time but need measurements to base the design off of.

Thanks again for everyone’s help thus far. Let’s finish this strong!

I had a chance tonight to jump in and mess around with the model. I’ve outlined the changes I uploaded to Github on the site, but figured I’d include them here:

  • I increased the Powercell length to account for bottom fin being slightly thicker than 1/8". This results in the top of the Powercell being 5-1/16" long (not ideal, but results in the desired lengths).

  • I’ve added the Booster Frame based on jackdoud’s work found here: http://www.gbfans.com/community/viewtopic.php?f=42&t=27405. It’s just a rough template but should get us going on the part.

  • I shifted the Booster tube over to account for its offset from the PPD accurately. I initially had it centered between the disks but noticed that it should be slightly off to the right (I plugged in about 1/16")

I’m still trying to figure out the Gearbox if anyone cares to help. If you open up the model, you can see I have the general shapes taken care of, but am still unsure about a couple things:

  • Do the bottom fins have an angle to them as I currently have shown in the model? Several reference photos make it seem like that, but they could be playing tricks on me.

  • Can anyone with a Venky shell cross check the dimensions from the model and let me know if anything stands out as being different. I figure now’s a good time to check before applying all of the rounded edges.

I want to give a couple other parts a once over again (Ion Arm, EDA, and Gun Mount), but should be ready to move on to the Spacer/Cyclotron. I could use a lot of help in this area so any photos or measurements people may have already worked out would be greatly appreciated.

Thanks!

Great!

Now we get to see the power of Github!

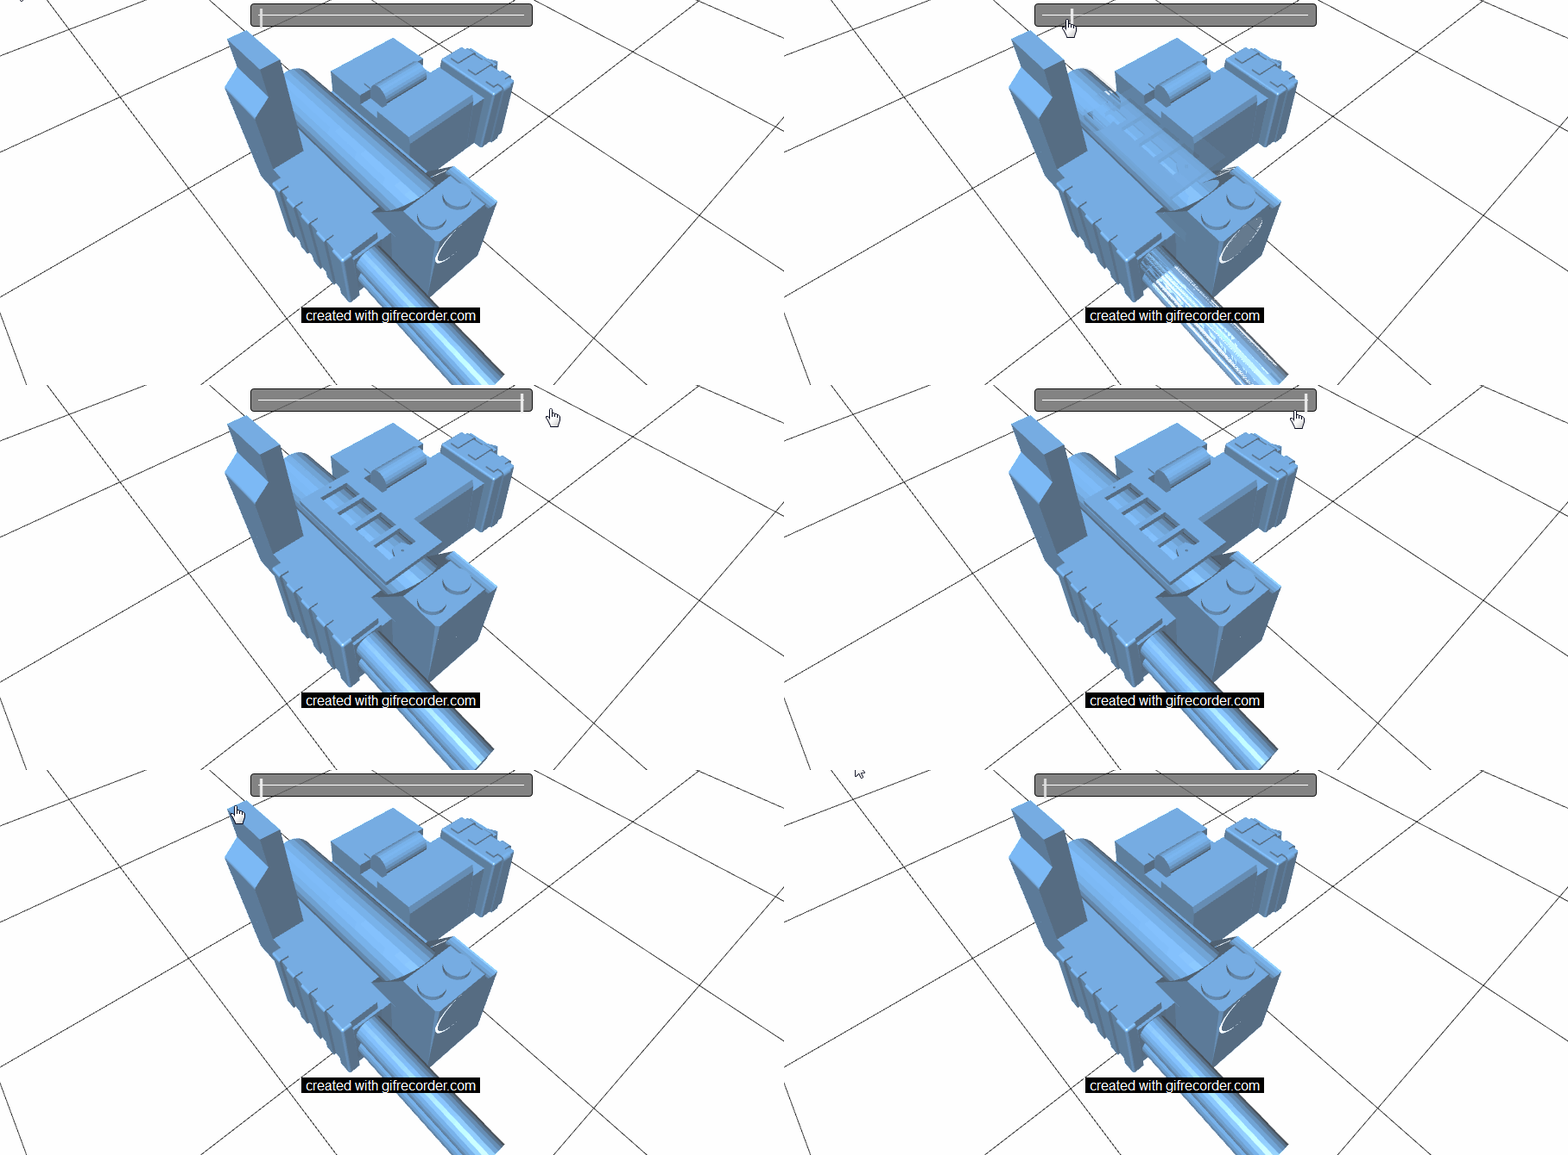
I have exported all the STL files again from the changes Cole made. I uploaded new STL files. With Github, you can 3d visualize the changes he has made. Check this out:

https://github.com/ajquick/GBFans-Pack-Plans/commit/4074ed87a93128e474629198dce5a6f28ef748be

(NOTE: Clicking this link will be very memory intensive. Recommended to do it in Chrome / Firefox and not IE).

Here is an example of what you can do:

image

How’re things going with these?

The files on github don’t match the communit okayed files, but I guess that was just trying to pick up the pieces with Ramjet having done things in Solidworks, while the community push is now going to Sketchup.

I will say, Ramjet’s designs are turning out nicely in my buck build. I do think the gun mount designs need some reassessing as comparisons to the Sony Lobby pack don’t seem to match up as expected. The v hook base is a 2" square, correct?

The community hasn’t said a thing about these files so far. If something isn’t correct speak up and say something or go and edit the files in Sketchup and contribute them to the repository.

I’m gonna get the discussion rolling again, hopefully. We last left off at the gun mount, Cole had posted a good design that accounted for the dimensions seen on the Sony lobby pack.

Looking at the Sony pack, I don’t believe there to be tapers on the sides.

image

In this pictures, they look fairly perpendicular on the sides.

I’ll make a sketchup file on this later. Since I’m doing up a pack buck right now, I’m building a wooden gun mount right now to see how it looks in person and compares to our reference photos. Basically, I’m taking Coles above and flattening the sides. I haven’t locked down how far back the spacer sits, but I’m toying with 3/4" and keeping Ramjet’s 1" spacing from the crank.

Everything I’ve looked at and everyone I’ve talked to show that the gun mount is tapered. I’ve also verified this on a stunt shell cast to be certain.

I’m curious as to which parts don’t match what the community has “agreed” upon. I have been fairly hesitant to change anything or move forward on this as there hasn’t been much (if any) input lately.

I have recently been extremely busy and haven’t been able to produce the plans as fast as I would have hoped. If anyone would like to lend a hand and help, please let us know.

image

That’s as close to the reference photo I could make the model to show how the taper can trick the eye.

The model currently tapers out at 1/8" over the height of the Gun Mount in that photo, which I think looks very close.

Thoughts?

I was going through Venky’s thread update on his casting, and without all the other pieces in the way, the inside taper was easily noticeable. A lot of the ref pictures from the Sony lobby make it really difficult to see the taper. It’s not much, though. Maybe an 1/8"?

I’m also going to apologize for how I came across in my last post. I jumped the gun because the power cell looked different. I didn’t bother to check the actual dimensions, because I’m an idiot.

As for the gun mount, it looks pretty good now. The biggest changes from the original were the height and depth dimensions. Completely off in Stefan’s, but between correcting that and getting the proper tapers, I think we’re good to go. As far as the spacer goes, I’ve left it 1", but I placed the front edge about 3/4" from the front face of the mount.

The Gun Mount’s definitely looking good.

I would dig my own Venky shell out to get a look at the taper, but as we’ve got my brother’s kids staying overnight it’s more difficult for me to access it at the moment.

I’m trying to lay out some framework for the synchronous generator right now. As usual, I’m starting with stefan’s, but adding the fifteenth plate. For the most part, this peice should be fairly straight forward.

What’s the news on the area between the Spacer and EDA?

I know the stunt pack casts are narrower in that area when compared to other packs, but is this correct? I would be more inclined to stick with Stefan’s measurements of ~1.686" (might even look at just making it an even 1-5/8") due to me hearing about potential issues that shell has.

I’ll also begin laying out the spacer in the model to see how it looks with Stefan’s plans. I’m also trying to get the Crankbox finished up, but that part is going to be a nightmare to try and make plans for.

What’s left to do on the crank gen?