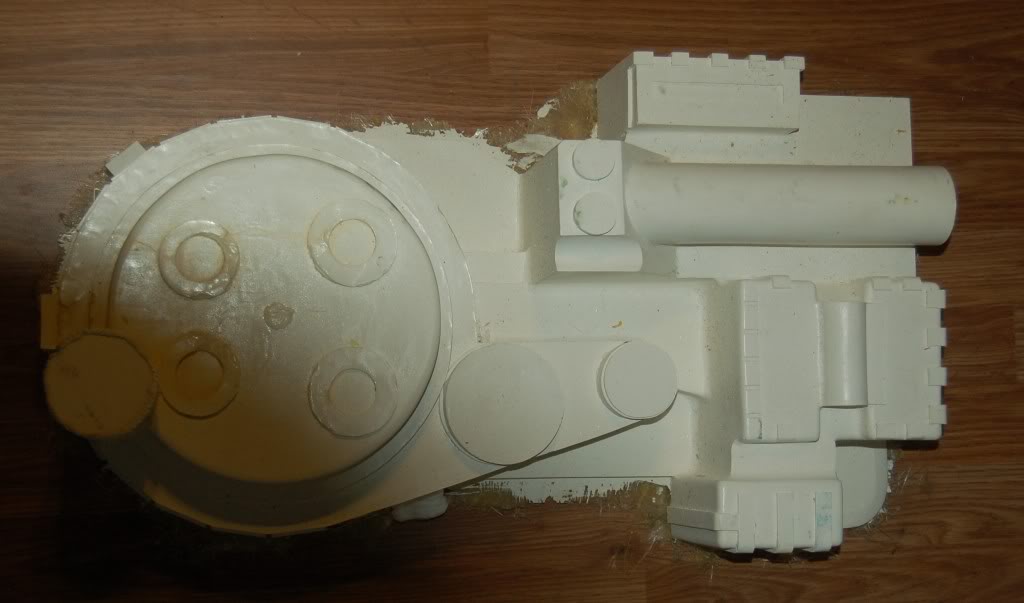
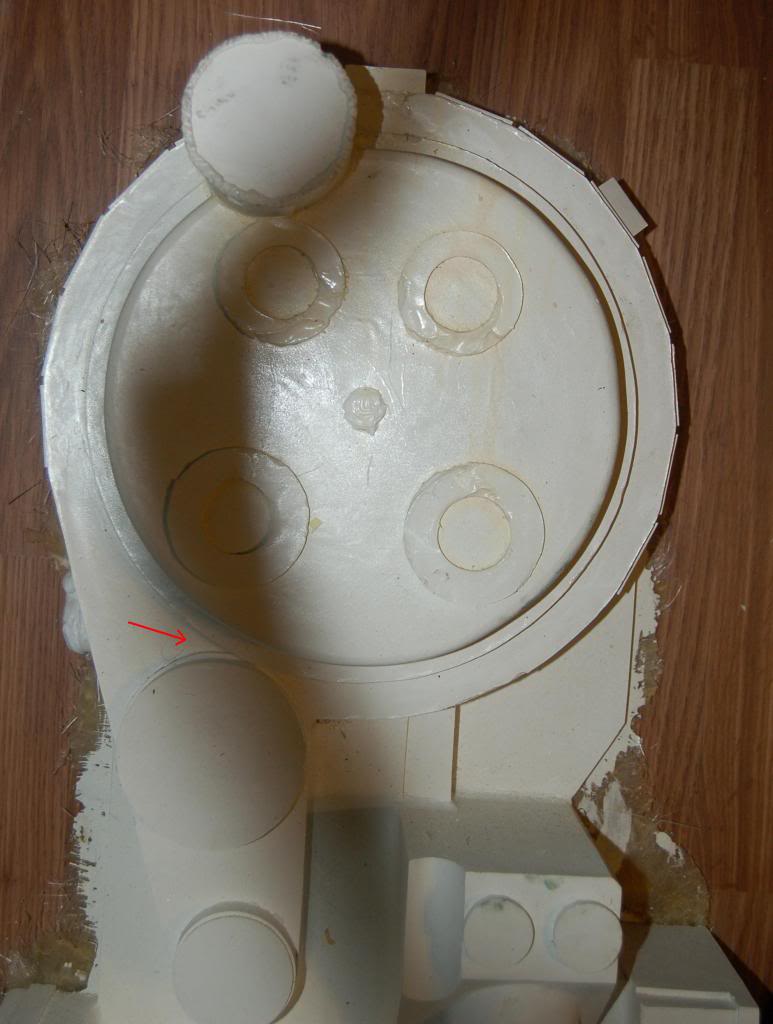
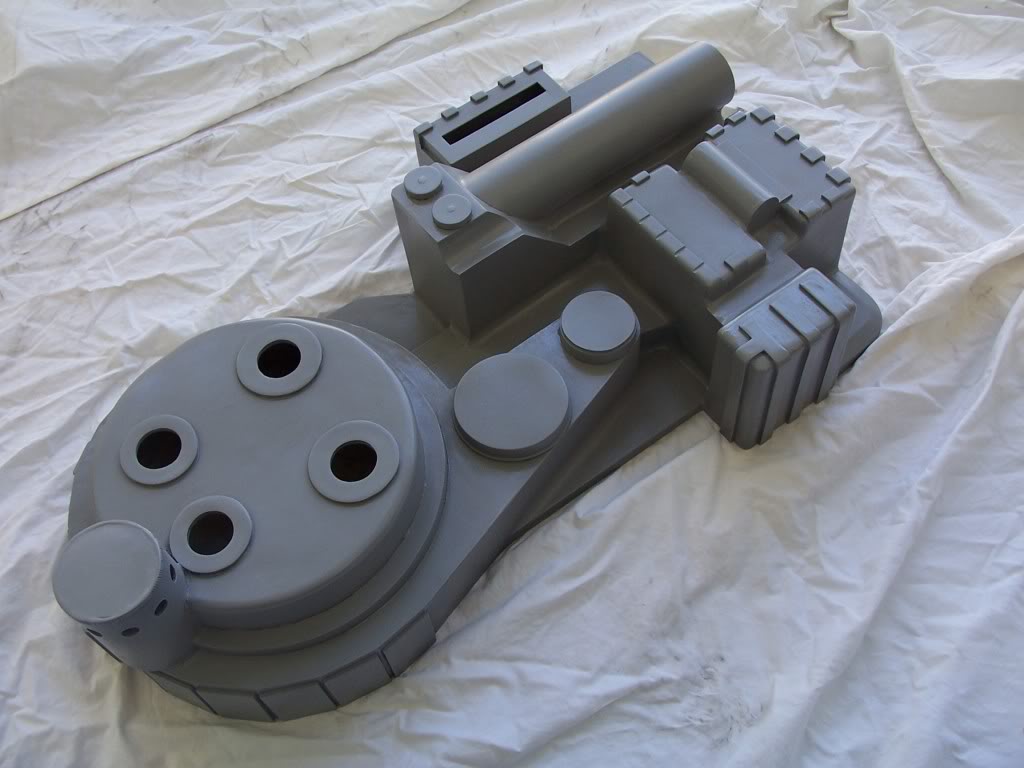
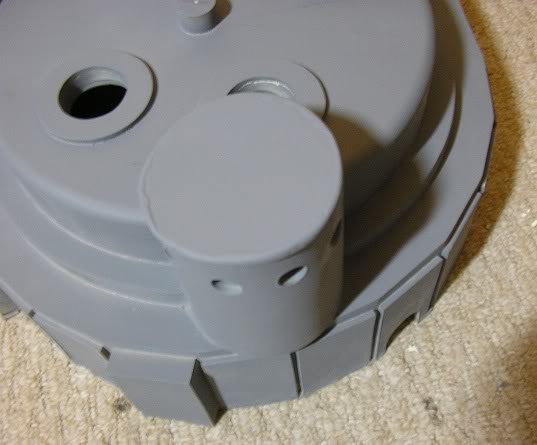
Here we go. Pack number 3 and my 1st using a shell (a funkzilla I think from Ebay). So far its been a case of cleaning up the shell, cutting all the little holes for the doodads and thingamajigs and priming as much as possible.
Heres some photos of where Im at so far. Watch this space
Yeah, Chris had modified the shell to make it more accurate but then decided to go a different way with his build so he sold the shell. And looks like you got it. So we know you will do it some major justice.
Thanks Guys! Ive been working on it inbetween casting up orders. Wish I could have just 1 whole day to work on it. Ah well maybe after halloween.
Matt the shell arrived totally untouched. No conversions at all. i added the nipples and had to trim the “frill” etc myself. Infact here is a photo of how it arrived. Which makes me doubt this was Chris’s. Hmmmmmm.
Thats definitely not the shell I sold. The Funkzilla shell I sold was heavily modified and didn’t require any clean up. But someone here on the boards did purchase it I just forgot who.
Your build is coming along really well Nick it’s going to make a very nice pack.
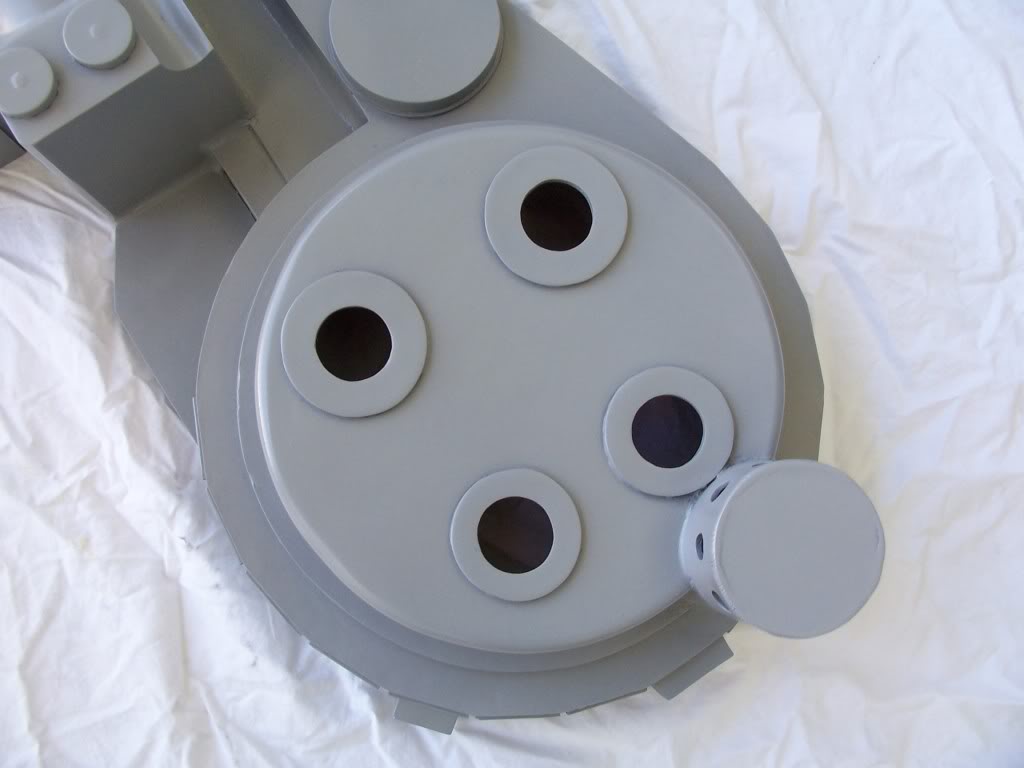
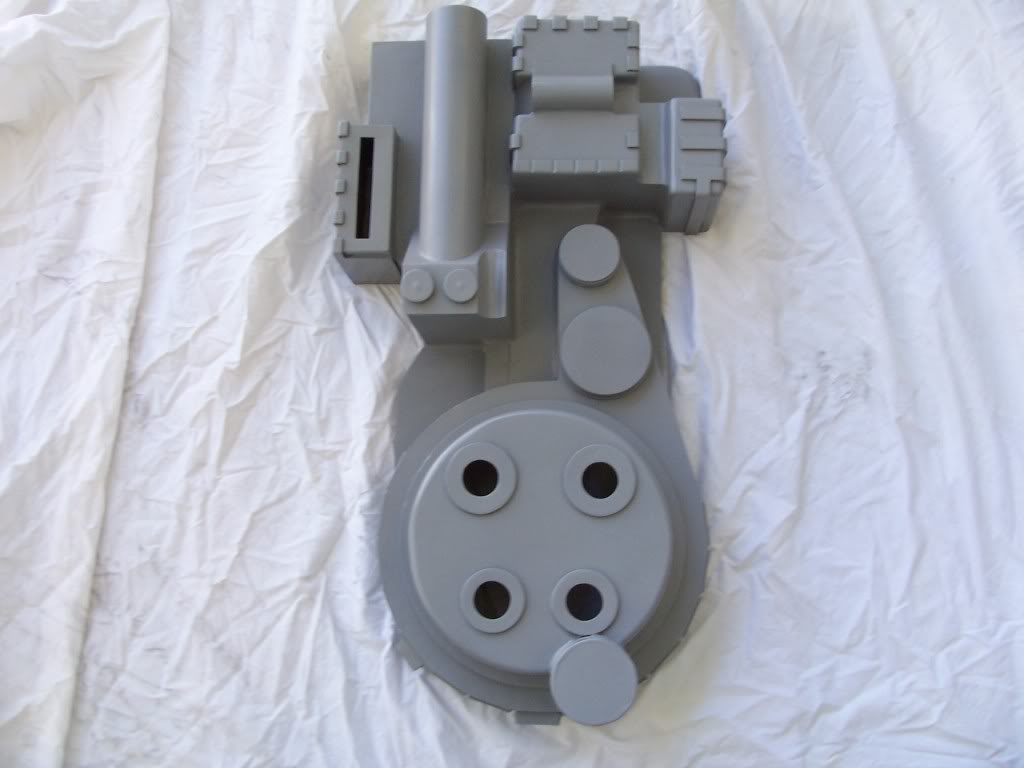
It was in pretty bad shape nothing that couldn’t be salvaged but required a lot of sanding, trimming, filling, and resculpting. The cyclotron rings were pretty much gone and had to be resculpted. The Clippard spacer was also to close to the cyclotron so that was hacked off and replaced with your resin spacer Nick :-). The top of the booster tube had to be resculpted as well. Hacked of the N-filter weld and added a more realistic looking weld. The EDA discs were cleaned up and ■■■■■■■ were added. That’s all I could remember for now. I’m not putting down the shell at all, for it’s time it was a great shell for a economical price and makes a fantastic looking pack.
John/Namebrand had the same shell and he did two times more reworking then me. The thing that bothered me the most about the shell was the cyclotron rings are not in the correct place, this was the last thing I was going to modify and actually replace but by the time I was done with all the reworking mentioned I was pretty fed up with it and decided to sell it and start from scratch.
Here are the final pics of finished result from what I got originally
Fantastic photos! Thanks so much for those Chris. Yeah I was looking at that N-filter weld and thinking about hacking it off. I think ill do exactly what you did after seeing how much better your shell looked. Gunna have a good long think about the clippard spacer too, see if it starts to bother me at all.
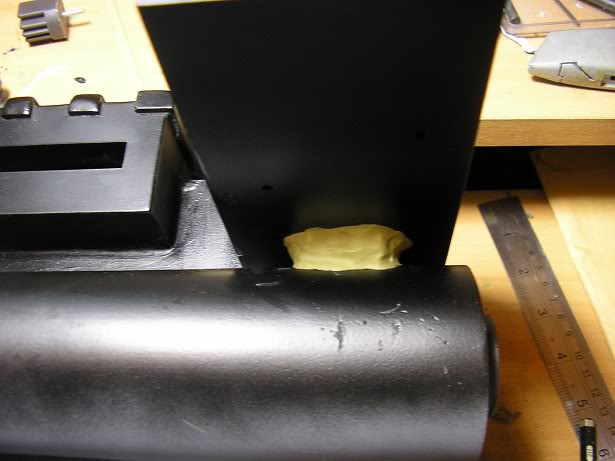
Ok couple of small updates. Ion arm attached and fake weld sculpted on (looks a bit like a blob of chewing gum without paint) and the injectors have been riveted on. Hopefully bigger updates soon
Heh, I spy the round Ion Arm resistor fitted onto a threaded rod, I only learned to use that method the hard way after it got knocked off of my Pack at Collectormania last.