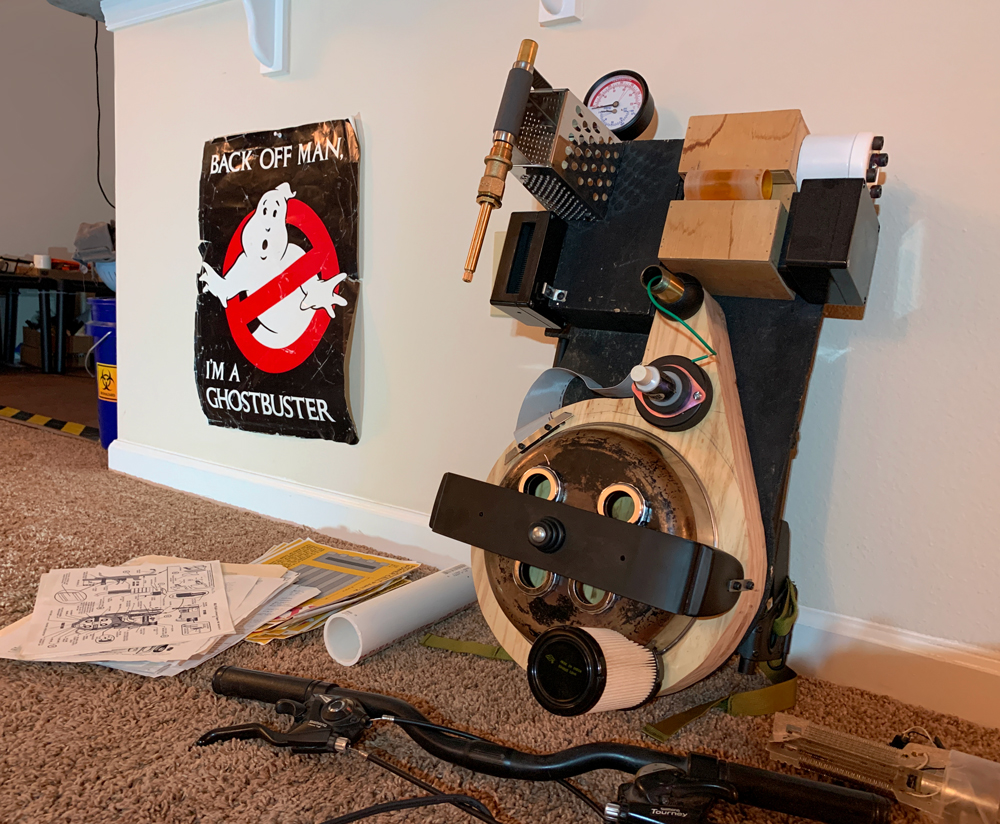
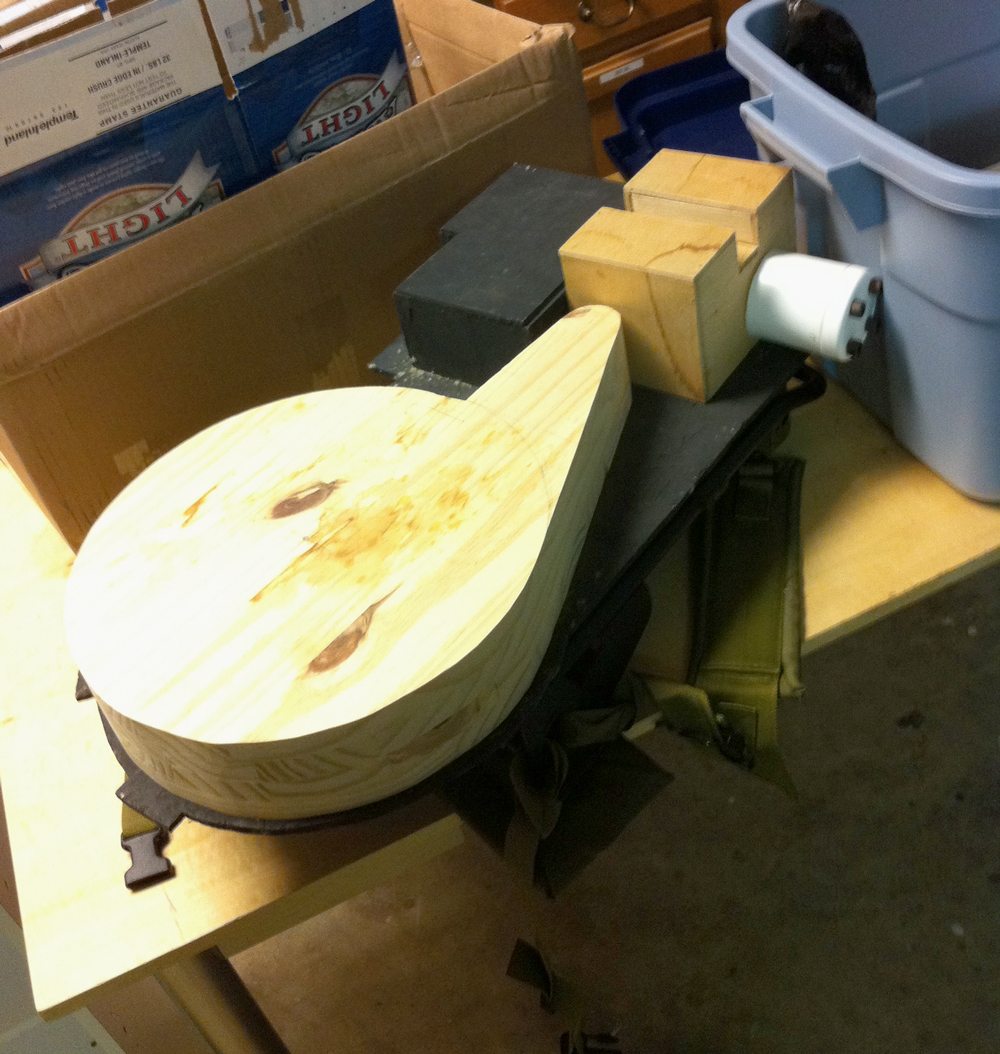
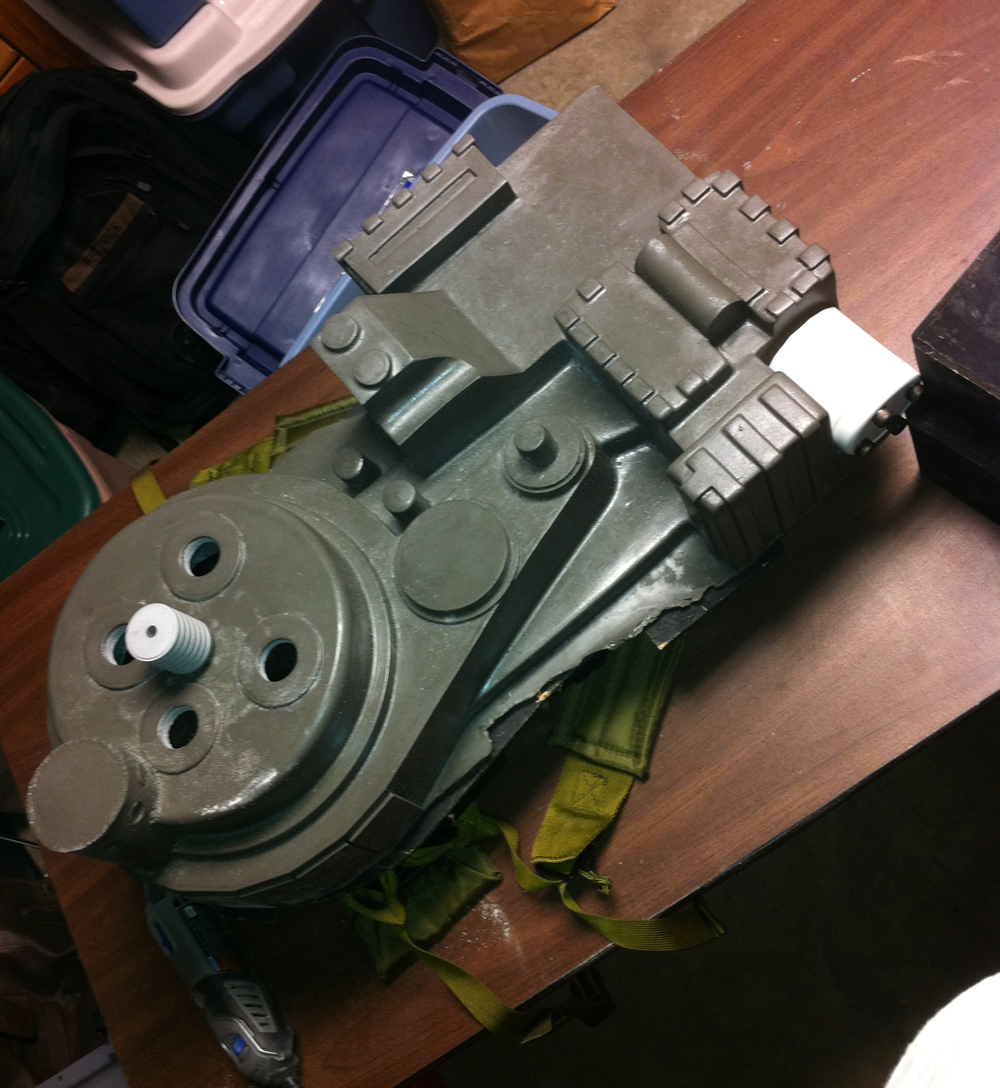
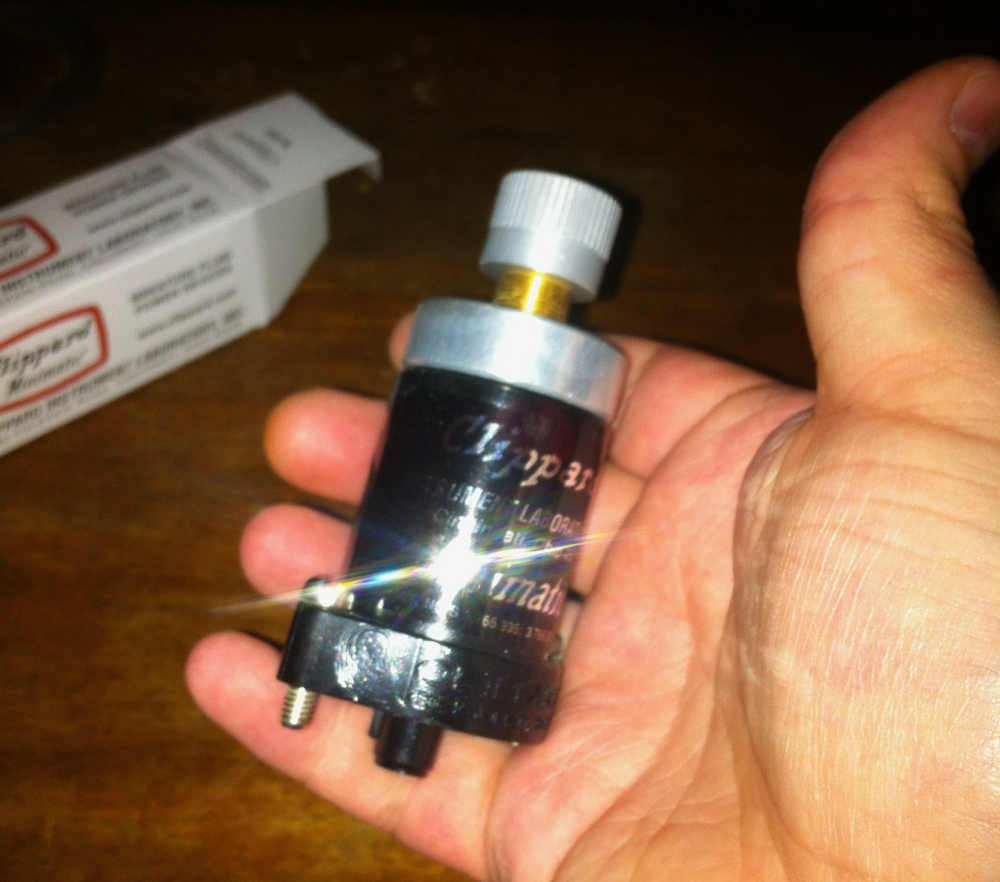
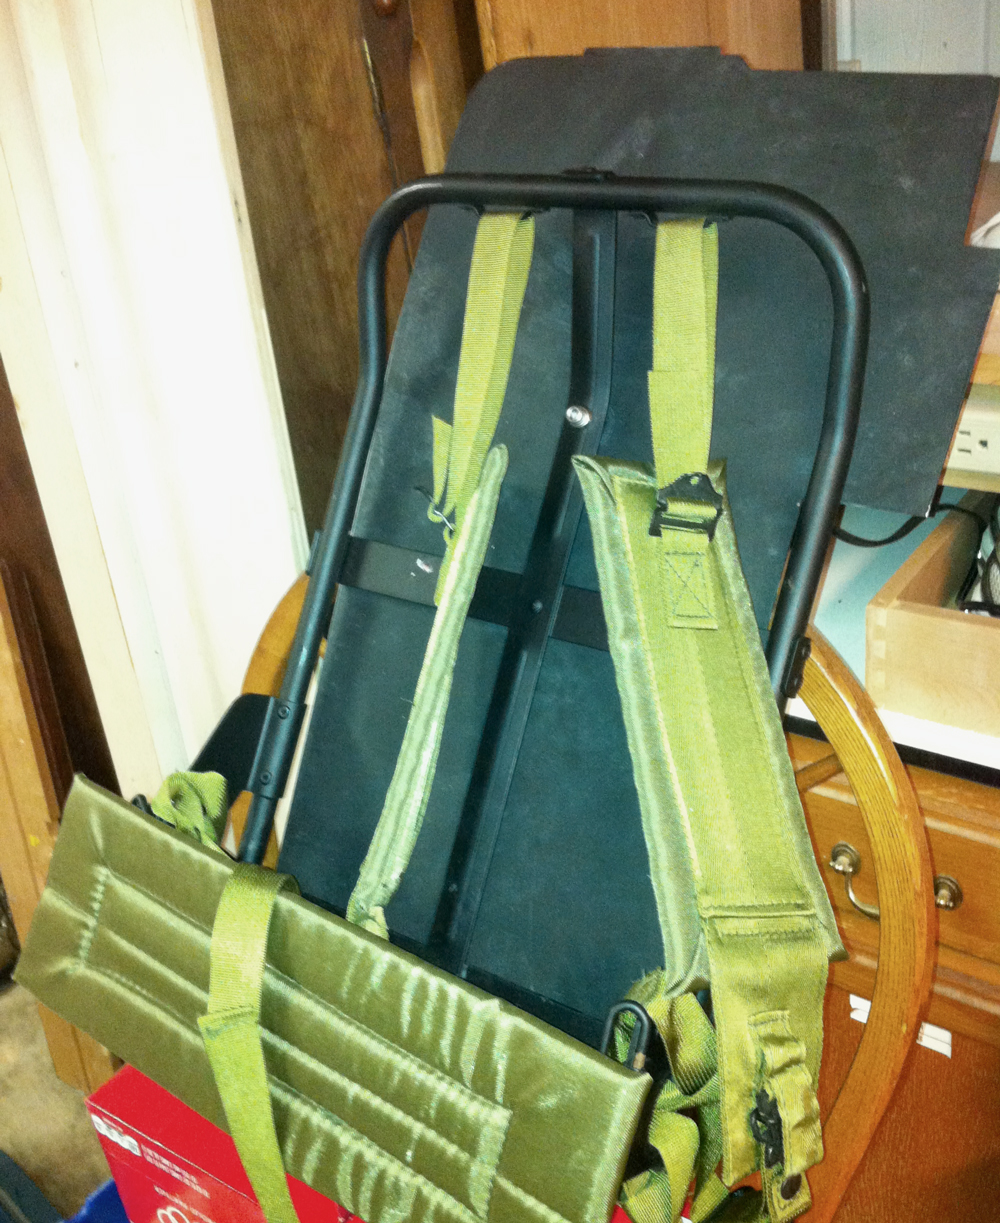
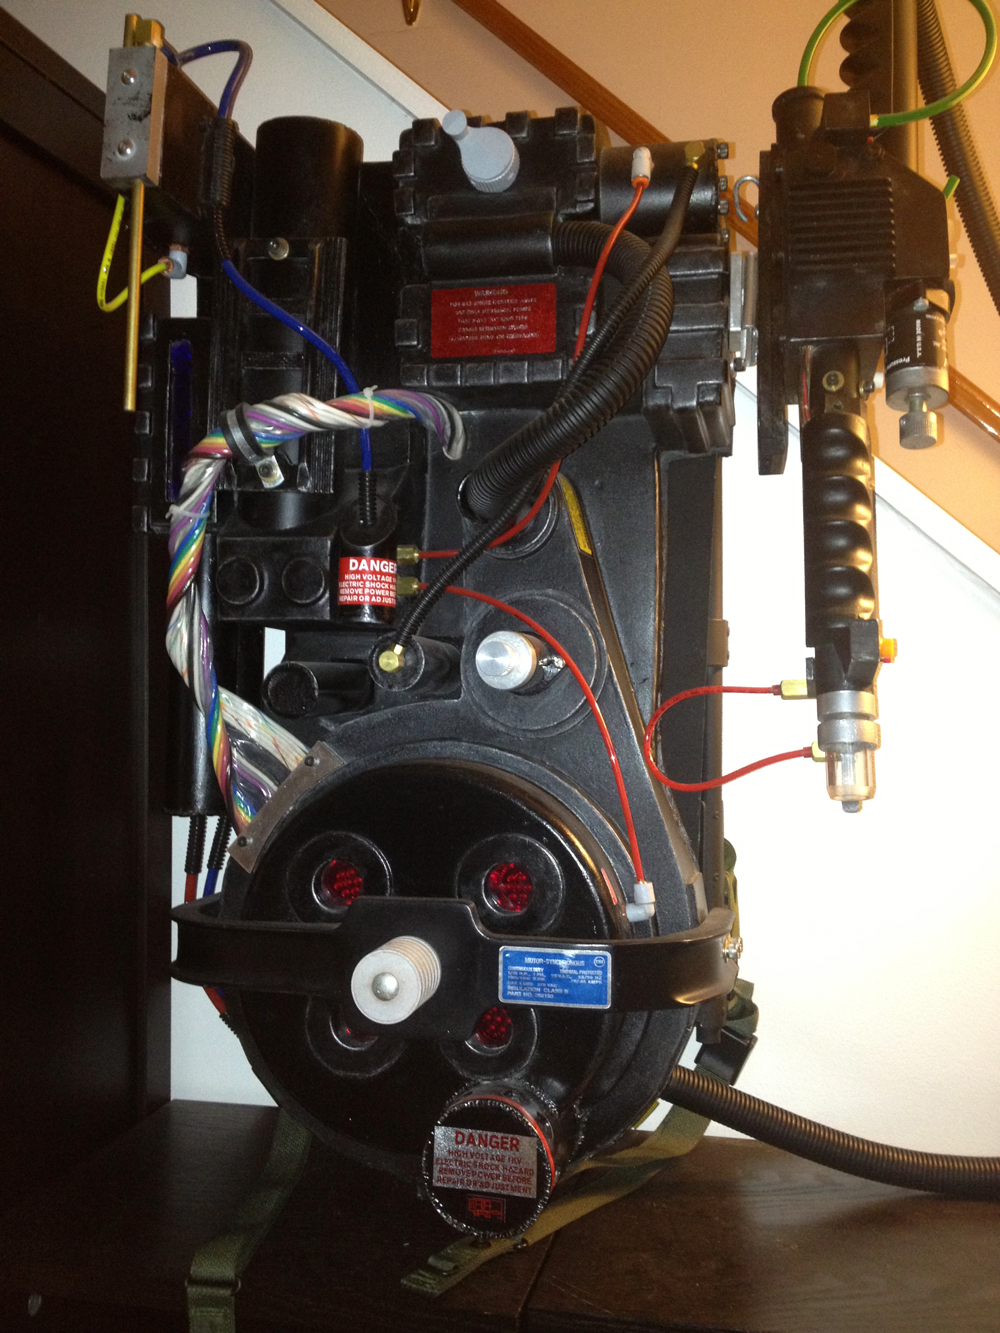
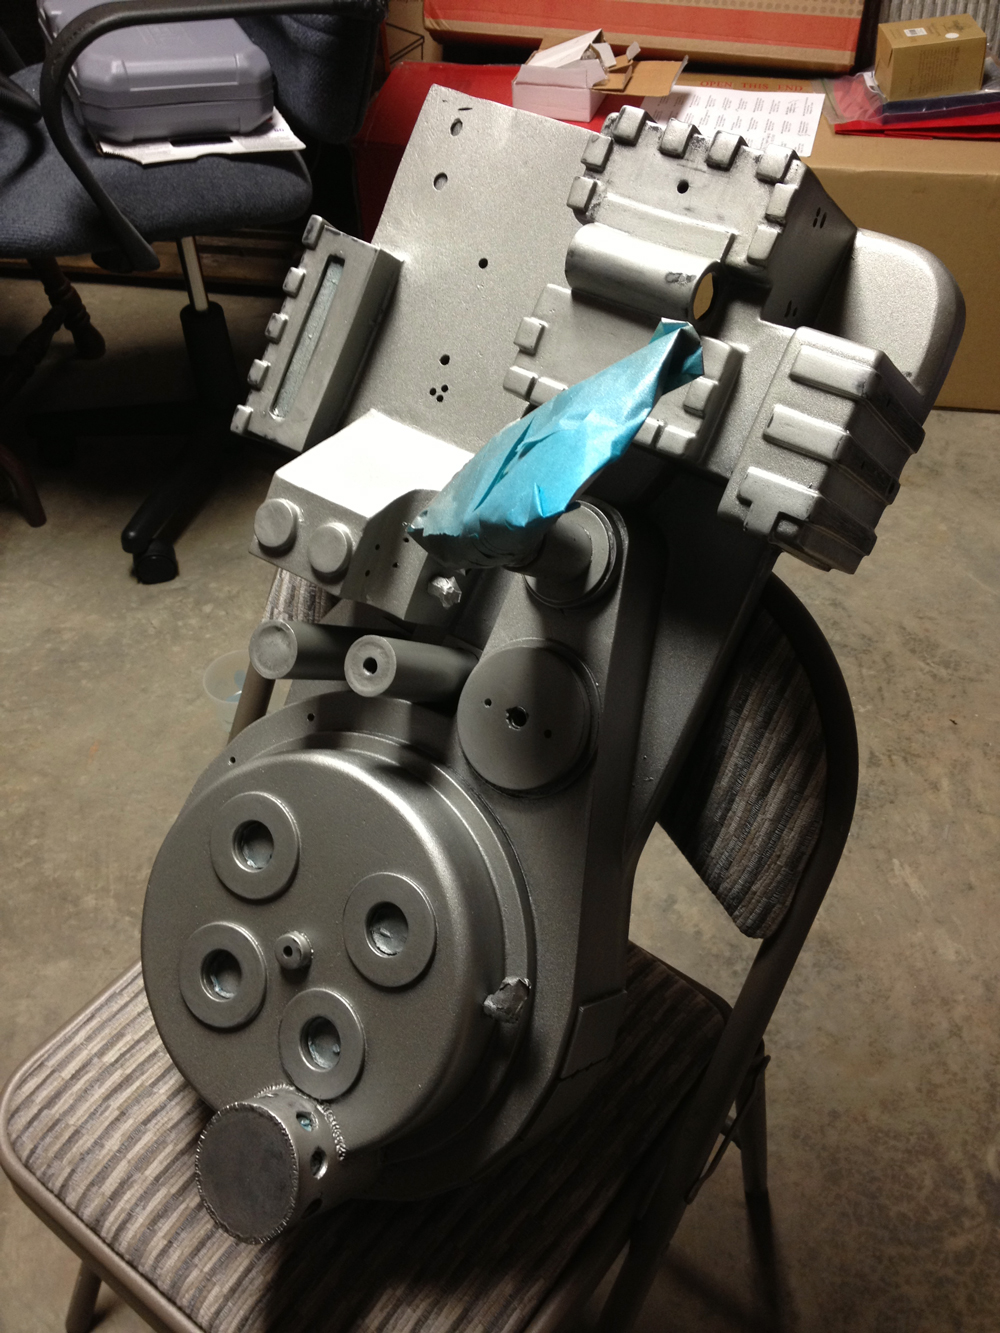
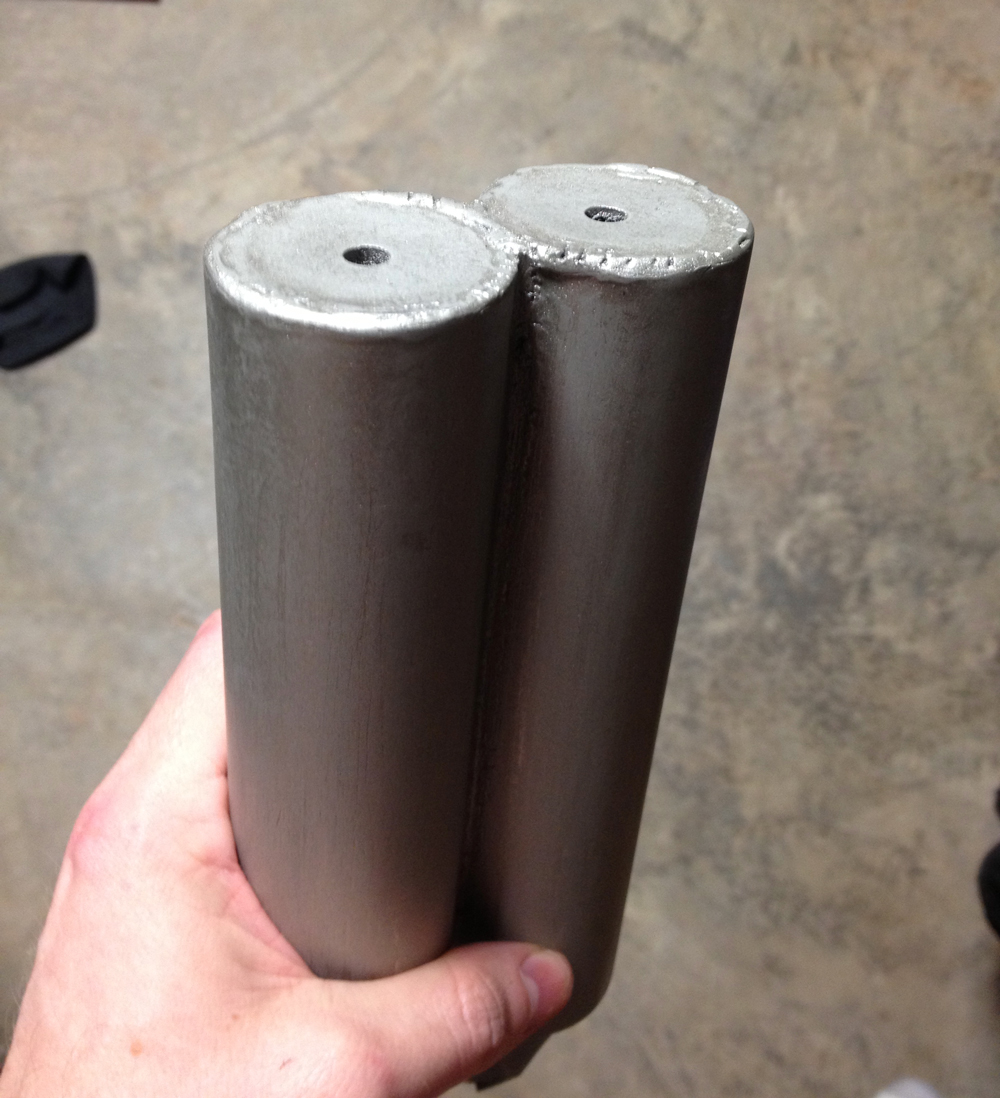
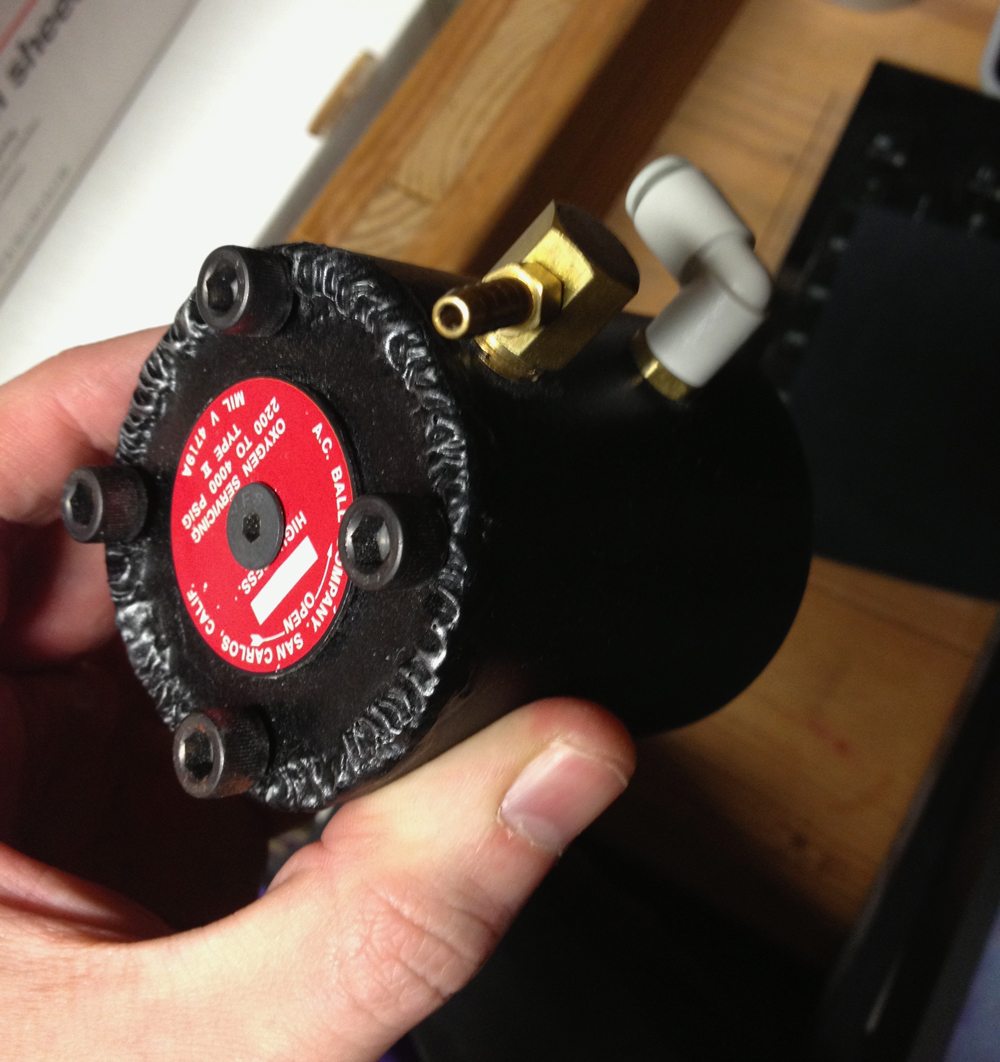
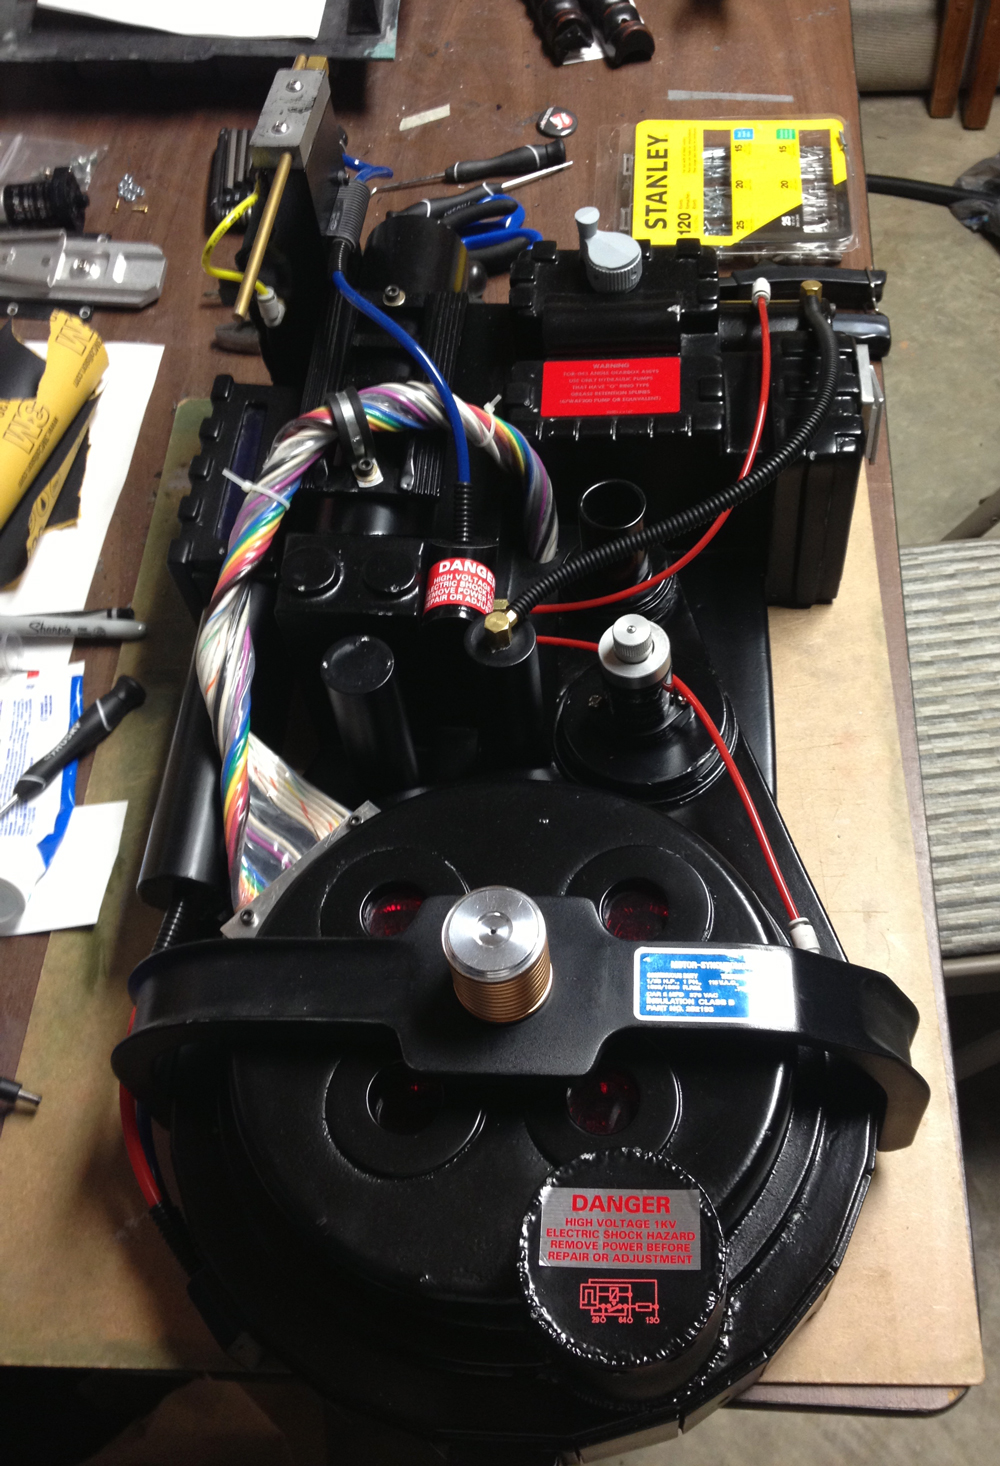
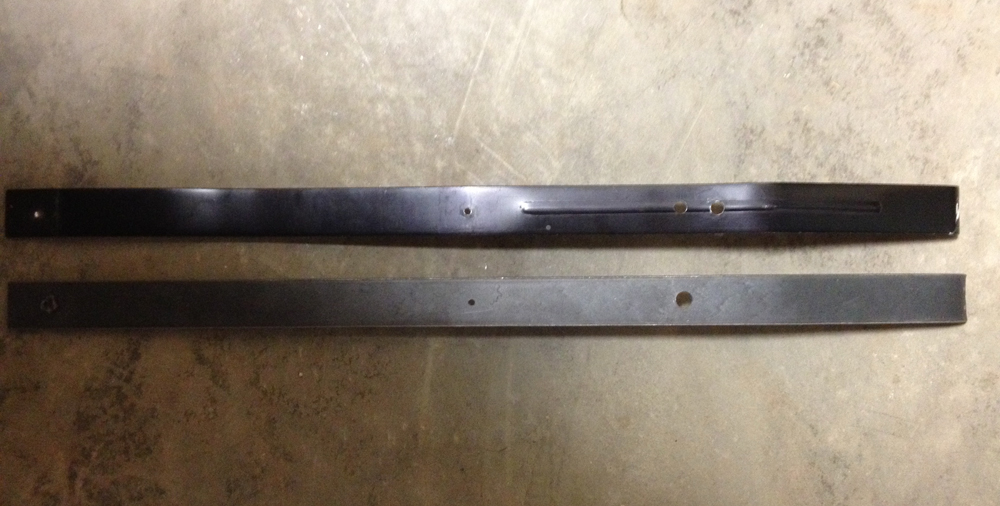
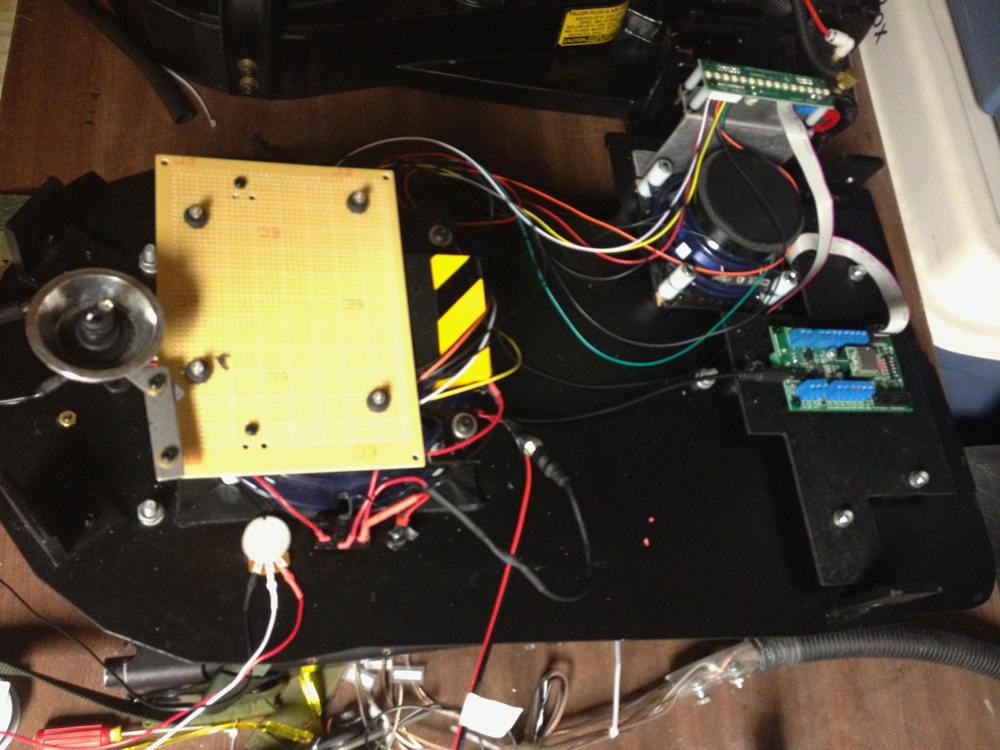
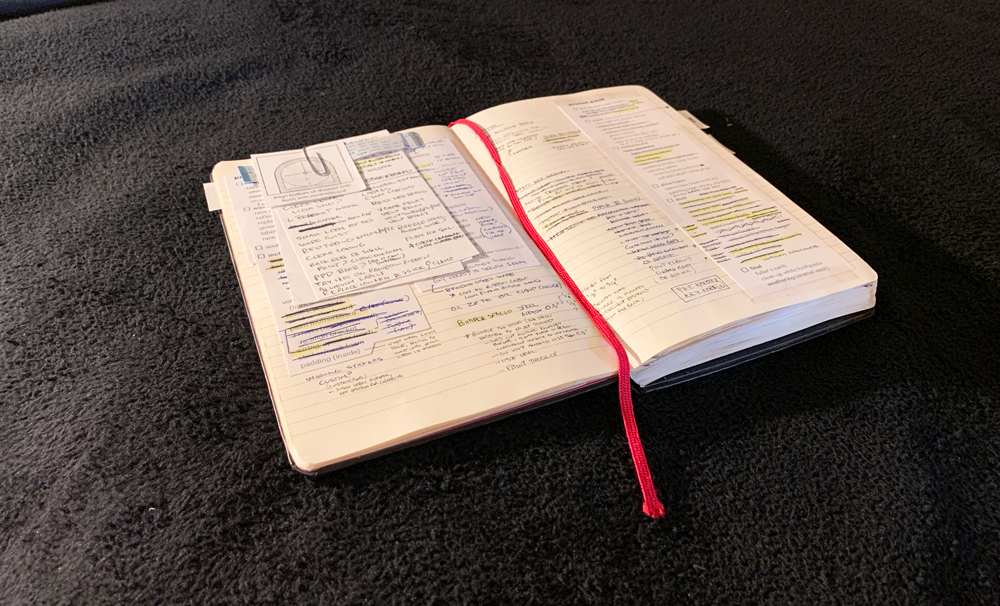
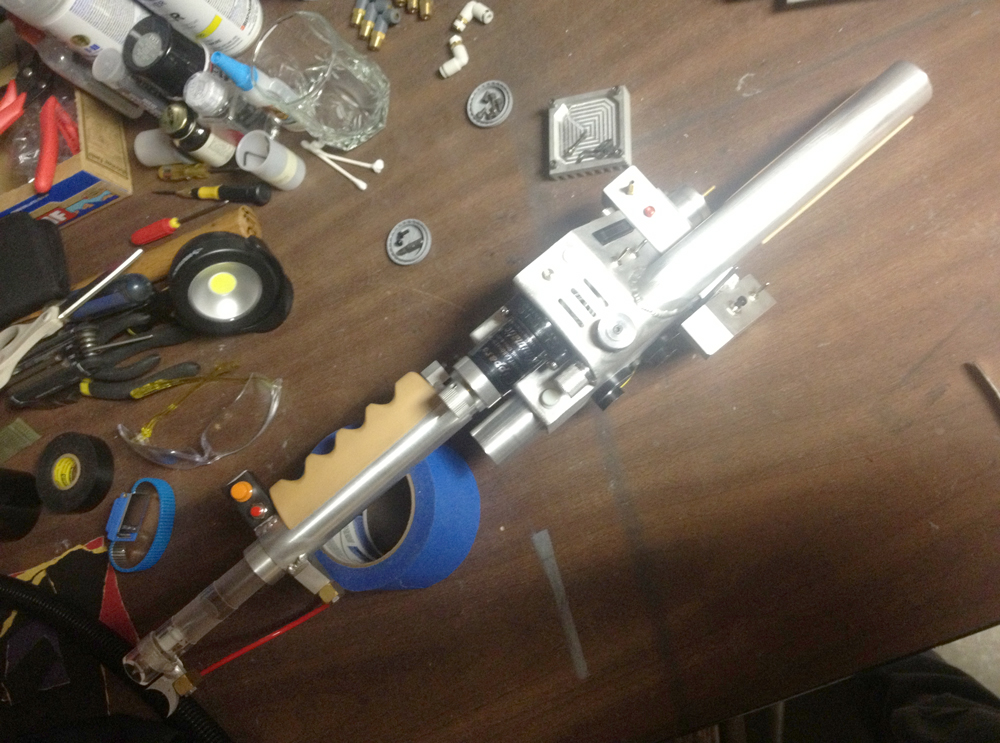
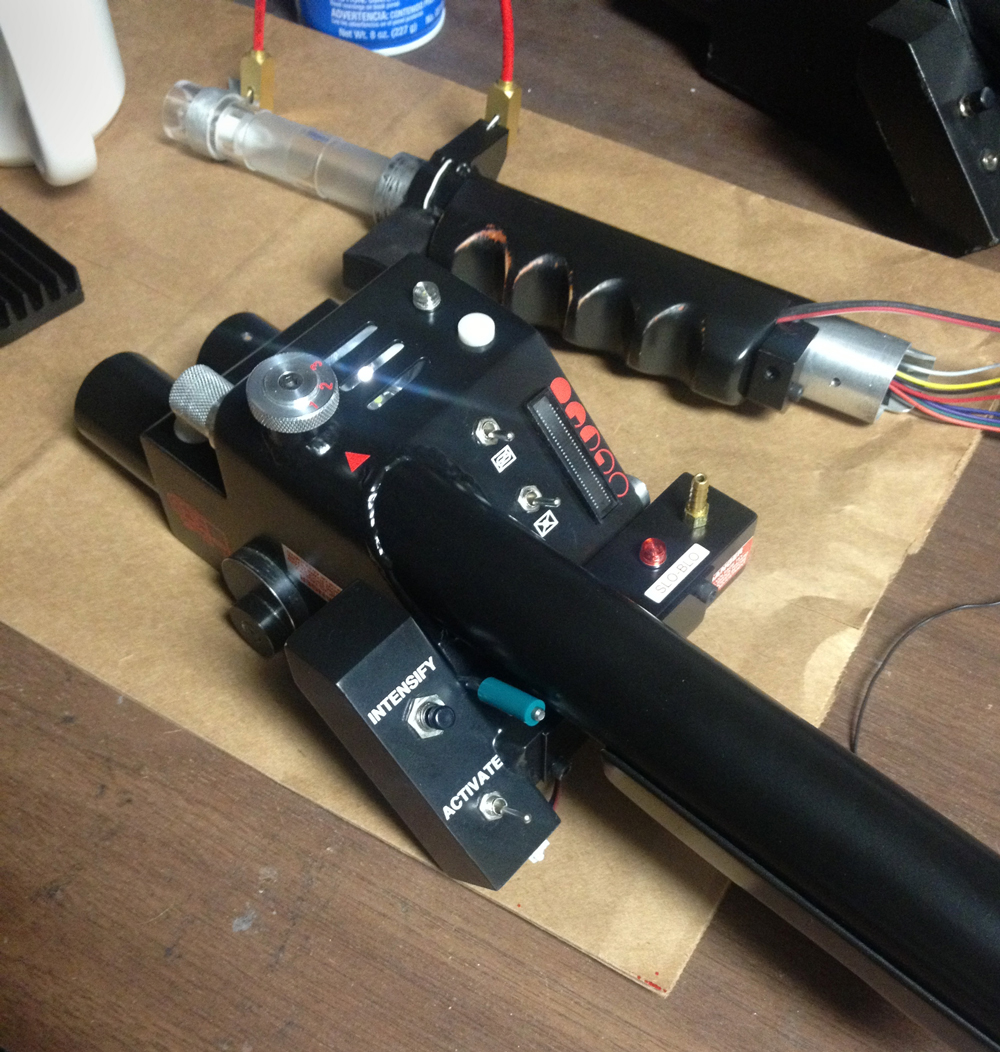
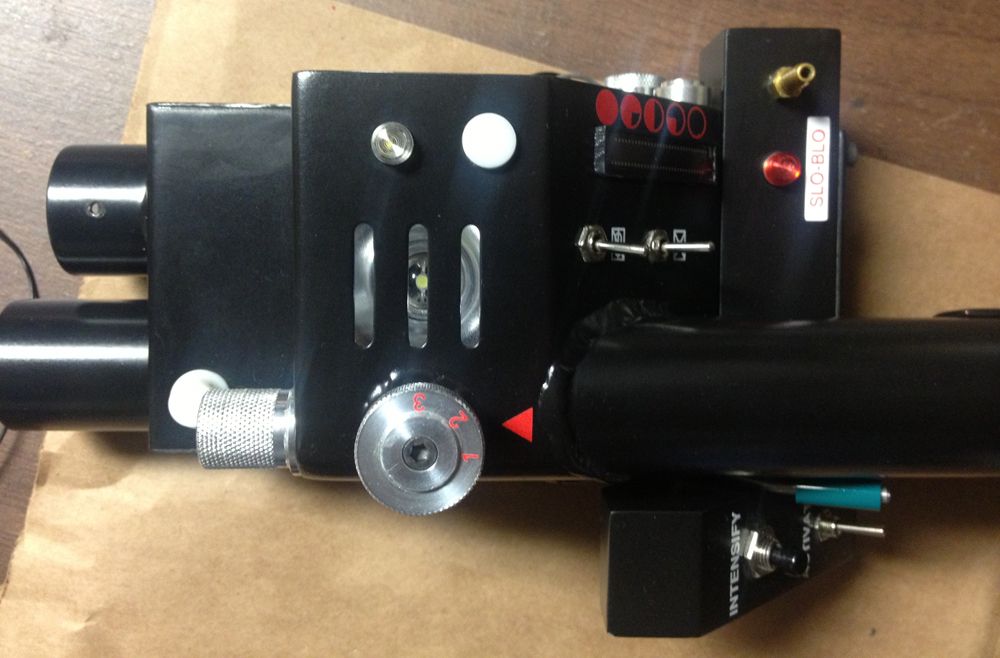
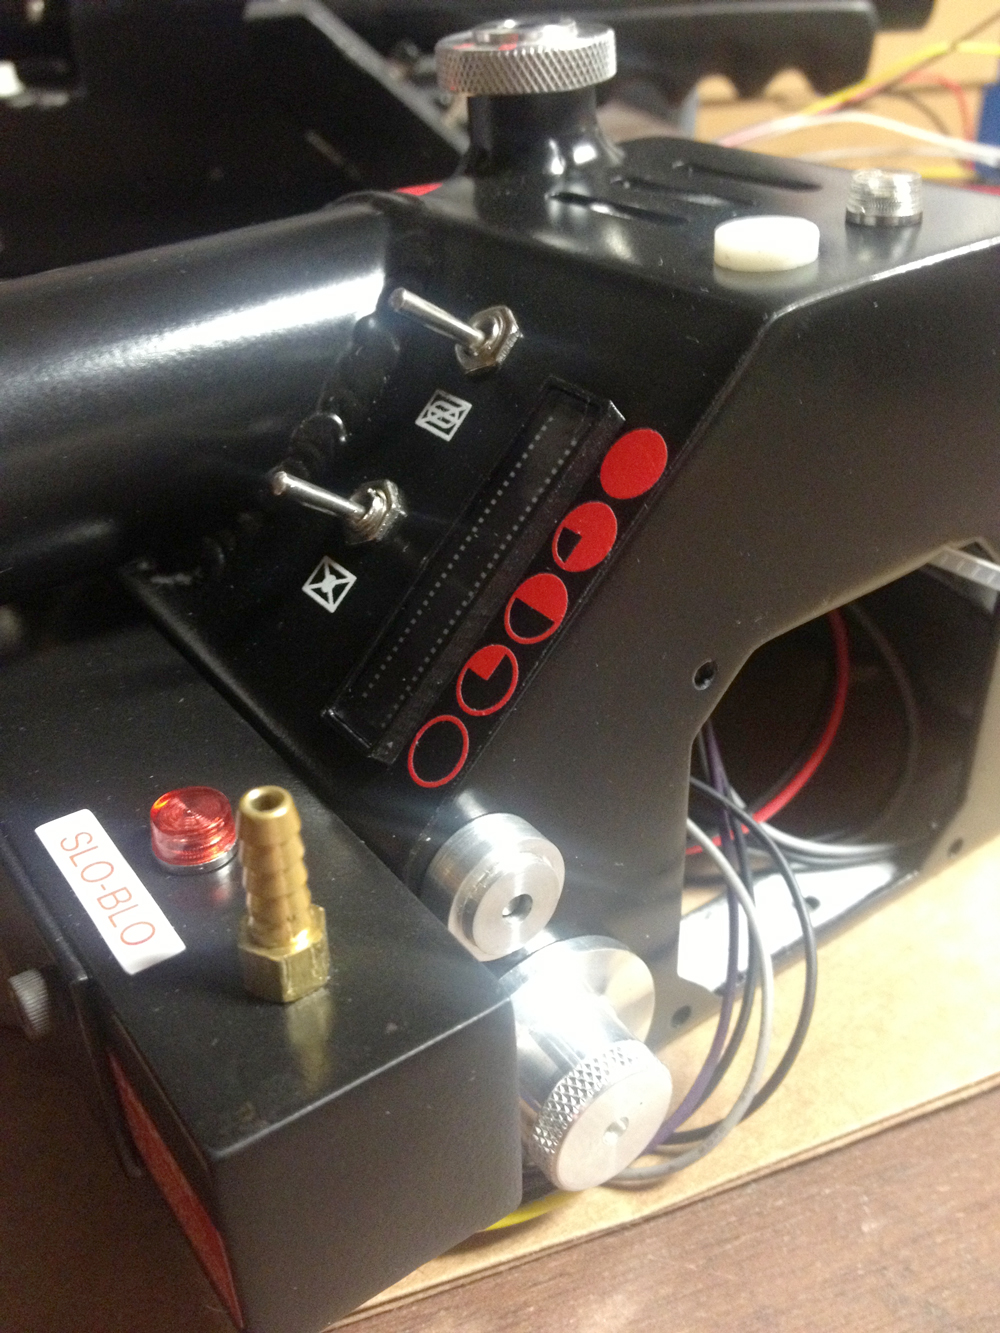
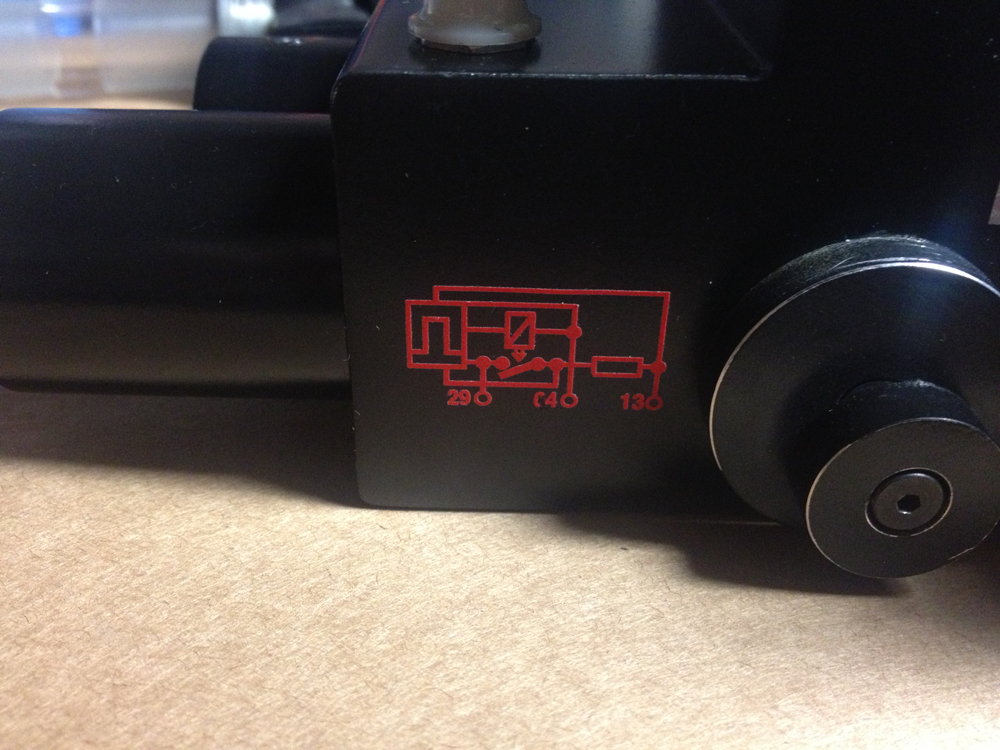
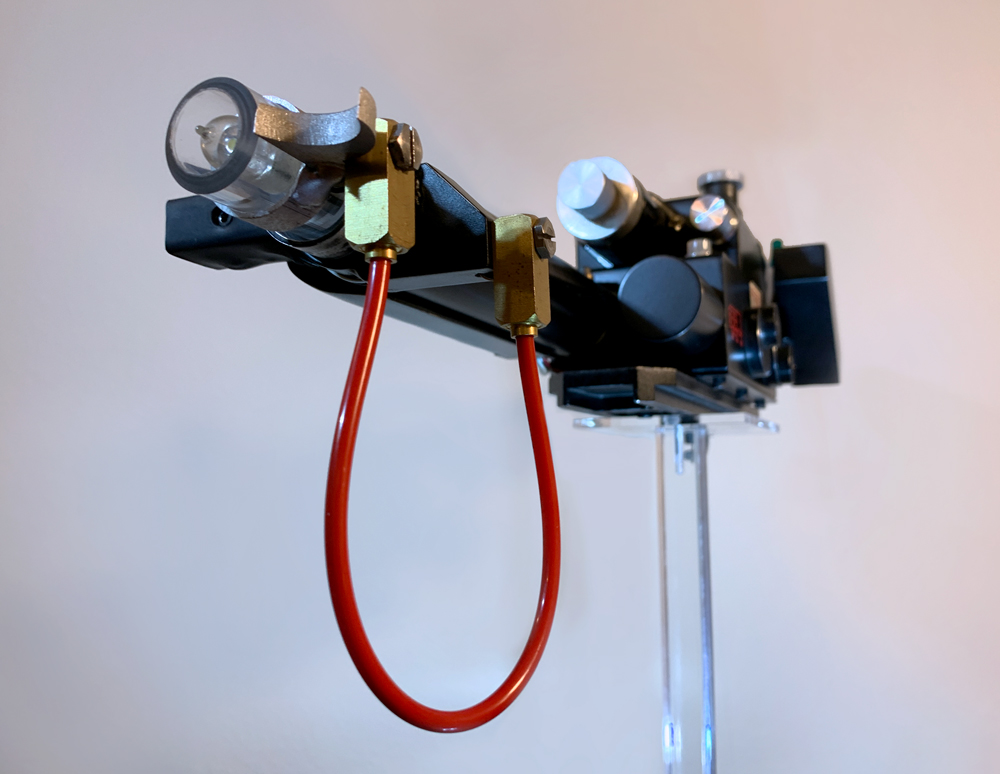
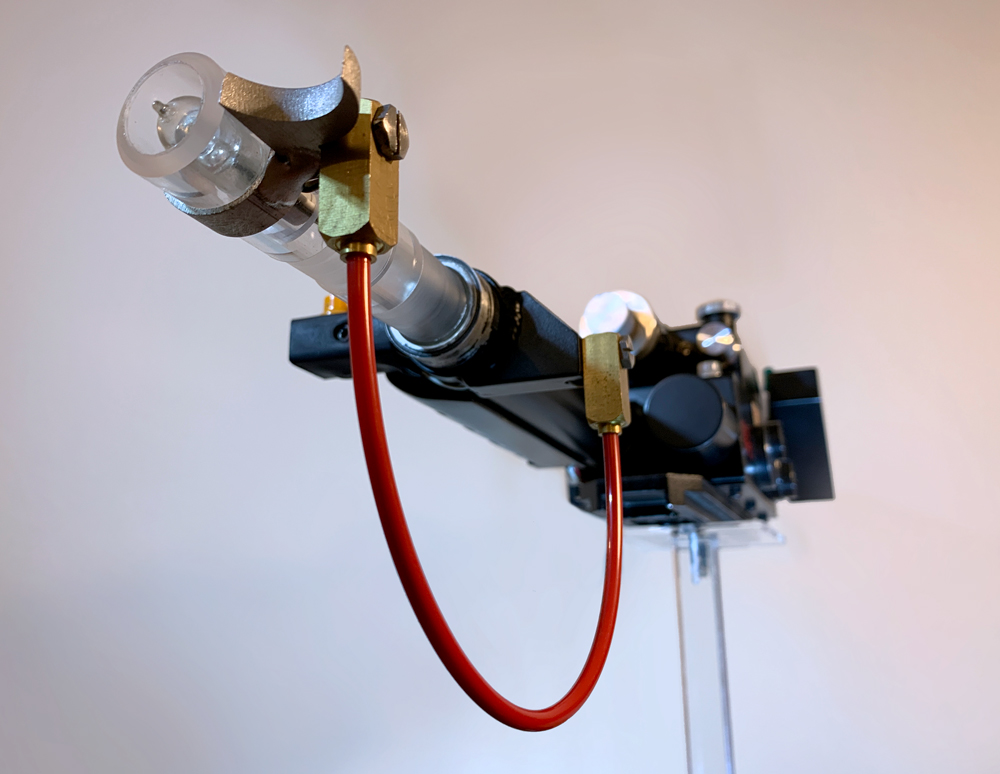
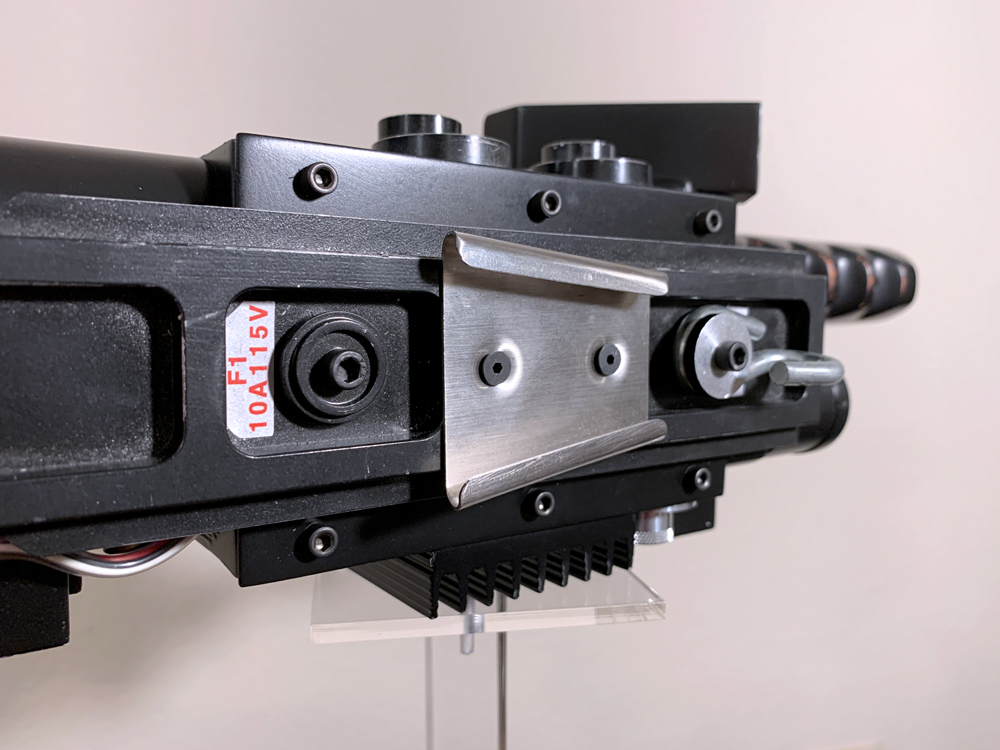
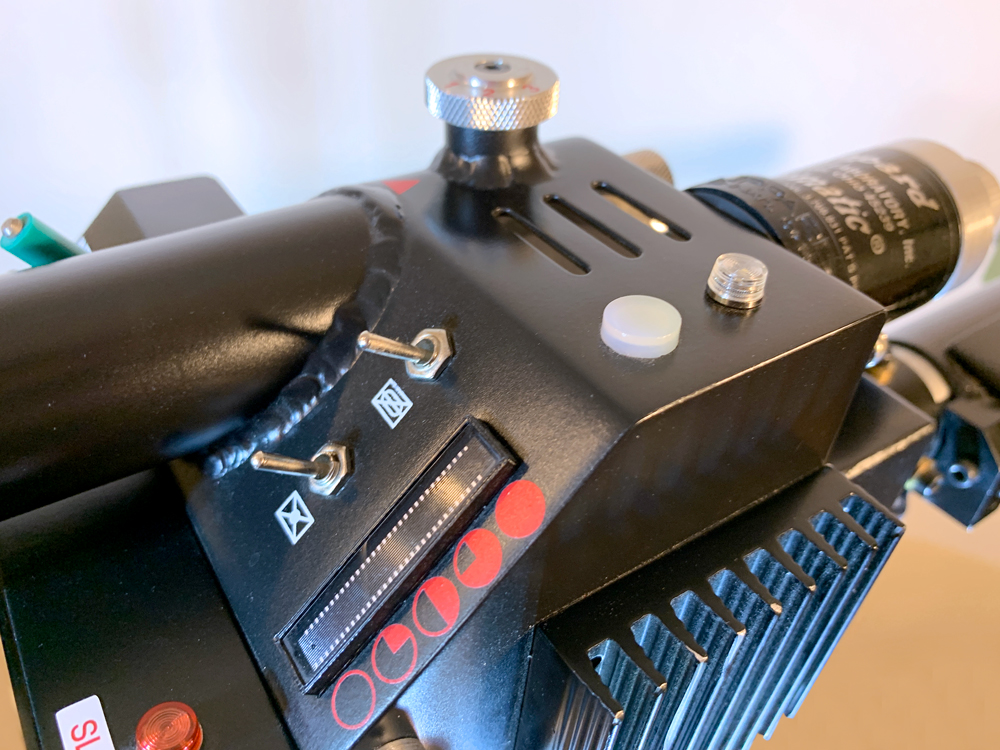
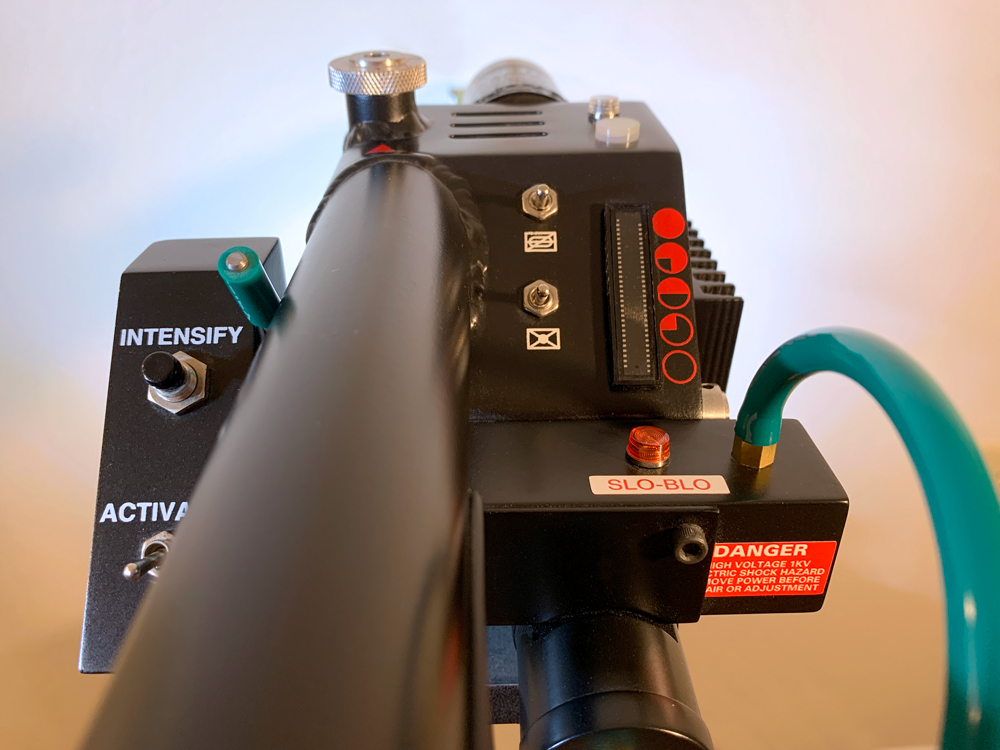
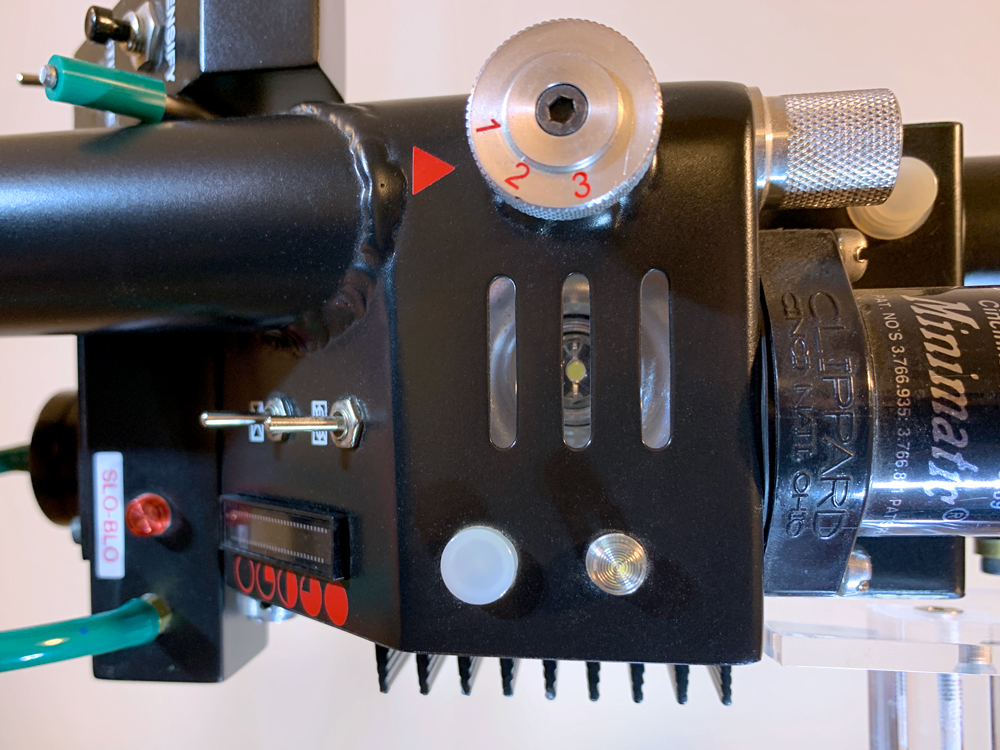
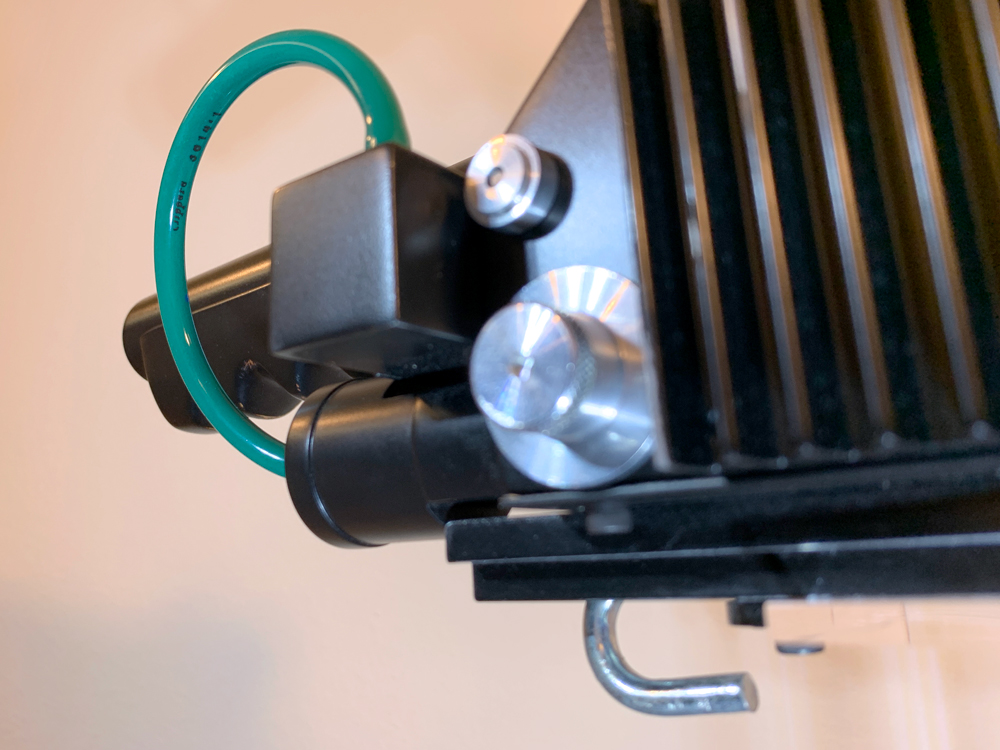
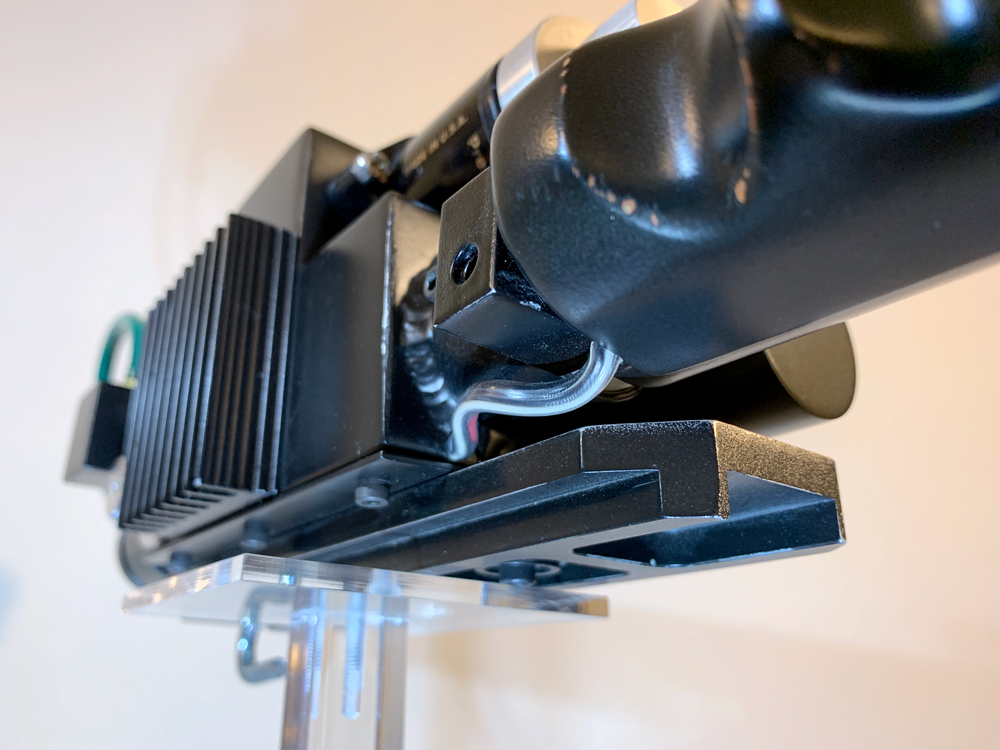
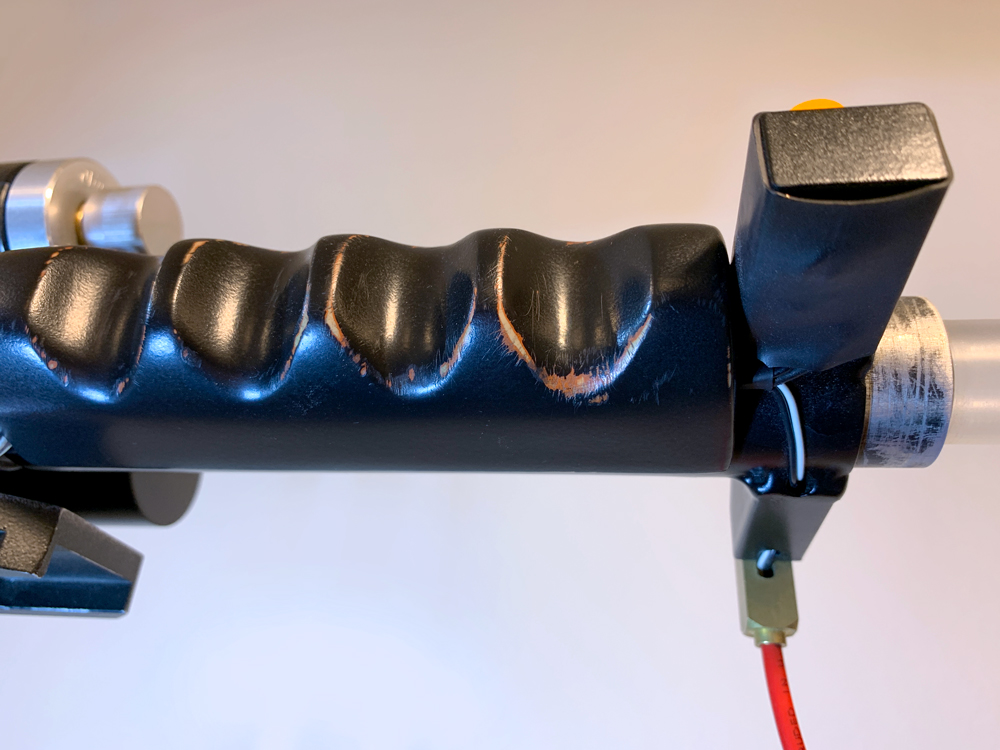
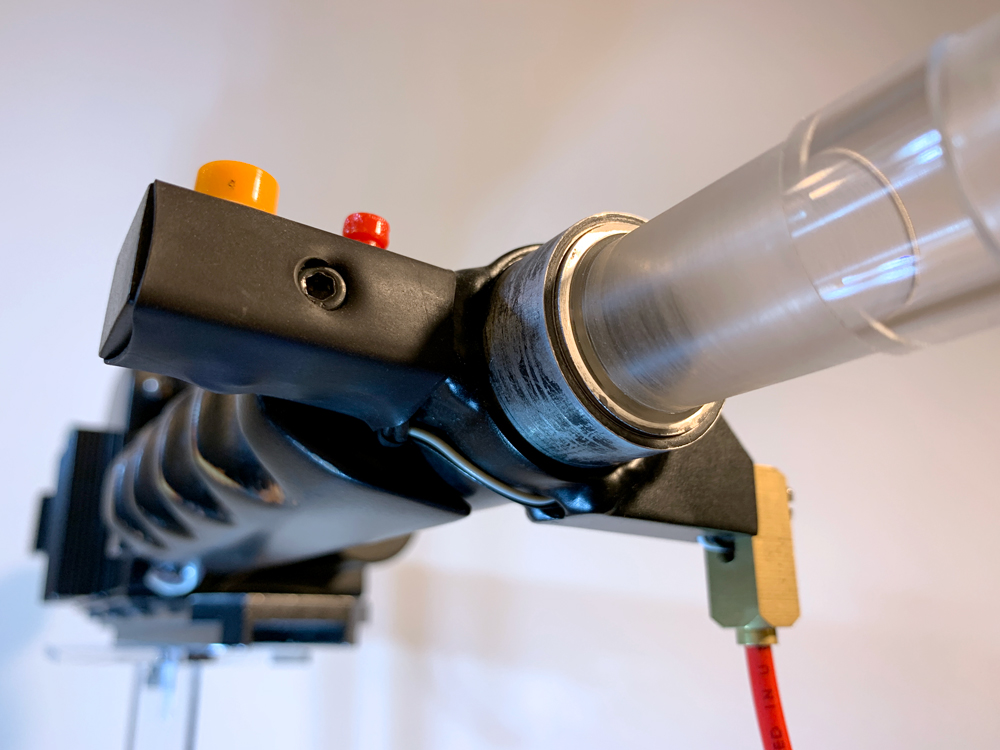
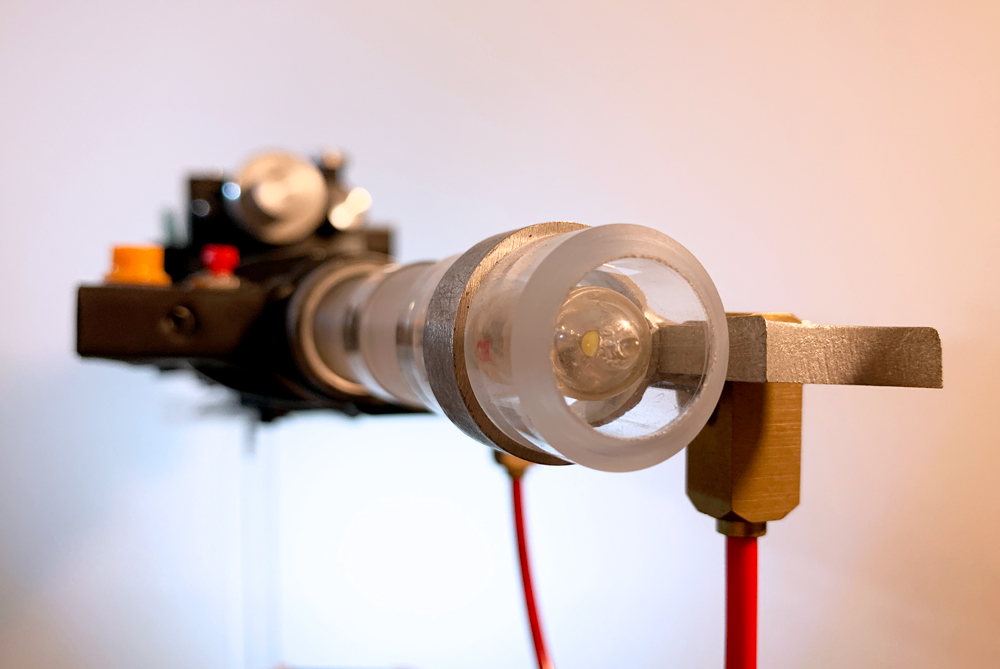
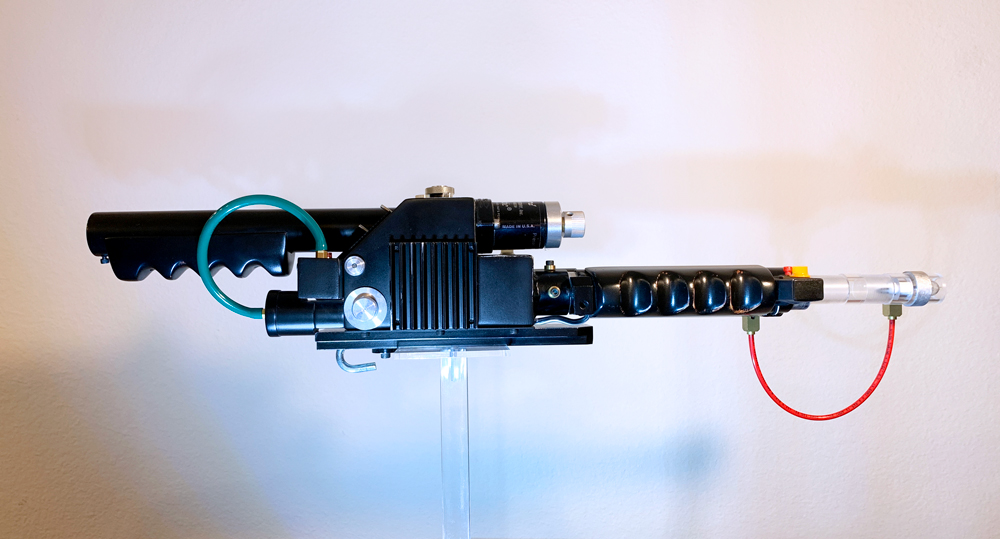
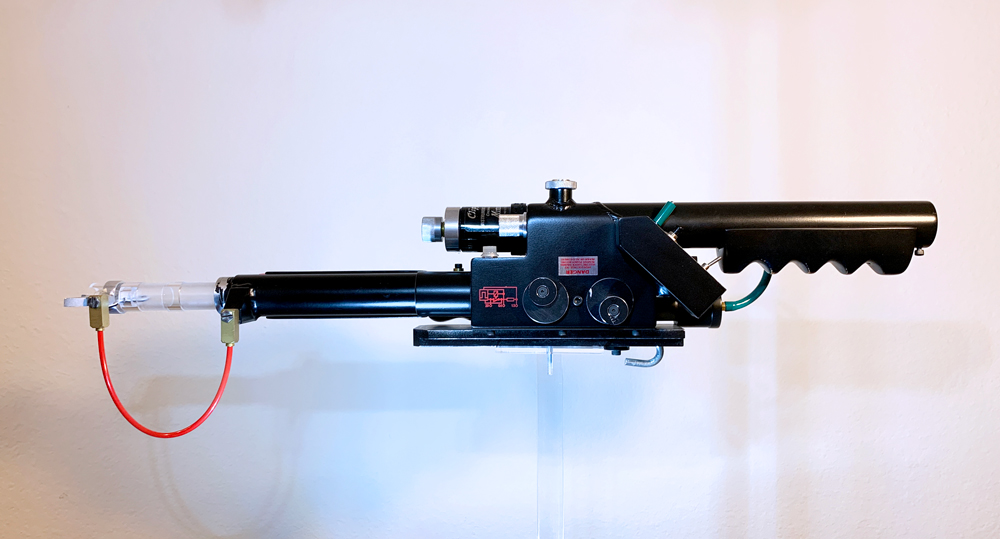
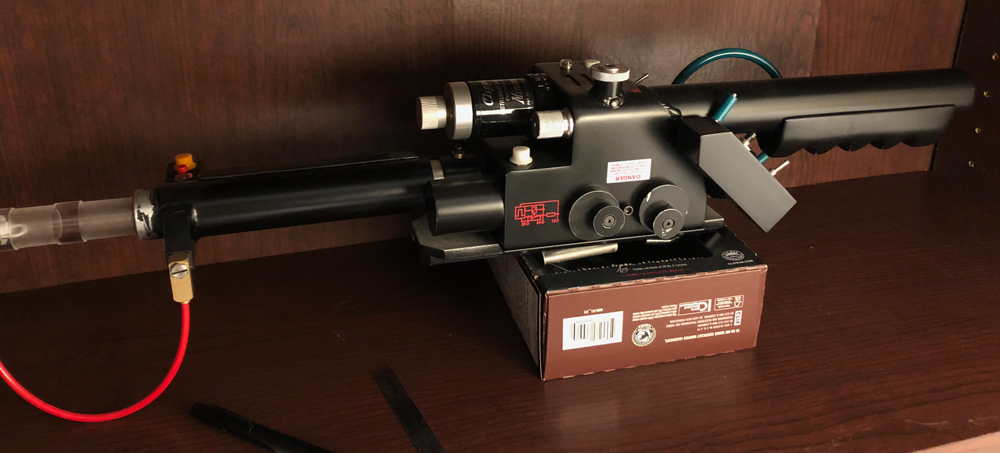
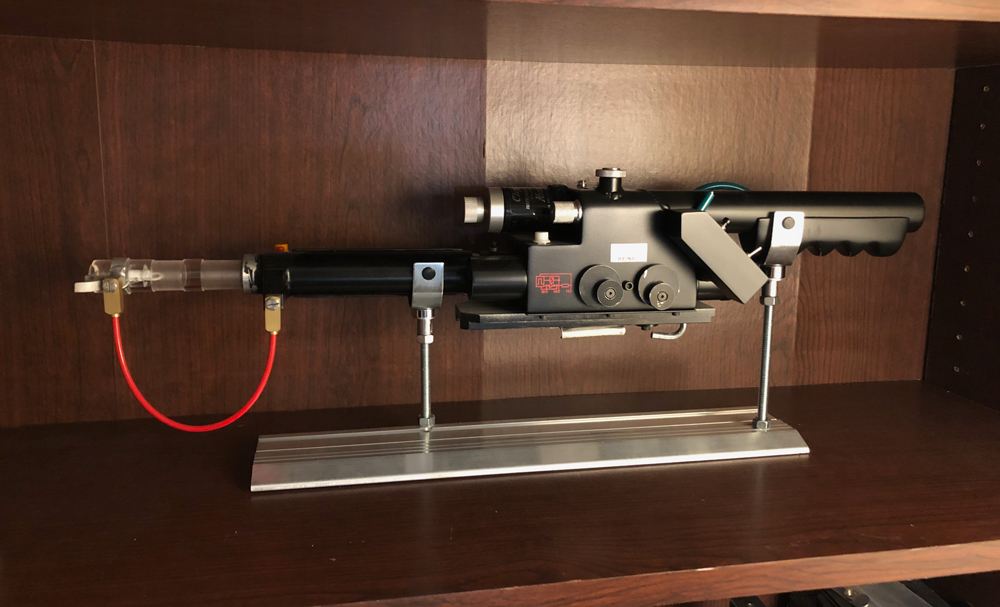
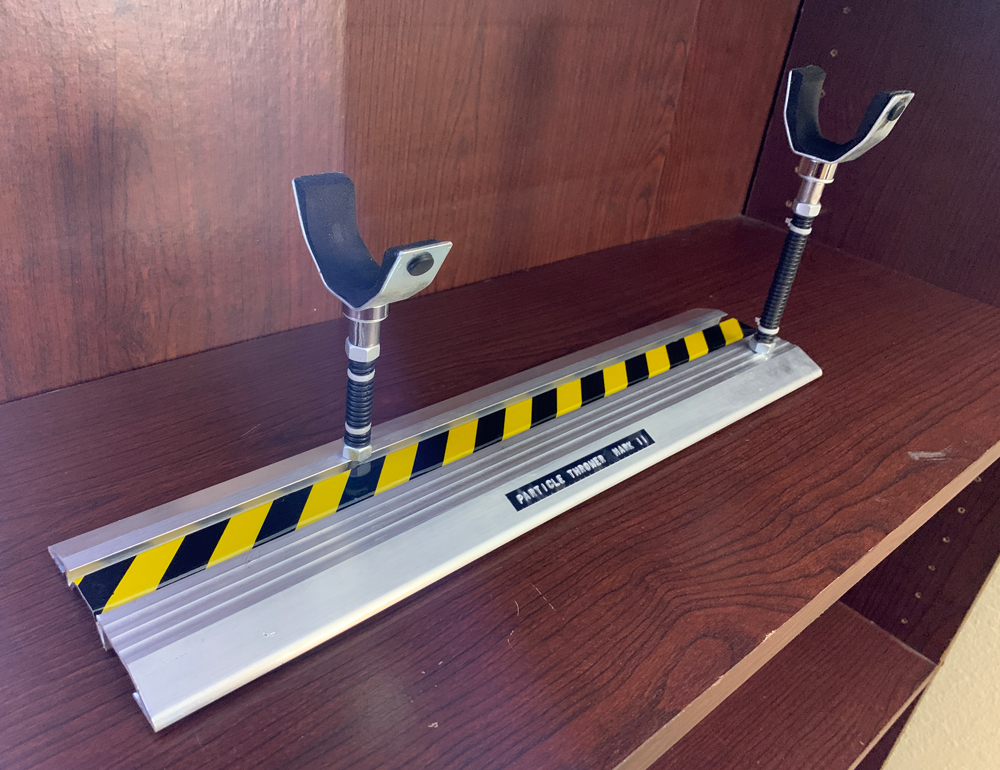
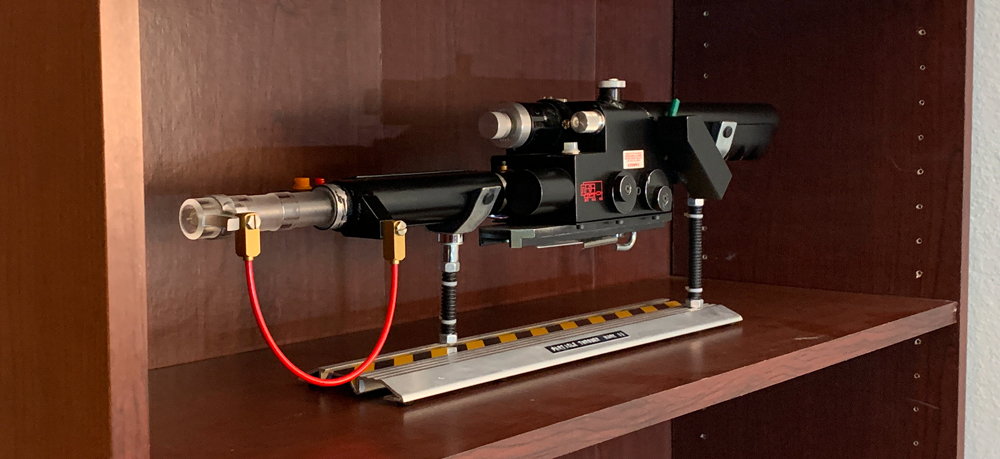
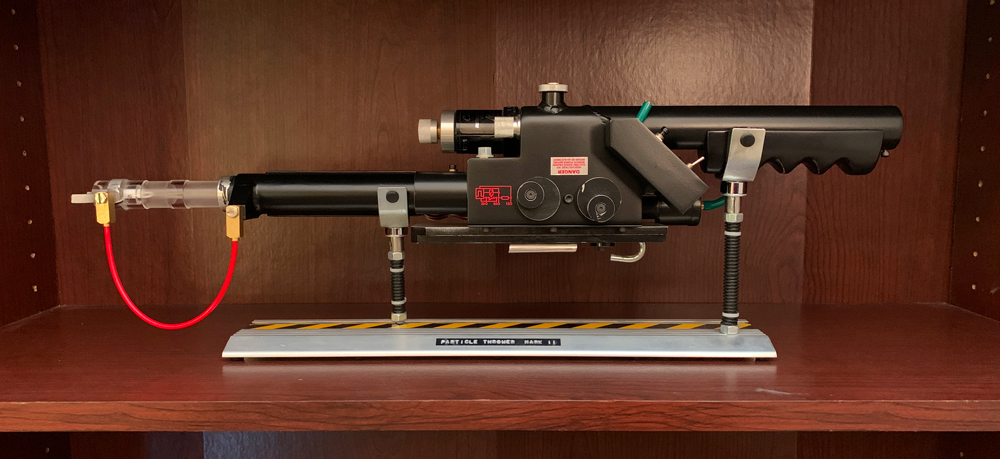
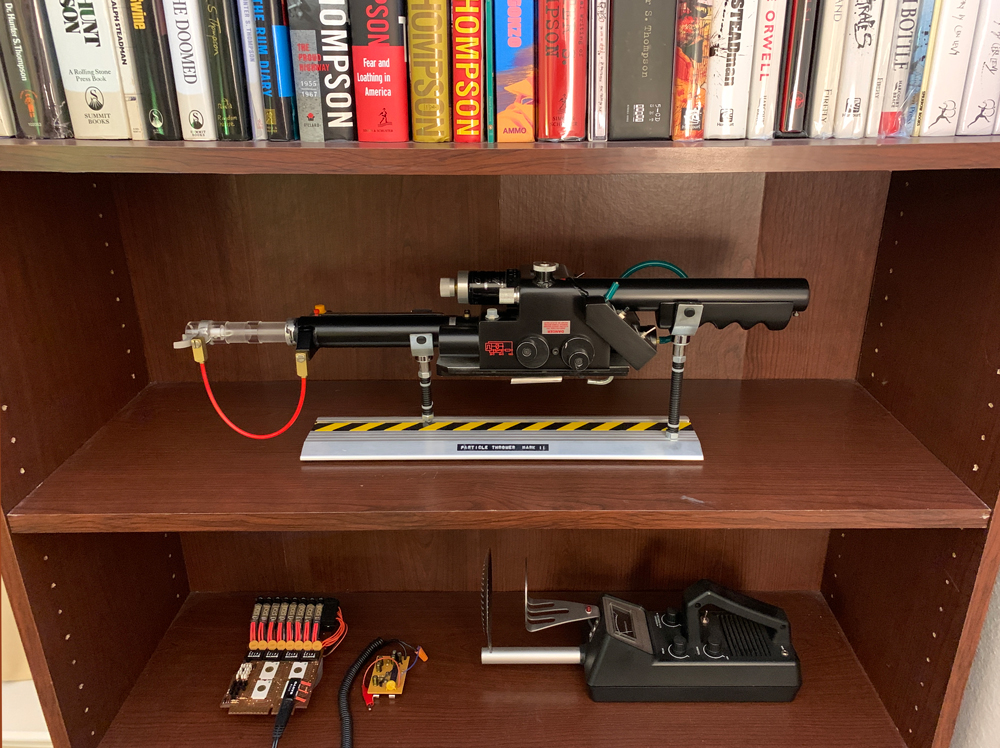
My package from Freeky Geeky finally arrived—incredible work by Umori. Having all the parts on hand got me very motivated.
Particle Thrower Parts List
Freeky Geeky
- Body/rear handle
- Front handle
- Trigger box/instrument bar combo
- Rear cylinder
- Heat sink
- Extension lever
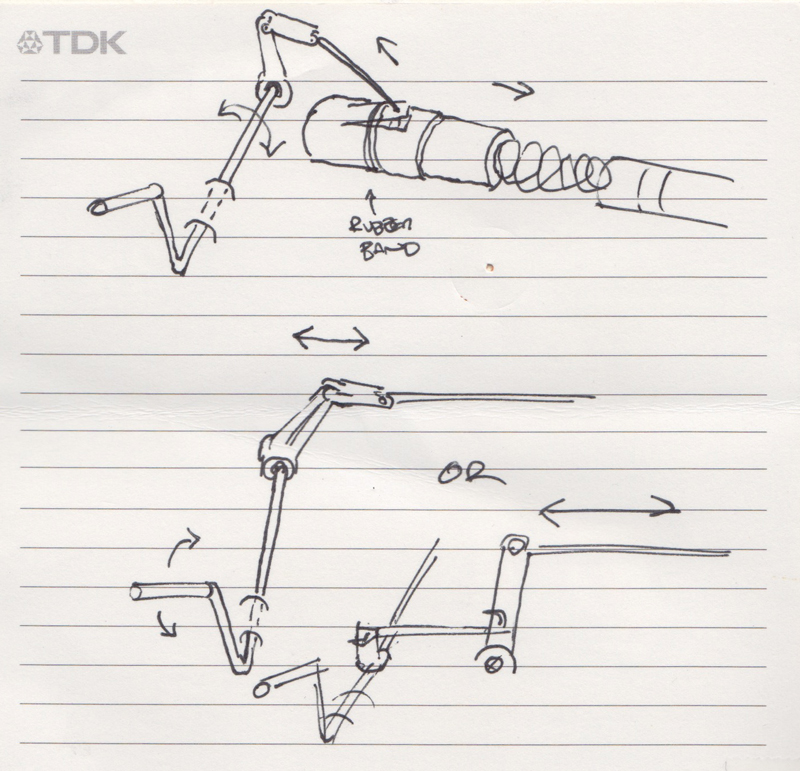
- Pop mech* (rubber bands)*
- Clear tube
- Brass washers
GBFans
- Front, top, and side knobs
- Gun track
- Trigger tip
- Side discs (smooth)
- GB1 V-hook
- Wand lights kit
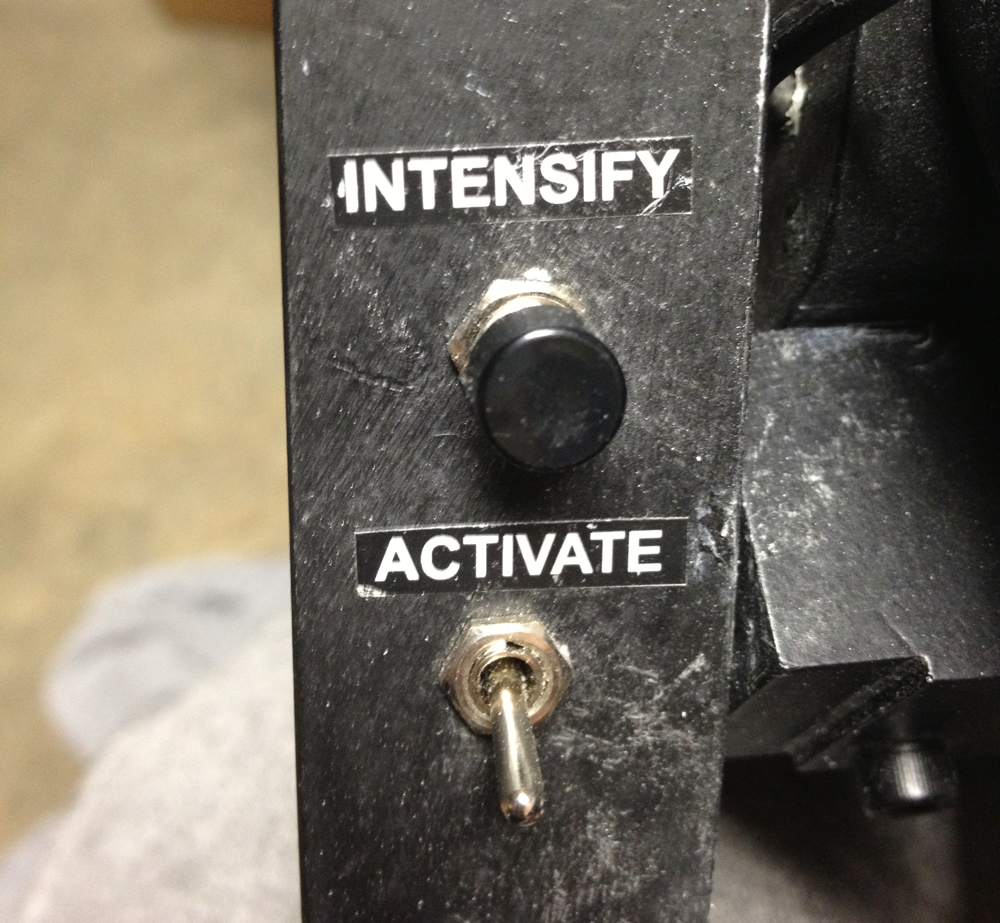
- Stickers and metallic labels
- Dry rub transfers
Spongeface
- Wand tip LED expansion kit
- Flash bulb LED
- Inner core white strobe LED
- Bar graph bezel with lenticular overlay
Not certain—I’m still playing catch up on my build so this was a few years ago.
- Trigger tip: GBFans or Freeky Geeky
- Thrower grips: GBFans or Nickatron
- Gun track discs
- Green tube: Possibly Jupiter Electronics. I can’t tell if it’s real or a replica.
Main Plan
Test Assembly
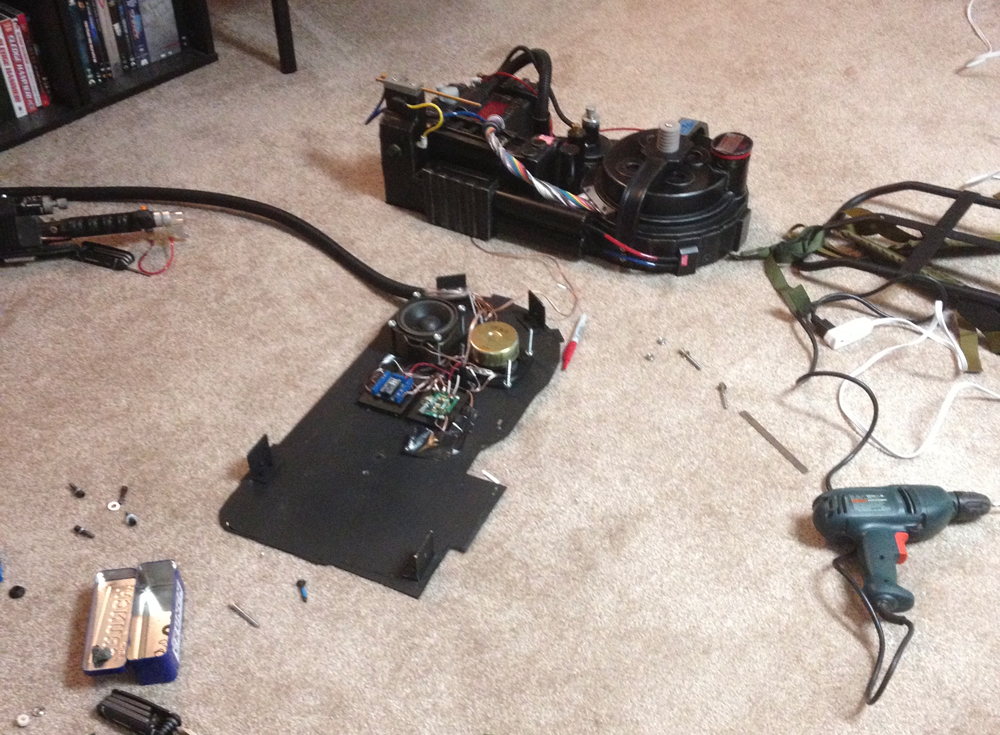
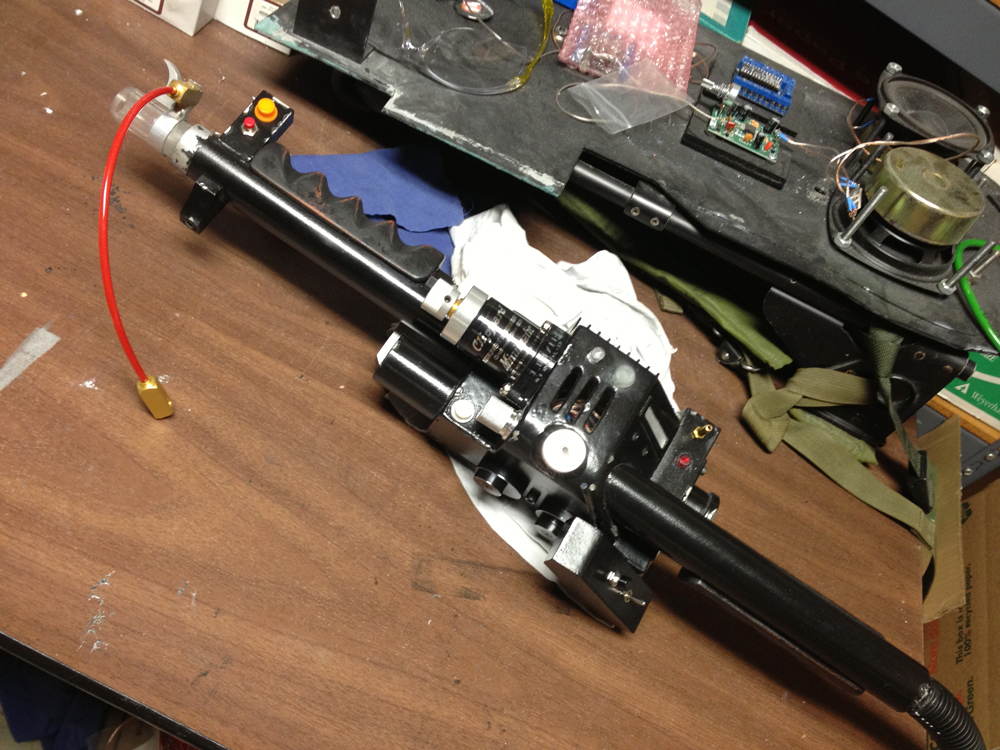
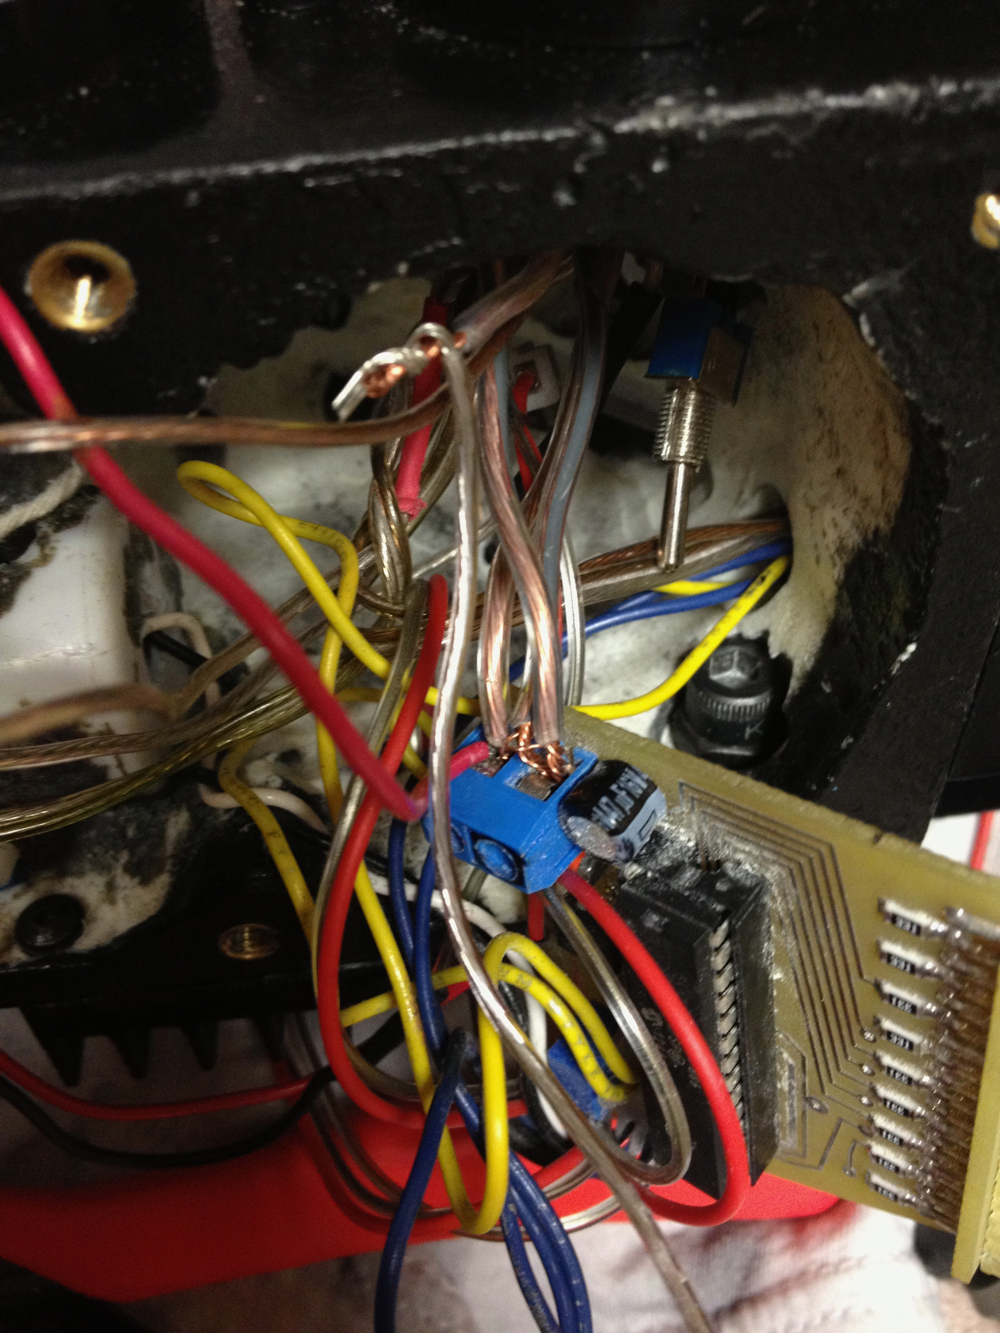
After installing components and making some adjustments, I did a temporary test to make sure everything fit and worked correctly.
I got a brighter inner core LED from Spongeface. I had trouble finding a flashlight reflector that looked right and fit well. Ironically, the reflector I ended up using was from a D-cell anglehead flashlight, like in Ghostbusters: The Video Game. I used the one sold on GBFans or this one. Both are similar, but I don’t believe either are authentic GI flashlights. Years ago, I had been issued one of these, but unfortunately, I haven’t been able to find mine. In the marines, we called these moonbeams.
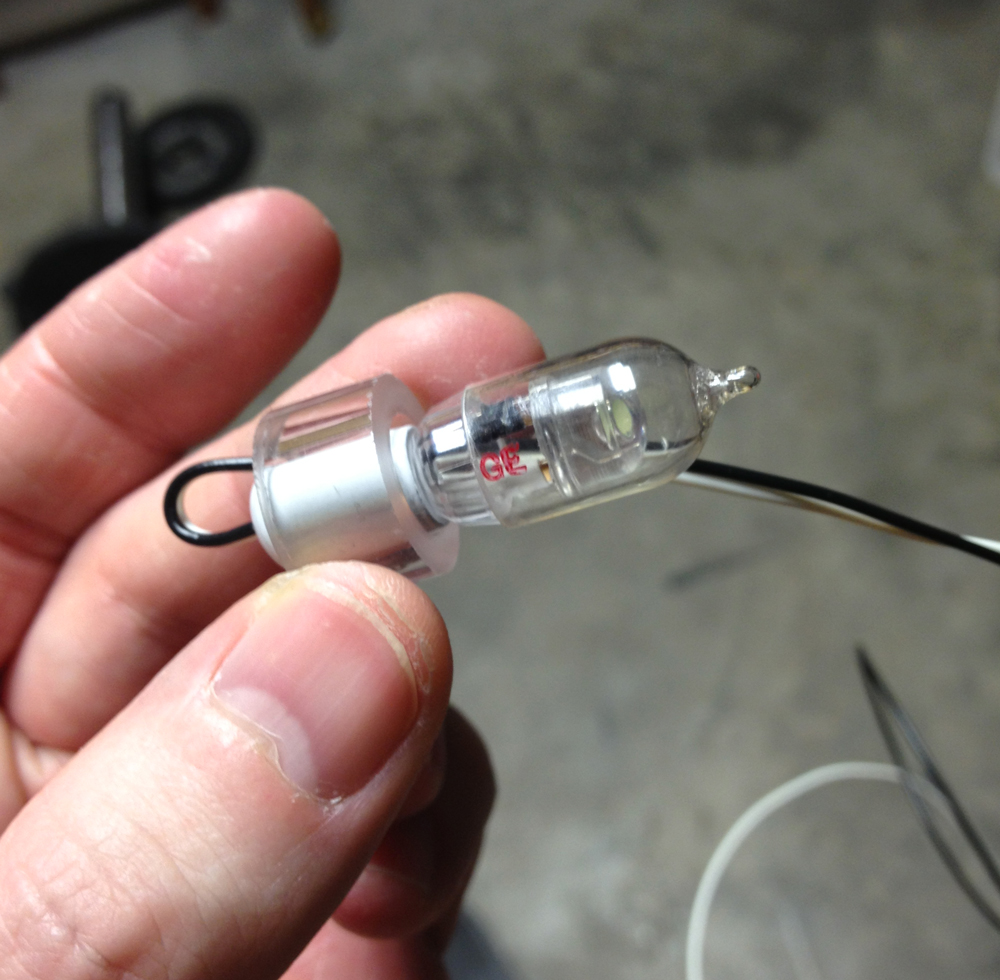
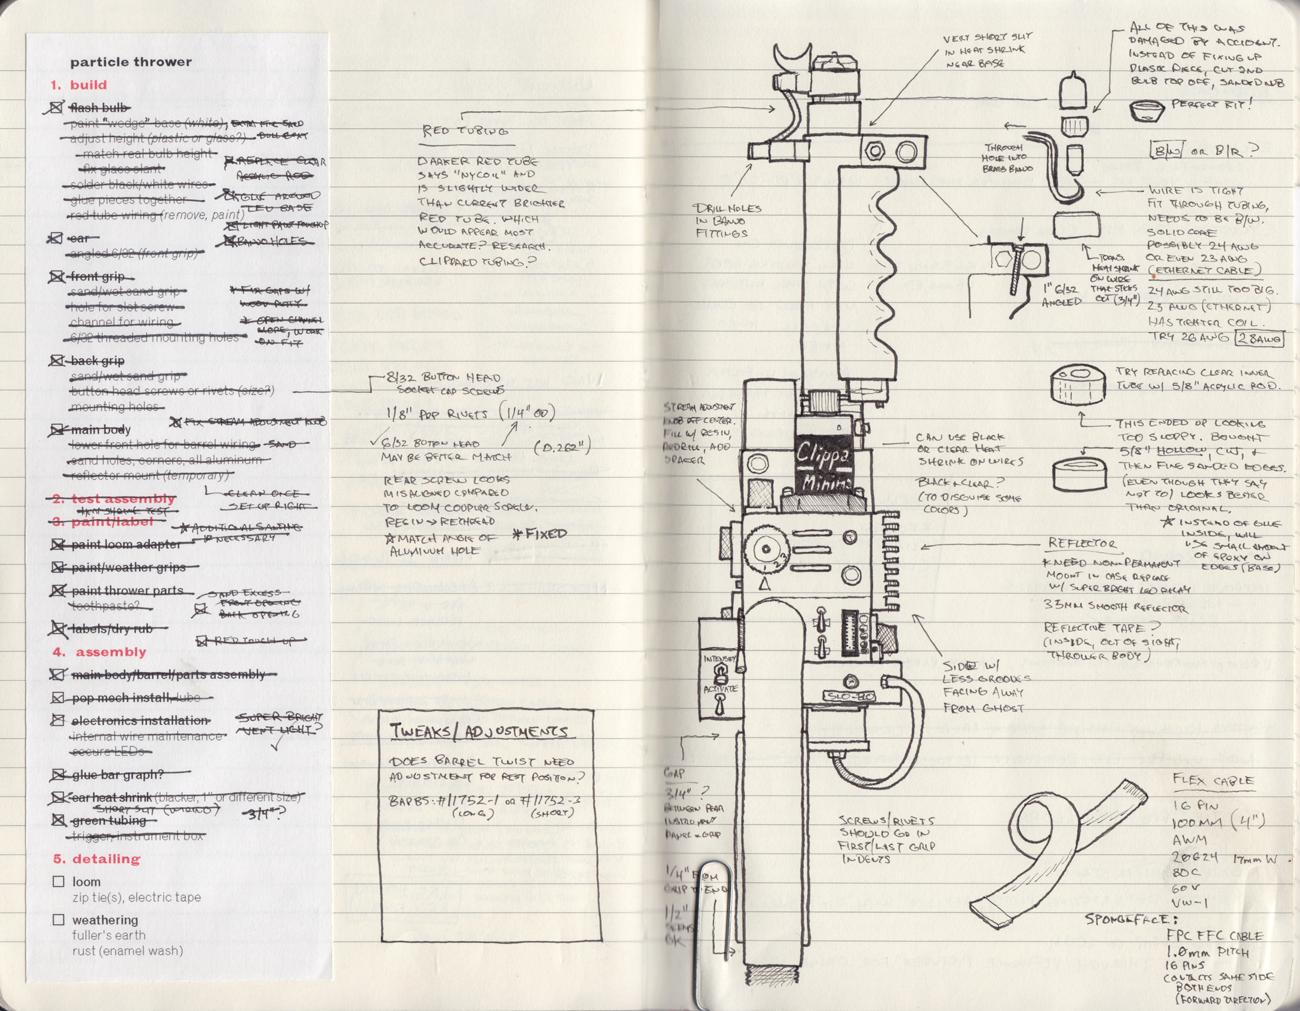
The heat shrink on the ear will need to be added a second time after painting. **The picture below was taken before the bulb was weaponized and launched into orbit.*
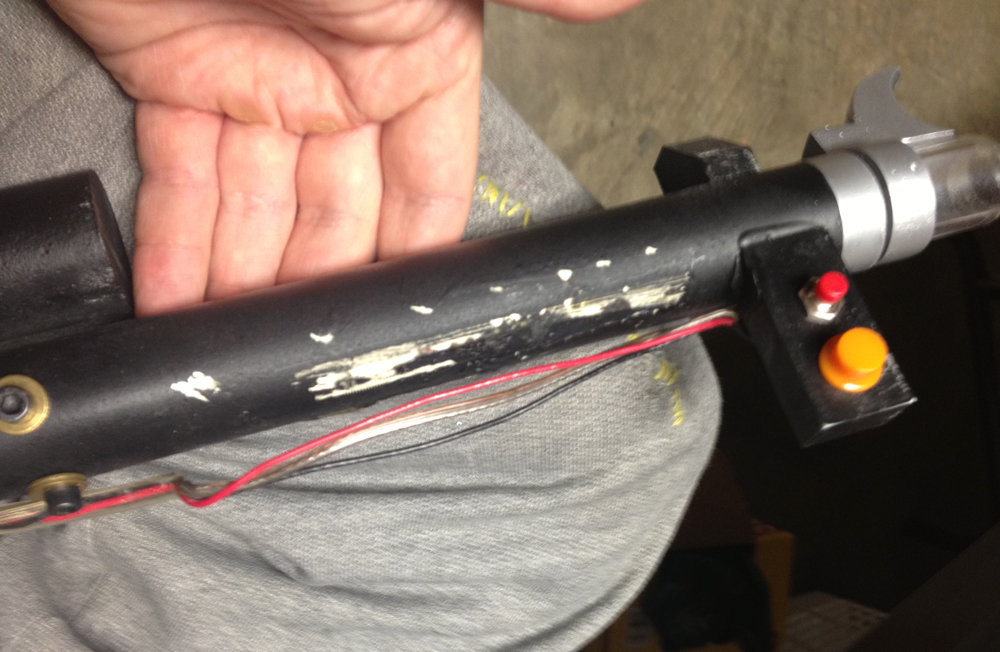
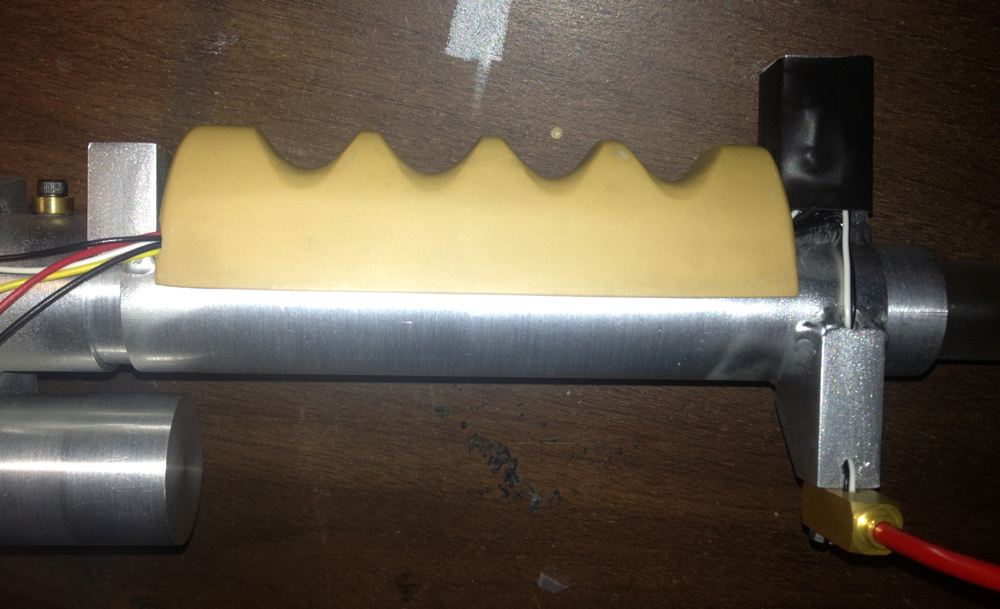
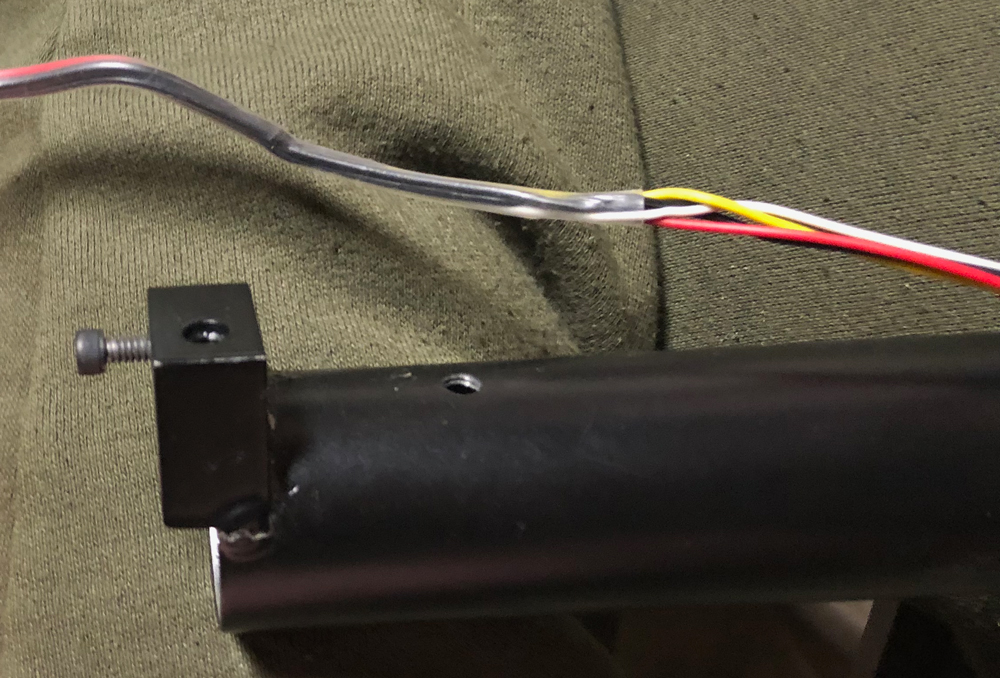
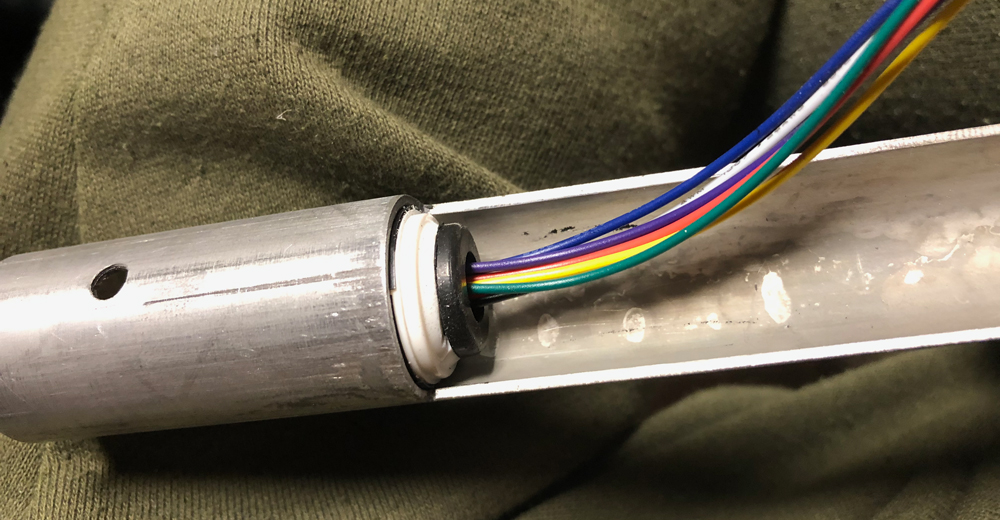
The front grip was cleaned up and sanded for a good fit. I made a channel inside for the wires. A small portion of the wires would be visible between the grip and main body. In reference pictures, these were combinations of red, white, and black. The yellow wire looked inaccurate and there were too many wires.
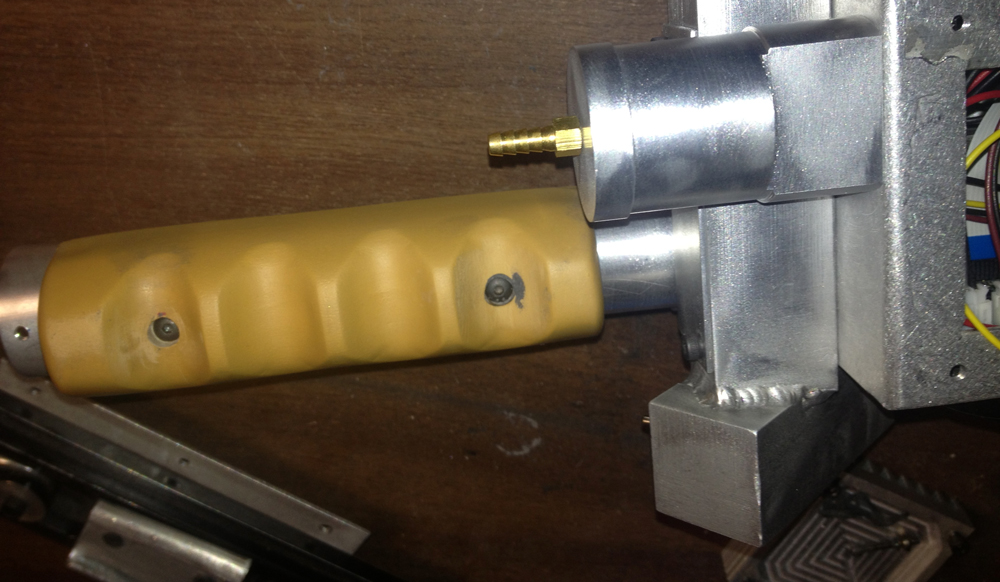
Holes were drilled through the grip into the rear handle. I tapped these for socket head cap screws. These should be replaced with rivets later, but I may stick with the screws. I fixed one of the grip holes that I had messed up. The barbs (Clippard #11752-1) would need to be trimmed later.
Test complete.
Paint/Label
I dread painting. A lot.
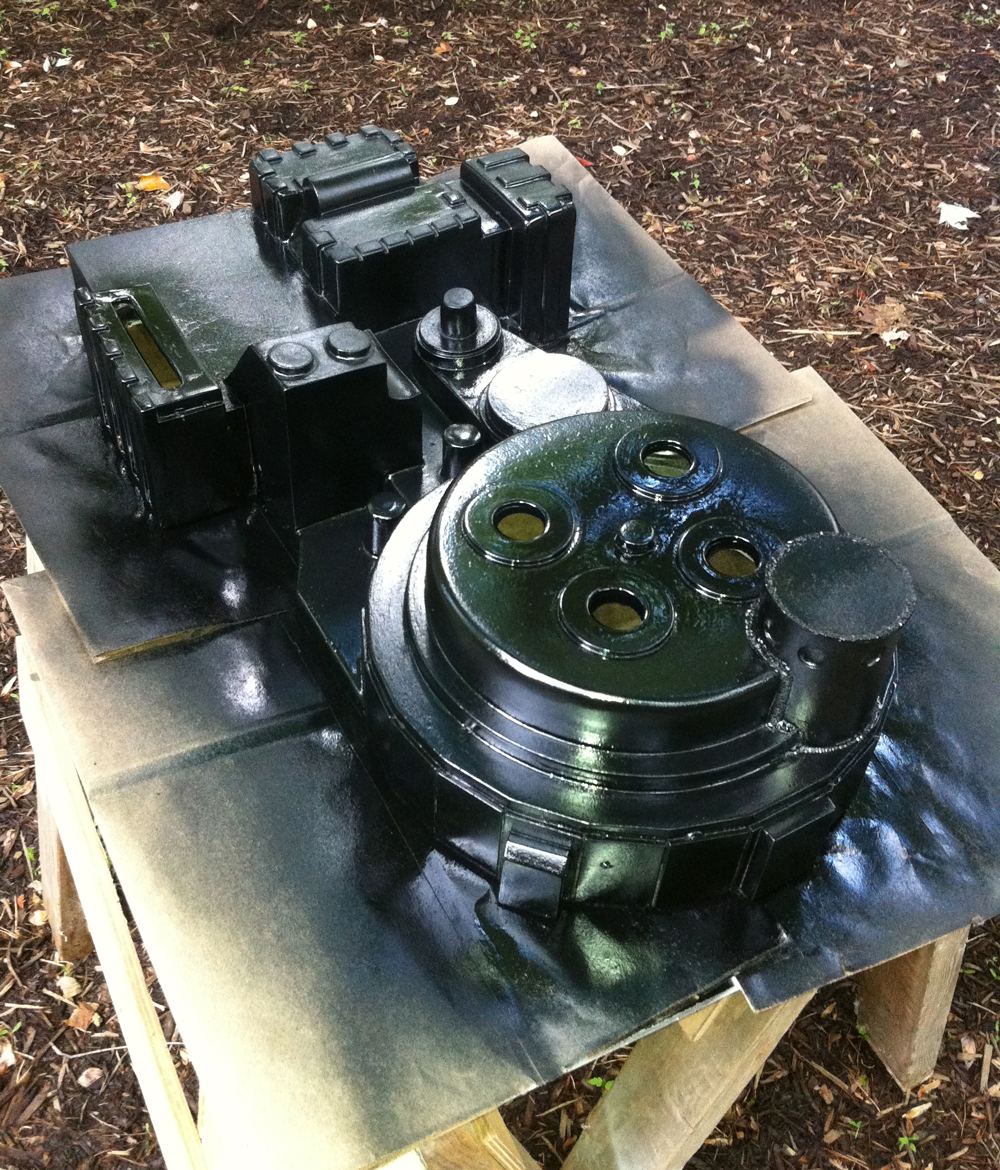
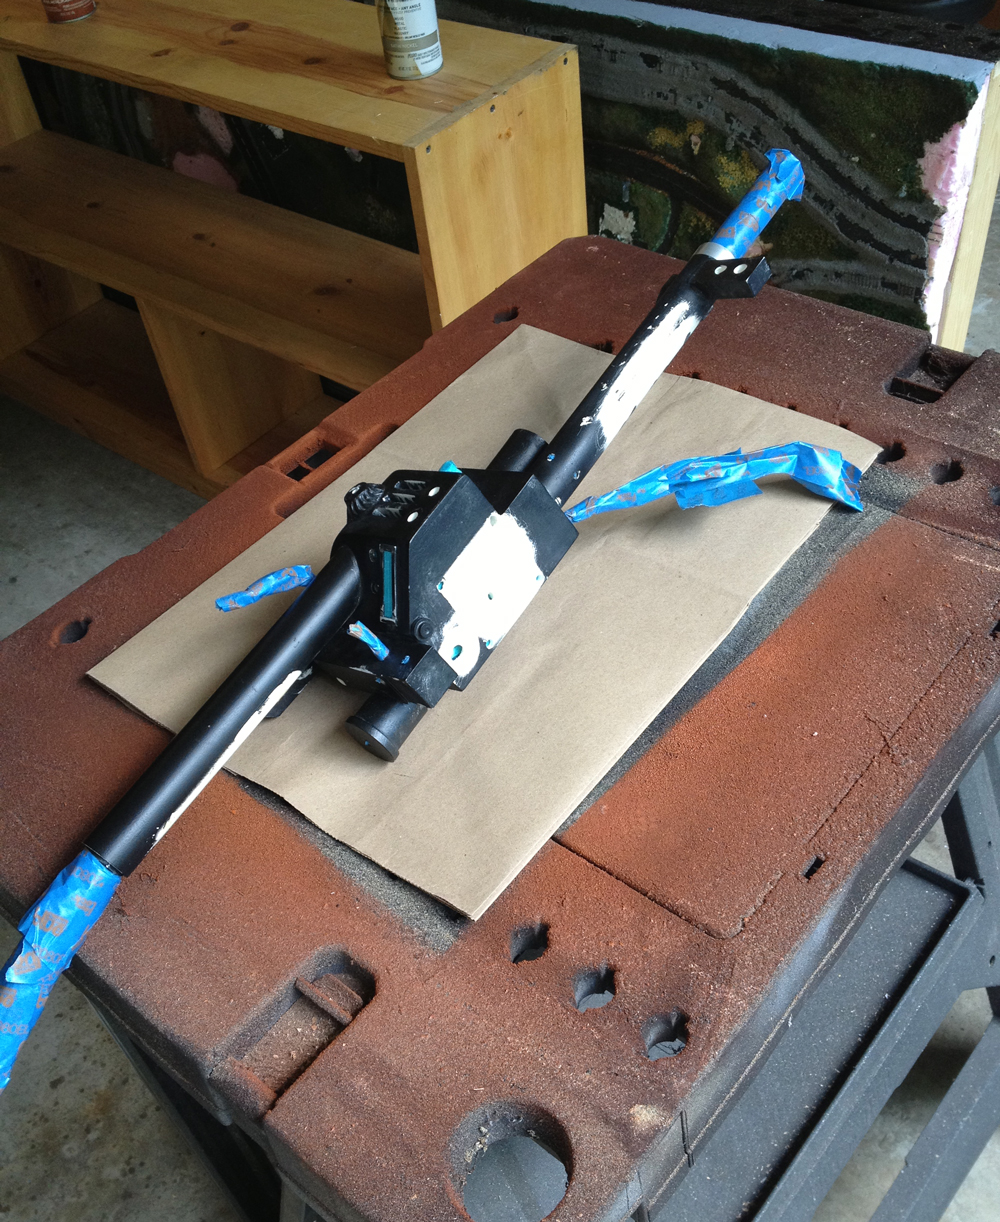
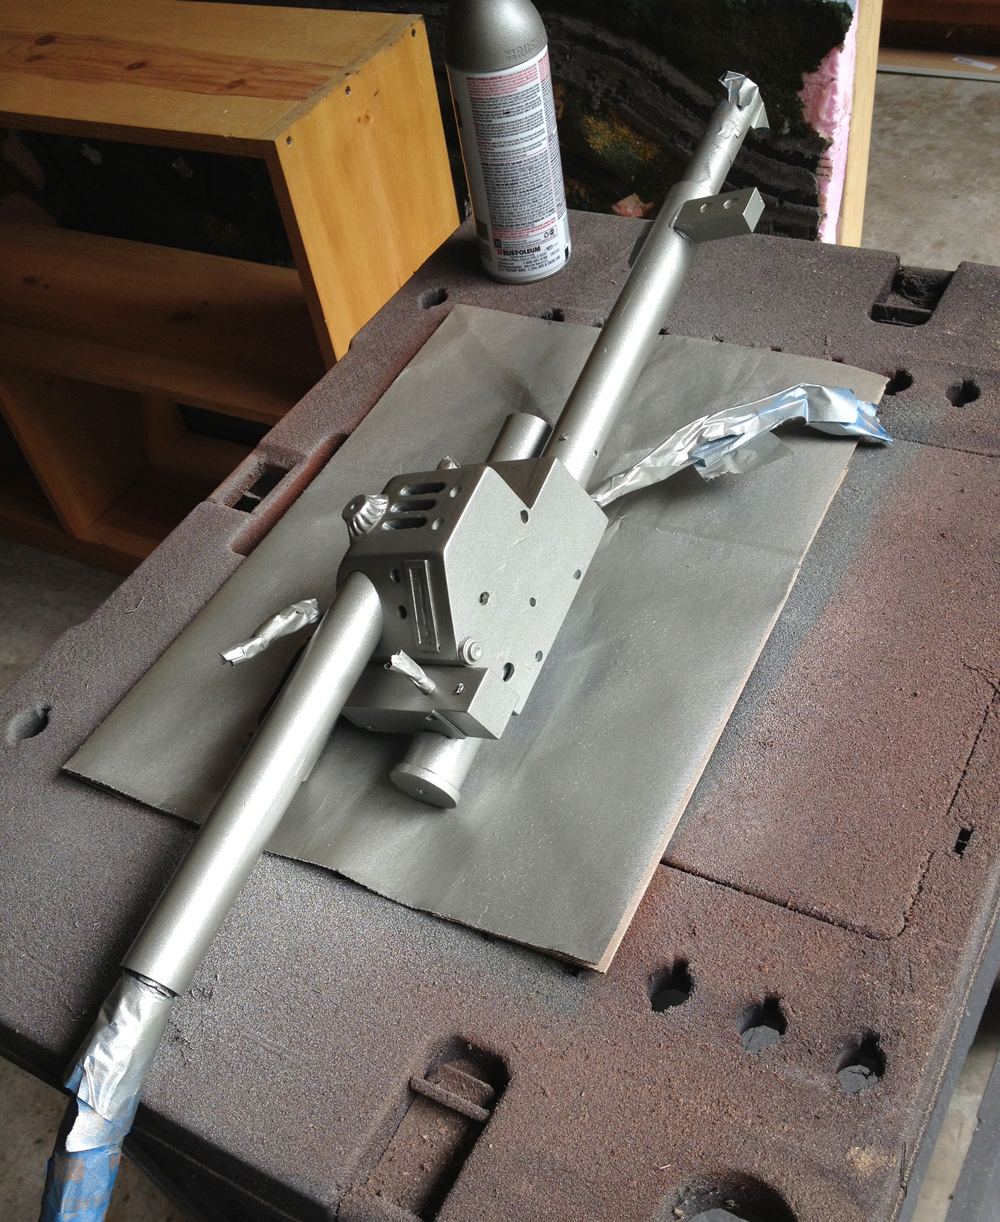
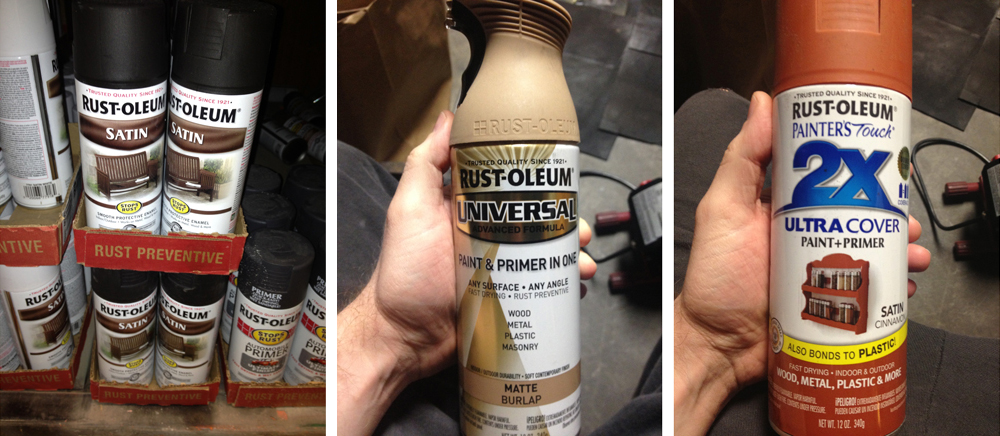
For the thrower and its components, I used Rust-Oleum satin black (same as shell).
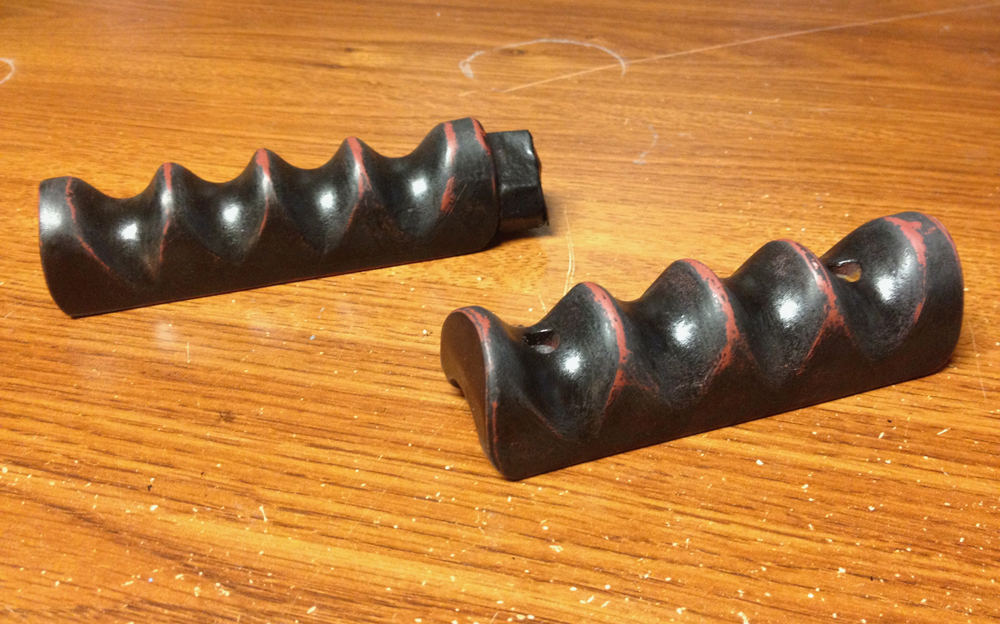
For the grips, I used Rust-Oleum matte burlap as a base coat (close match to the color of the resin). Then a coat of satin cinnamon and then satin black. I did subtle weathering, by roughing up areas and applying enamel washes.
After a few frustrating, failed attempts, I finally got a decent paint job done.
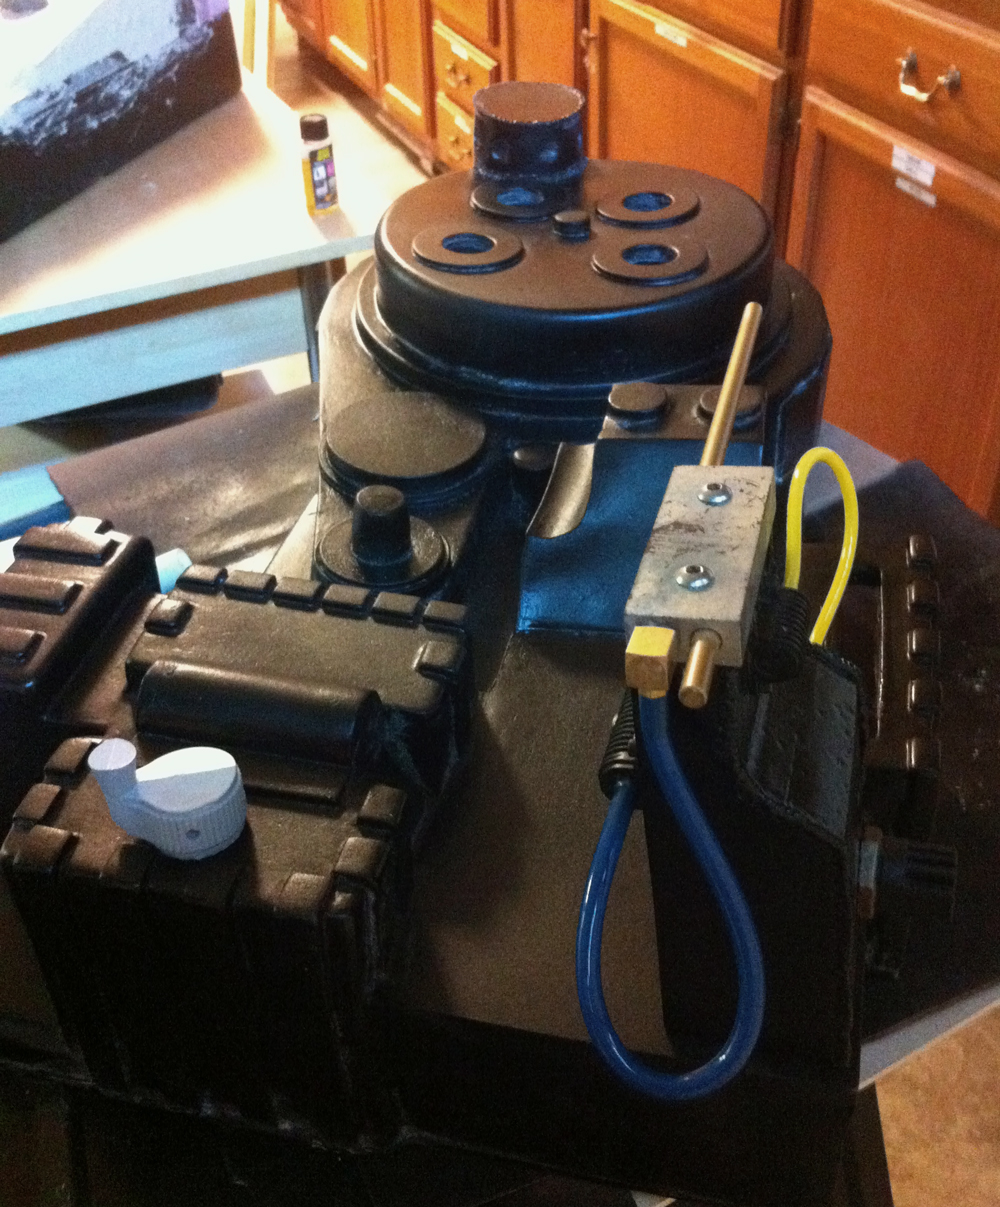
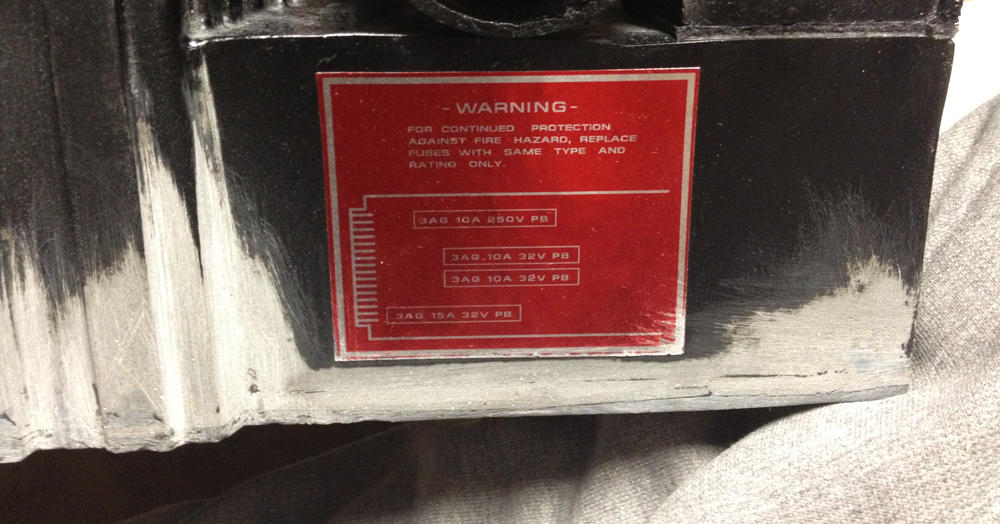
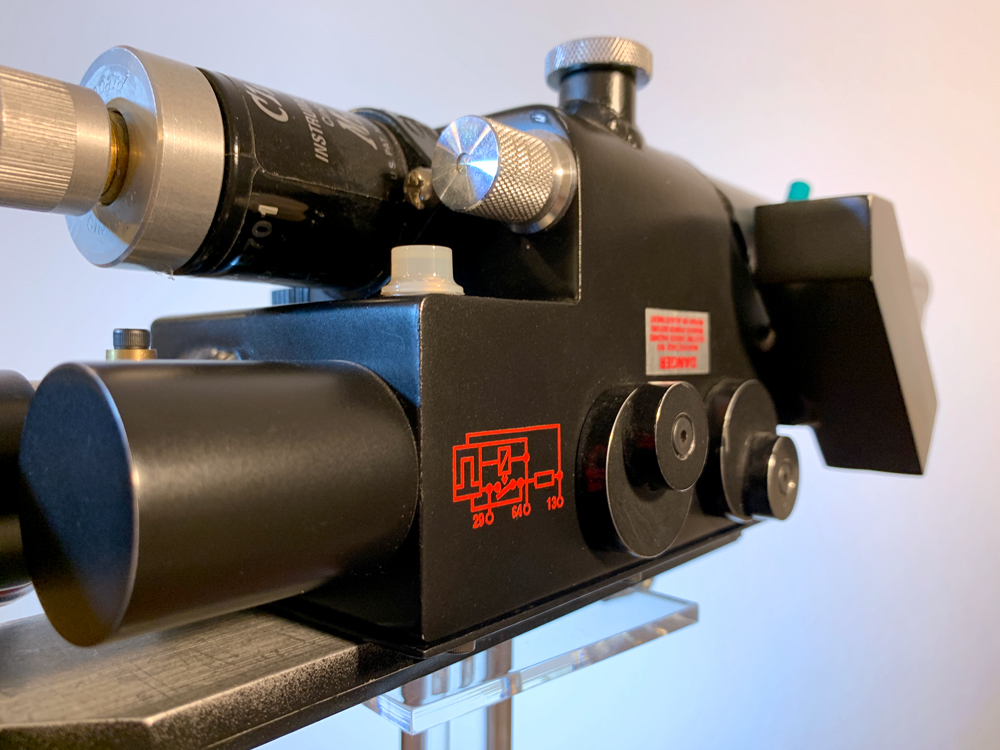
Electronics and parts were partially assembled. Dry rub transfers, stickers, and metallic labels from GBFans were applied.
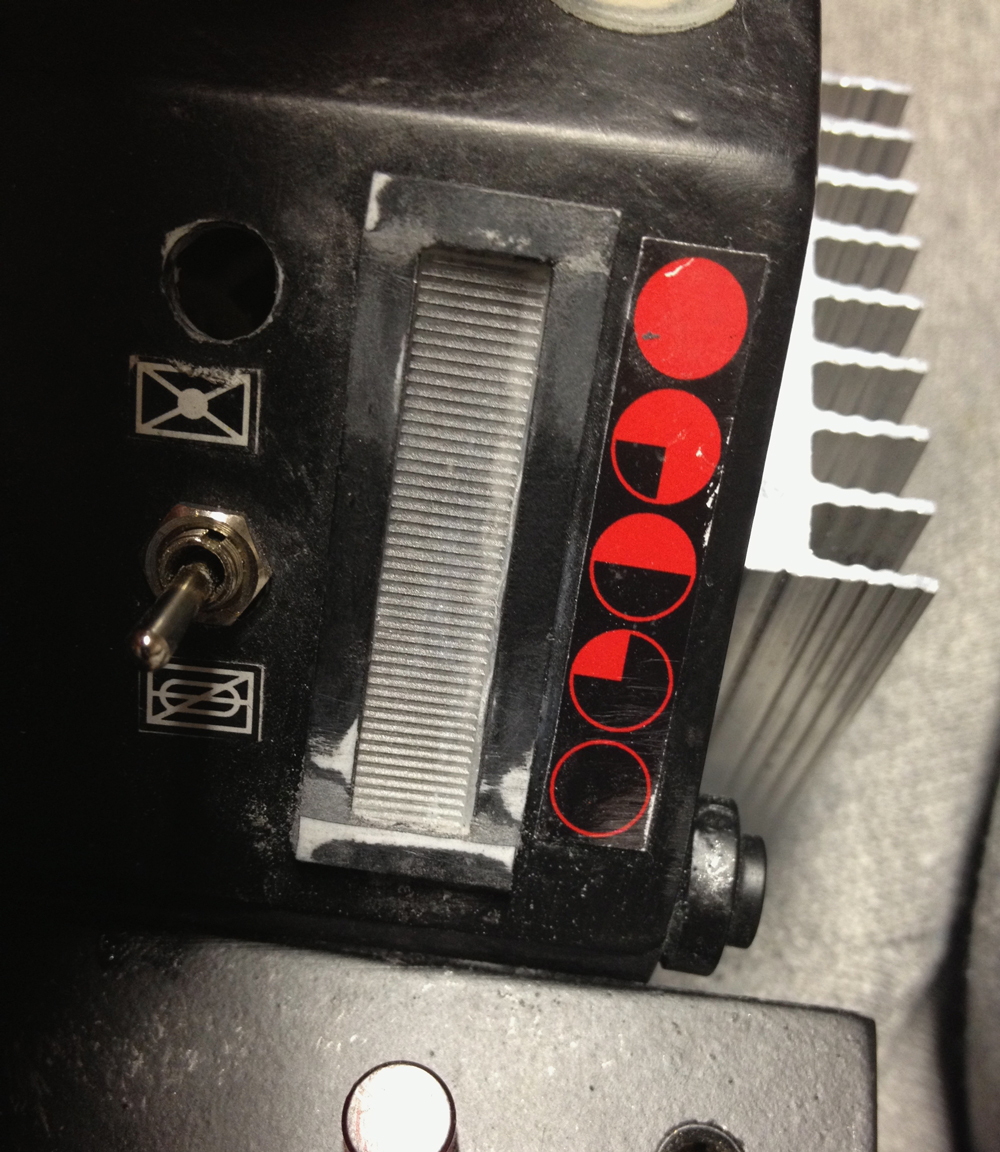
I put together the lenticular overlay from Spongeface’s bar graph bezel kit, which makes the animated bar graph LEDs look even more badass. Not easy to assemble but worth it.
I accidentally rubbed off part of the tiny six (the bowl) in this diagram. Hard to notice unless it’s pointed out, and it would look intentional with more consistent weathering. I went ahead and did my best to fix it anyway. This made me realize that all the transfers could be damaged fairly easily.
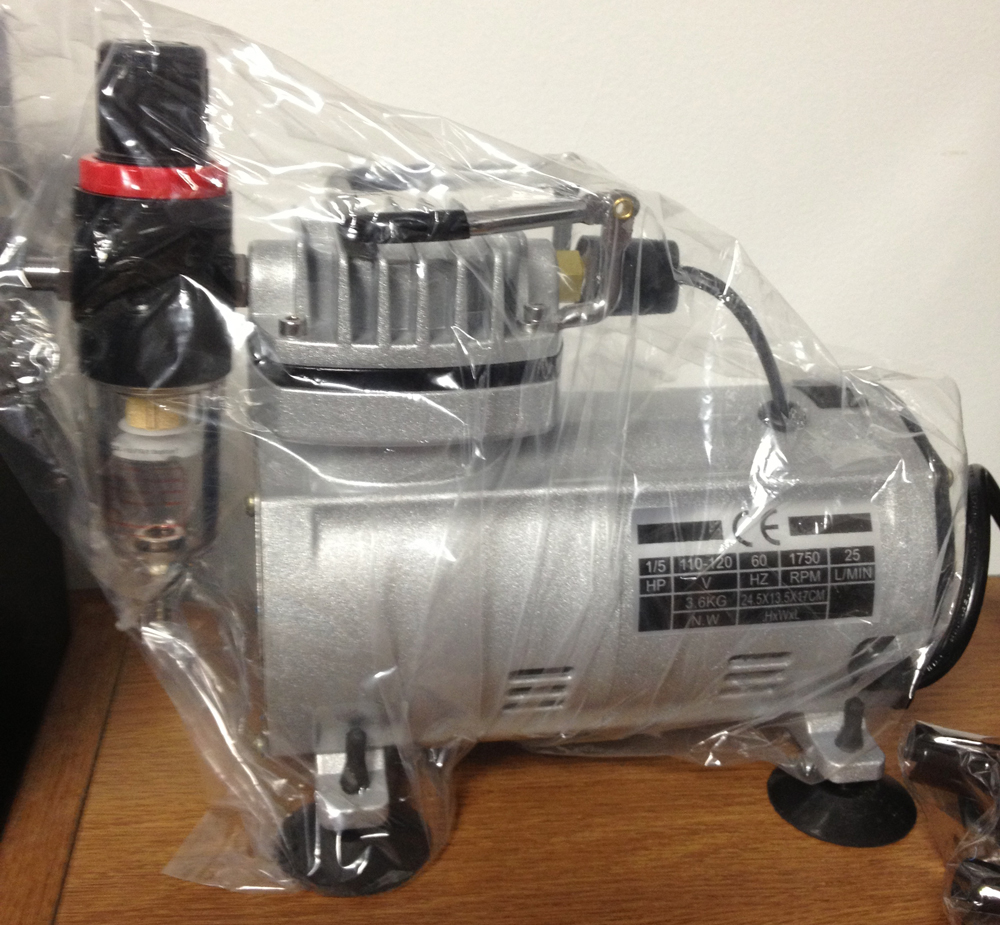
Time to learn a new skillset. I decided to air paint the entire pack with a clear coat.
Because everything was mostly assembled, I thought this was going to be really difficult, but it wasn’t too bad.
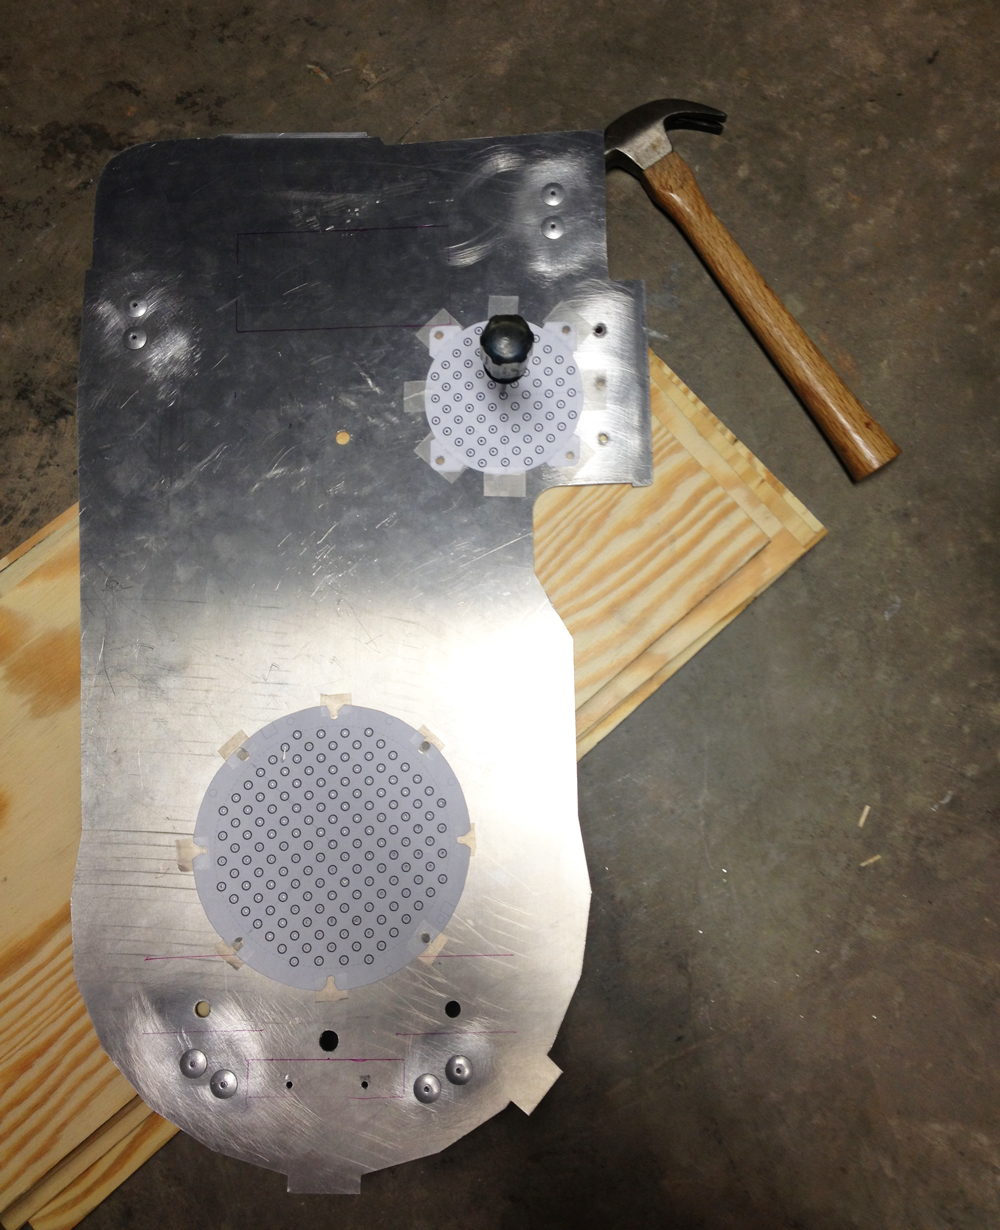
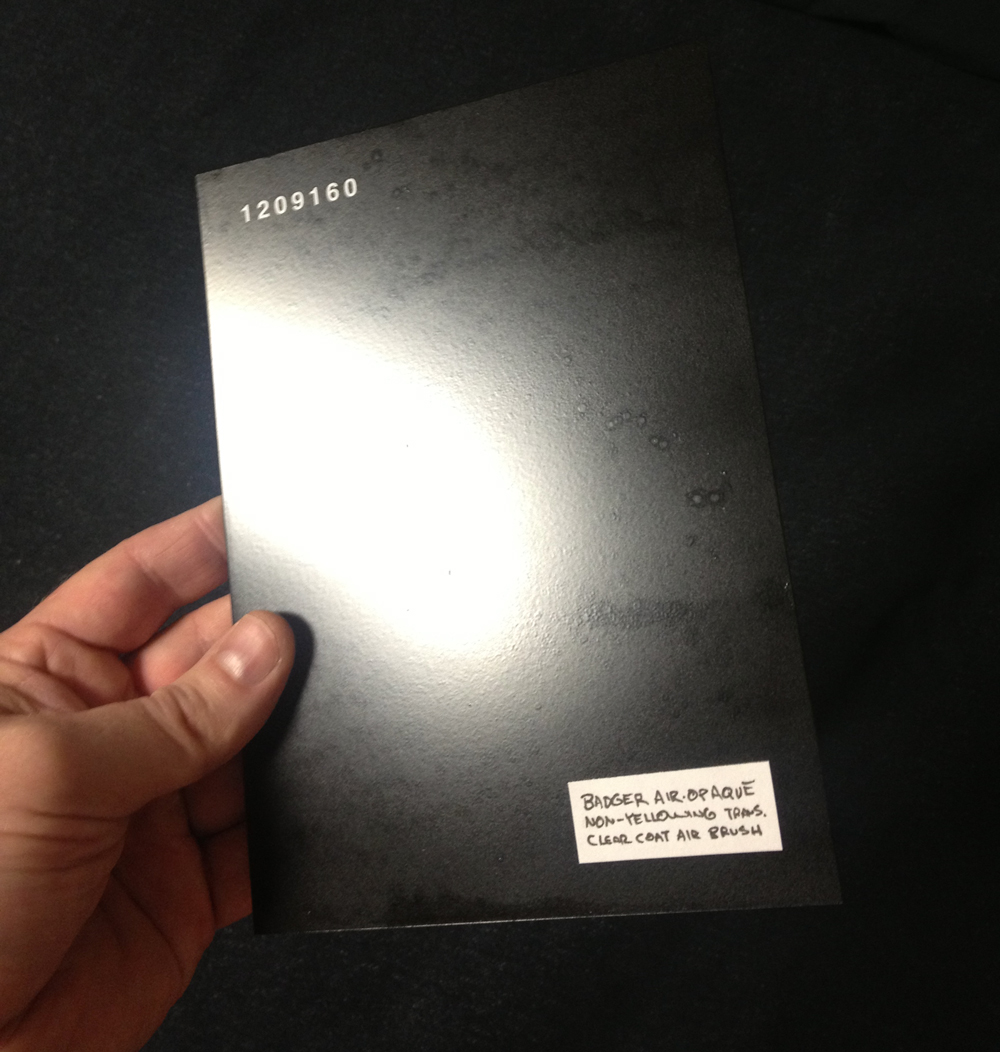
The hardest part was finding a paint I was happy with. I made samples using some aluminum siding and tested protection for the transfers and the overall finish. I.e. the test below has good protection but the finish has some bubbling and blotchy areas.
[placeholder—Add the clear coat that worked and picture if you can find it.]
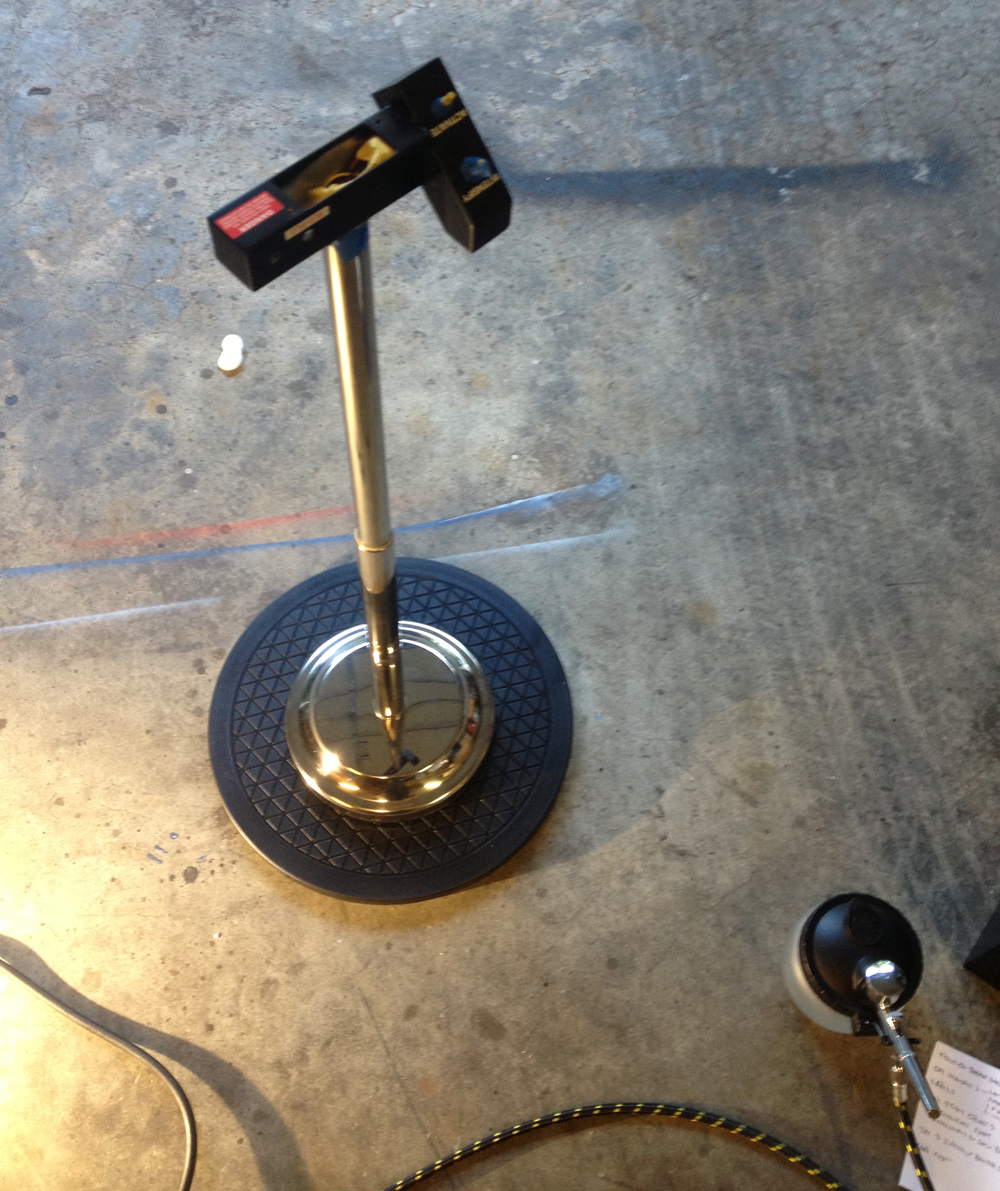
I made this device using a rotating TV pedestal and a toilet paper holder. It was ridiculously helpful.
Assembly
Most of the front barrel wiring would be hidden by the grip. The ear was heat shrinked again. The front grip would be removable, attached by a diagonal screw through the ear…
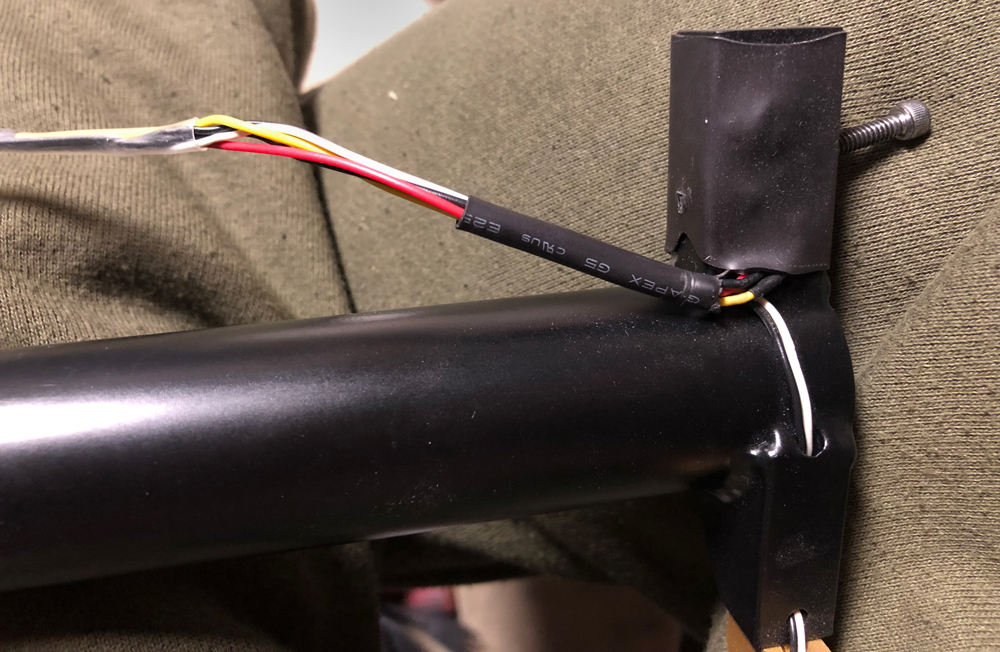
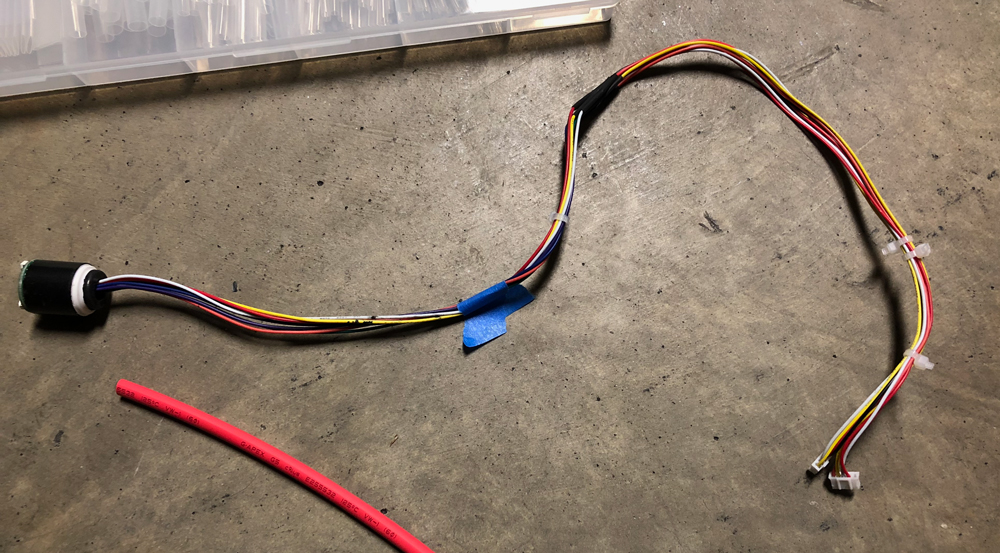
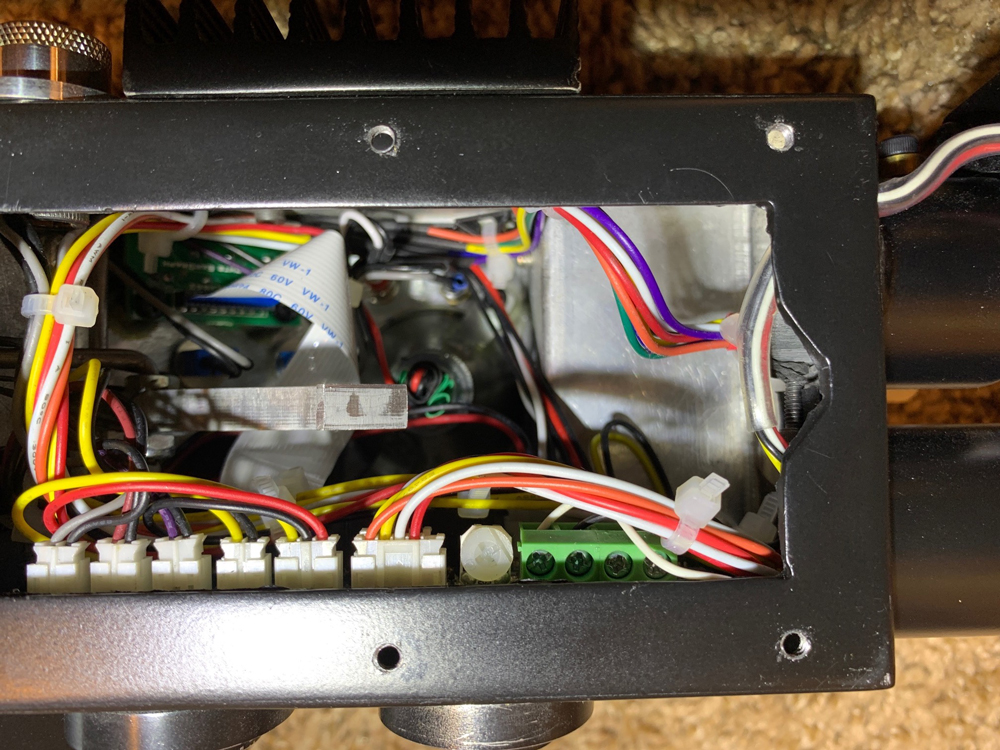
…and another through the barrel lock. The five wires in the top left of the picture below would be partially visible and needed to be flexible. For the visible area, I heat shrunk three of the wires together to hide two, including the yellow one. I then put clear heat shrink on all of the wires.
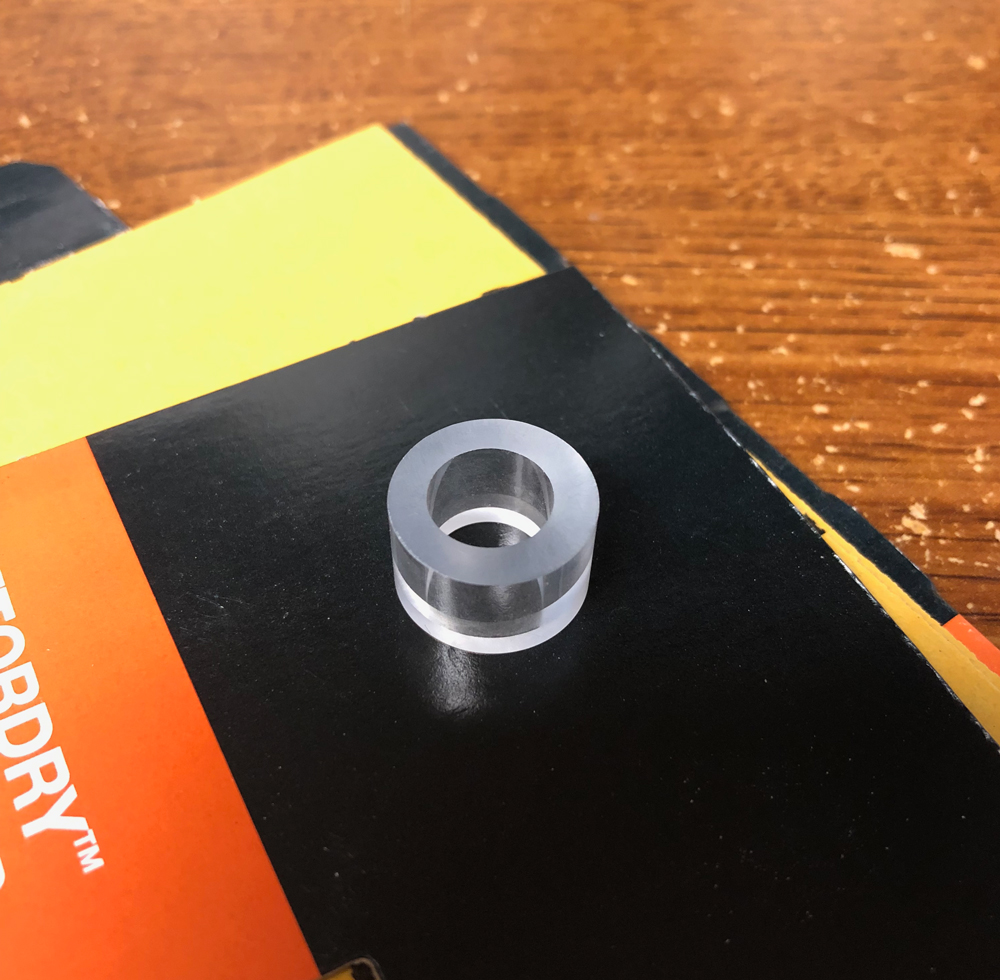
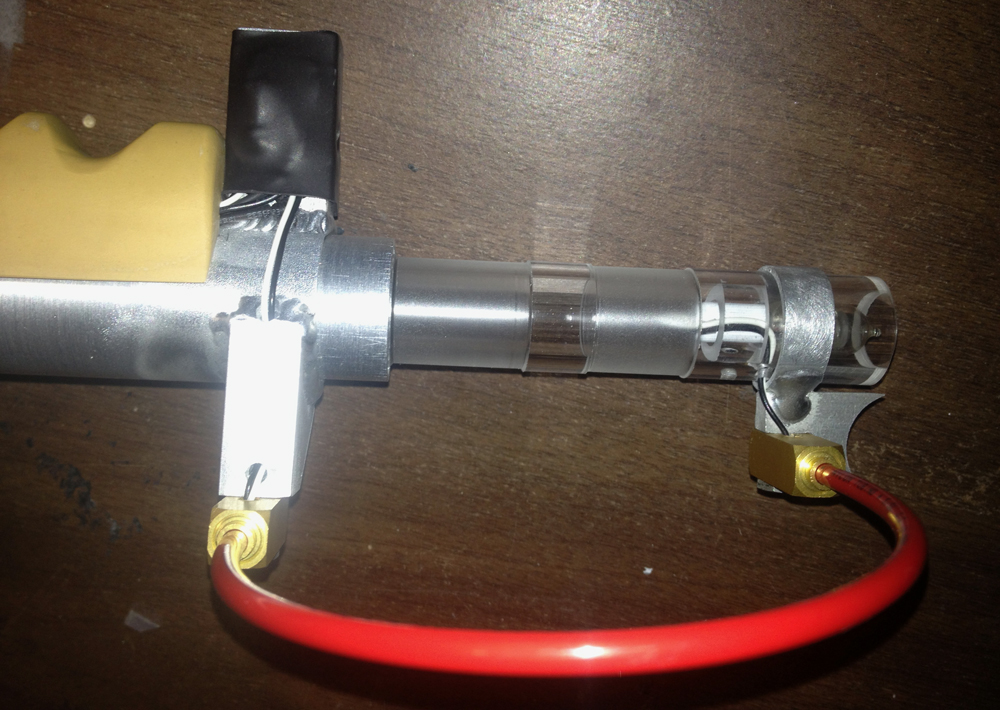
I upgraded the original GBFans wand lights with the expansion kit from Spongeface. I made an LED holder to go in the pop tube, using part of a toilet paper roll holder tube, gaskets and electrical tape.
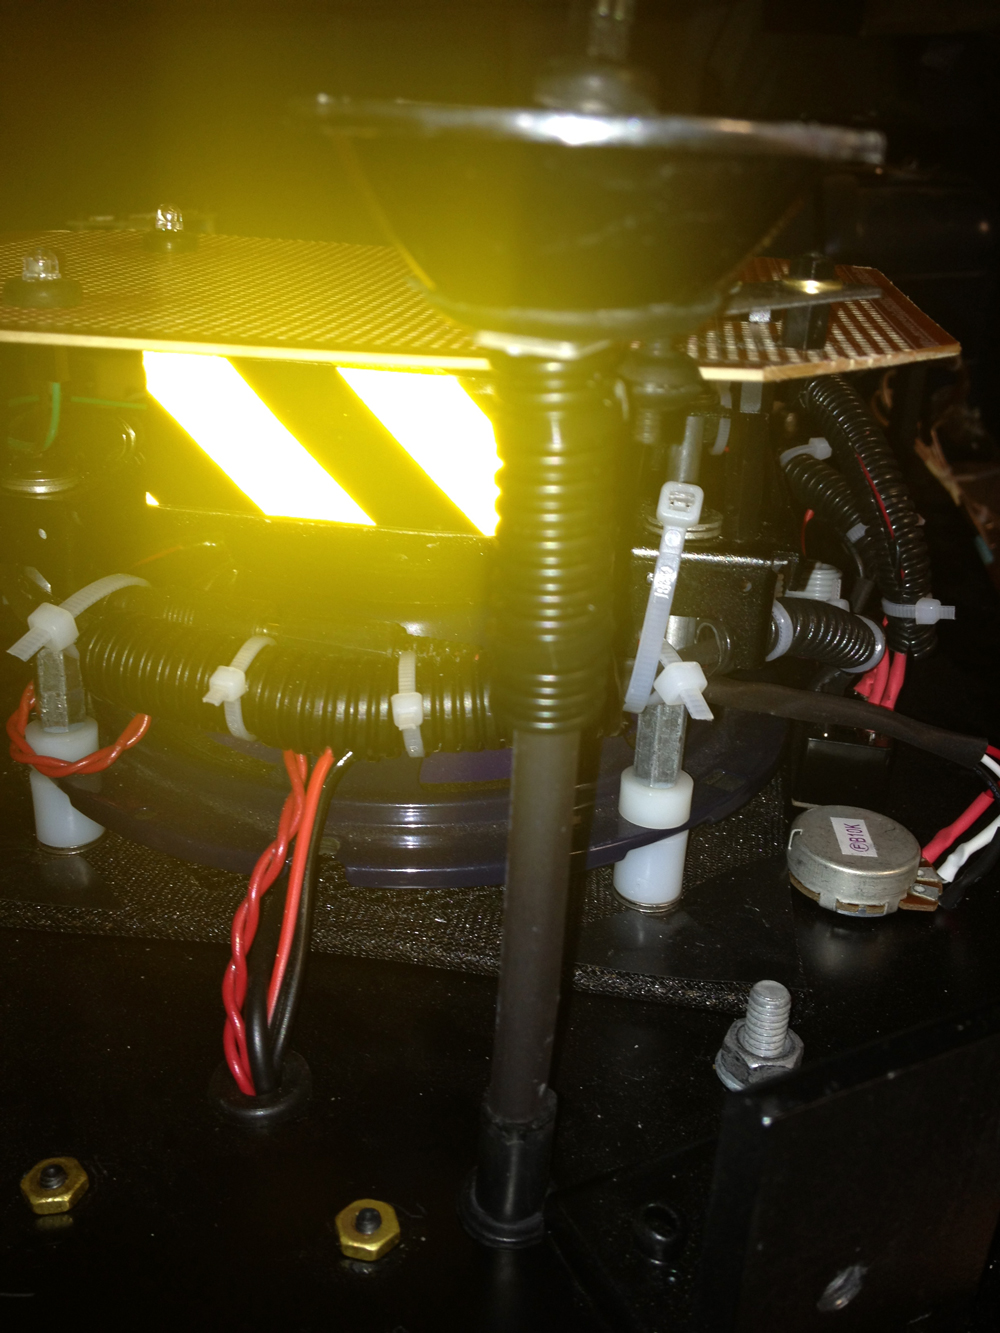
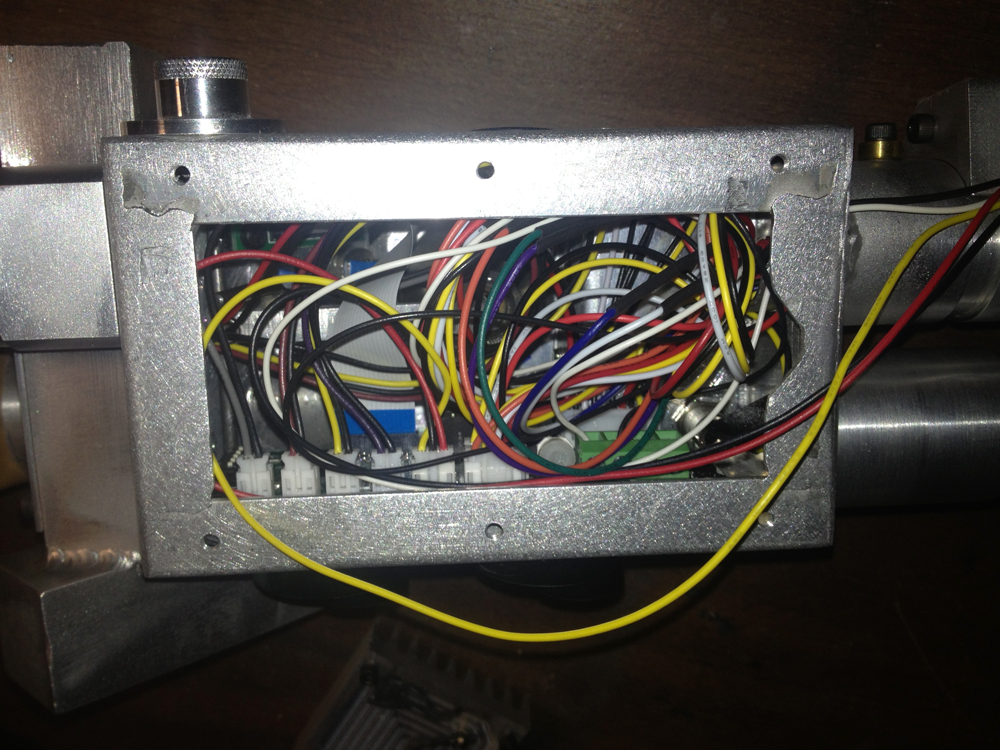
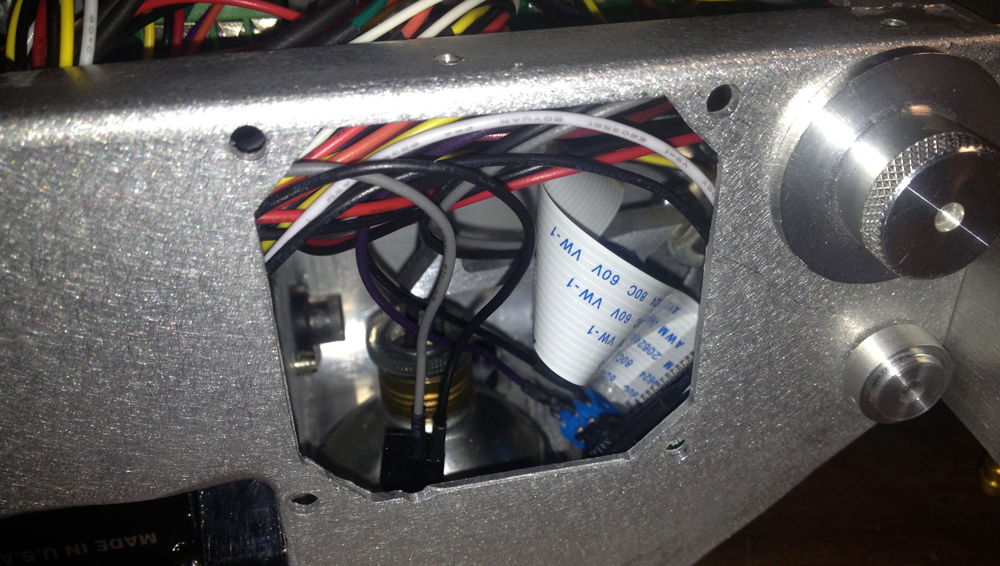
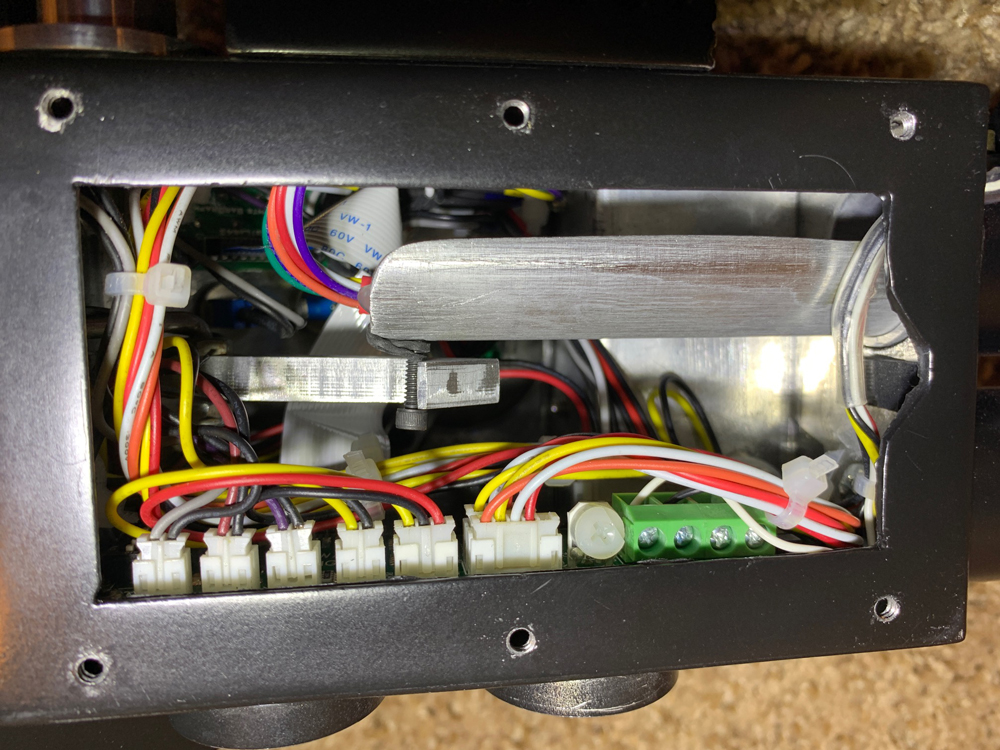
Zip ties and wire clips were used to organize and make space.
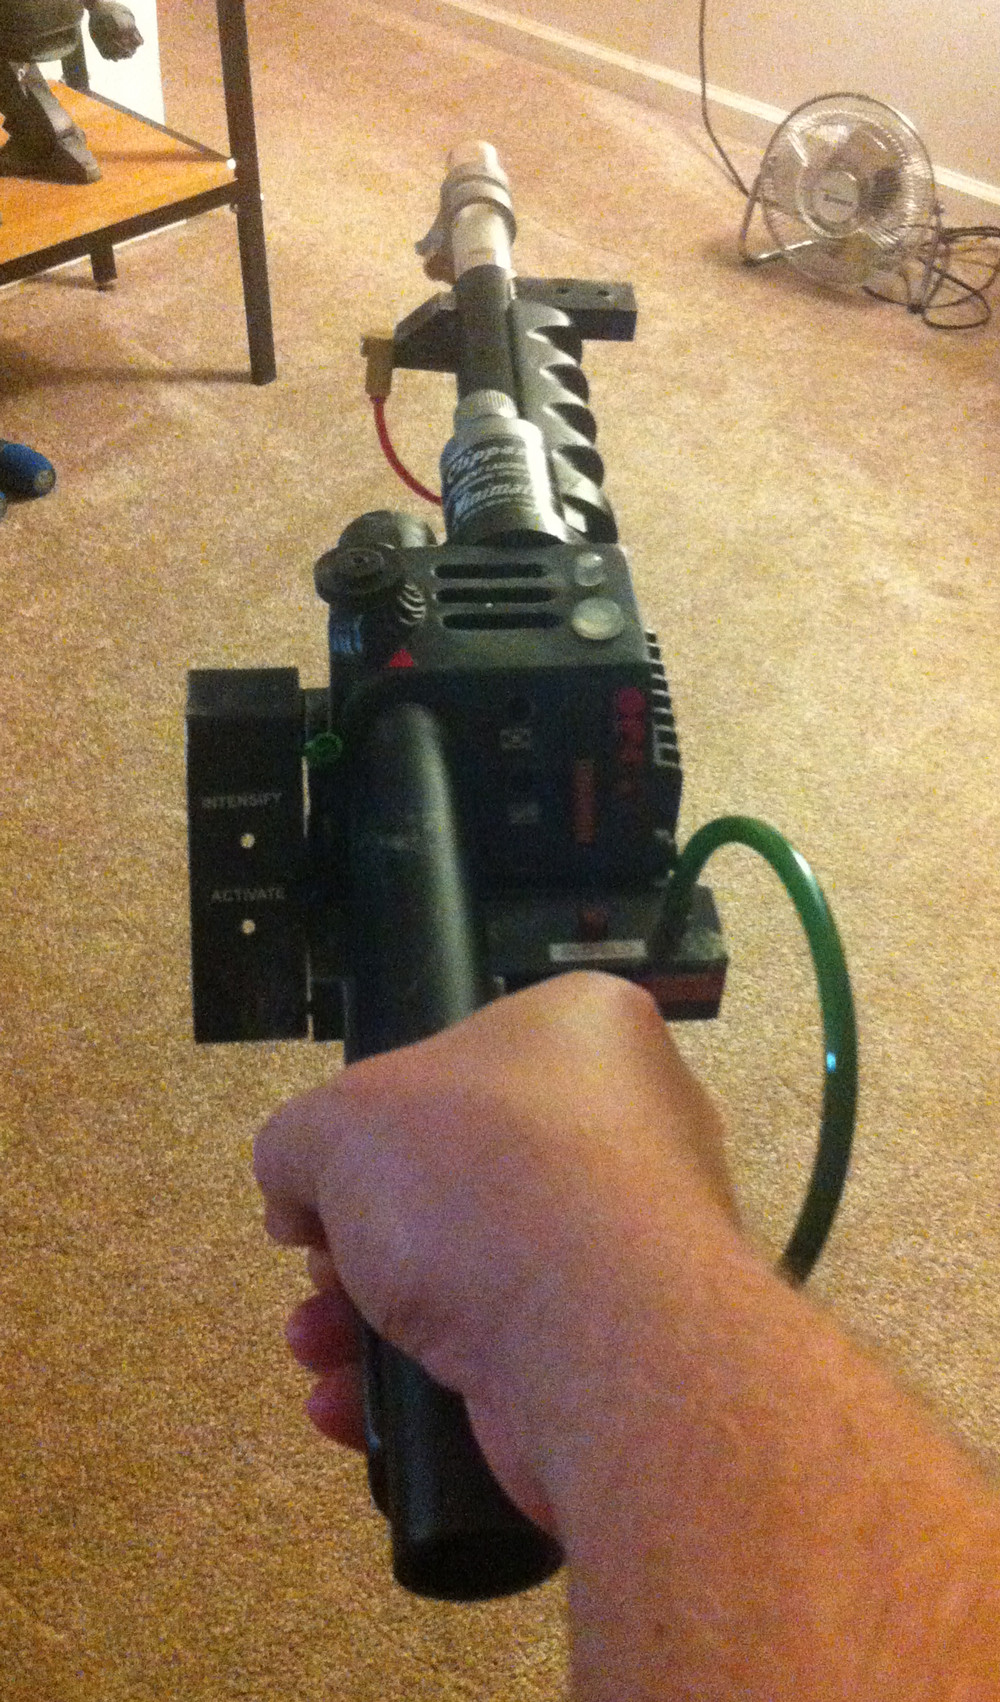
The thrower was just about finished at this point.
Links in this post may be affiliate links. Purchases made through them help support this site at no additional cost to you.