Proton Pack Build

For the booster ladder, I considered making my own and started buying boxes of Ticonderogas. However, at least for the time being, I decided to go with a replica instead because I could always replace it later on. I had a few different replica options and was initially stumped by the differences in size. I read a lot of posts, like this one from pchrisbosh1 and this one from nick-a-tron. From what I gathered, the size differences were in part due to what references were originally available. For example, in the Sony lobby pictures, there isn’t a good shot of the ladder with a tape measure.

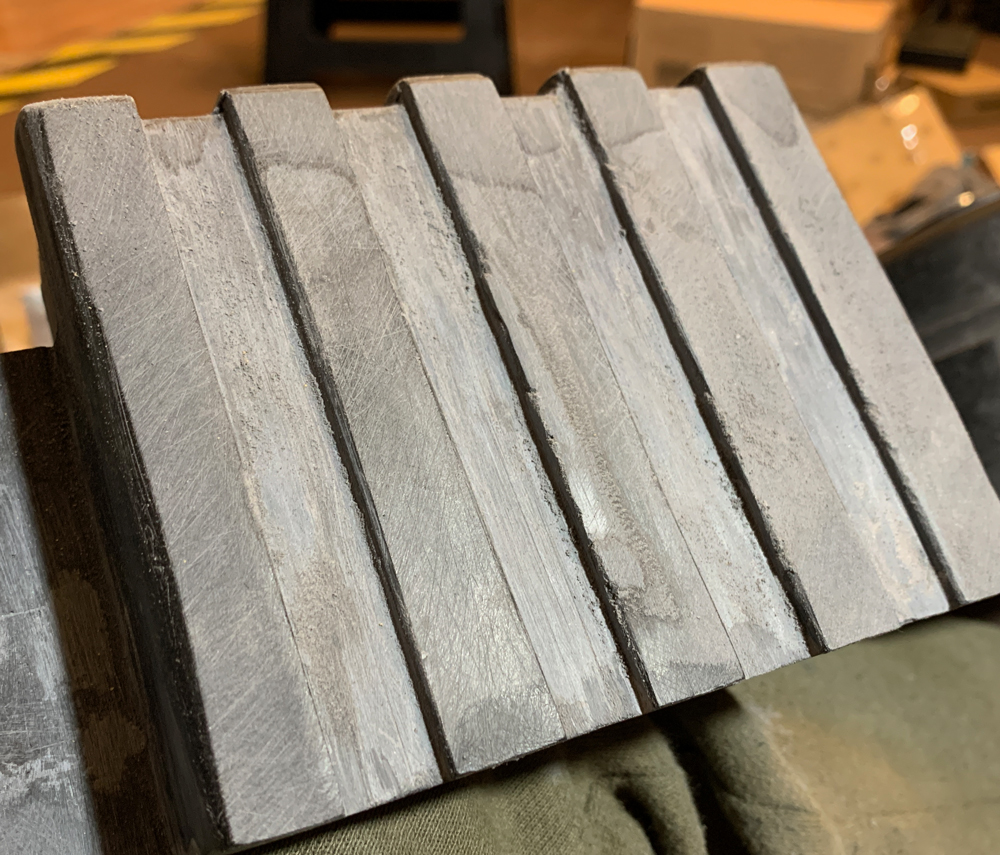
*Left to right: GBFans, my old one from eBay, and Machina28 *
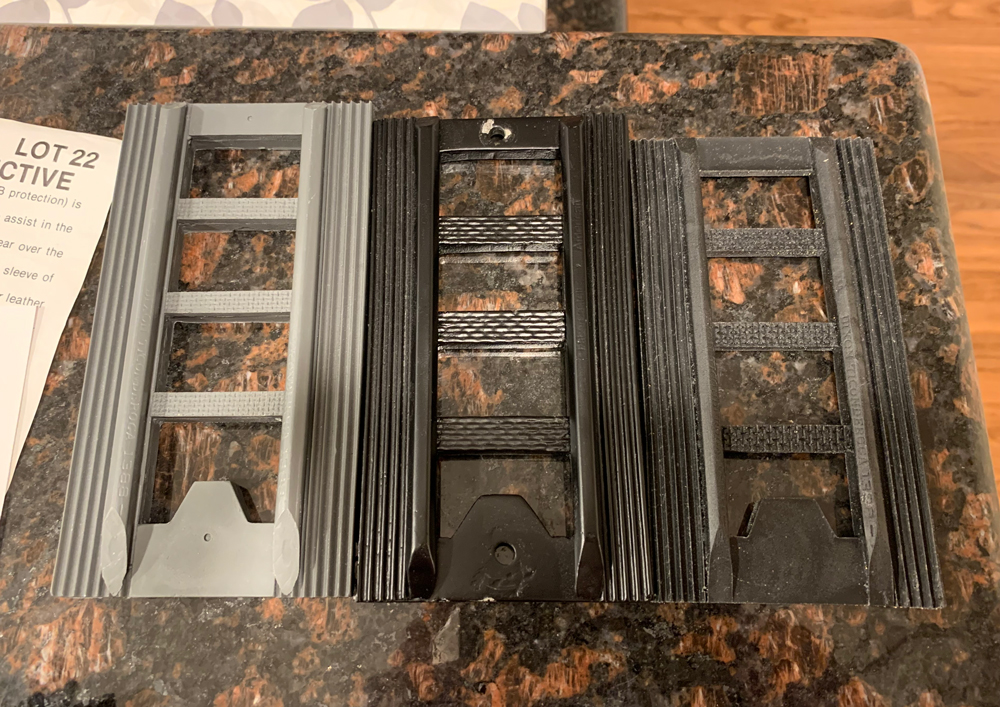
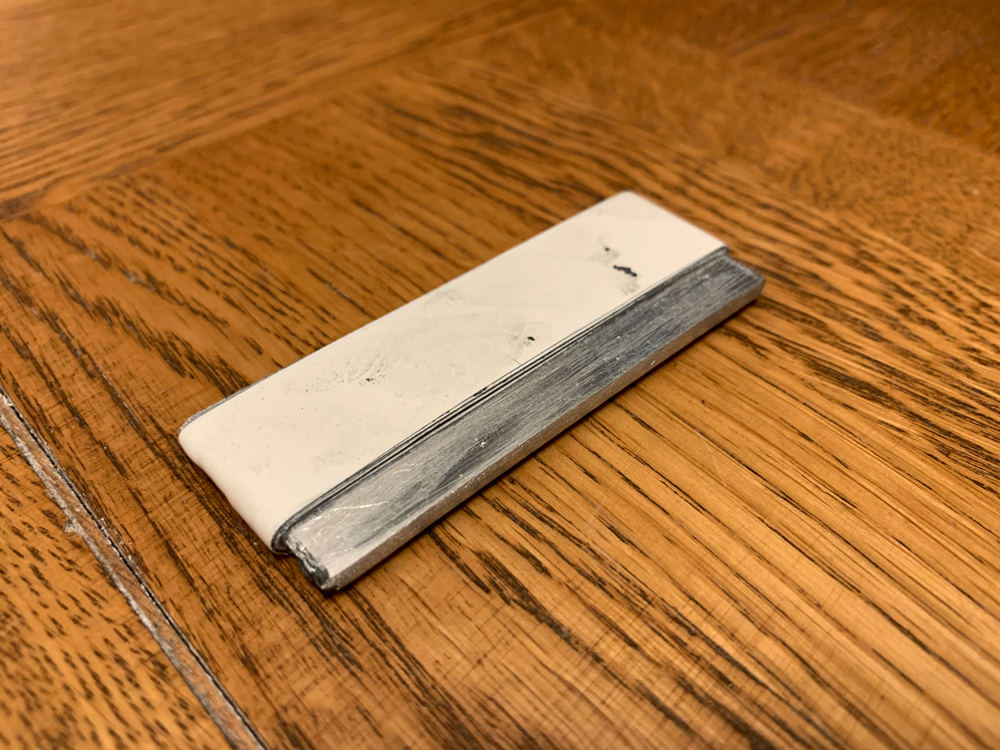
Although the GBFans ladder is the best quality, I decided to use the Machina28, because it was cast from one of the real ladders. The pencils seem smaller than the other replicas, but I think this may be because of how they were attached and filled in on the sides. There are also variations in the original ladders.

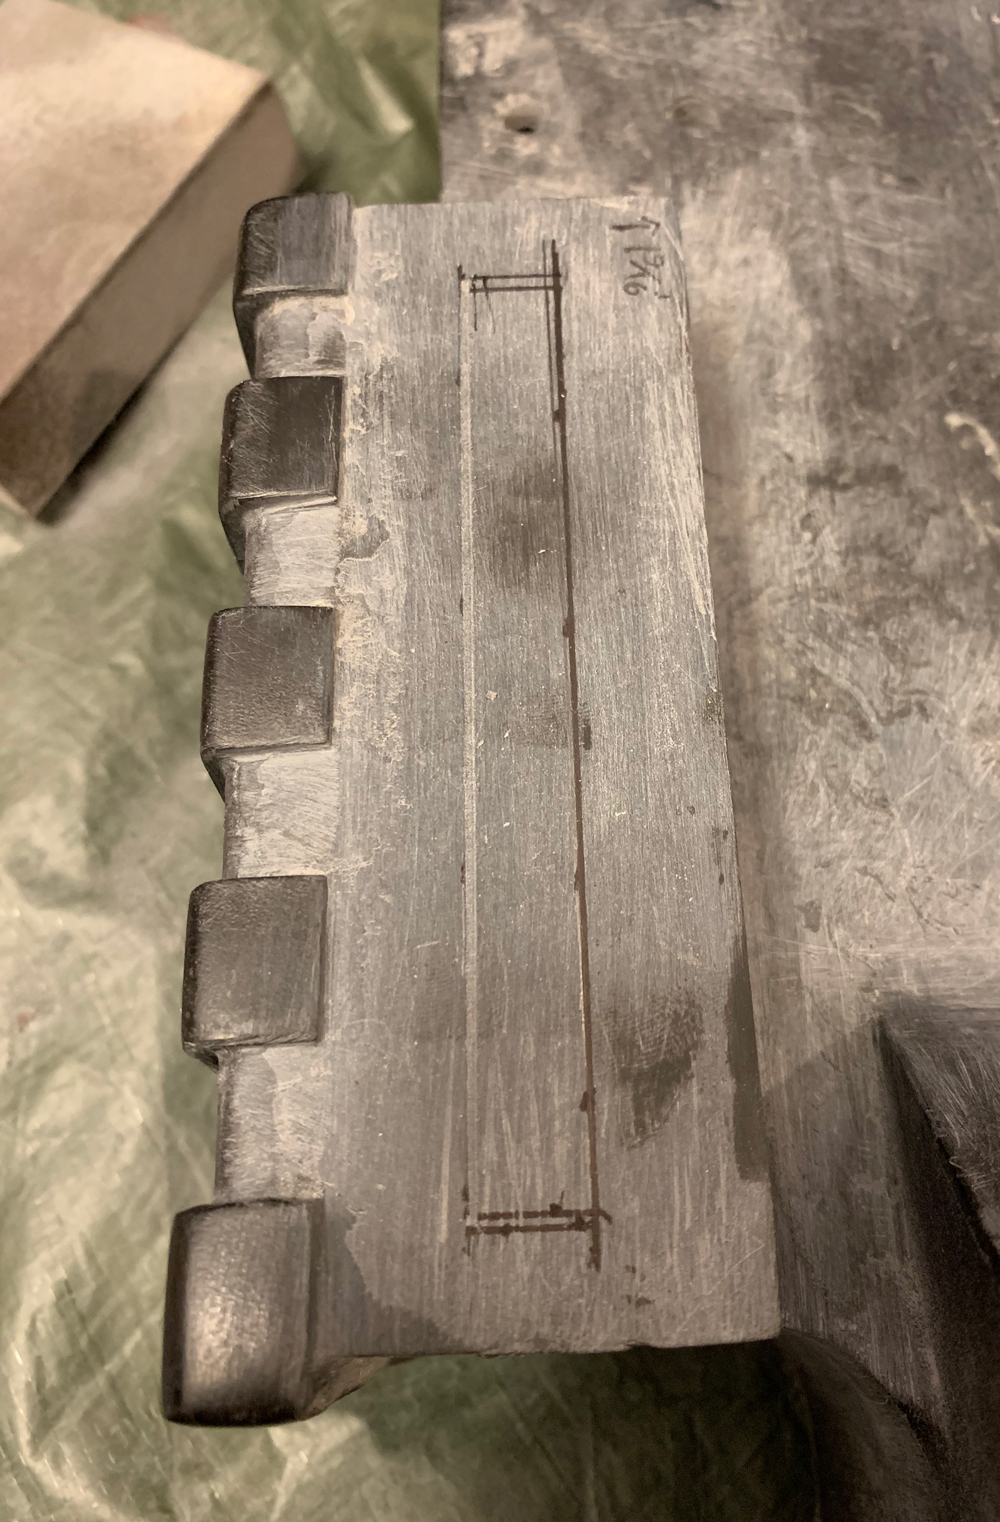
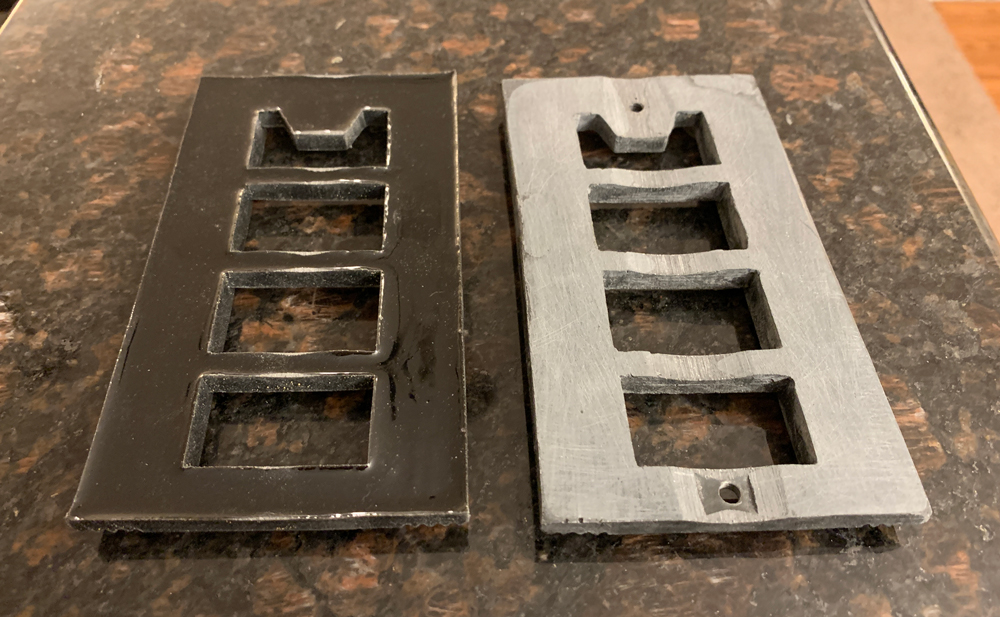
I filled in the back (the right one) to increase the thickness.
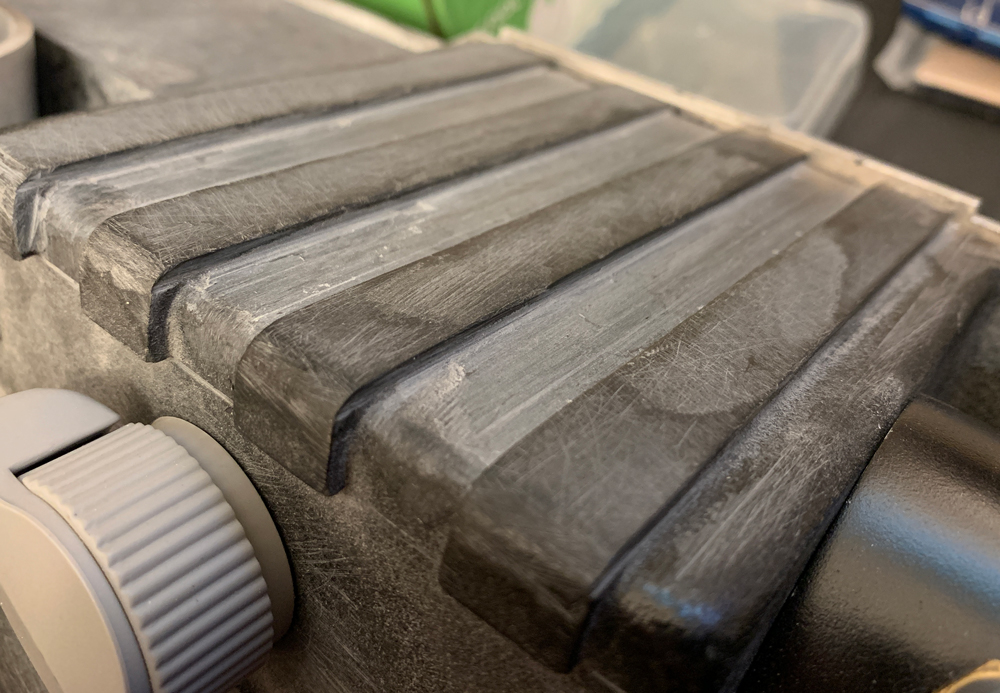
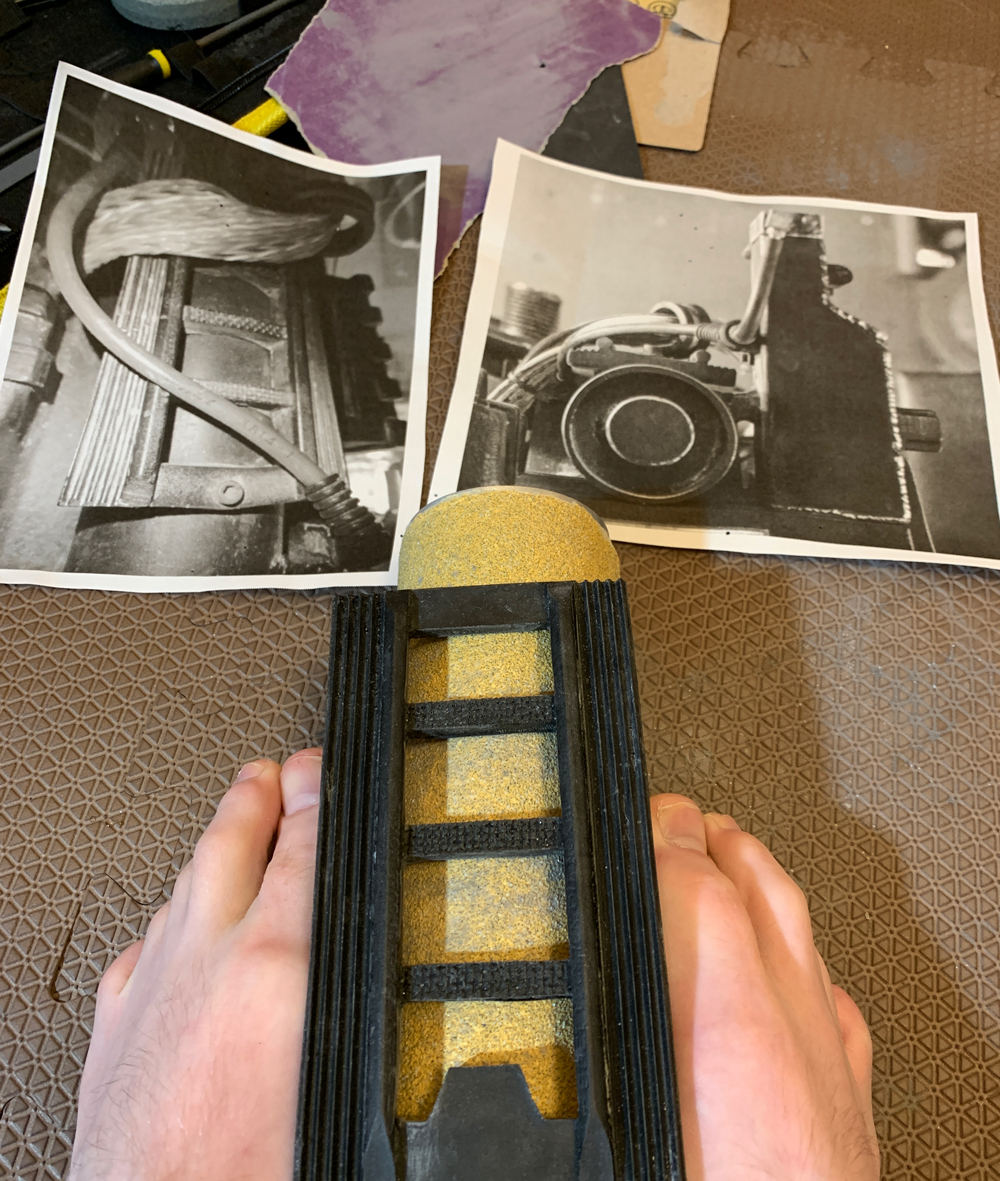
I used the booster tube to sand out a curve.
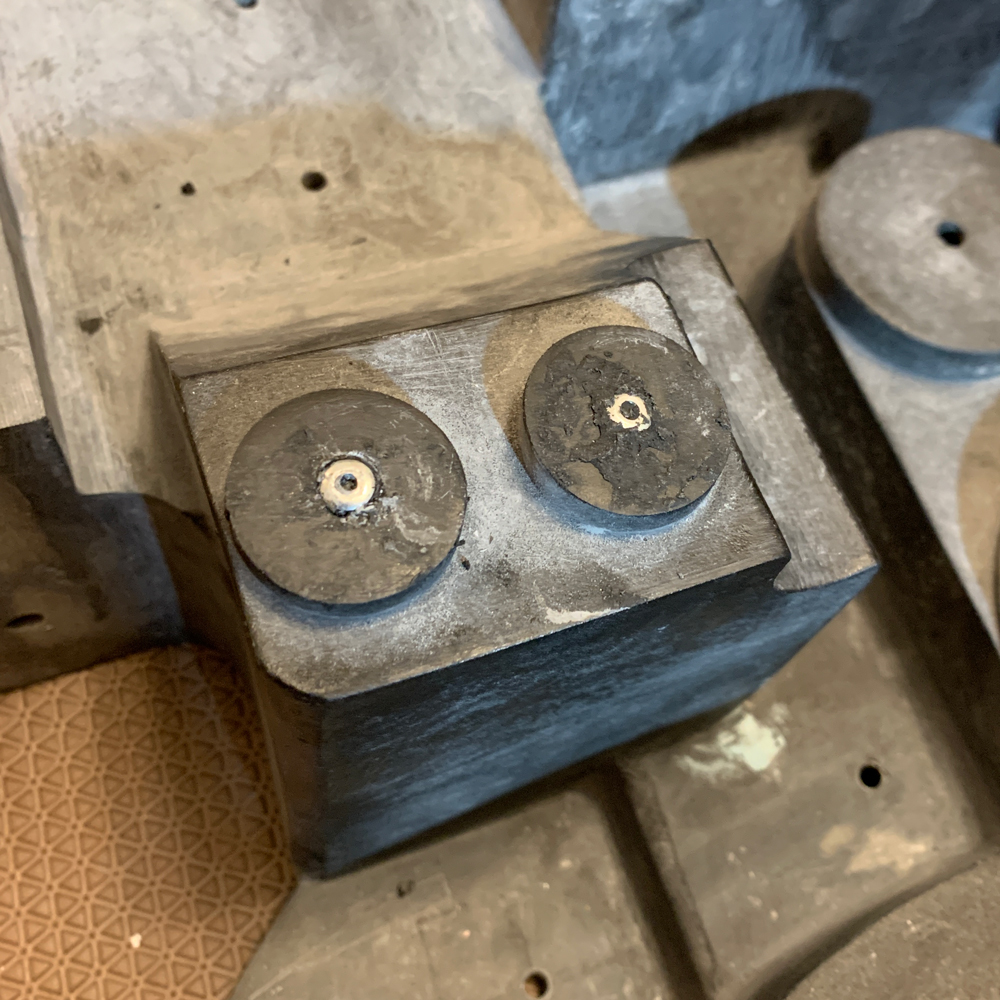
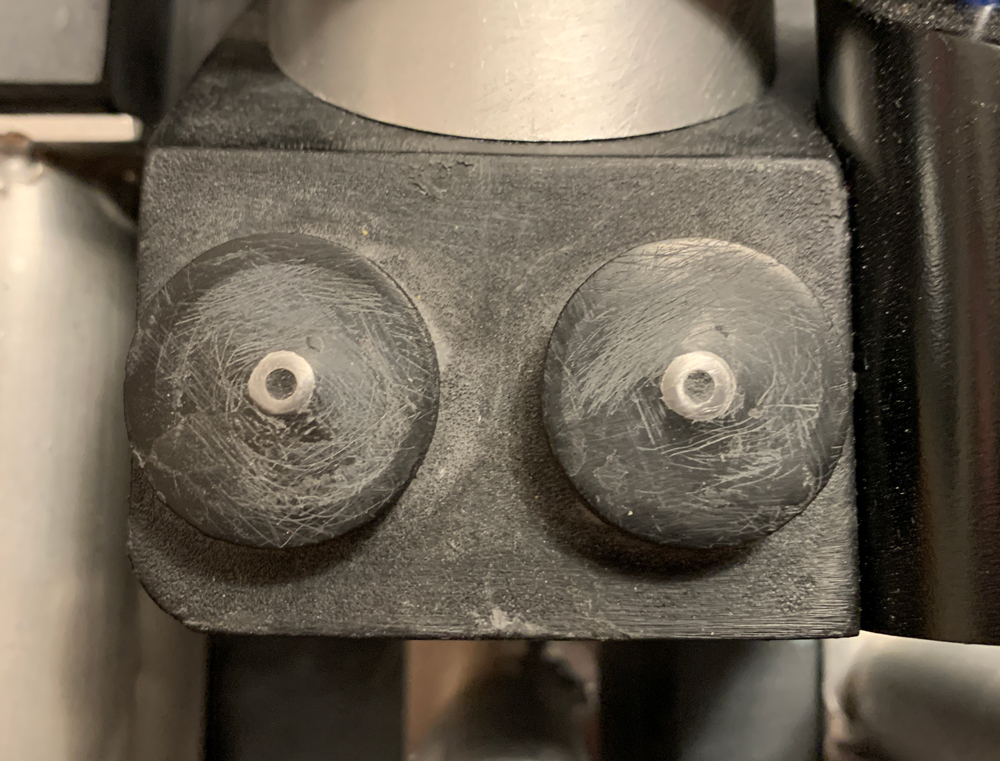
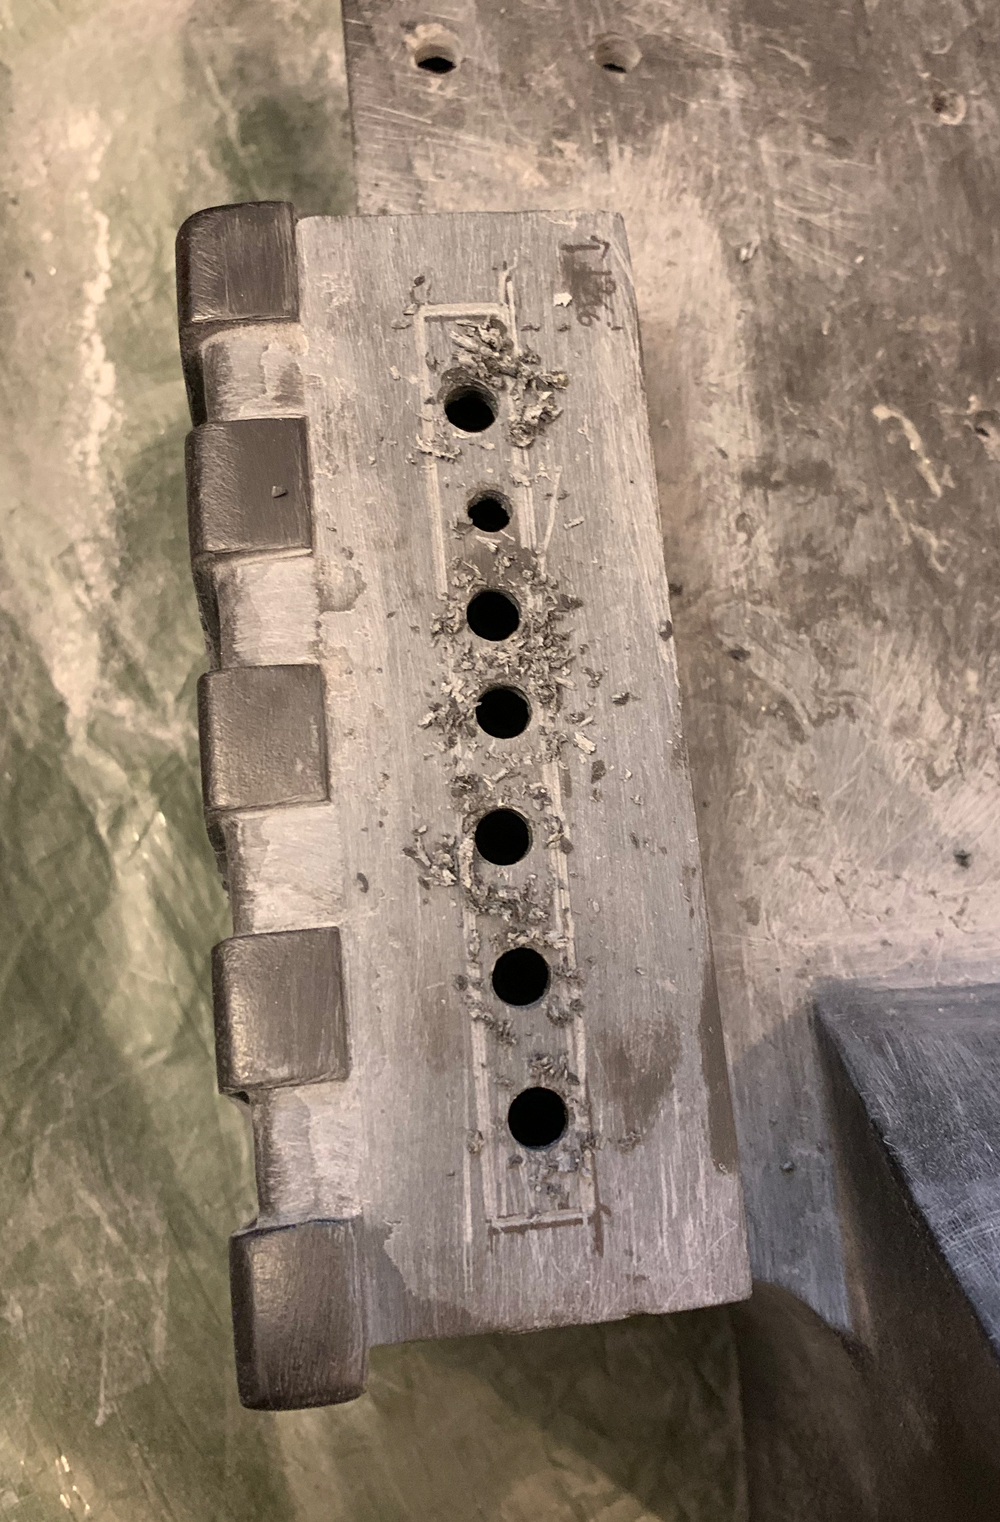
Then I drilled and tapped holes on the ladder and the booster tube.
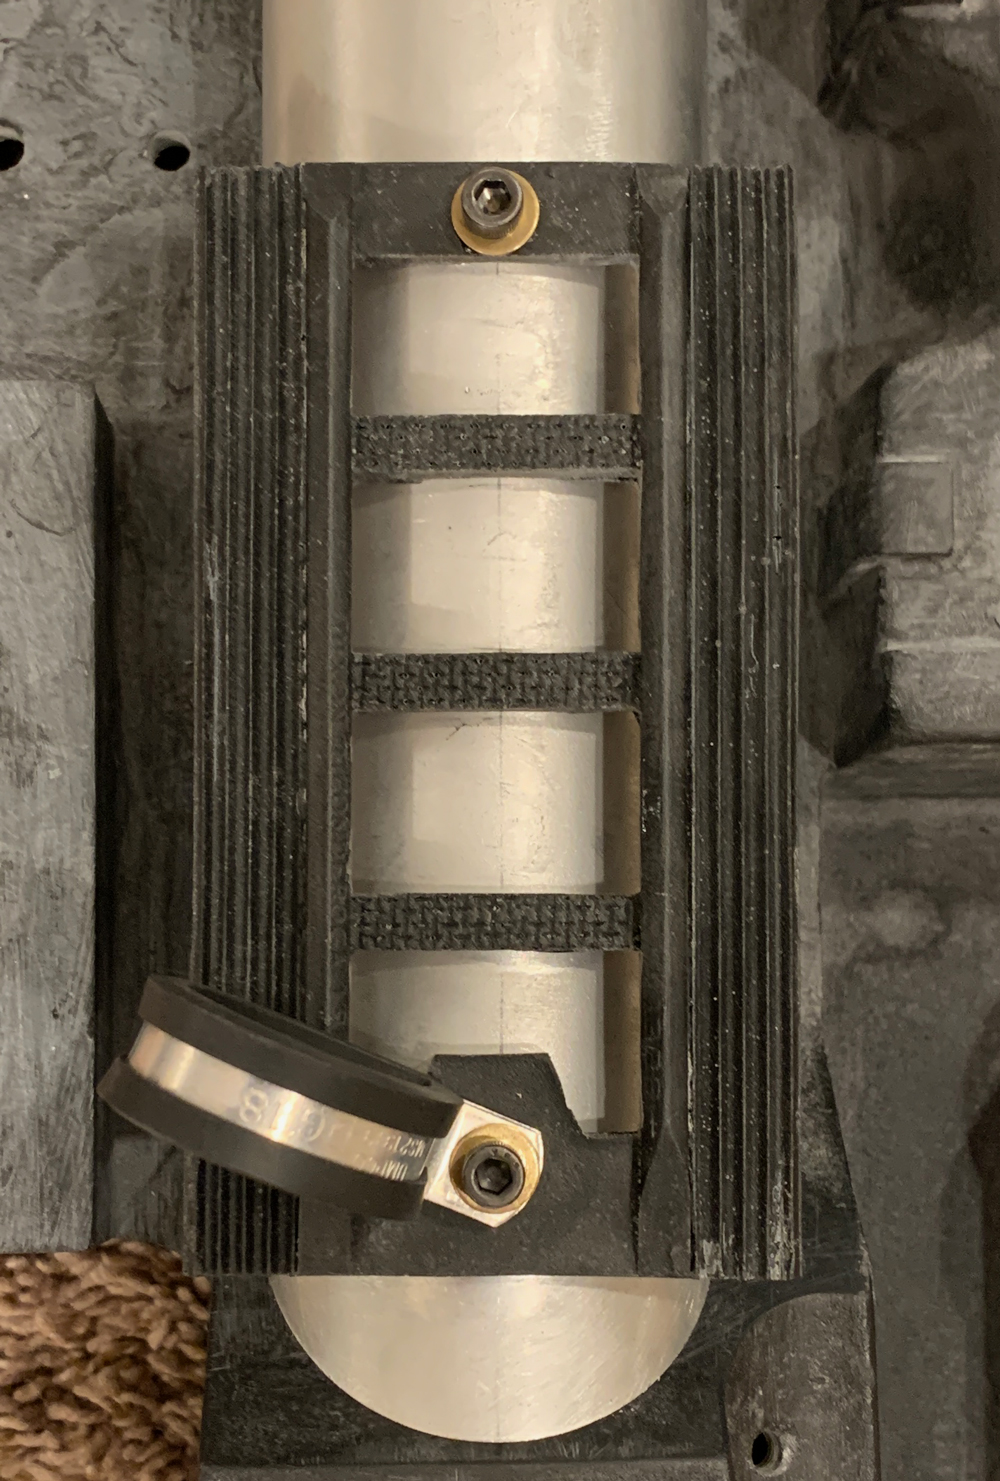
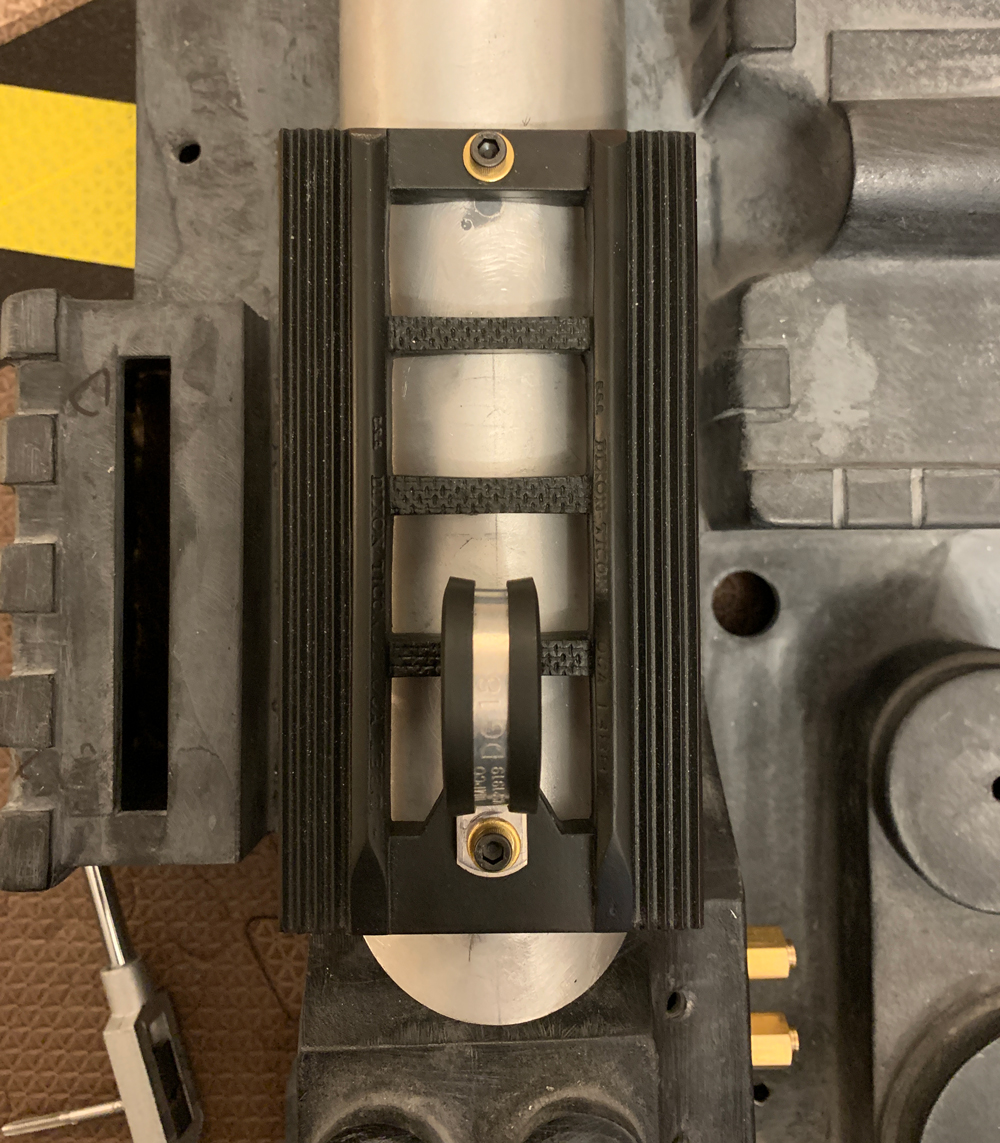
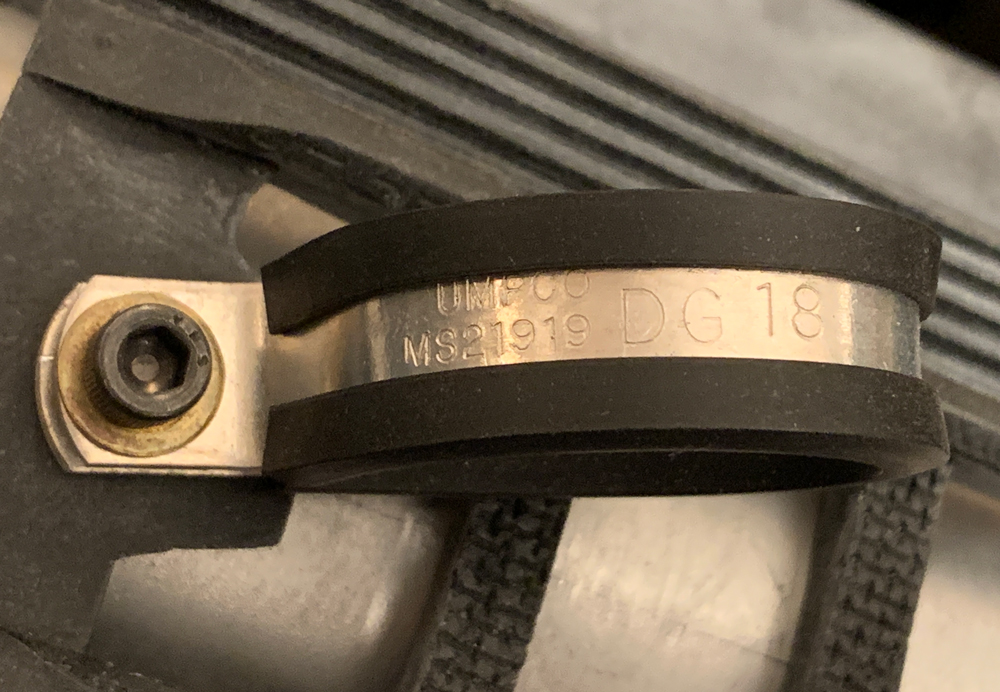
I was able to get an accurate MS21919-DG18 Umpco P clamp from Aircraft Spruce & Specialty Co. They also have the DG-14.
Addendum: Maybe a month after I attached the ladder, I got a notification from Mack’s Factory that their ladder replicas were ready to order.

Below left to right: Machina28, Mack’s Factory (idealized), GBFans, and Mack’s Factory (lineage)
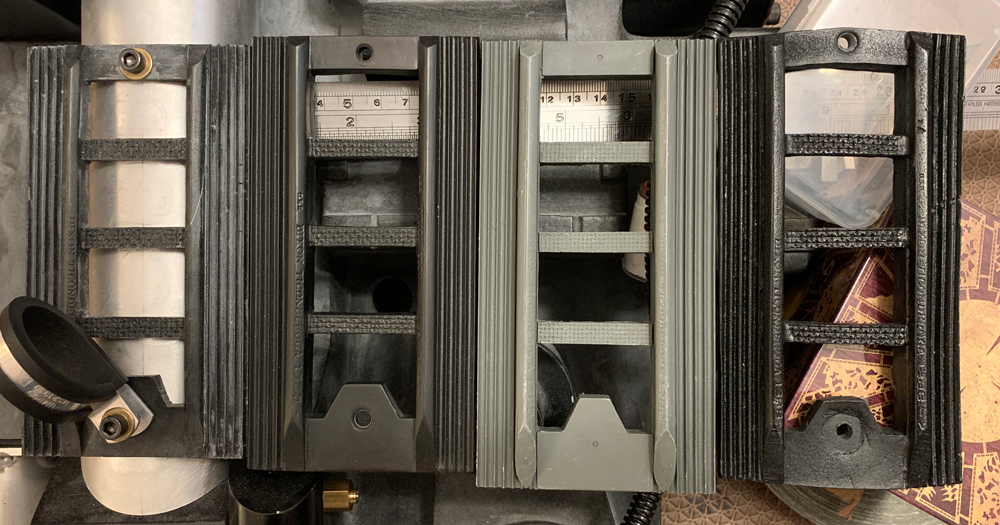
The biggest difference between the Machina28 and the others is the overall thickness and the space between the bottom two rungs. The GBFans is very close in height to the Mack’s. If you trimmed a few MM off the bottom so that they matched, it would also make the cut of the pencils look similar.

I’m going to switch mine out for the Mack’s Factory later.
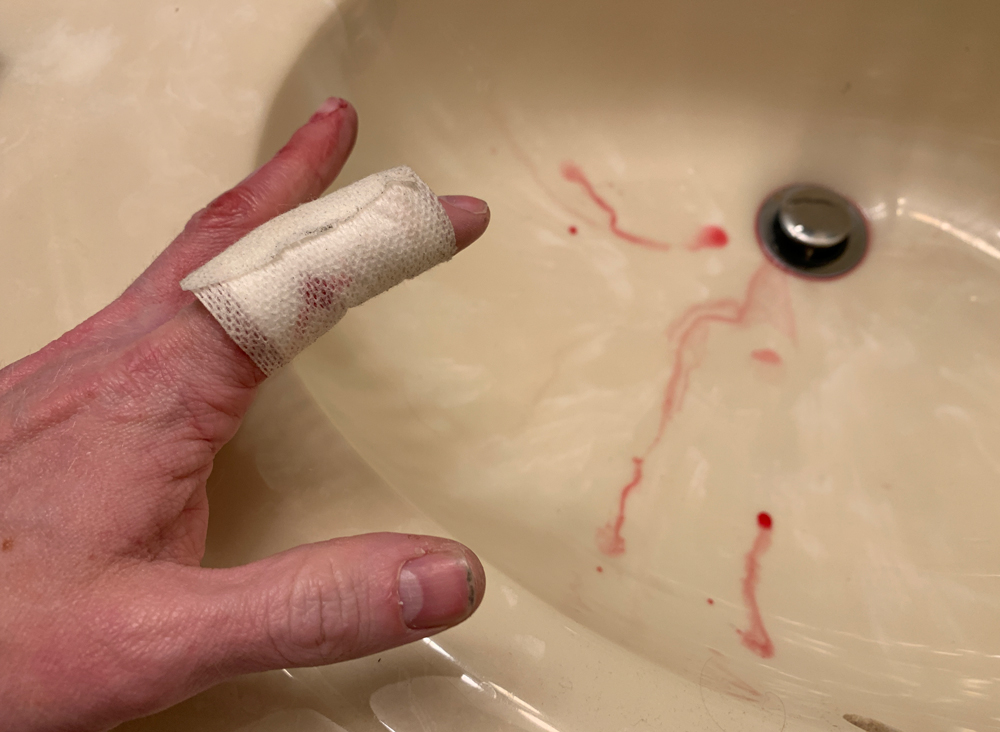
I was really getting back into my build at this point…and a bit reckless. When I work on this project, I tend to accumulate assorted bruises, scratches, cuts (and sometimes blisters) on a daily basis, but I think this was the first time I nicked an artery.

No worries, I didn’t mess anything up on the pack.

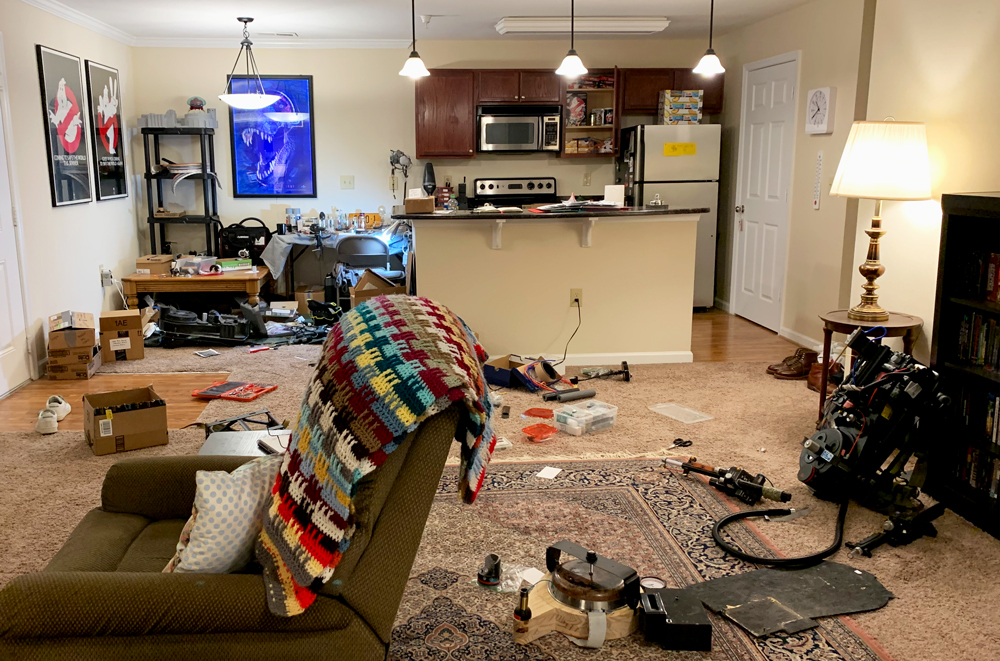
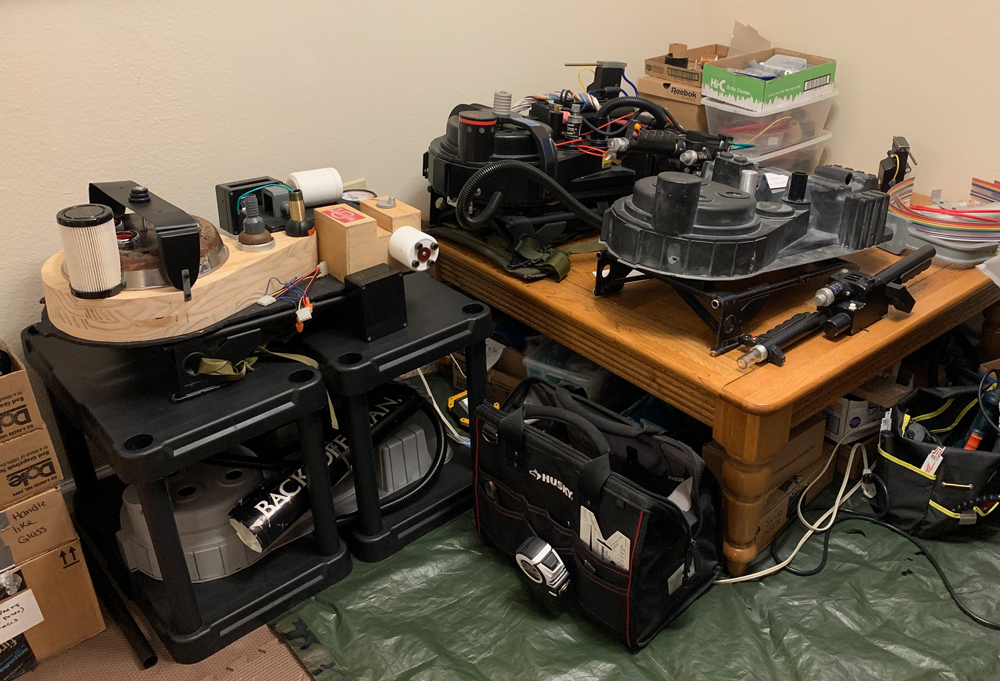
Anyhow, around this time, I finally got all of my stuff together in one place. This may seem odd that I never thought of this before, but it suddenly occurred to me that I had accumulated a lot of extra parts, mostly from upgrading to better parts.

Up until this point, I had thought of this as one very long build, but I realized it was also three builds. When I first began this project, I was 17 or 18 and my main goal was a pack that could dispense alcohol at parties. There’s been quite a few detours over the last 2+ decades, and my end goal has evolved a bit.

But for the hell of it, I’ve decided to finish all three! It’s nice sometimes to take a break and mess around with the shittier ones. **Going forward, I’m only showing work on my main build.*

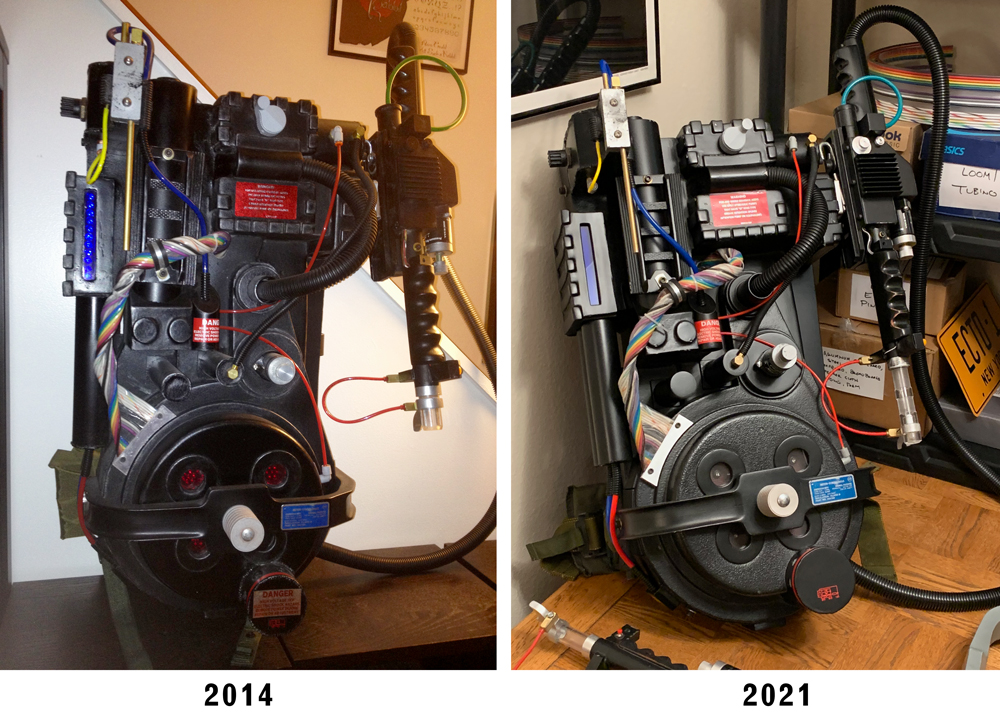
This was the first time I had ever assembled my junk pack parts, and also the first time assembling my resin pack after overhauling everything. The second pack caught me off guard—big difference compared to what it originally looked like.

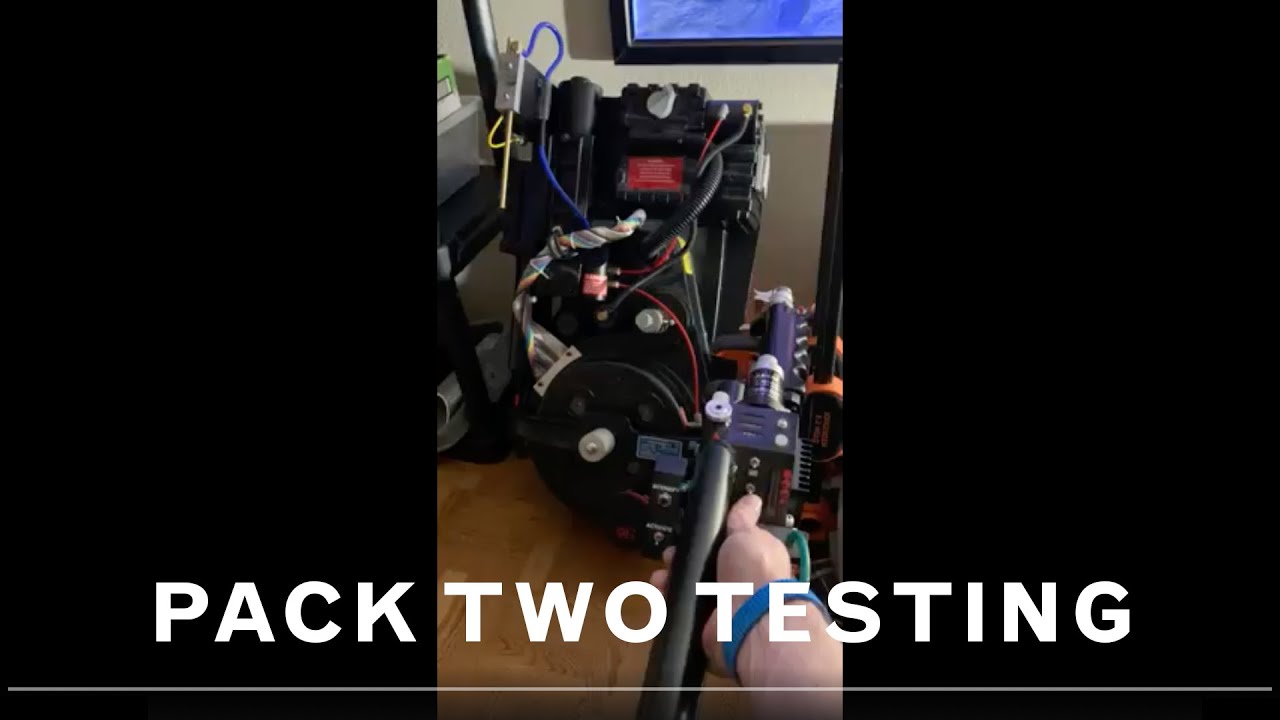
I think the new paint job and airbrushed clear coat really helped. For the second pack, I mostly just need to finish my MMM thrower. In the 2021 shot above, I temporarily hooked up my Freeky Geeky hero thrower. I wanted to scare the neighbors and ■■■■ off the superintendent.

The warp was more pronounced on the power cell and top of the gearbox. I was able to decrease it quite a bit with my heat gun, but also used Apoxie Sculpt to build up and sand in small increments. I still have work to do, especially on the corners.

I added rivets for the EDA disc ■■■■■■■, then filled in the edges and sanded. For this and a lot of the small details, I need to hit it with some primer to see what I need to work on.

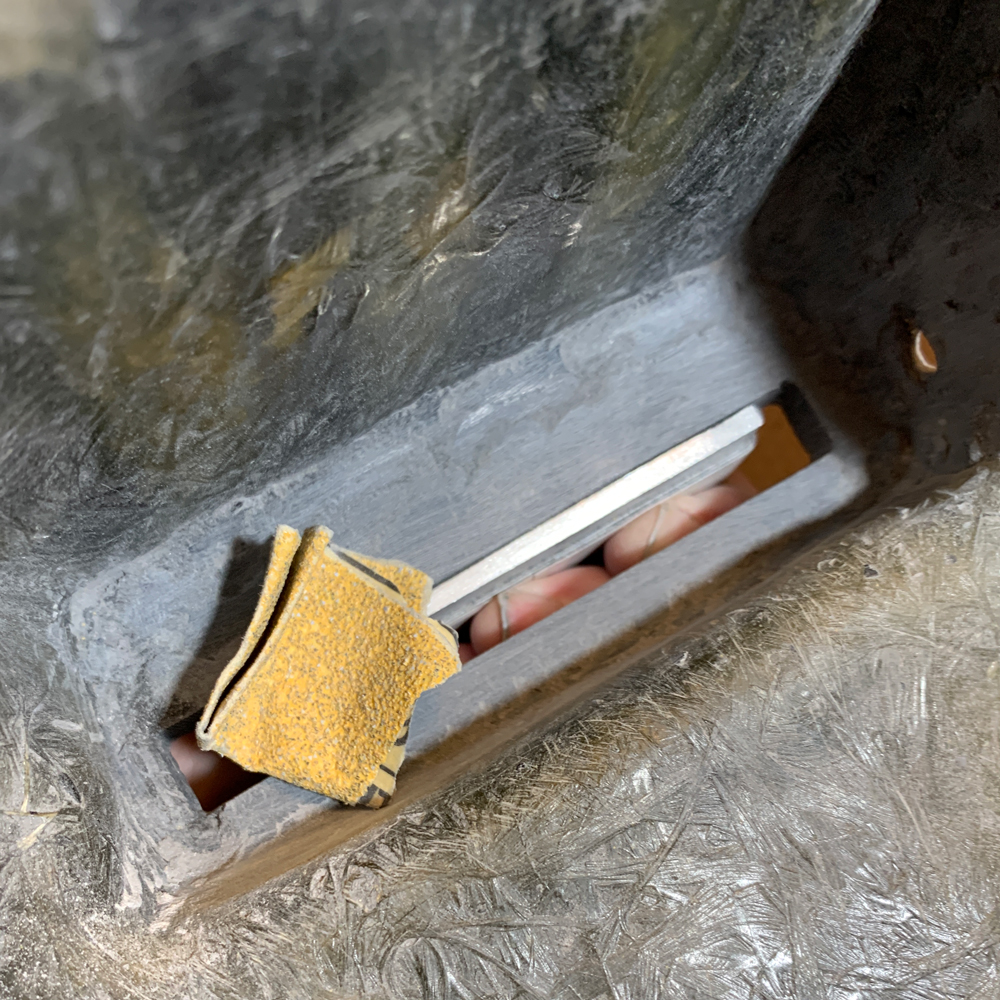
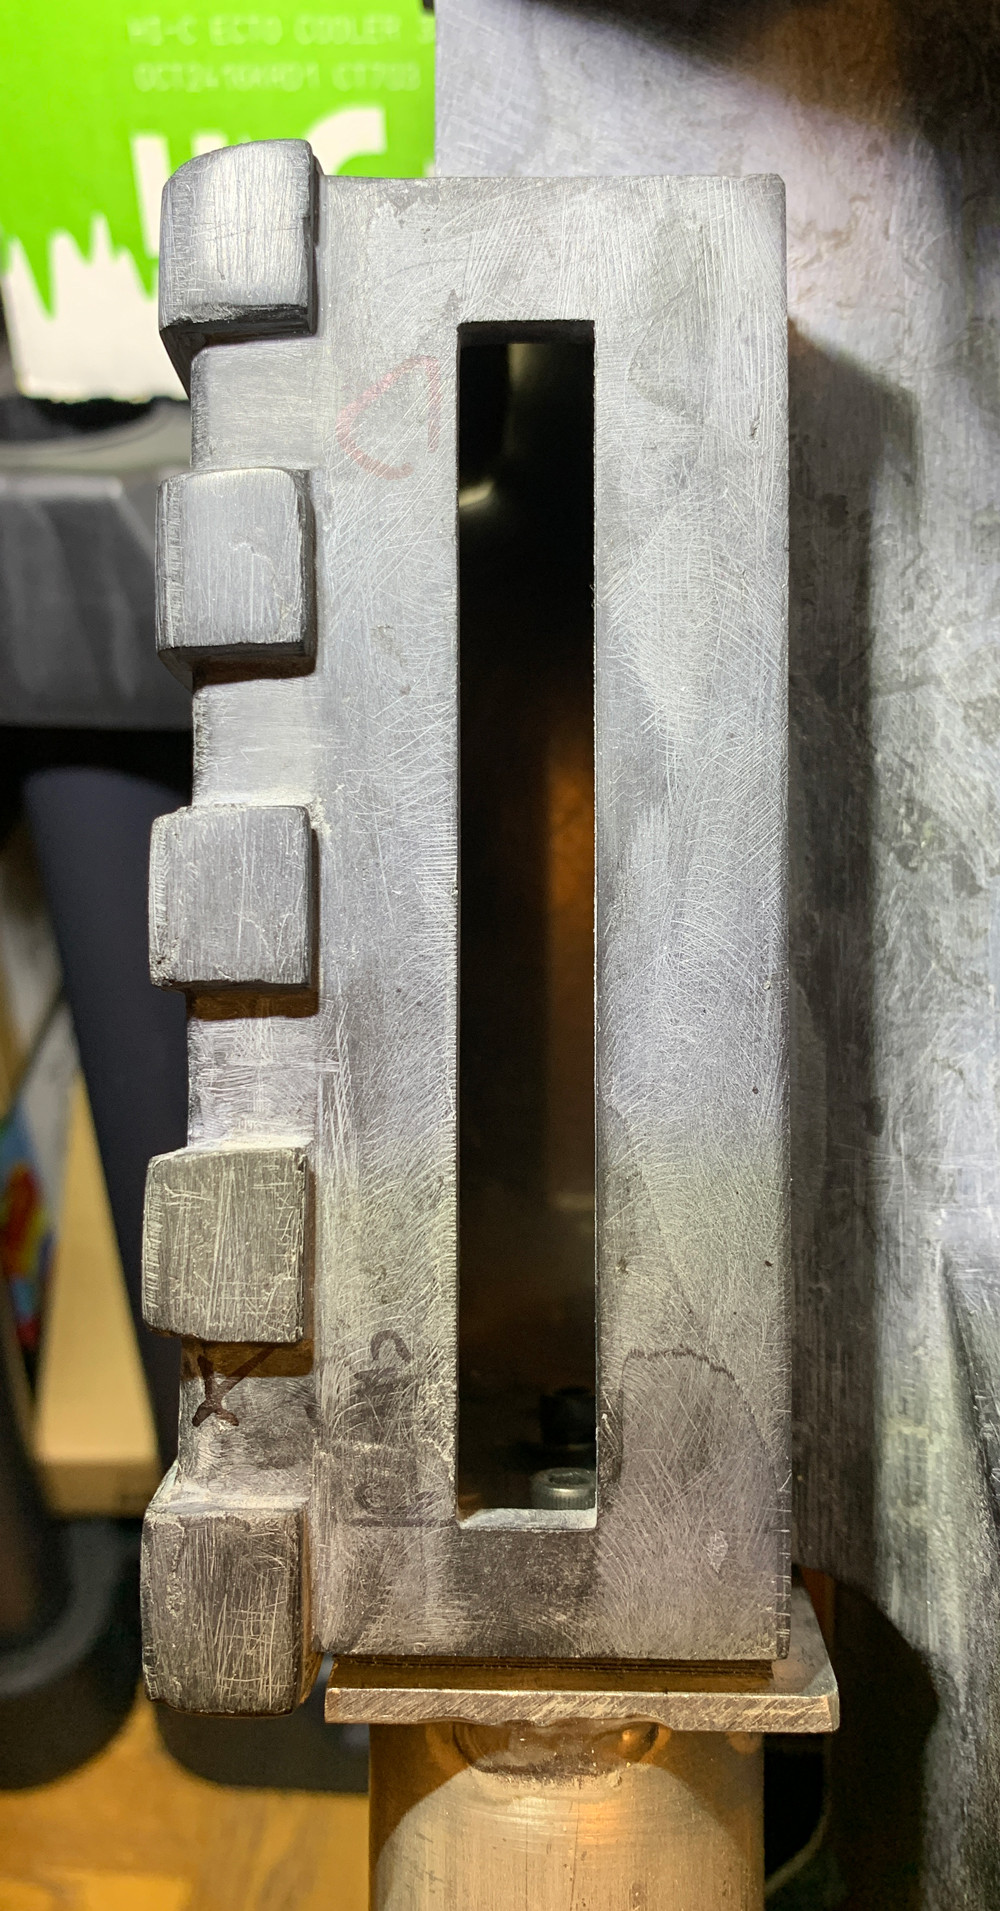
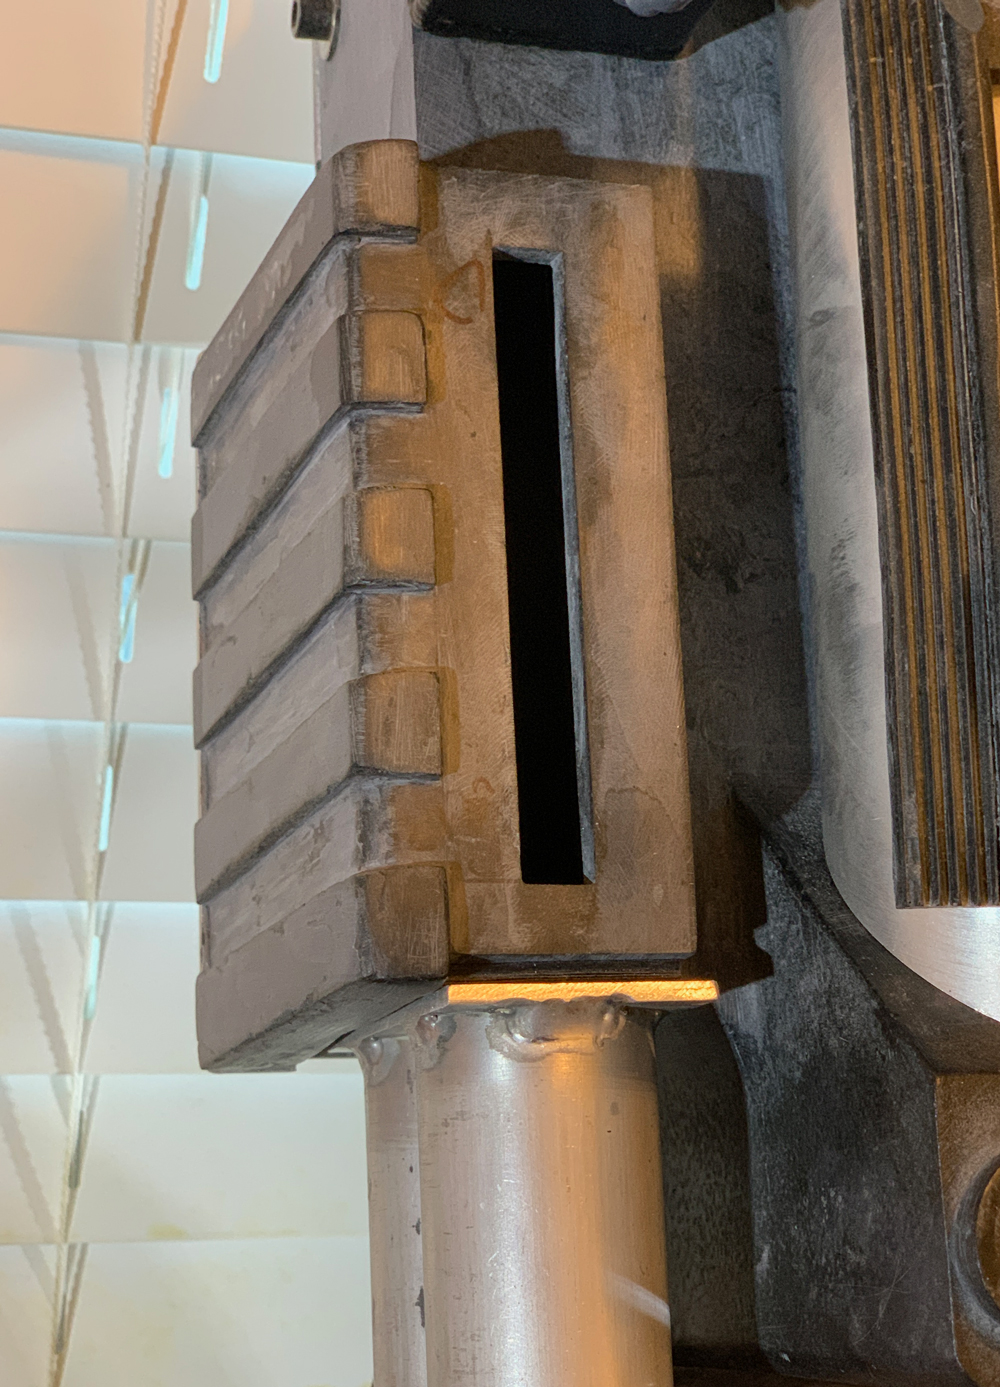
My GBFans shell had a larger window that I wanted to do redo. After filling in the hole, I measured, punched in big holes with a drill bit, and then filed out to the edges. Probably an easier way with better tools.

In addition to getting straight edges and nice corners, I wanted a uniform depth (5/16"). I had made a more elaborate “depth gauge” for my resin pack, but it didn’t give me the detail I wanted. This time, I just wrapped a lot of electrical tape around a piece of metal with 5/16" exposed. I held this on the edges to help with filling/sanding.

Except for some clean-up, I’m good with the window now.

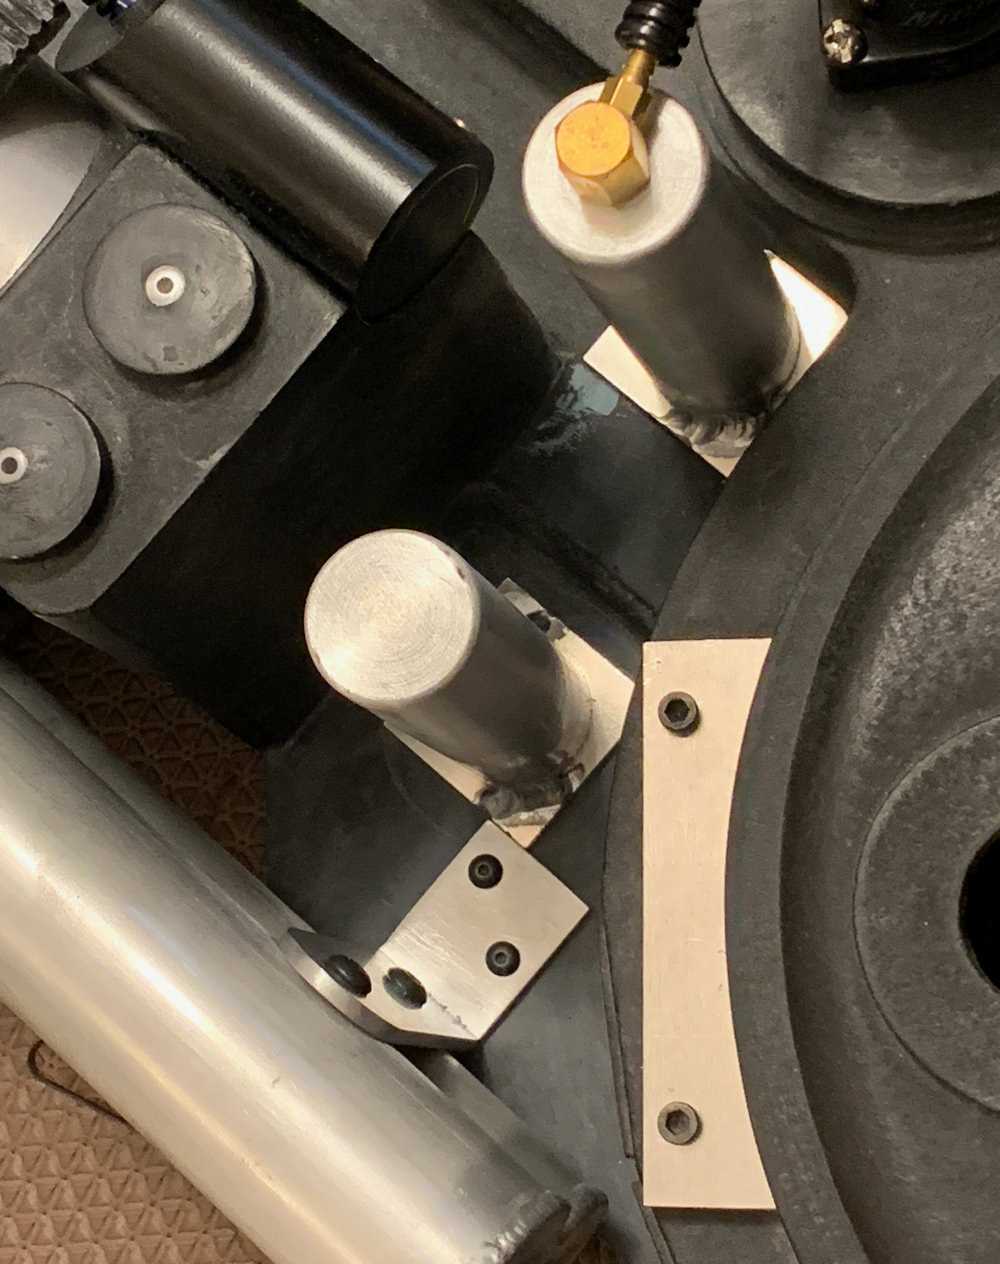
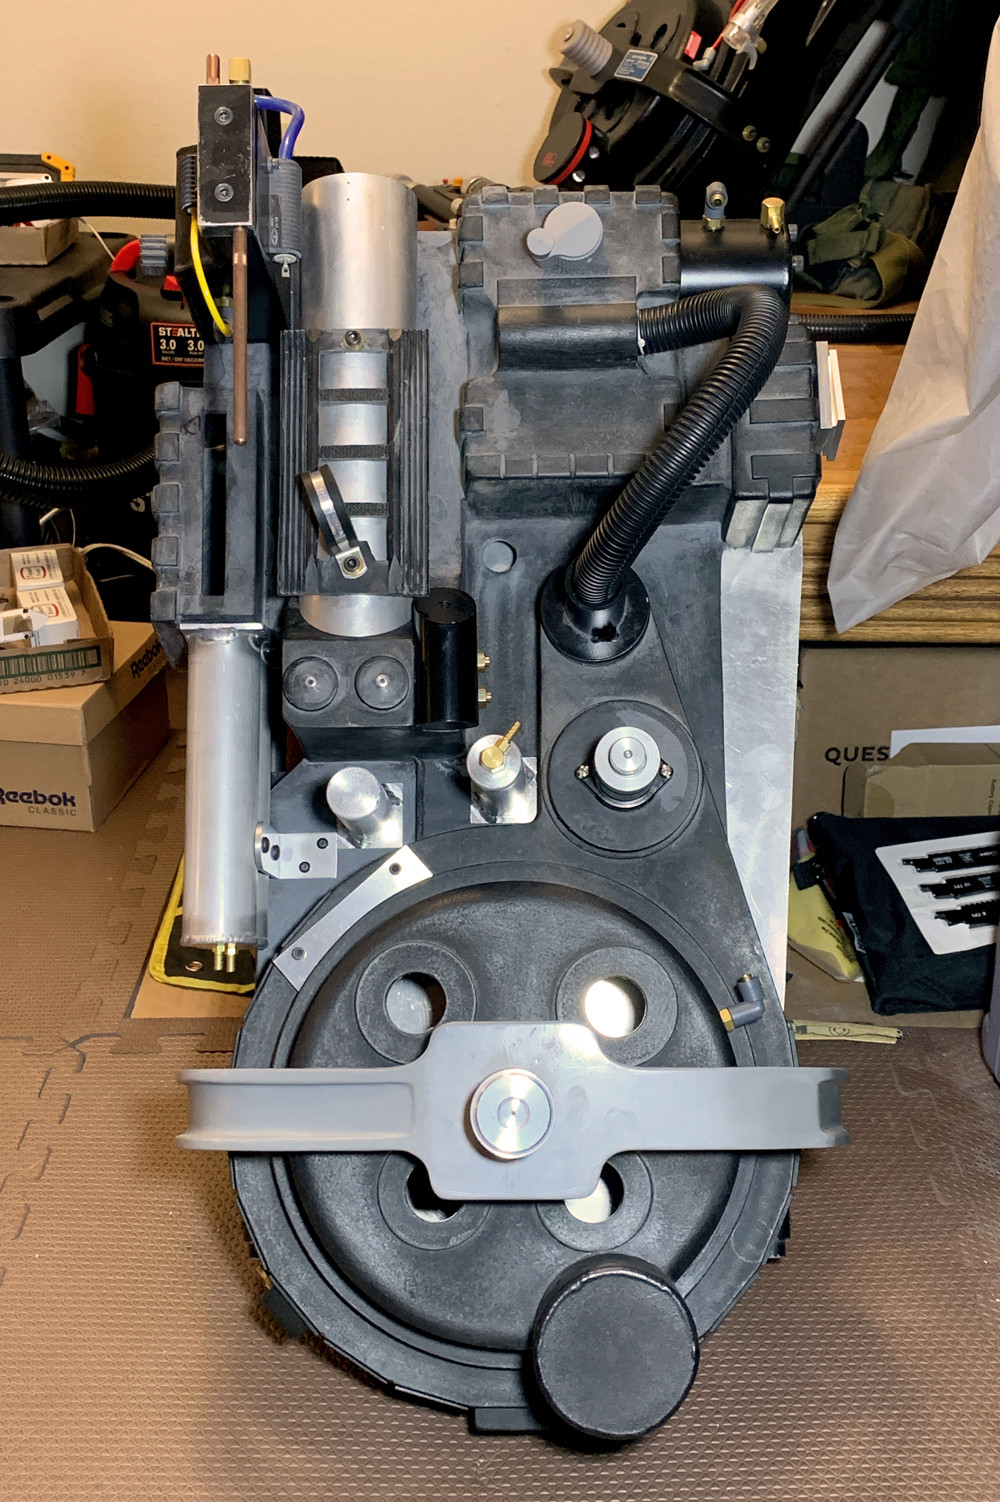
Next I installed the beam line, filler tube, and ribbon cable clamp. All of these are from GBFans. I may replace the tubes later. I want a slightly different height and am working on getting some new ones.

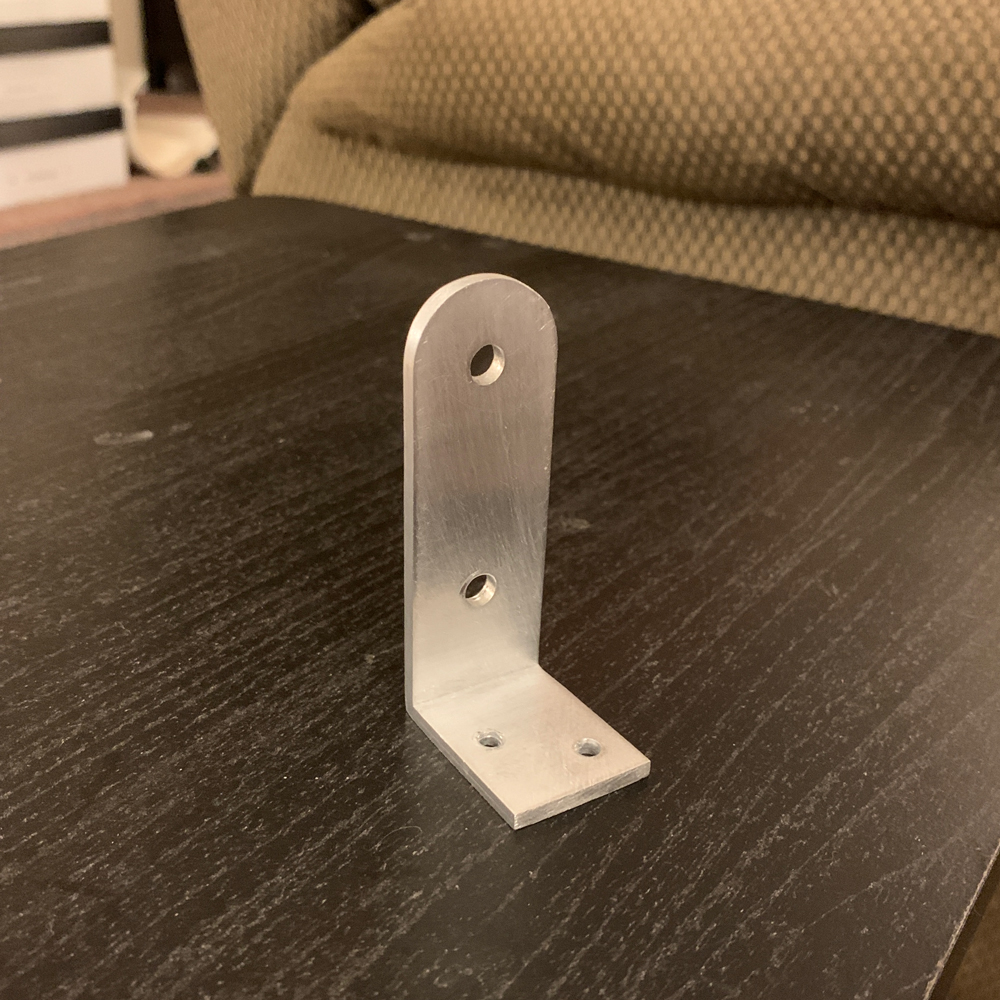
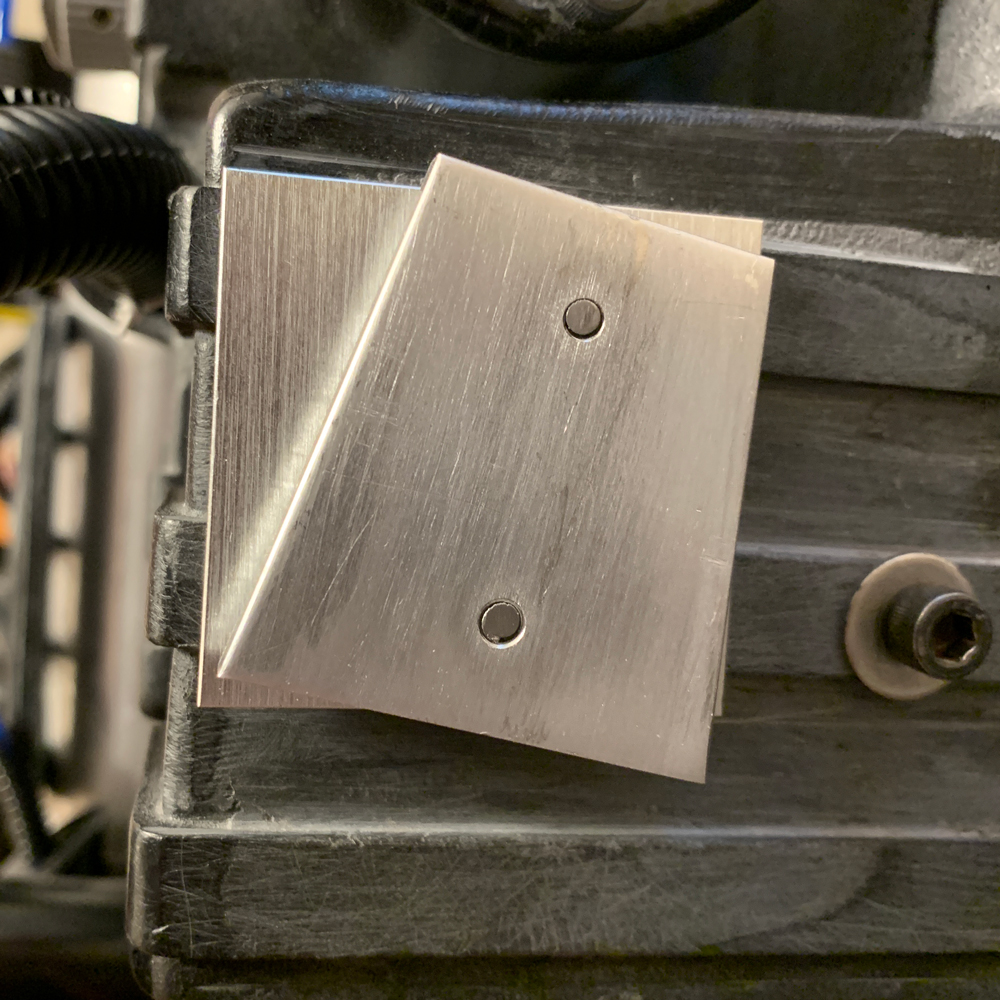
Once again, I made another L bracket—#4 I think. The base on my previous bracket was close to being a square. On this one, I extended the base so that it would make contact with the filler tube plate. Although there’s a lot of variation with brackets, this detail seems distinctive to me.

I sanded the top edges of the GBFans tubes to smooth out the weld lines. I sanded off a bit more than I wanted to but just the right amount off the tubes.

image

GBFans GB1 V-hook

I also tapped a hole for the Legris elbow on the cyclotron.

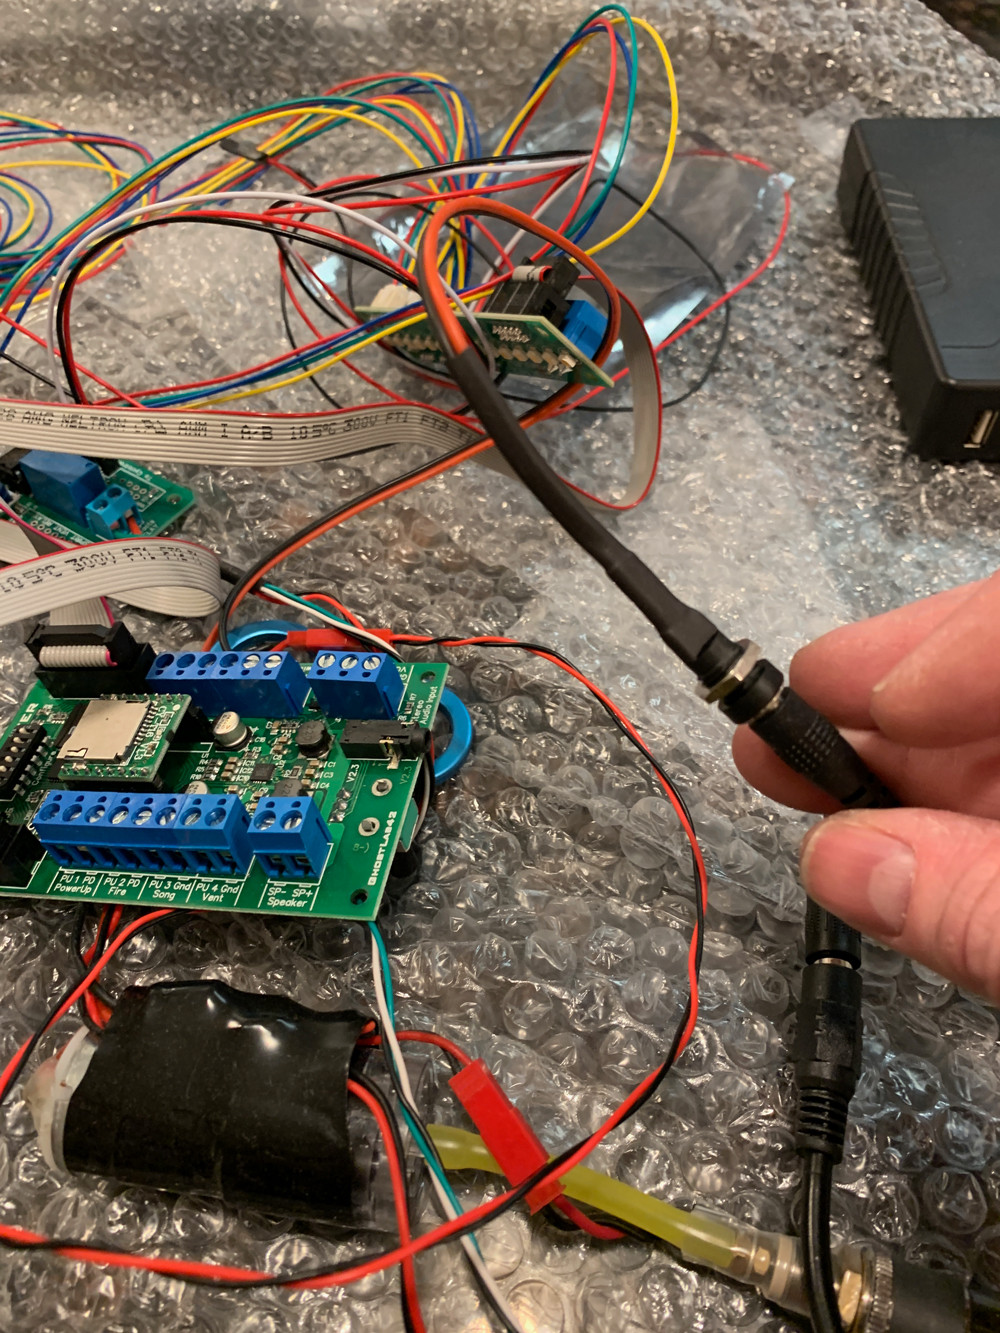
Taking a break from working on the pack outsides, I worked on figured out a rough plan for my electronics. Although I wasn’t ready to install anything, I did not want to wait on ordering a new switchcraft charging plate from nstevic01. I already had a general idea of what I wanted but needed to test it and figure out what would be attached to the plate.

From GBFans, I’m going to use the packblaster, thrower lights, and power cell/cyclotron lights (2021 version). I’ve also got the awesome Fincher e-cig venting kit and vent relay from Spongeface. The thrower lights are already set up, including some add-ons from Spongeface. I’ve had the packblaster for a few years and had modified one of the pack hum sounds early on.

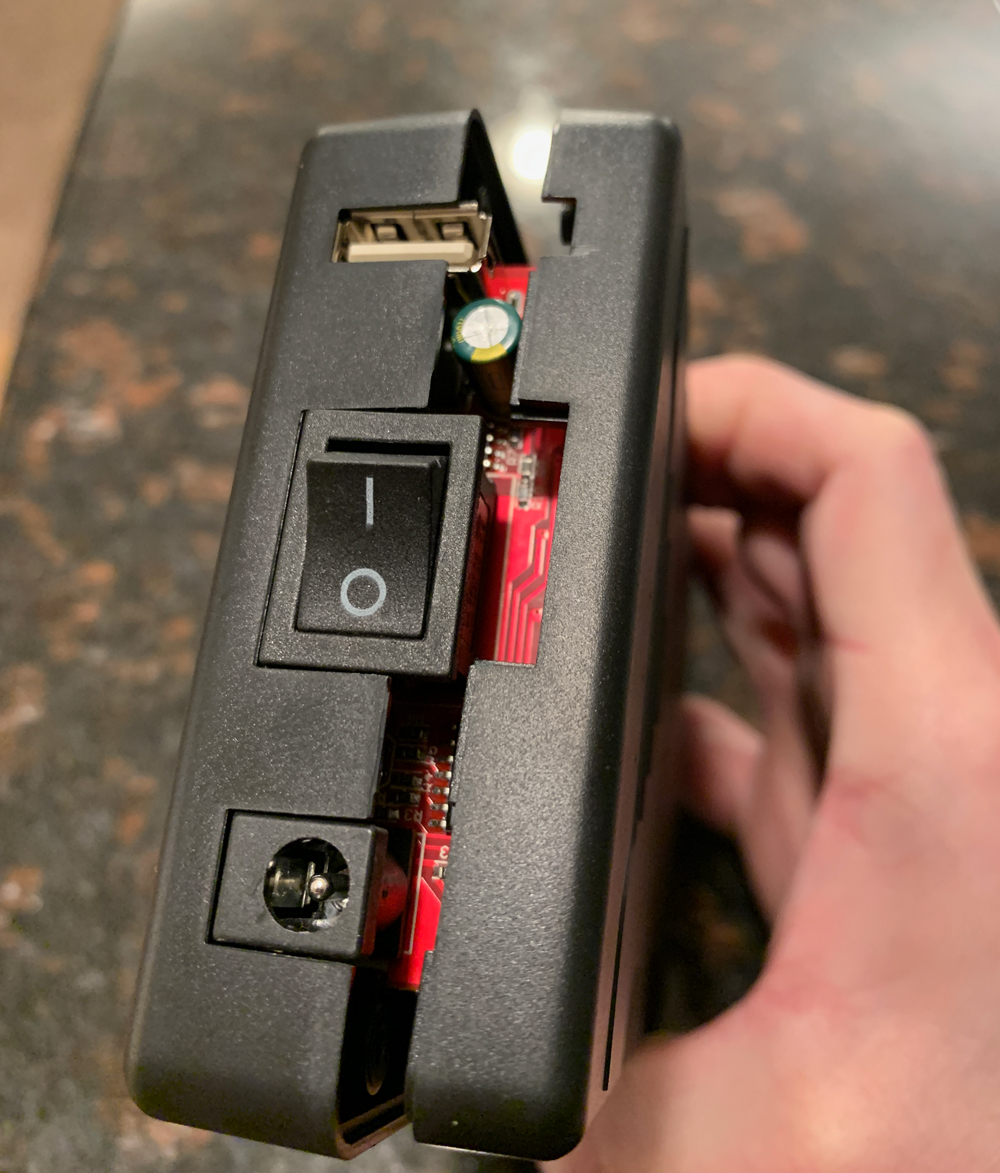
I’m going to run this off of a single TalentCell battery and opened it up to see how it was set up. I’ll get back to this later, but I may dismantle it to set up a kill switch and move the charging LEDs.

This is a rough plan of how everything will be set up. I also set this up temporarily so that I could test everything, especially the battery. My final set up should be a little simpler and will also use a harness from Nathan. I had a bunch of questions for him as I figured this out, and as you can expect, he was tremendously helpful.

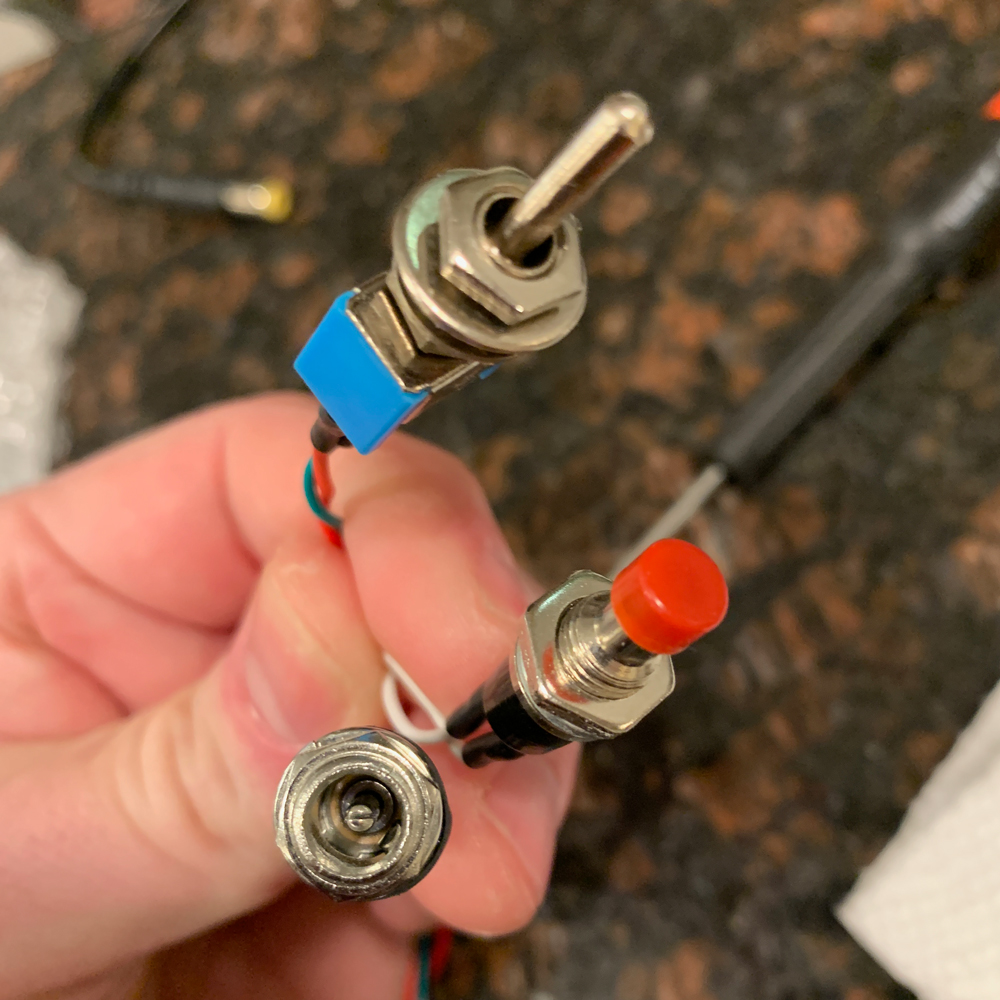
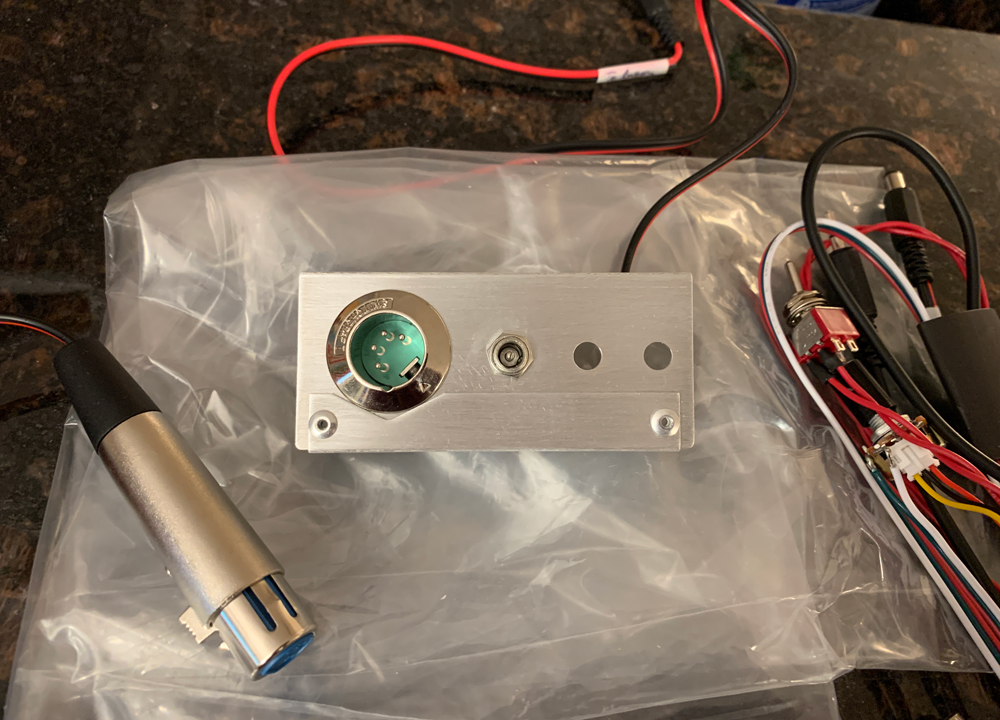
The charging plate arrived. Beautiful. My current plan (left to right): XLR for charing, aux port for sound, and switches for the e-cig venting and battery. I may tweak this later on. I’m seriously tempted to install a kill switch on the ion arm after seeing Ghostbusters Afterlife. The placement, grime, and shadow conceal it really well, which I believe was a way to retcon an explanation for the “Switch me on.” scene in the Sedgewick elevator.

And finally, the build is caught up to present day.

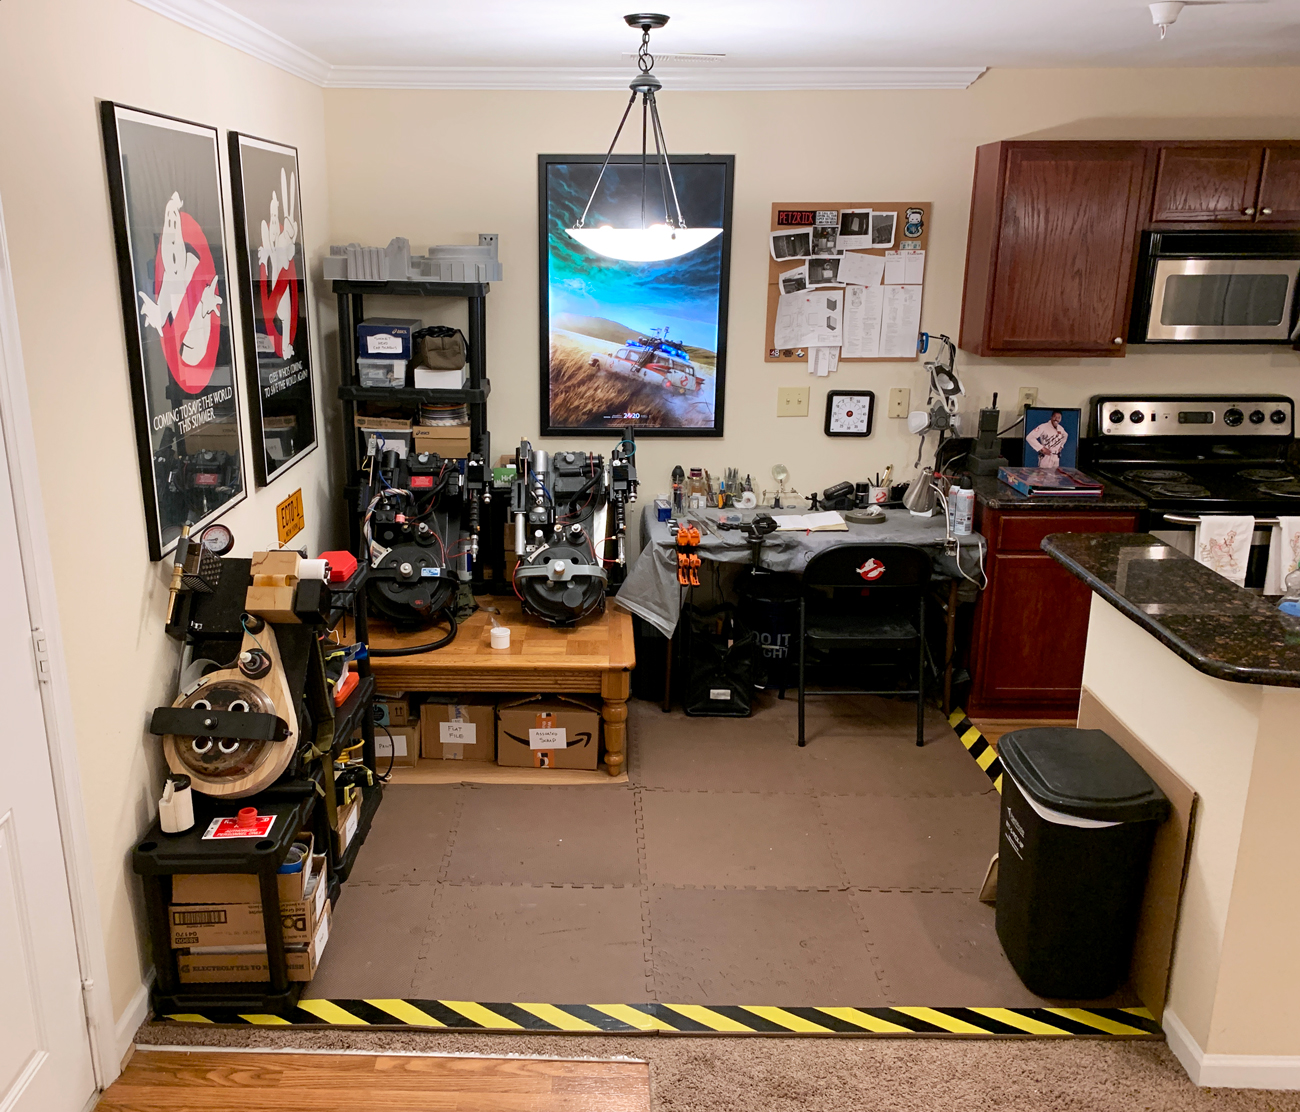
It took about two months to dig through pictures and notes to post everything up until this point. Now I’m much more organized and I’ve dedicated an ~8 ft³ cube of my apartment (and kitchen) to this project. I also watched Ghostbusters Afterlife seven times. I am very ready to get back to work. I’m all in until it is done.

This is a fantastic build thread, top tier.

I particularly love the work you did on the ion arm rods, and the way you transplanted the legris fittings (I’m stealing that).

Thank you very much. That really means a lot to me! (:

Really nice work!

Thank you and Wow! I don’t know how many times I’ve checked out your build. Your documentation has been really helpful.

excellent thread

Thank you! Much appreciated.

Bryan and I were as methodical as we could be under the circumstances given the angles of the photos I took and the sketches I made of the dimensions, but we definitely missed details that came to light later. I have no idea whether that Spengler pack had the bolt going all the way into the cyclotron in 1984. Due to the angles we captured we never noticed that the body of the main gun “box” was rounded over on the left side. Some of our proportions are off.

Our bumpers are 1/4" masonite, plywood, and matte board. Mine is bolted pretty securely into tapped aluminum plates bolted into the cyclotron. No sag.

BTW, I rebuilt my website for that proton pack build, along with a bunch of other props, costumes and models I’ve made:

Sorry for the mini-thread tangent.

That’s really cool to have you respond on this build! Your new site looks very nice. I’ve been to your older site** many** times. Compared to how many references there are for the packs set up for GB2, there’s so much less for GB1. The first time I saw those pictures, I think my jaw just dropped.

After looking at the 4K screen captures on the other builds that got linked, I’m convinced that at least those GB1 pack bumpers were not bolted through the cyclotron. I’m still debating on whether to leave mine just for the added structural security. But I’m amazing what you guys pulled off. Forget 4K. In 1985, laserdisc may have been around but I doubt most fans had access to more than VHS. When you were taking measurements off the pack, what were some of the trickier parts, and how did you measure them? I’d be especially curious how you went about the cyclotron holes/rings.

I just wanted to thank you for this build and the amount of information provided at this point. I am stating my build within the next month or so and I have been using your thread as a baseline to help get me situated and have a starting point. One of the best pack build threads I have found so far

Thank you so much, Ryanc3187! That’s awesome to hear that it’s being helpful. I hope your build goes well!

Thanks for checking out my site, and I’m glad those old photos have been helpful.

Your work is excellent, and your documentation is a work of art in and of itself. I wish I was a fraction as organized as you are. Great job!

Shawn

Thank you, Shawn! That’s awesome of you to say. (:

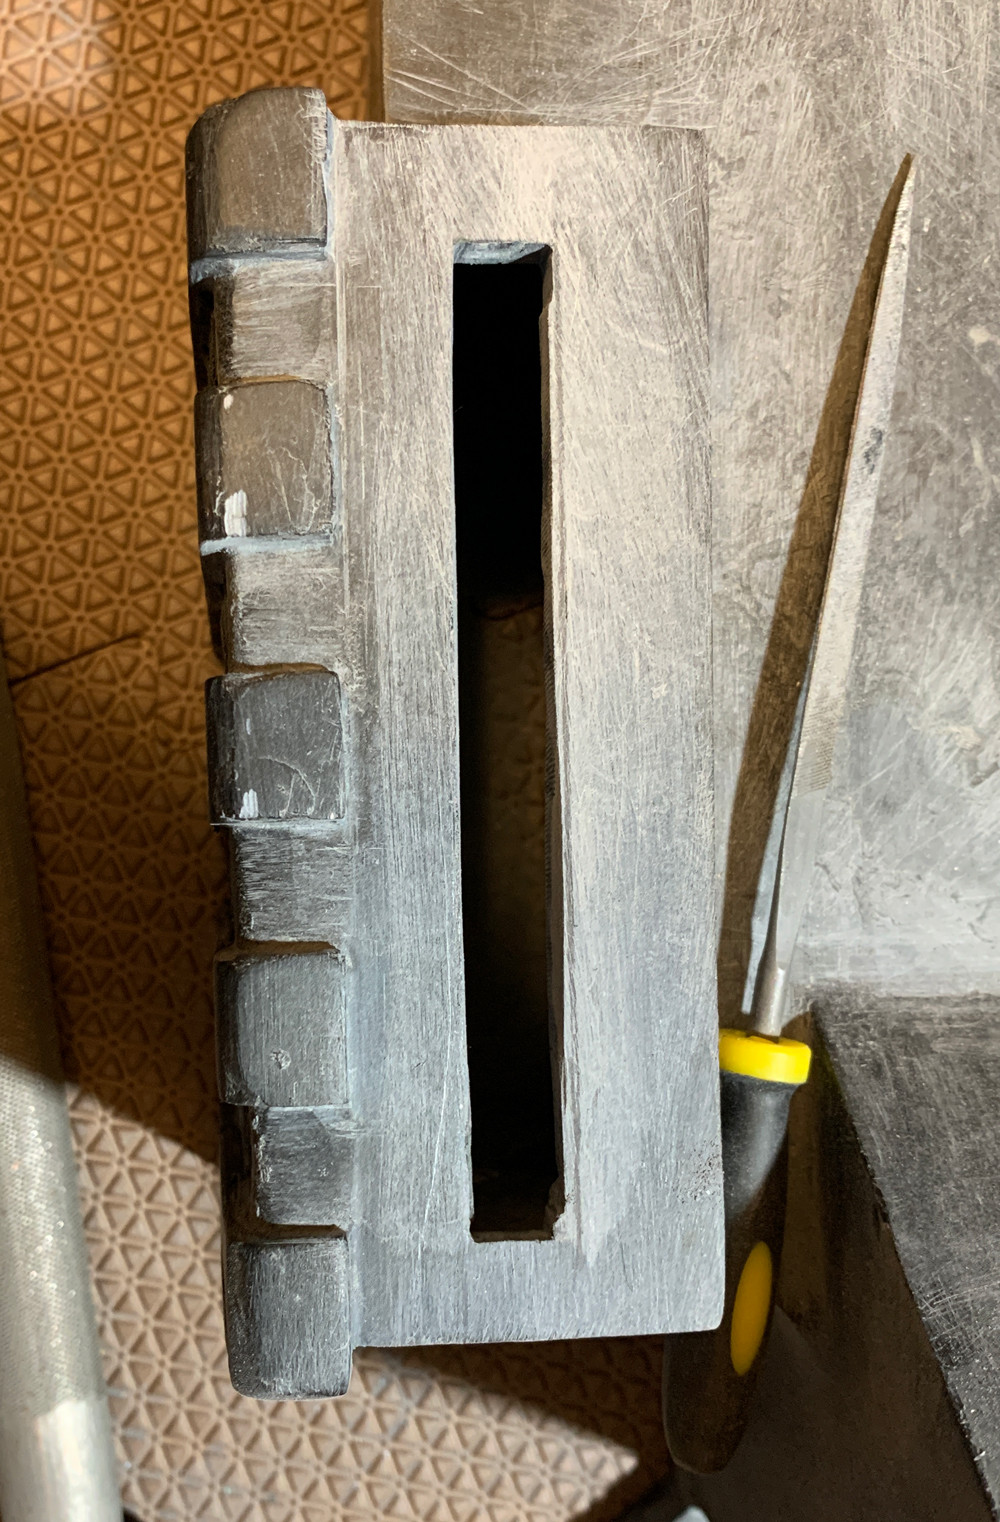
Short post… I replaced the Machina28 lineage booster ladder with the Mack’s Factory idealized version. Because of the different height, I needed to fill the booster tube holes and rethread. In doing so, I realized that I had used the wrong size socket head cap screw and washer before. These have been replaced with the correct #8-32 screws and #8 brass washers.

Other than some minor fixes, that’s all the progress I’ve made on the pack itself. However, I’ve been obsessing over some research/planning that I will be post soon.

Apologies for bumping my own thread. The next one’s a long one so this is a good place to page break.