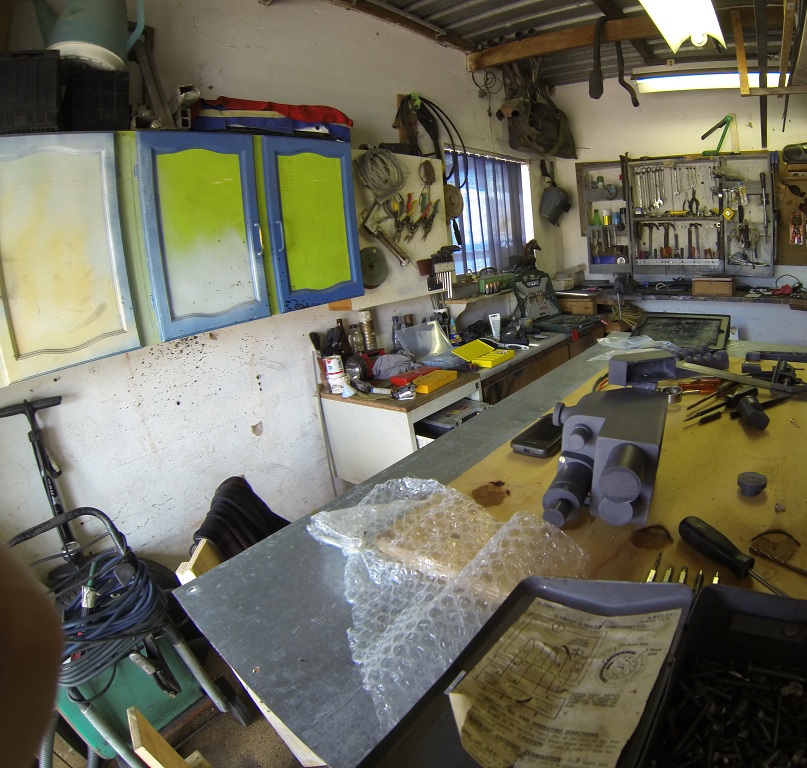
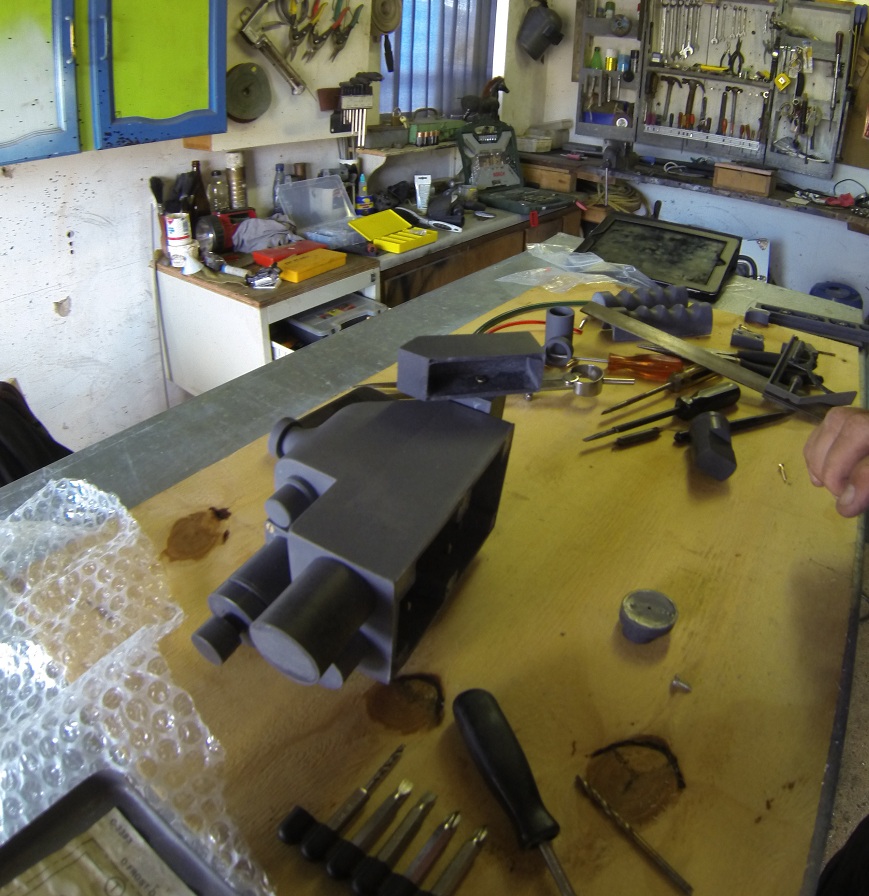
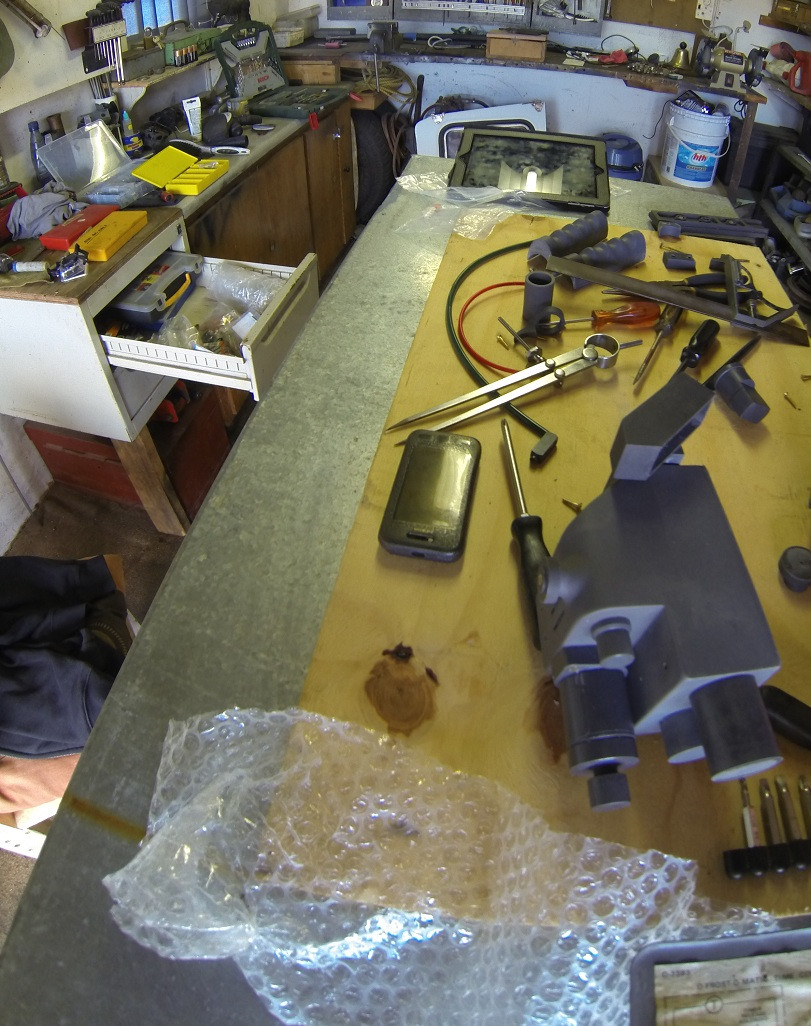
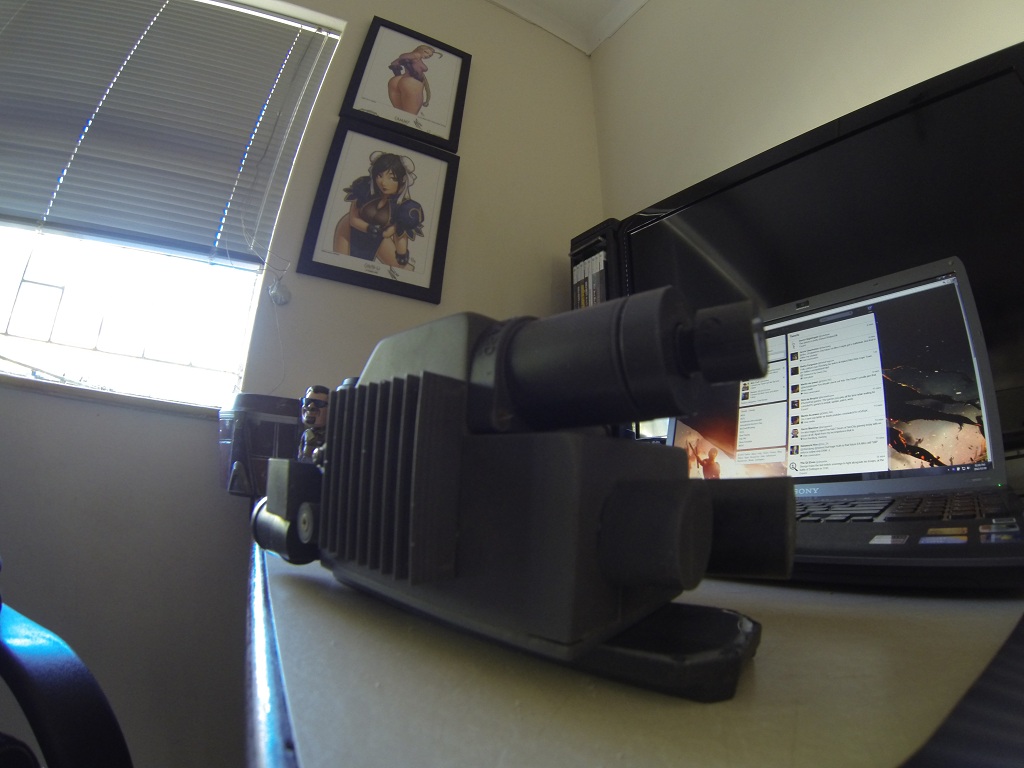
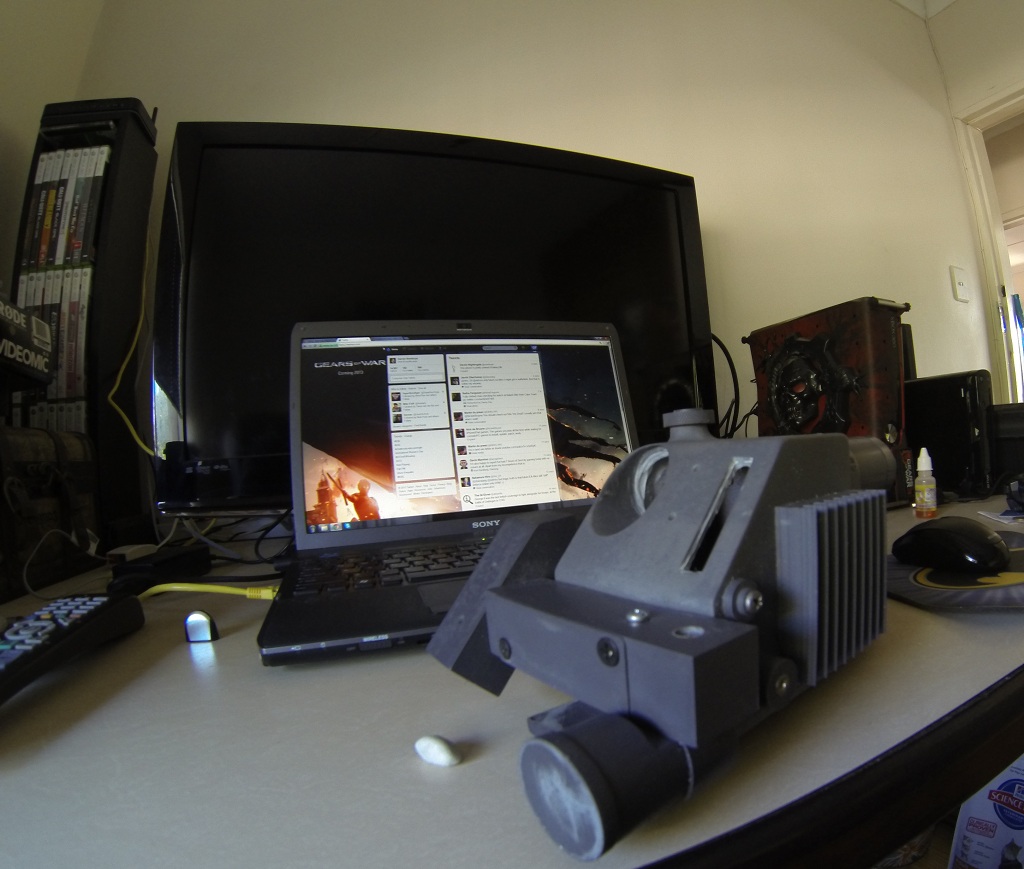
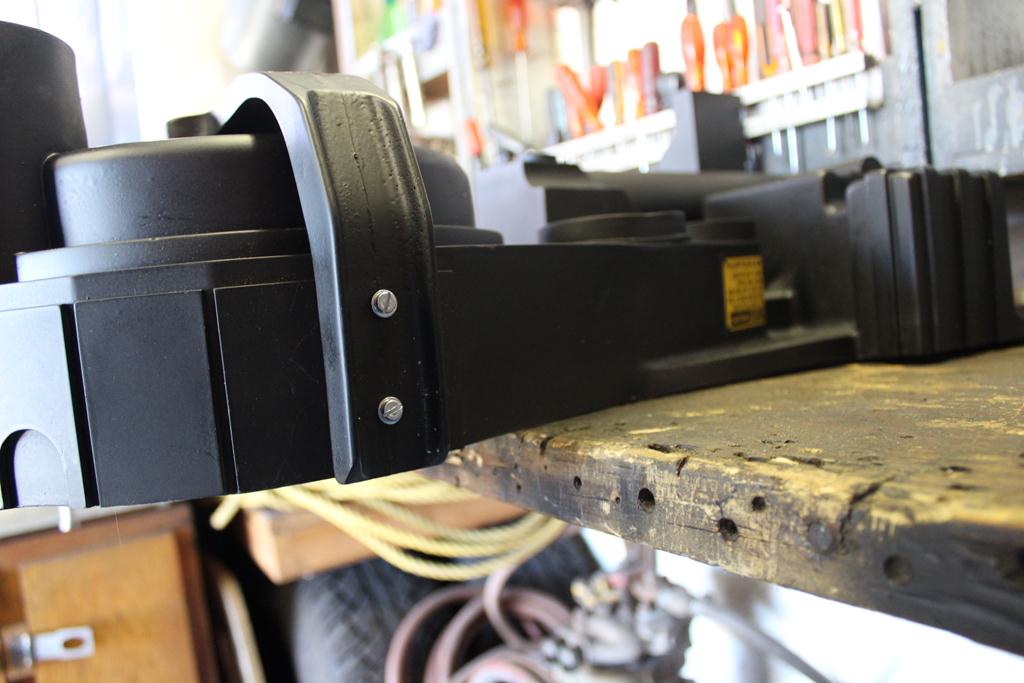
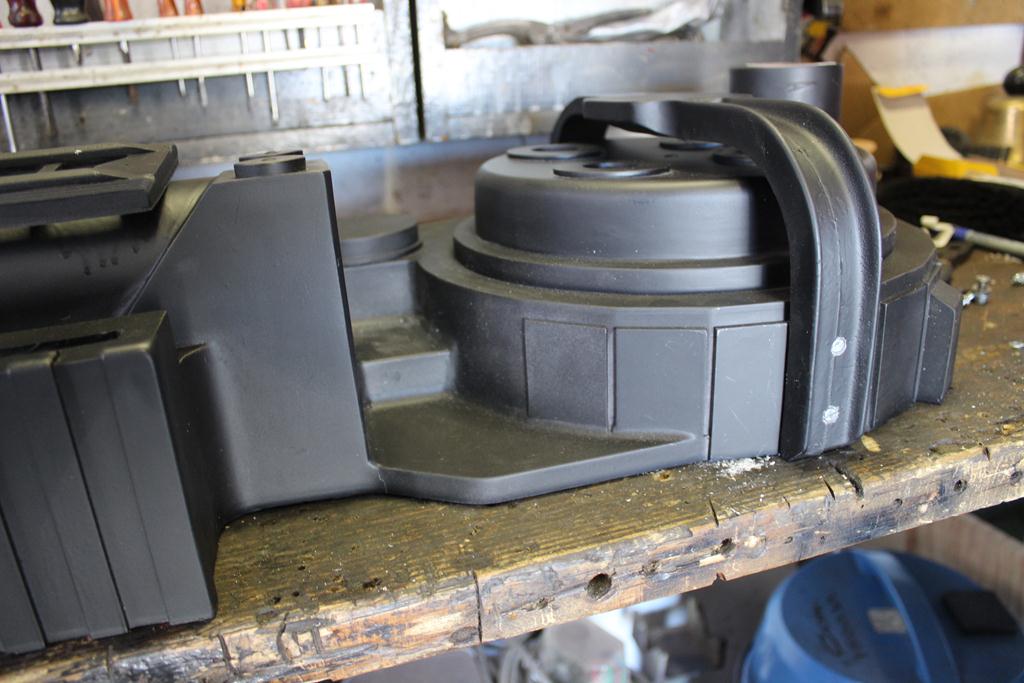
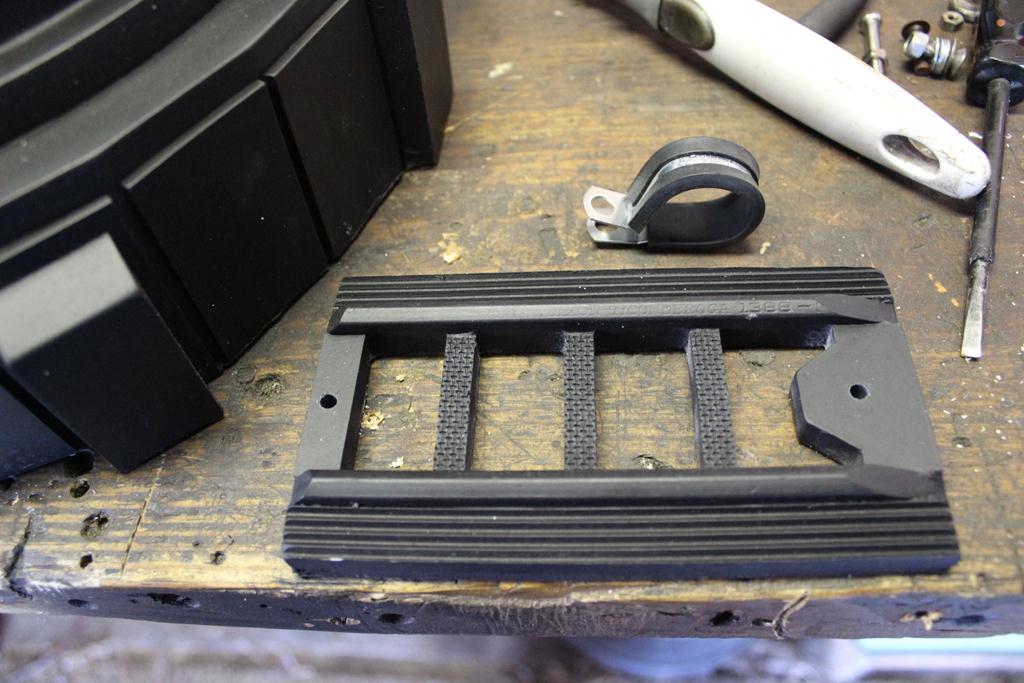
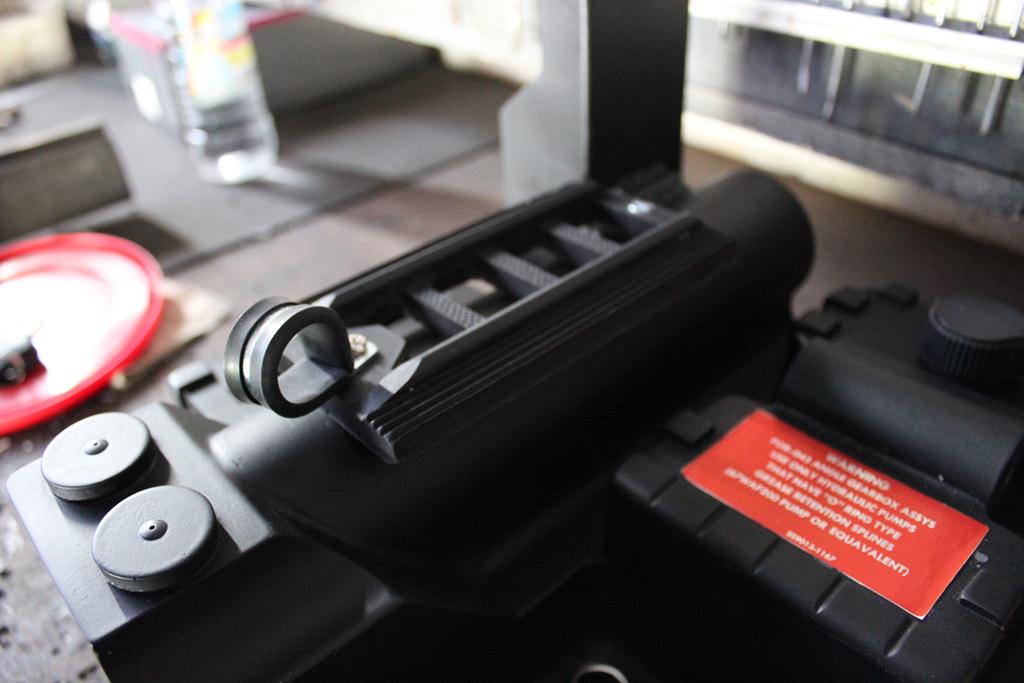
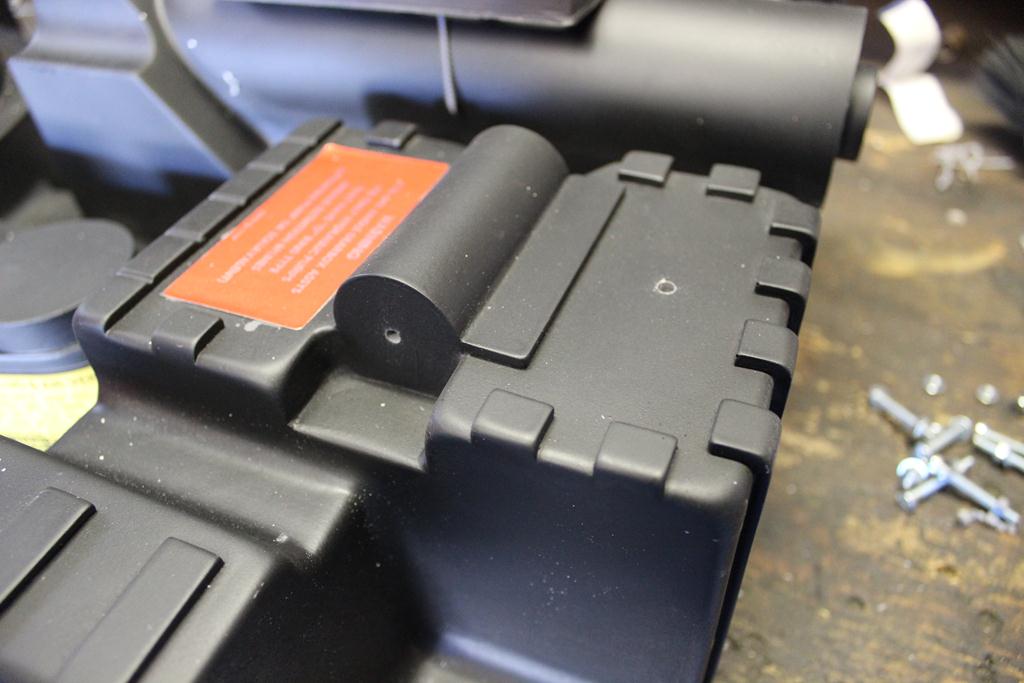
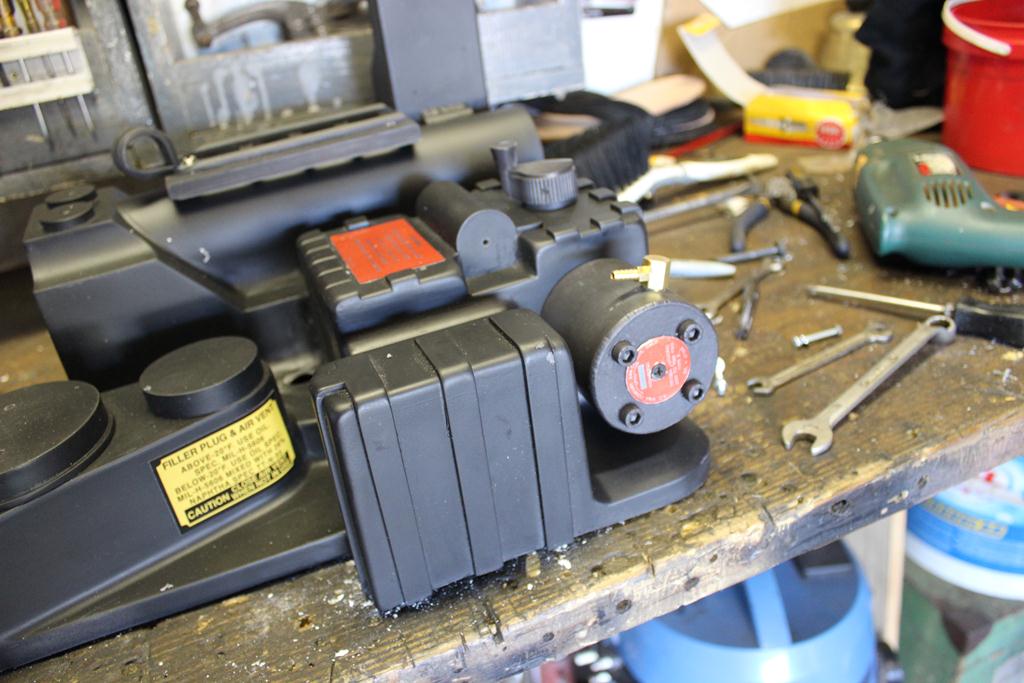
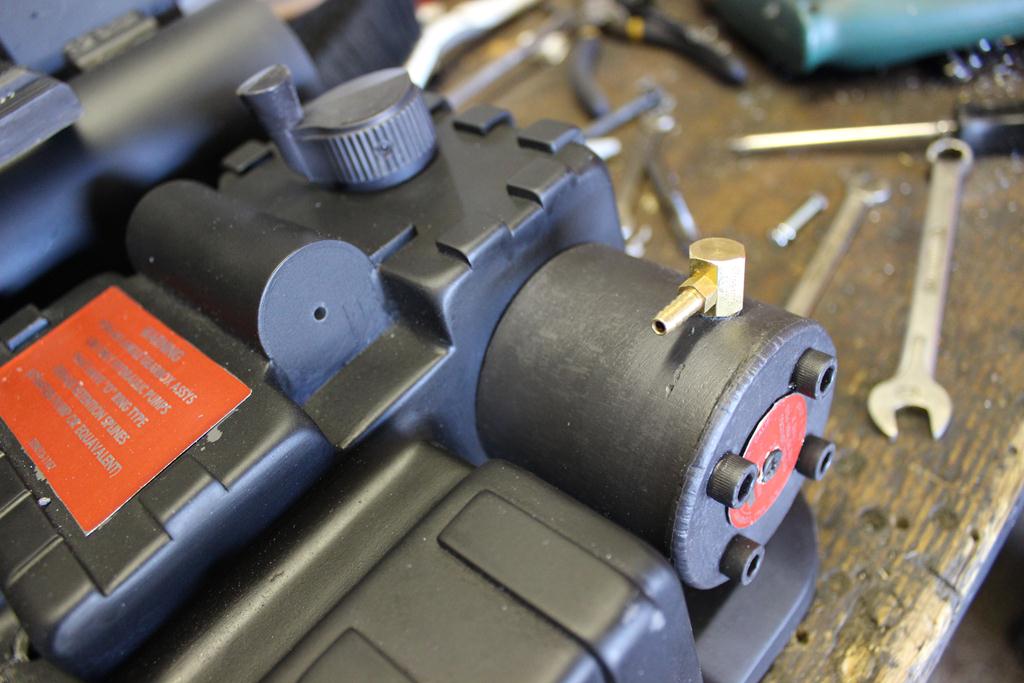
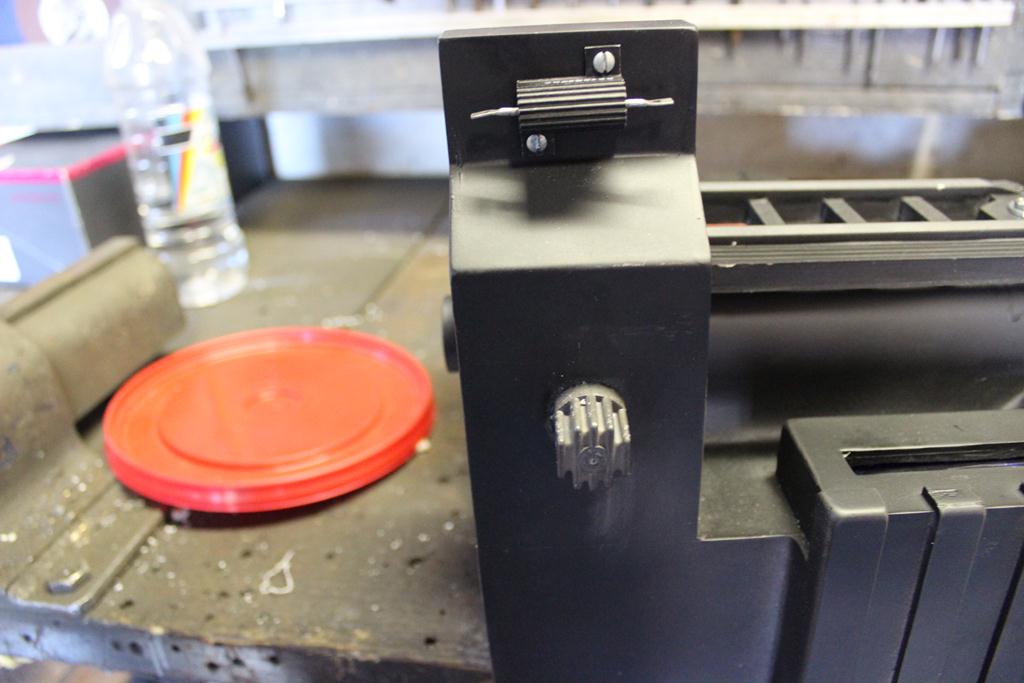
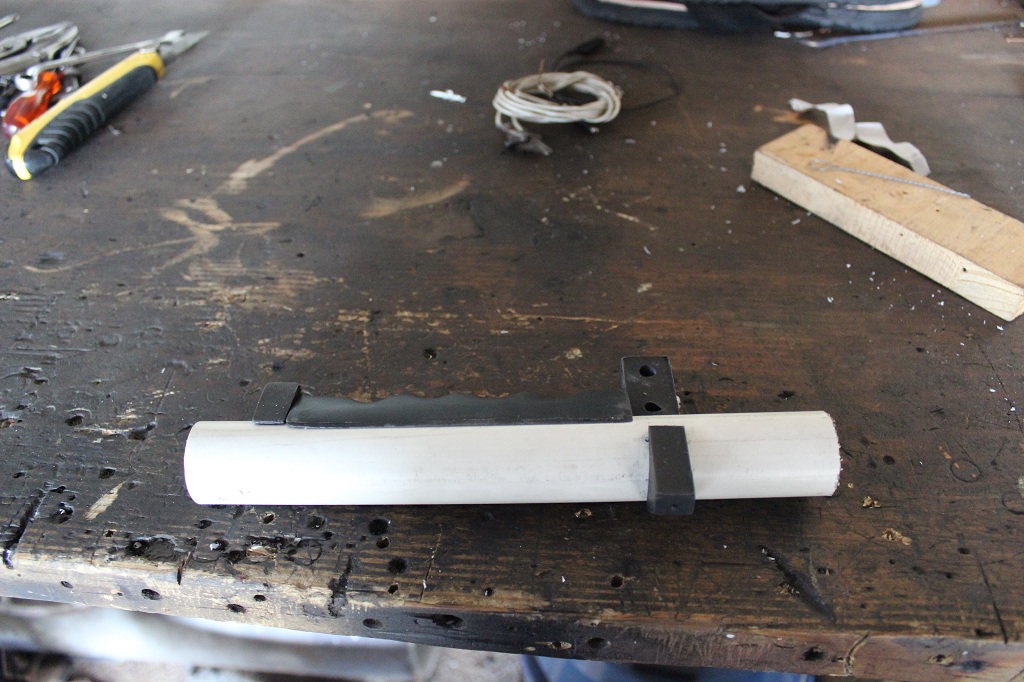
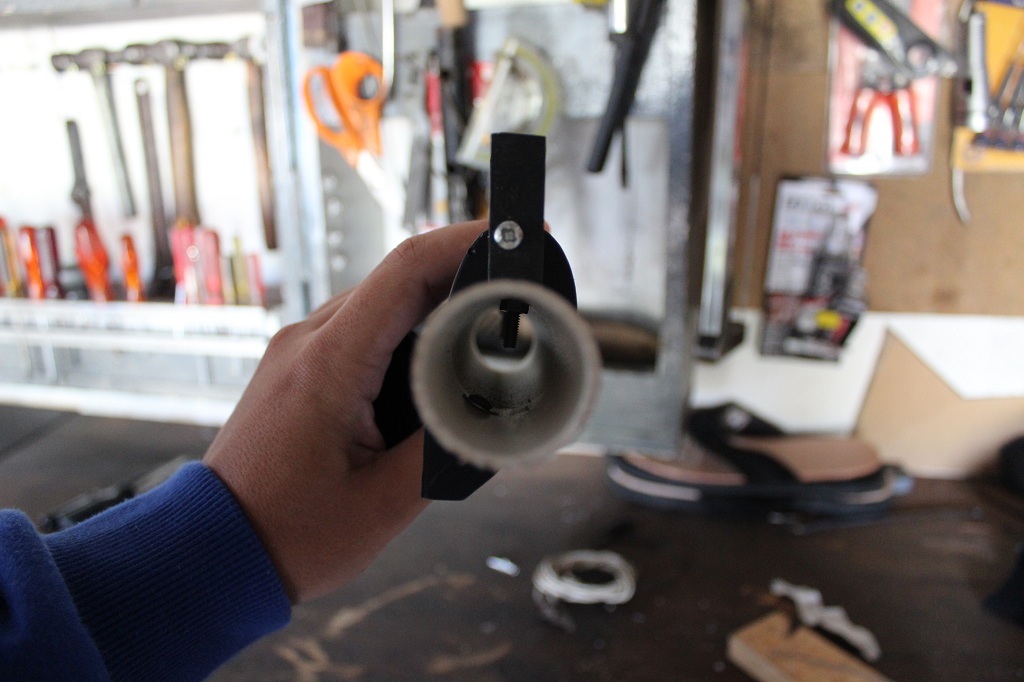
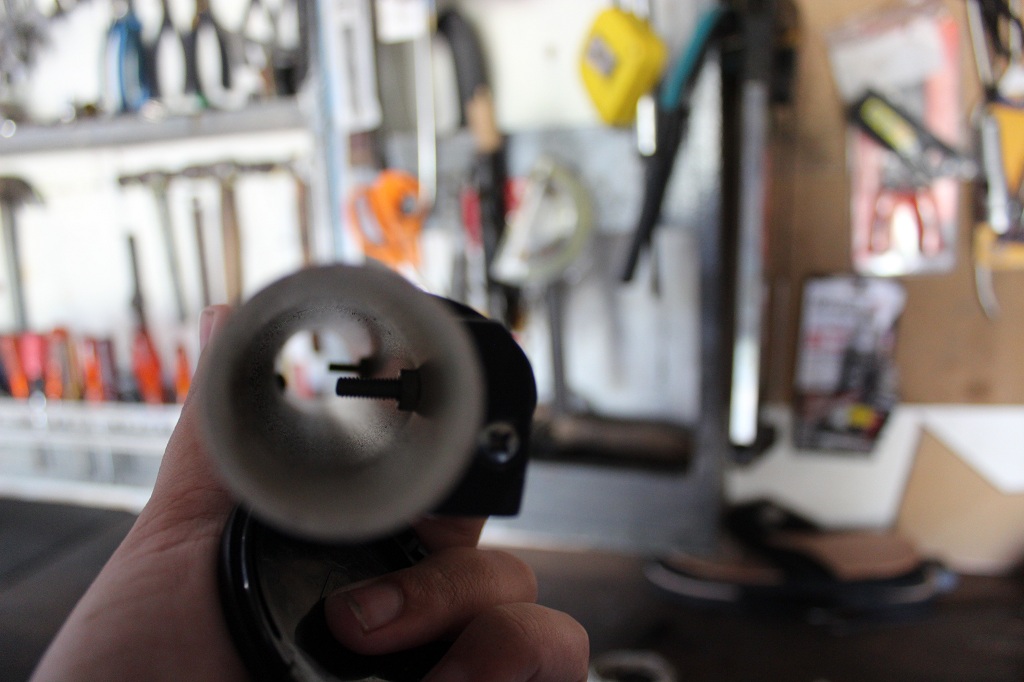
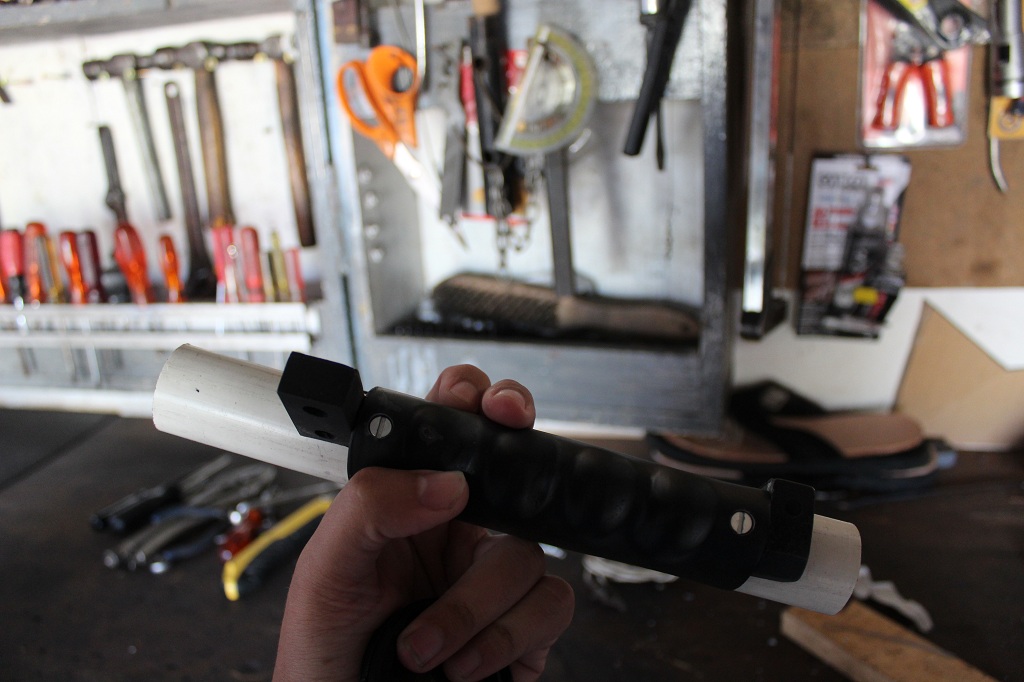
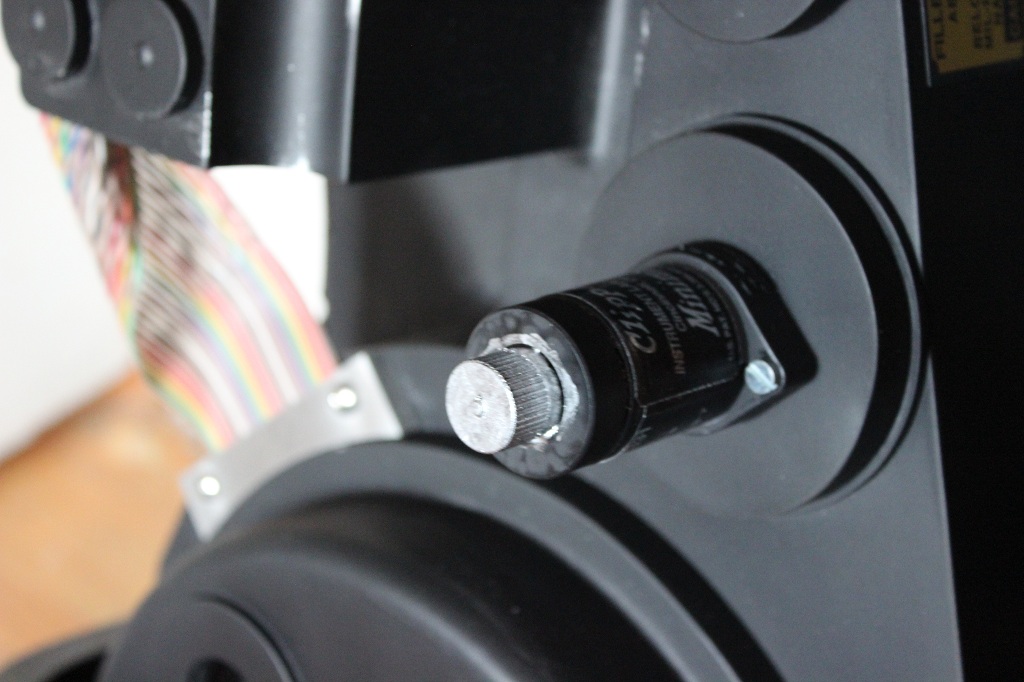
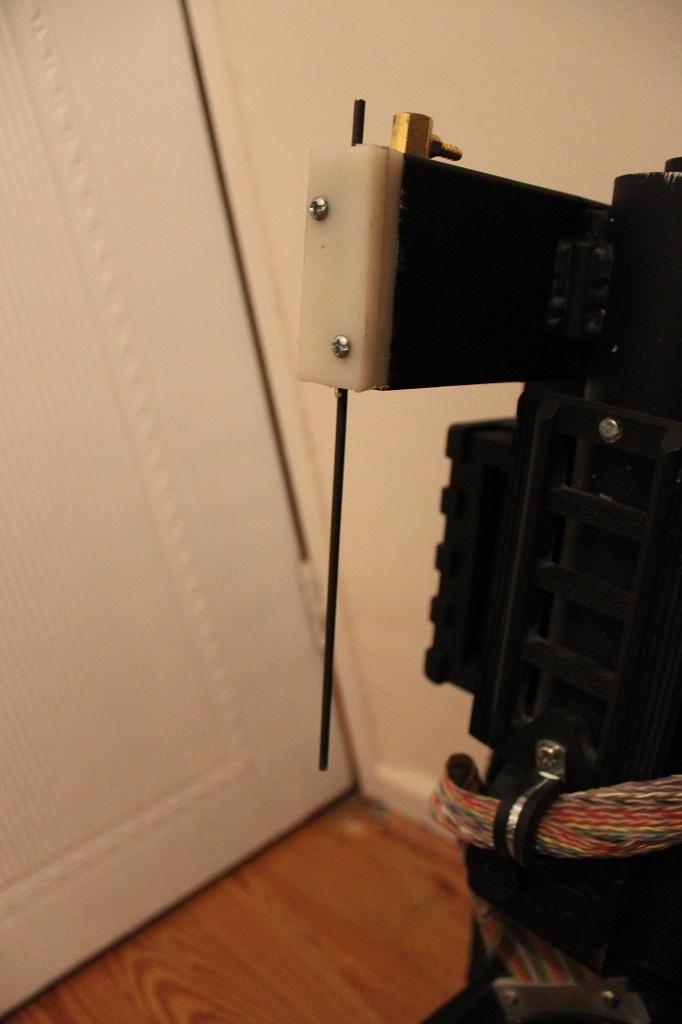
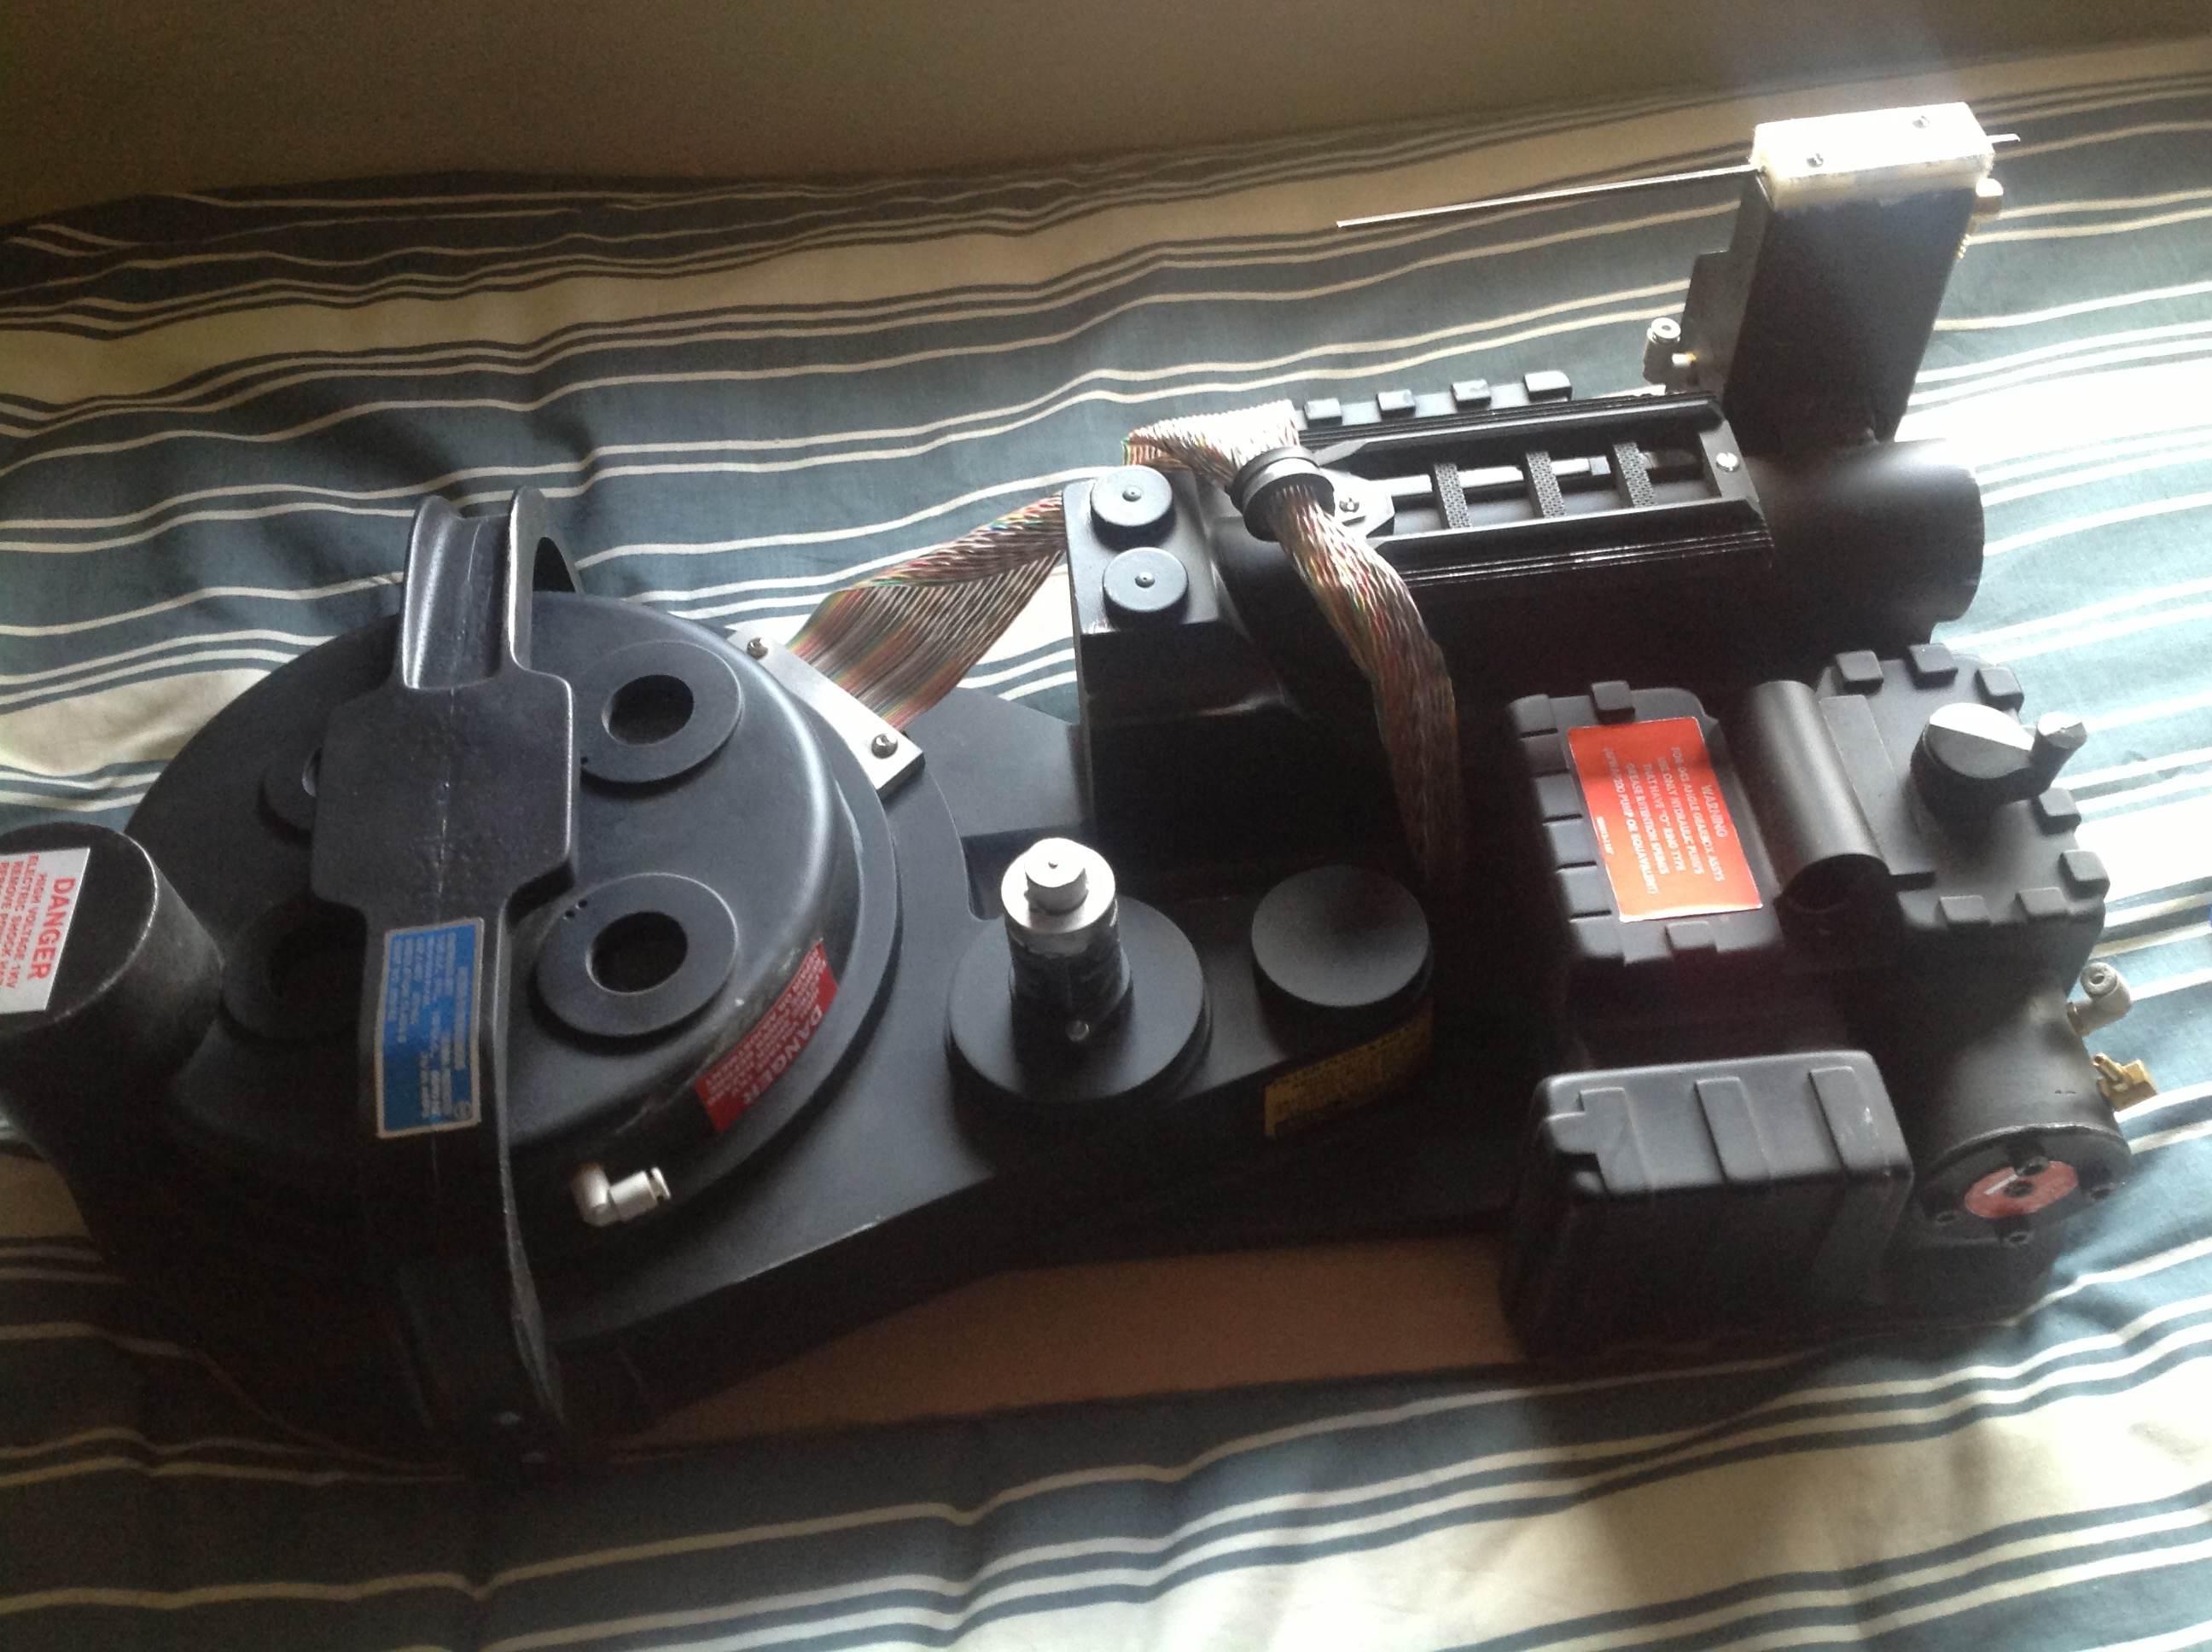
I haven’t wanted to post anything before I got some work done, but after a solid morning of grafting a thrower kit together, I’m feeling pretty good right now.
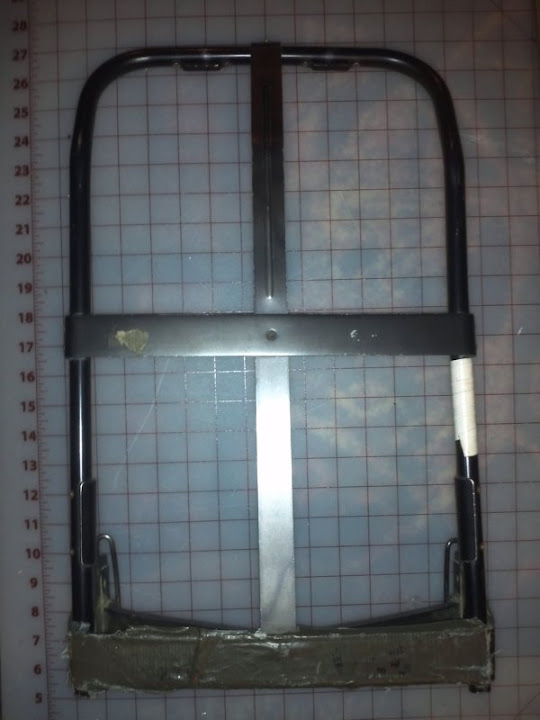
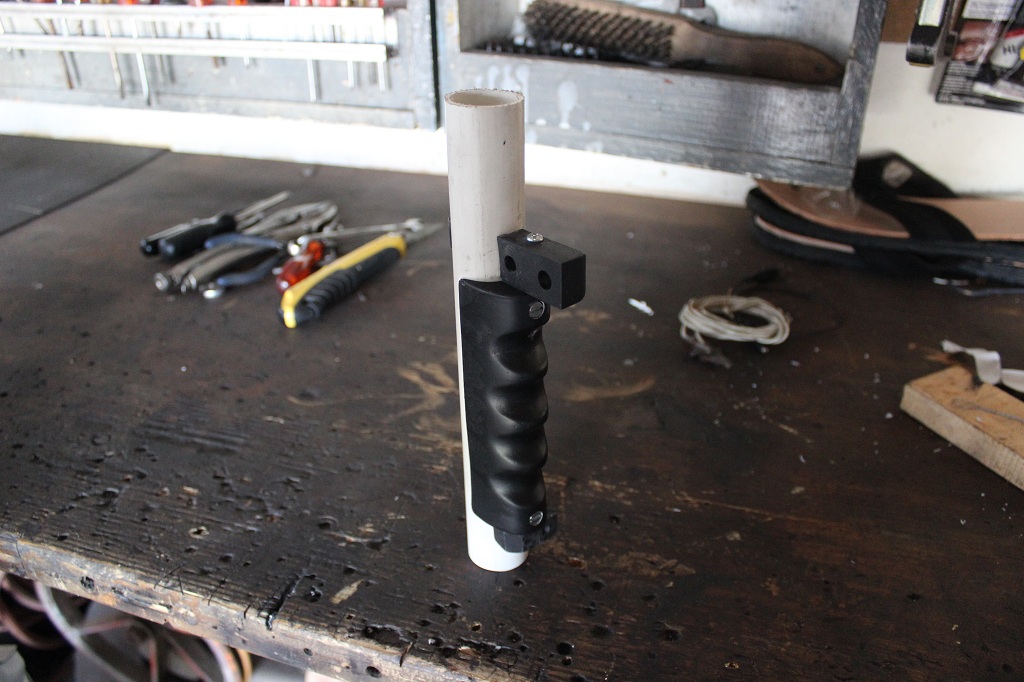
So, current inventory is one of Nick A Tron’s superb shells, my old SANDF H-Frame, as well as a thrower kit from Nick. I’ve got a few other bits and bobs on the way, so I decided to tackle my thrower first.
Now, seeing as how this was my very first time building one of these, I decided to chuck authenticity out of the window and build something that I knew that I would be comfortable with. Besides, there’s always plenty of time to get a movie-accurate kit done. Like for project two, amirite?
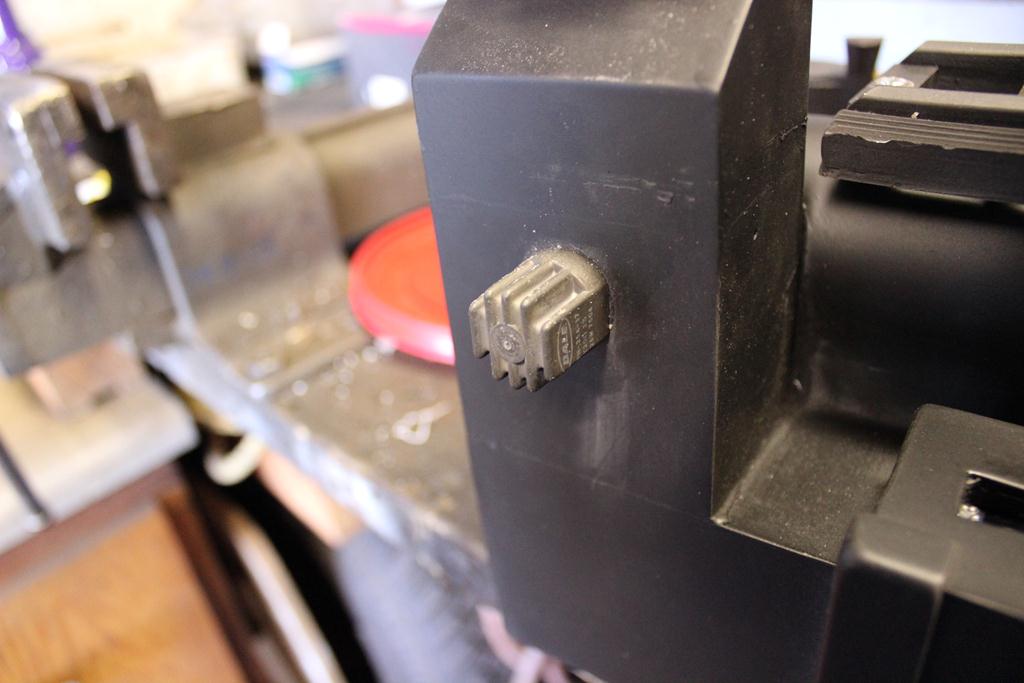
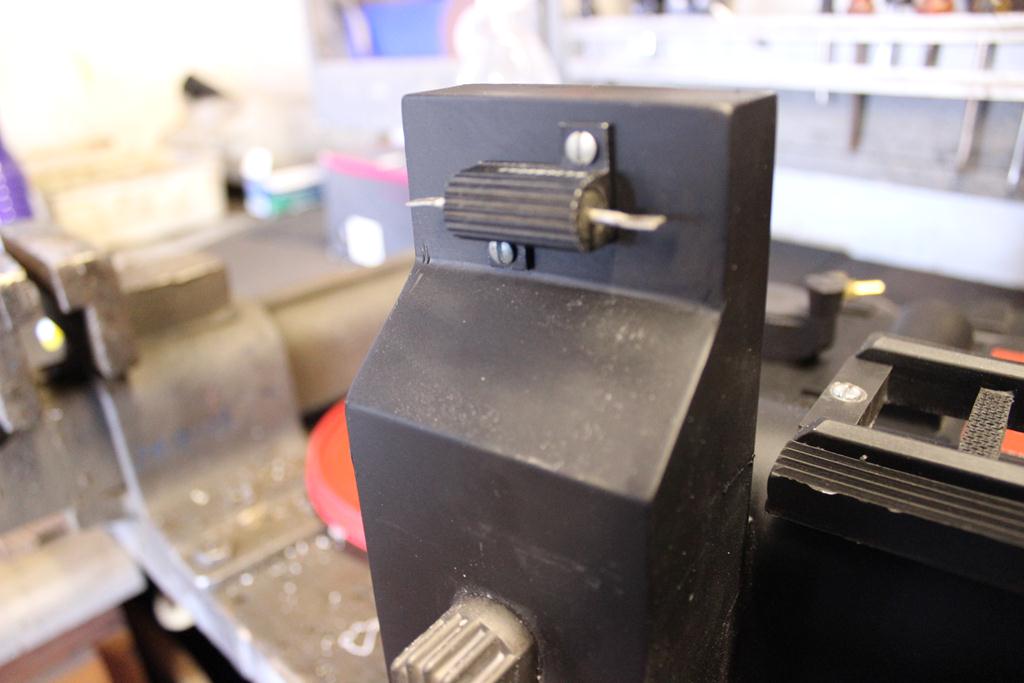
So I used screws. Lots and lots of screws to assemble the bulk of the gun together. Best bit? Tap those screws right, and I can actually rotate my resin dials.
That they do! Problem is, it’s can be a mission getting stuff to this side of the globe. Especially now that the ■■■■■■ post office is on strike. AGAIN.
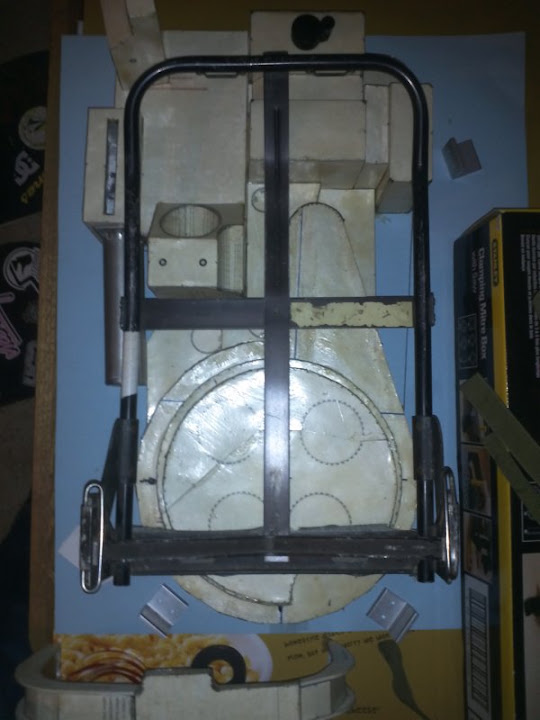
Are you recommending a smaller frame, as opposed to this one? Because it would actually be easier for me then to just cut it down and weld it back together as a thinner frame, if that’s the case.
I don’t have a motherboard at the moment, but I’ve got some nice wood and aluminum lying around, so I’m thinking of cutting a shape from each of those materials to make one and see which is best.
Also, big thanks for the A-frame link gEKx. Just by looking at it, I can see some substantial differences between that and my H frame.
While I attempt to turn my H frame into an A frame, I’m at the point where I have more stuff on the way, but it’s going to take a while. It’s as if I live in some far-off part of the world that is leagues away from…Oh wait, I totally do.
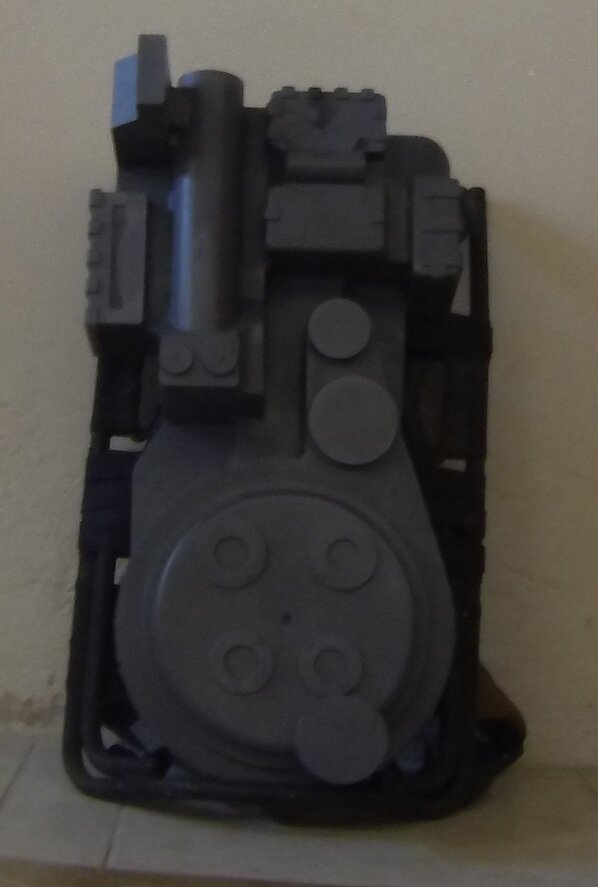
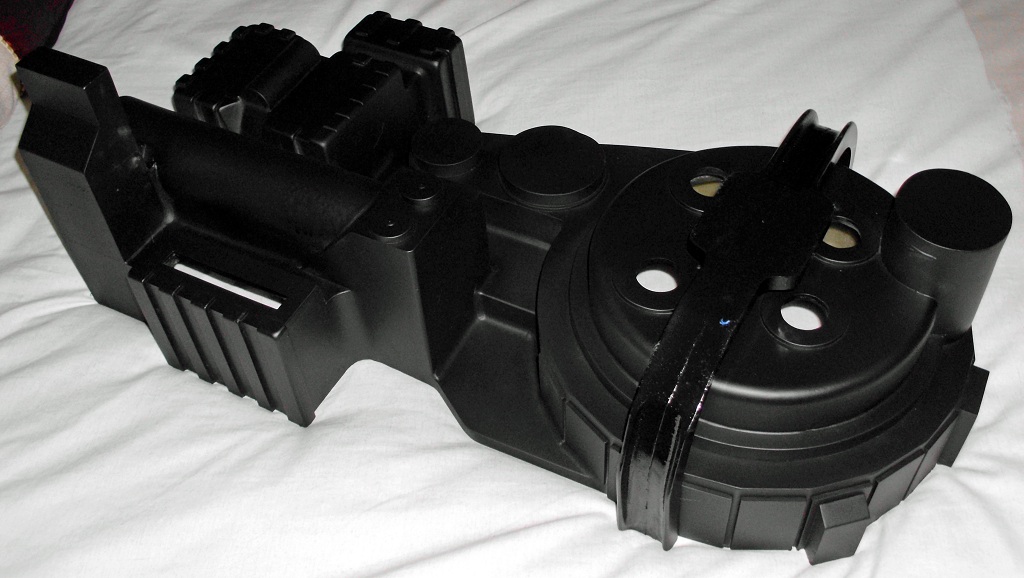
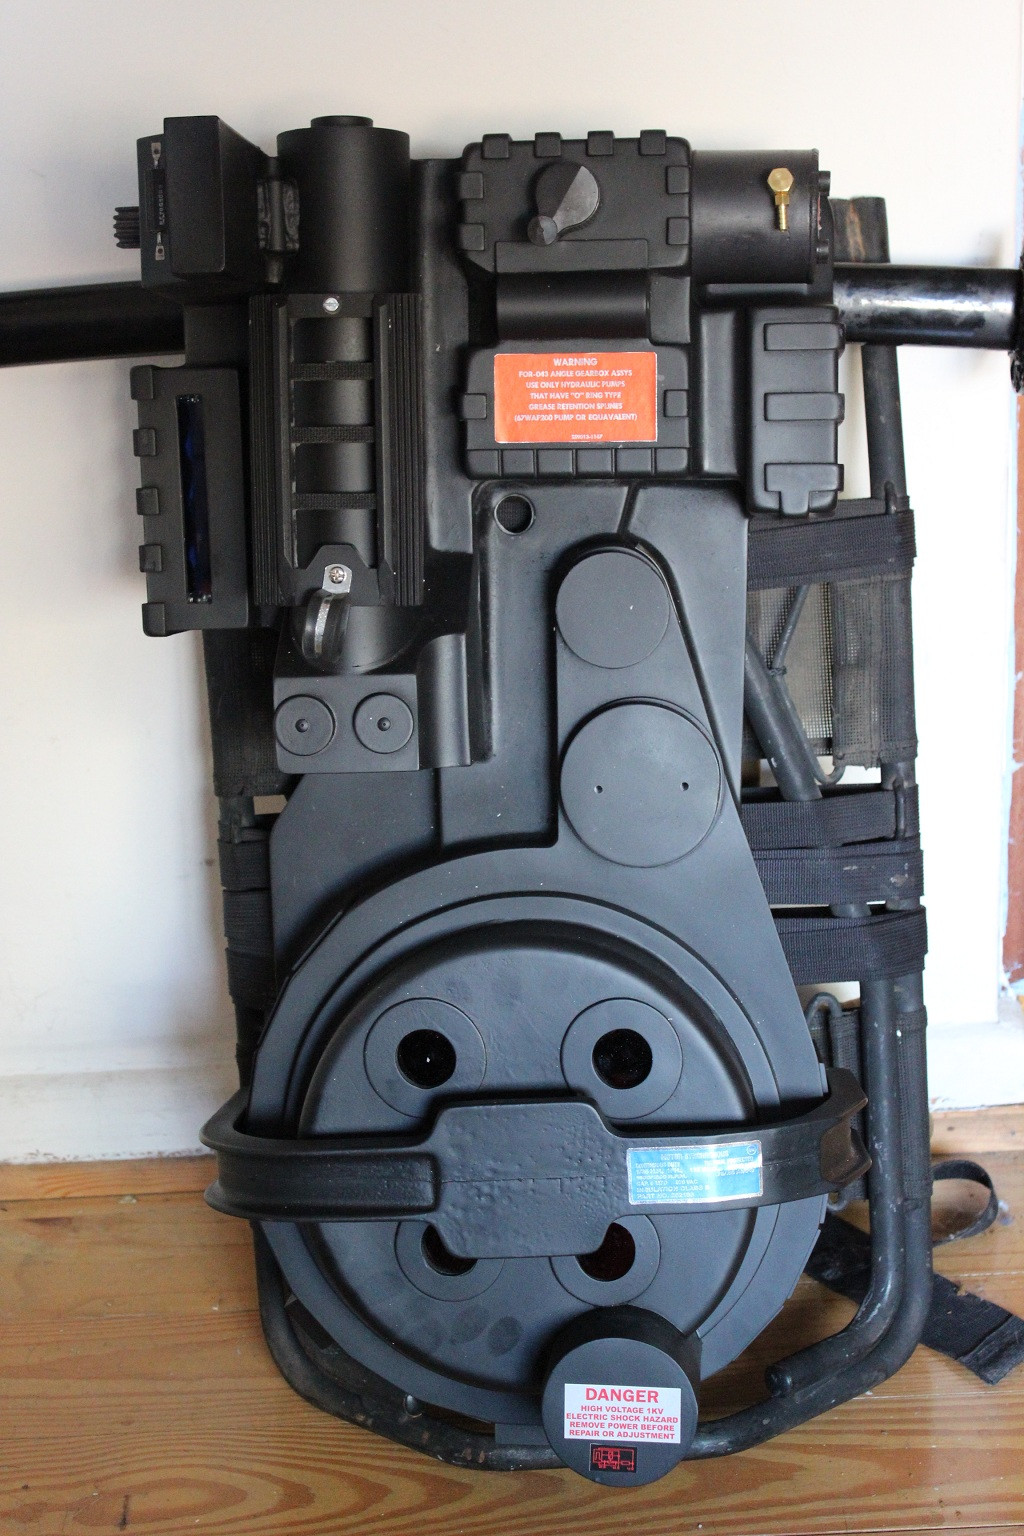
So! With a free weekend, I could at least start applying a few shades of ye olde black to the pack, resulting in the following Knight Rider version:
The bumper is going to need some work to look smoother, and the cylinder also needs some of the run-off cleaned up, but otherwise, I’m pretty happy. It’s a nice flat black, and it’s going to be a glossy black soon.
But dammit, the flat look is just looking so nice to me right now…
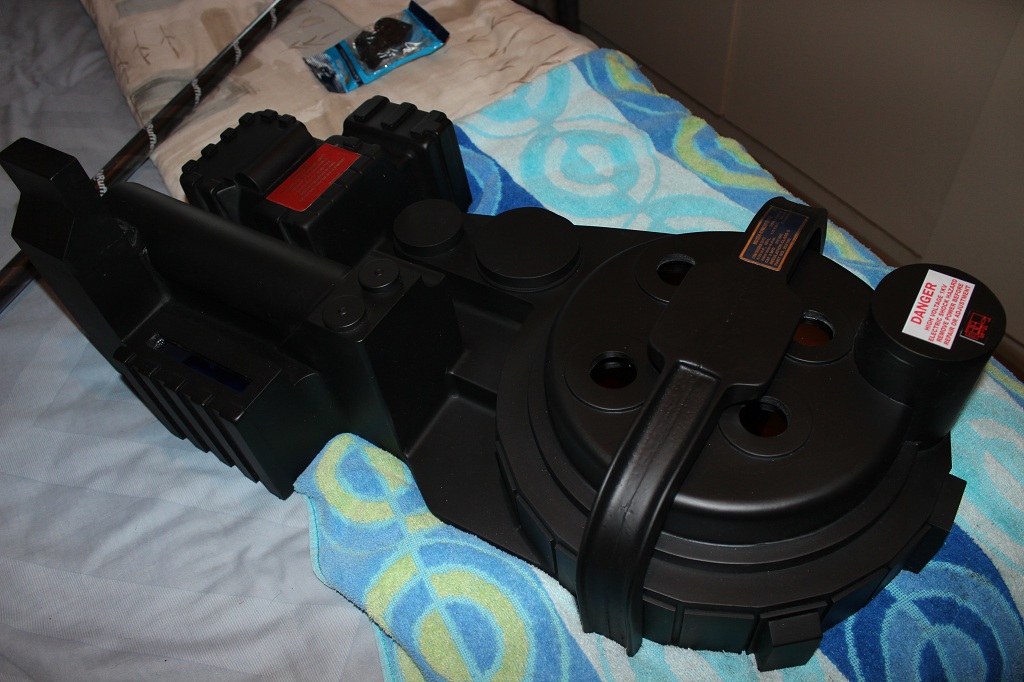
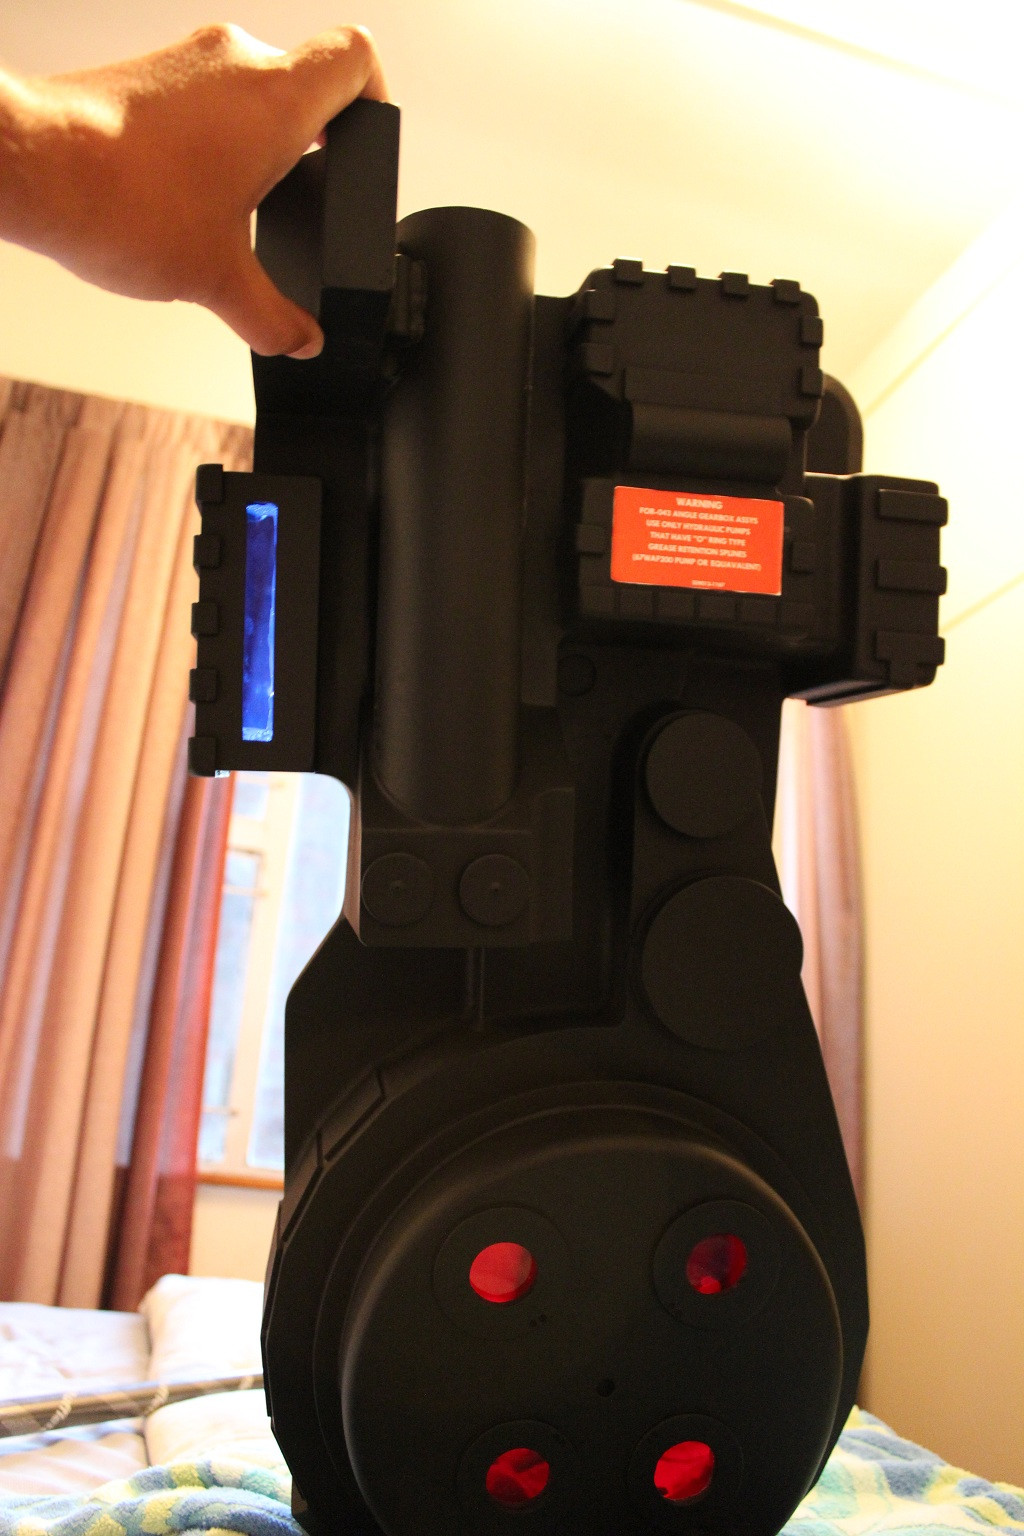
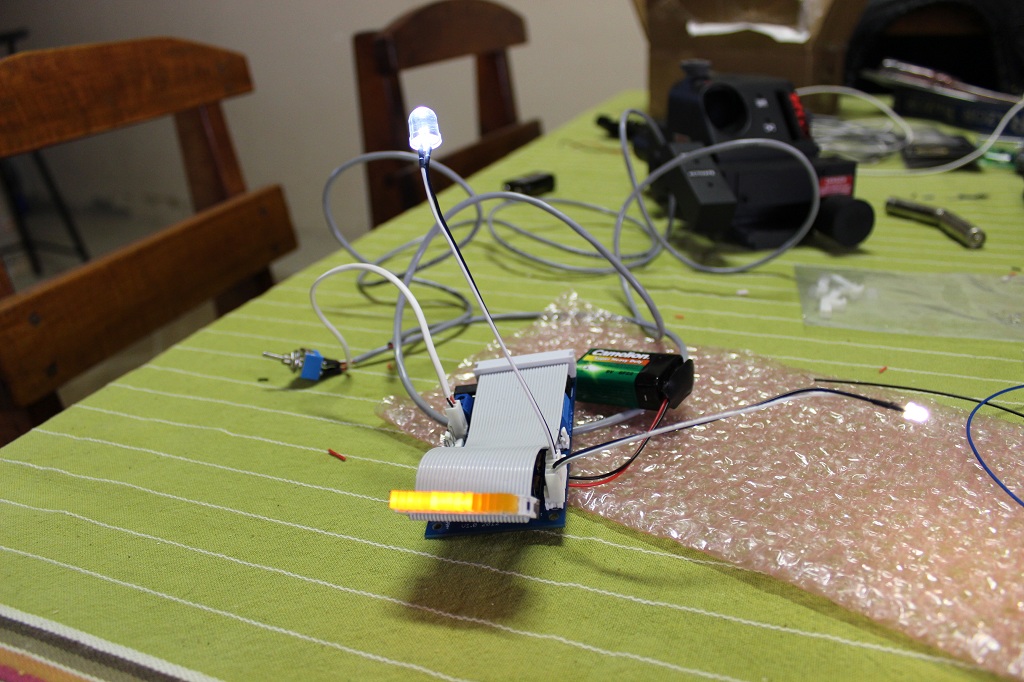
Finally got a chance to get away from work this weekend, as well as finally getting over my E3 jetlag. Pack is painted, lenses glued into place and mostly stickerised, but it’s the electronics from Crix that has me really motivated right now.
To be accurate to the props, it should be mounted with the screws level, rather than at the 45 degree incline as it would appear to be in the photo above.
I hear you on that! It’s my first pack build at the moment though, so with the wand, I’m focusing on learning the ropes and just having some fun, before I build a second thrower further down the line. But as for the mounting, I can switch it to a proper level easily enough.
I’m just kind of smitten with that angled degree right now.
Proton Pack status? Getting sexier every weekend. And don’t worry guys. That ol’ SANDF frame of mine will be getting cut down to size soon. And after having to carry a ton of weight through it a couple of years back, it’s going to be pretty satisfying when I get the blowtorch out.
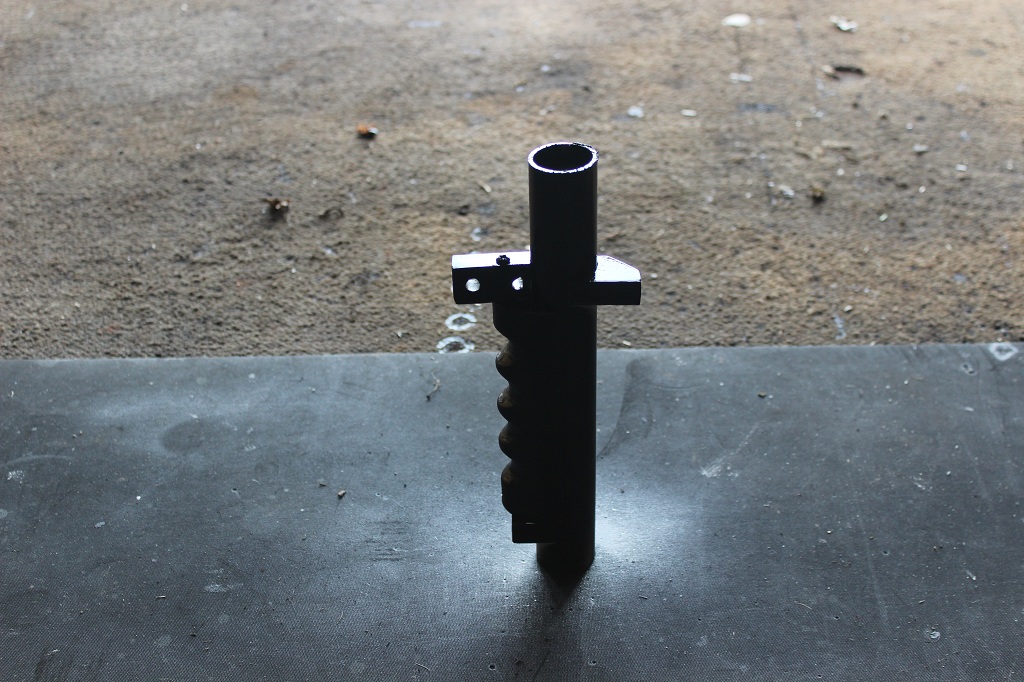
Got some solid work done on the front gun barrel last night. Minus the part where my one piece was off-center, but I’ll be fixing that soon enough. Anyway, pictures!
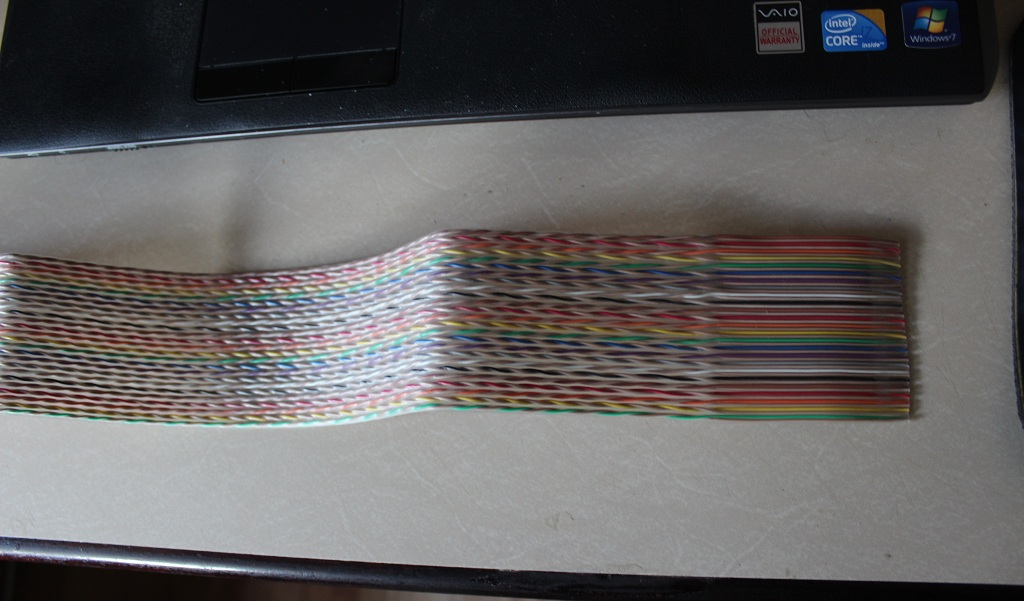
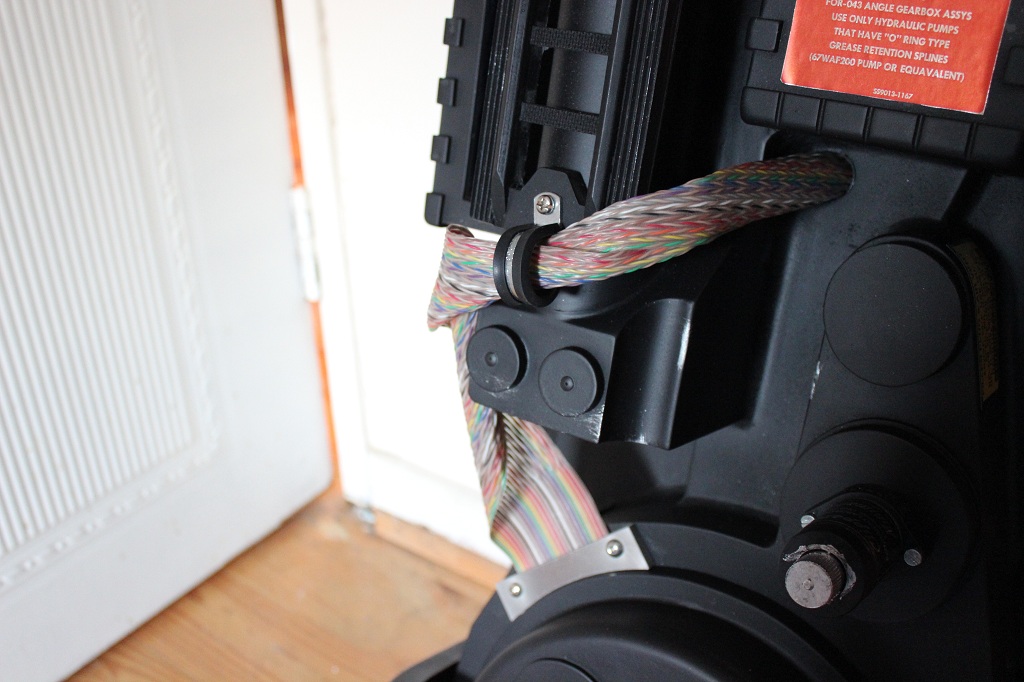
Guys, quick question that I can’t find the answer for in the archives. I want to clamp the spectra-cable in this weekend, but I’m confused as to which end to clamp.
Do I clamp the smoother, less tangled end in, or the opposite. Also, how many twirls should I give the cable as I lead it through? Thanks a million for any help chaps.
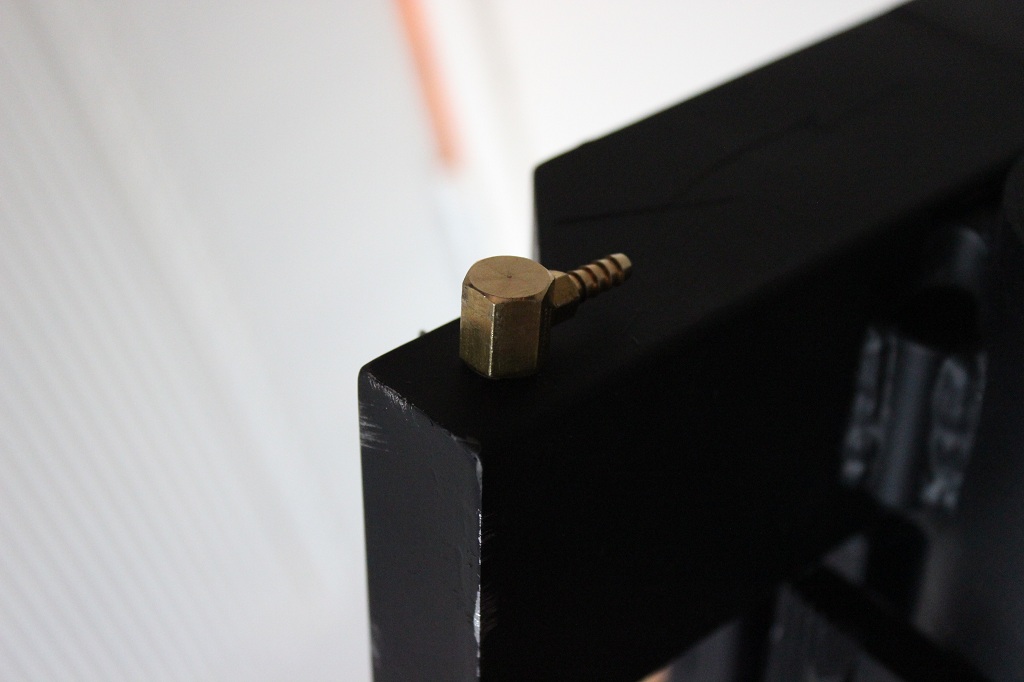
The capacitor itself will need a repaint, but that’ll be done soon. Also made myself a quick ION Arm cap out of nylon. I think after a paint job and an adjustment of the top cap, it should look rather spiffy.
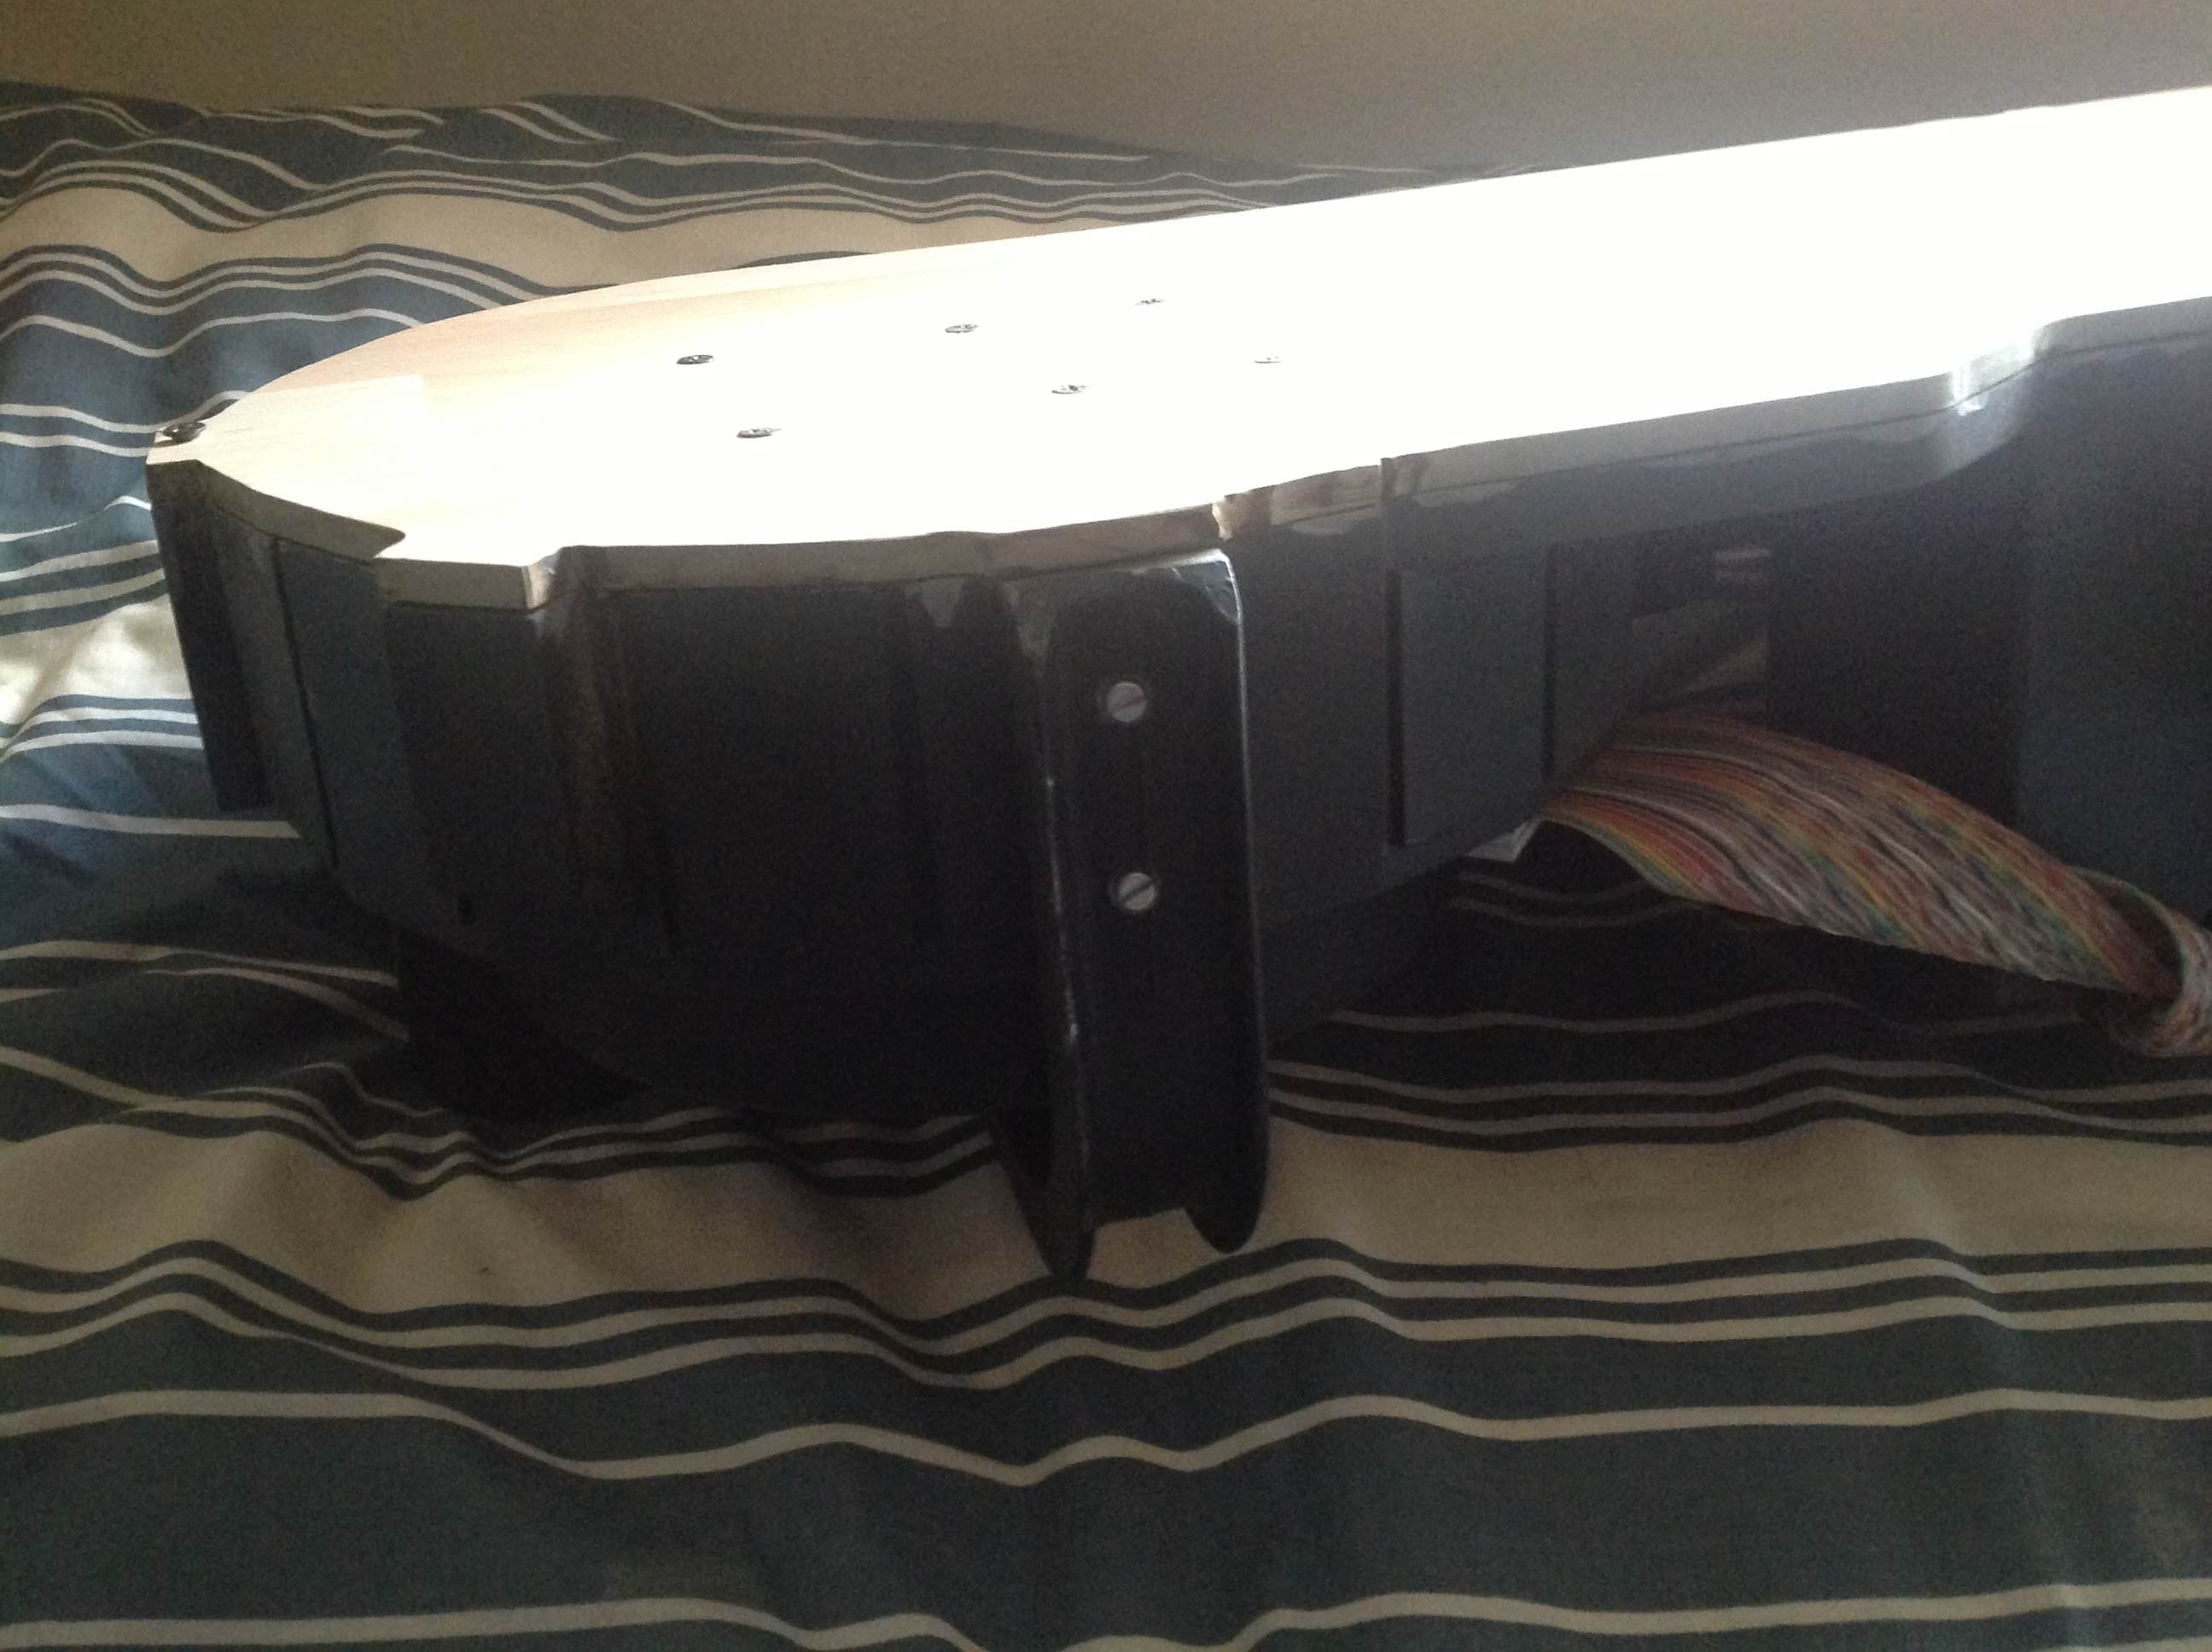
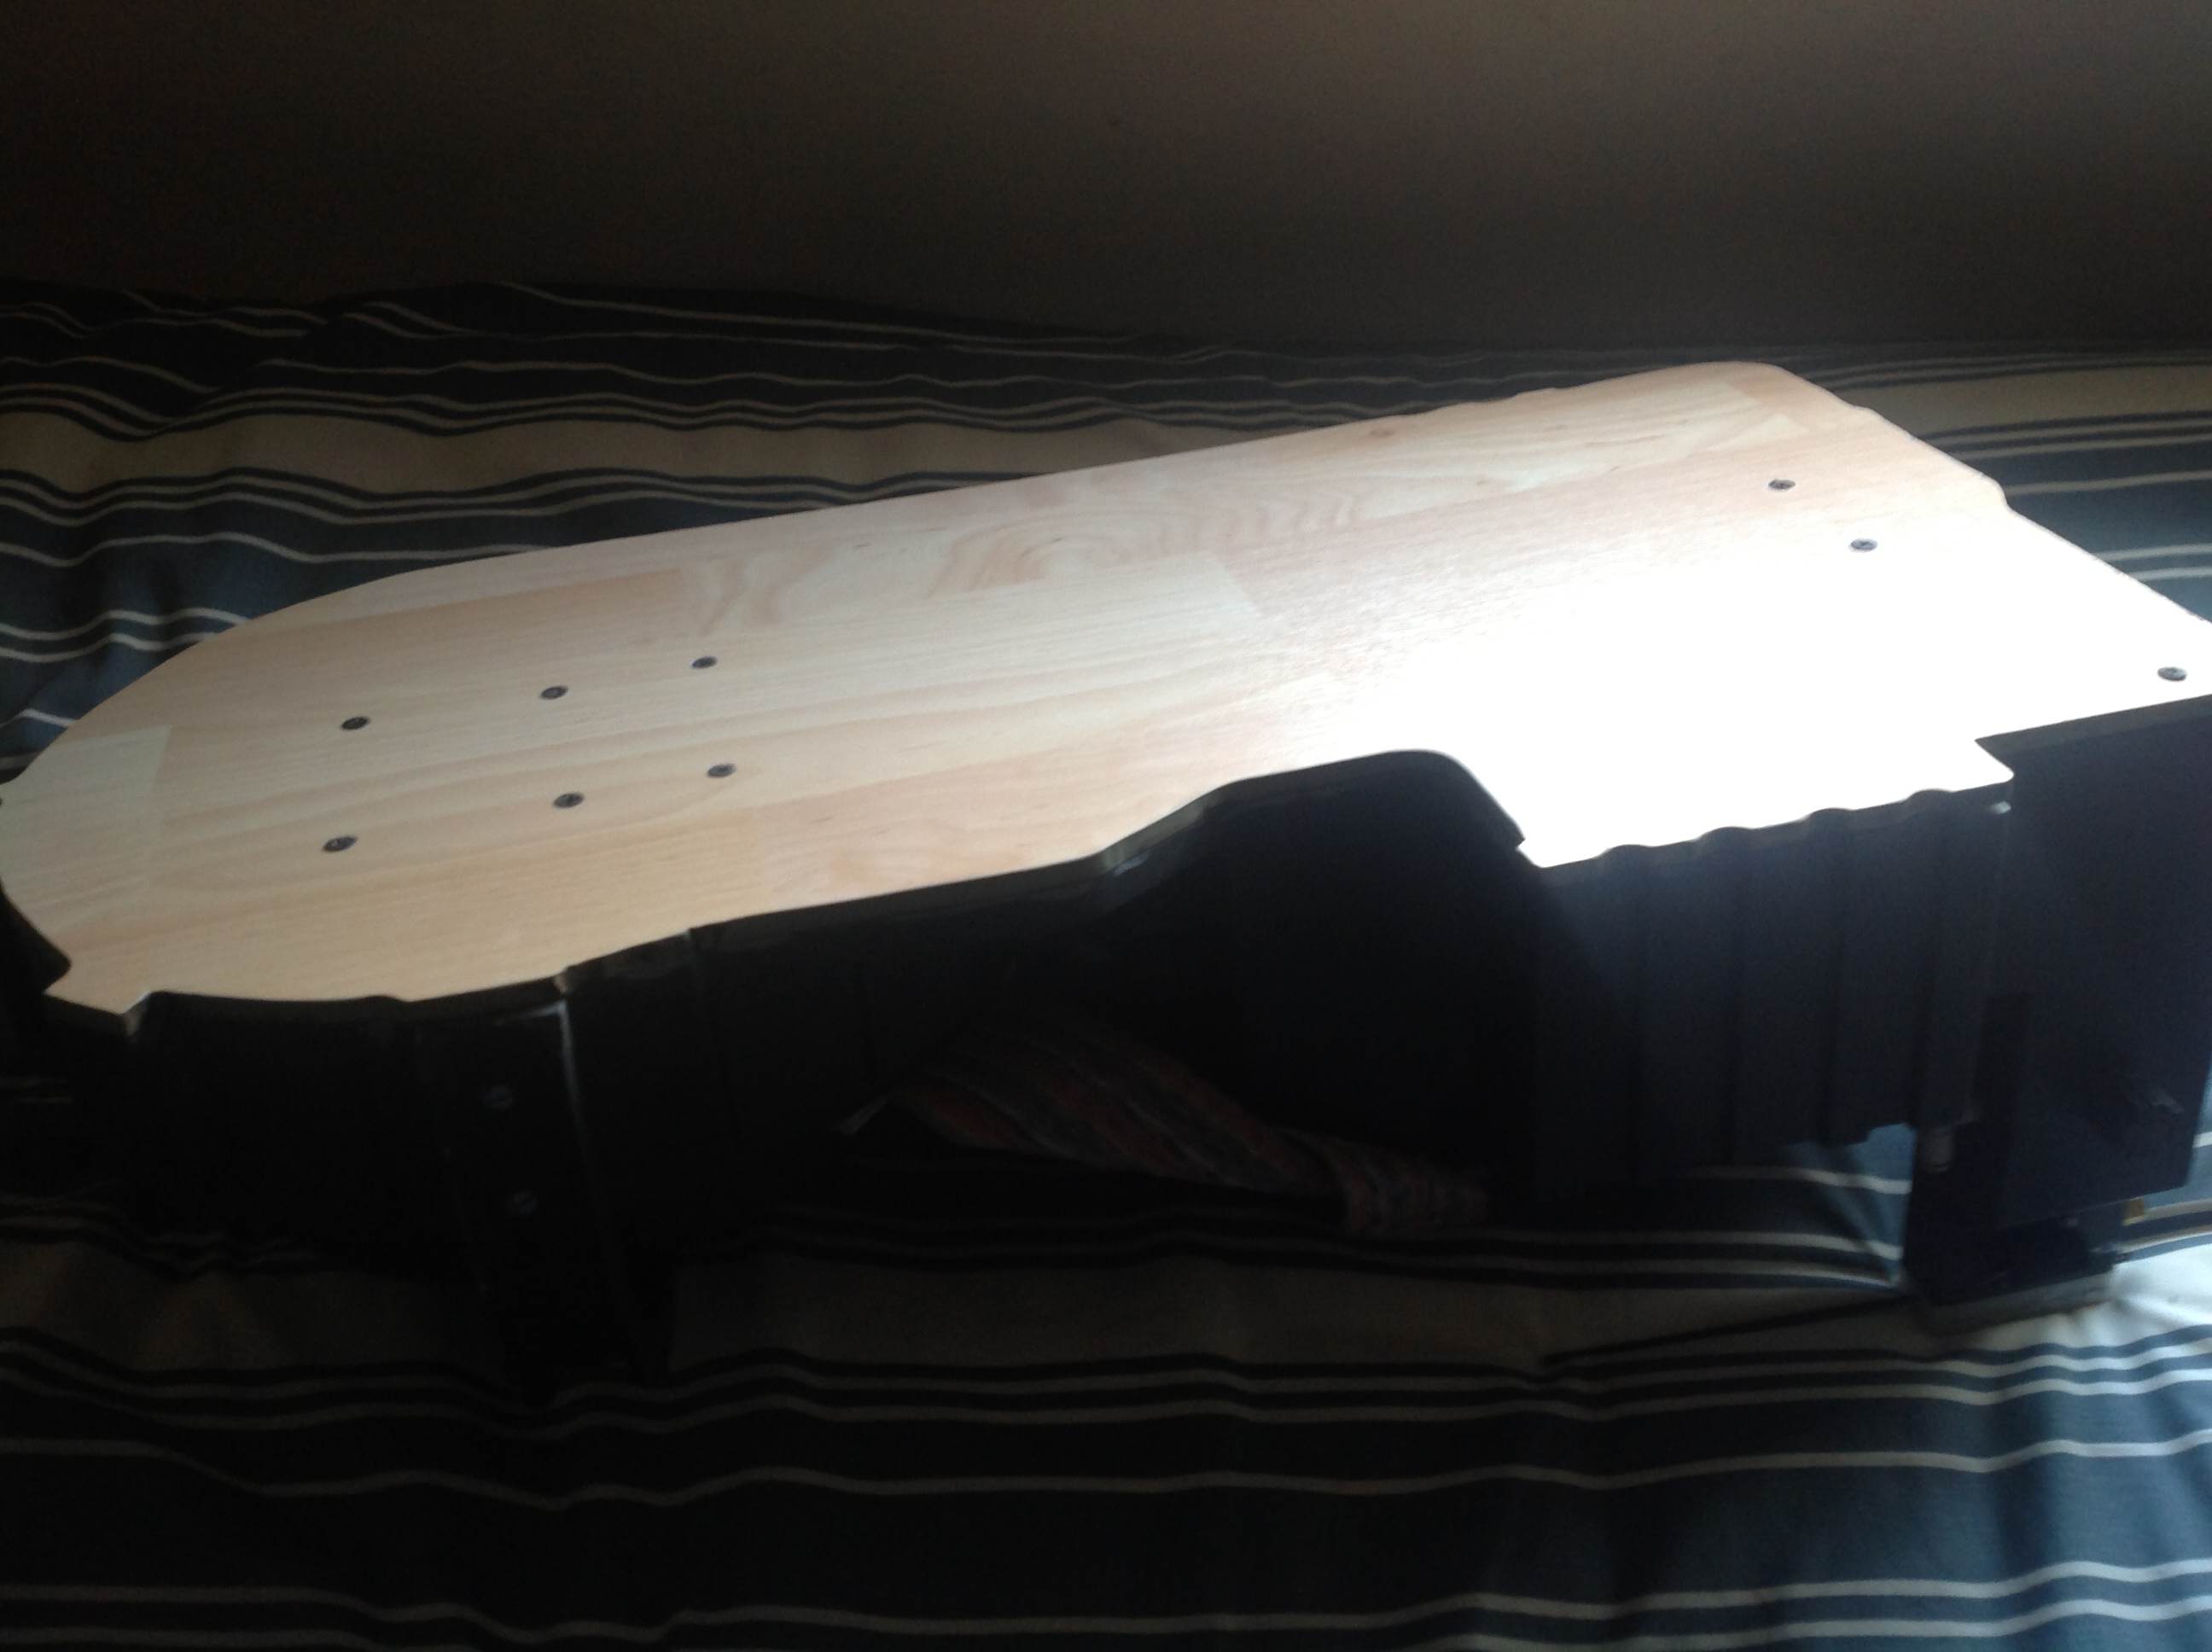
Got my motherboard built today! I was all out of decent metal, so I grabbed some light as a feather pine wood, shaped it and started getting into position. It’s thick, strong and lighter than it looks.
Not a bad afternoon’s work at all. I also dub my proton pack the Atari Pack from this day thanks to that stylish wood. Oh, and If I’ve got that motherboard shape wrong, please let me know guys.
Look between the gun mount and the spacer. That’s not supposed to be cut out. Also the mother board doesn’t have ribs by the power cell. Hope this helps.