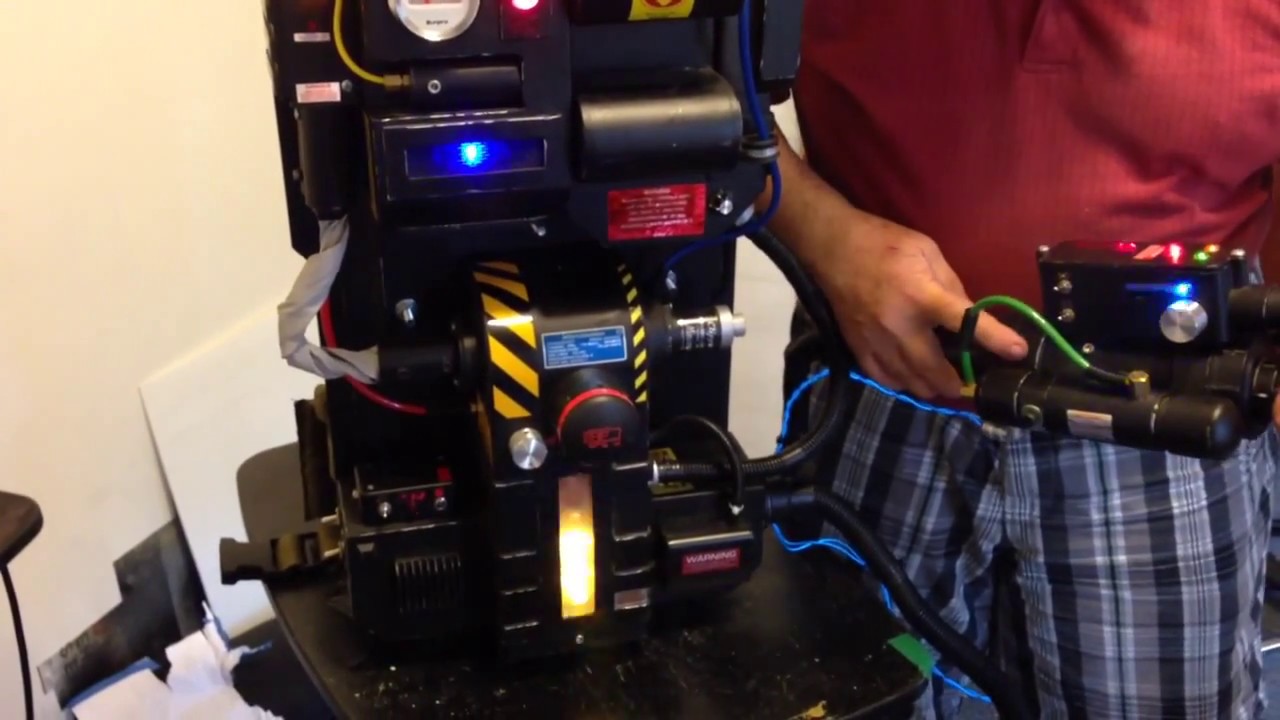
My father (JimFin) and I figured out how to integrate e-cig technology into the N-Filter and Ghost Trap props that we have built and there has been interest on making a tutorial so that others can do the same. Please keep in mind that we don’t really have experience in making “tutorials” but will try our best to explain/show how it all works and what is needed to replicate it. We estimate cost for basic parts needed for a similar set up as shown is only about $50 and that once you have all the parts, it should be a fairly straight-forward process for adapting it into your own props. The trickiest part is the soldering the cartomizer, next would be splicing it to work with your existing sound board or setting up a manual trigger.
Here’s a pic of the items that we use:
Some more parts with a unit partially constructed:
Part/source list:
KANGER “T2” Type eGo 2.4ml CC (Coil Changeable) Clear Cartomizer / Clearomizer
3V Mini Oxygen Air Pump
(Alternative/Larger Air Pump) 6V Micro Oxygen Air Pump
Magic MGA5012HR-015 12V 0.14A 50mm x 15mm 6000 RPM 2-Pin Computer Fan X23
12V 13-LED Strobe Light
Hobbywing 3A 5V 6V MAX 5A UBEC Lowest RF Noise RC Switch
May use various Rechargeable Lipo 11.1V Battery Packs. (We used a 11.1v 3S1P 1000mAH 20C Lipo Battery W/ JST Male Connector for my pack)
.25" Rubber Vacuum Cap (will require hole drilled to force fit tubing inside)
(can be found at auto part stores) http://www.autozone.com/autozone/accessories/Miscellaneous-Repair-Parts/Vacuum-Cap/_/N-25v0
1/8 OD Nylon or Polyurethane Tubing
Standard positive and ground wires, wire connectors
Mueller Streamline 2 in. x 1-1/2 in. PVC Schedule 40 Pressure Spigot x Slip Bushing
(Home Depot: Serial #: 012871626753) http://www.homedepot.com/p/Mueller-Streamline-2-in-x-1-1-2-in-PVC-Schedule-40-Pressure-Spigot-x-Slip-Bushing-437-251HC/100191192?keyword=012871626753
Glycerin (First Aid Skin Protectant)
http://shop.riteaid.com/Rite-Aid-Glycerin-Skin-Protectant/dp/B004MOE592#.U3gf2PldVMg
Chauvet Fog Fluid
Here’s a brief concept plan of how it works for this particular set up:
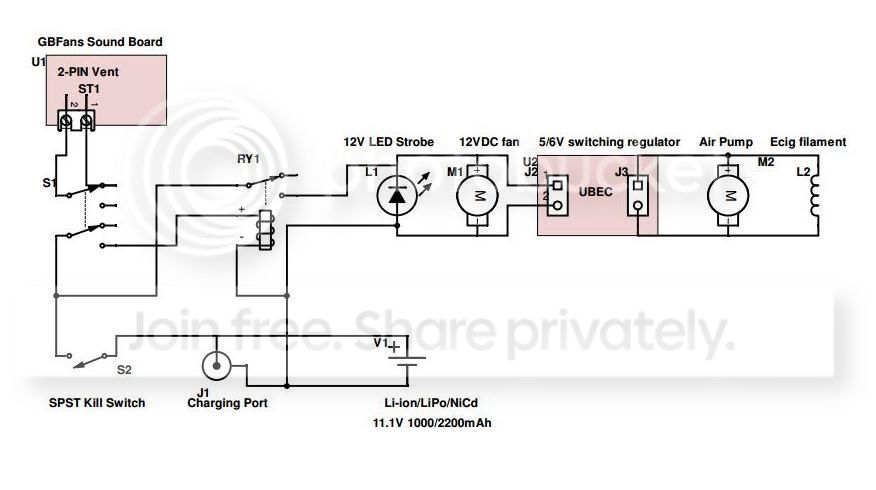
The Kanger T2 clear cartomizer coil of an e-cig has the center contact high-temp soldered to a 6v batter, the ground contact is high-temp soldered to the side of the cartomizer. For the Ghost Trap, the rechargeable 6v battery is then regulated by a Vellman timing switch so that the heating coil does not burn out (it may not even be necessary as we have been using 6v or less to the coil constantly with out apparent burn out). For my Proton Pack, the Mighty Micro-Controller sound board coding itself controls the duration/timing for the e-cig to be on and the 12v power supply is brought down to 6v with the UBEC switch; this is what prevents burn out for the pack set up. There is a 12v 2" 50mm fan installed in a short PVC bushing pipe that mounts perfectly into the N-Filter of the pack that produces airflow to push the vapor through N-Filter holes. A hole is drilled into the side of the PVC bushing that allows the cartomizer to be directly mounted so that the vapor can be injected; alternatively, a hose from the can be funneled from the end of the cartomizer and into the bushing hole if desired. A 12v LED strobe light is wired in parallel with the 12v fan, both of which are connected to a relay board that works off a “vent” signal from the sound board itself or when the vent toggle is triggered (GBFas Sound Board connected toggle switch). The cartomizer has a .25" rubber vacuum cap (found at Auto stores) that is attached to same center contact end that was soldered. Small 1/8 OD tubing is connected to the end vacuum cap and going to a 6v air pump (for fish tanks/medical devices, ect) that pushes air through the cartomizer. The air pump is attached in line to 6v UBEC switching regulator that is connected to the 12v Battery supply of the Proton Pack. The cartomizer uses a mix of 50% poly-glycol (“fog juice” or you can use plain water instead) and 50% food-grade glycerin (available at local pharmacies).
Results:
“Smoke” on demand that is safe, non-hazardous and can be used over and over again. This set up takes up very little space and requires only an occasional refill.
Notes:
Our set up bypasses the internal regulating circuit of a normal e-cig battery and we have found that it is capable of producing more vapor and for a duration of up to 10 seconds or more…it’s difficult to tell the actual limitations due to the airflow. The UBEC switching regulator is only needed to allow the 12v Fan and 12v LED Strobe lights to be added to the set up if desired, otherwise using a 6v power supply will be sufficient. Keep in mind that airflow needs to be generated to push the vapor out and the strobe . The PVC bushing should fit into most hollowed-out N-Filters and can be secured in place by wrapping the bushing with tape; different pack shells may require some modification to install or use of a smaller diameter bushing. We also found that the cartomizer produces more vapor when it is mounted with the end pointed downward or at an angle.
Additional Pics that we will refer to in further comments to this tutorial…
Cartomizer (Note that soldering to the center contact and that there, one of the existing holes is drilled out a little larger and a trench made):
1/8 tubing attached to the vacuum cap:
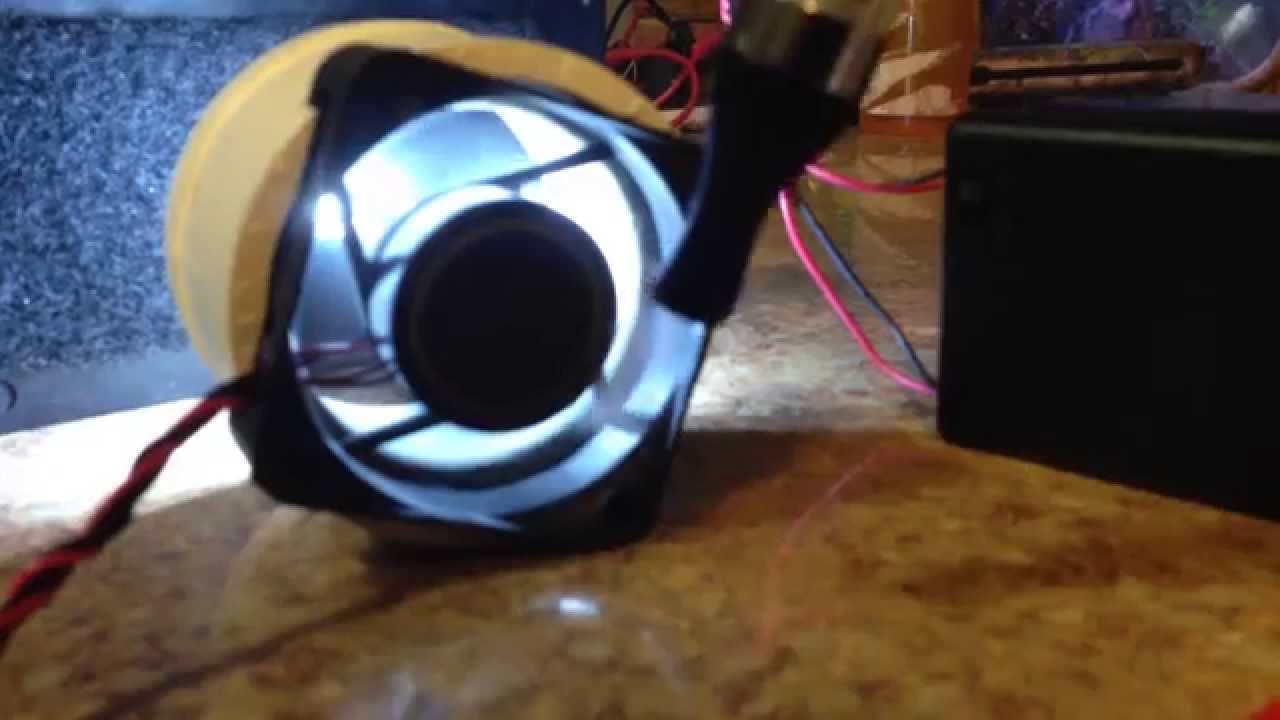
PVC Bushing with fan and strobe attached:
Updated Configuration:
Strobe connected to battery pack:
All wired up and activated:
E-Cig Fluid Mix and Refill:
Video:
Video of internal mechanics and e-vent (without strobe)
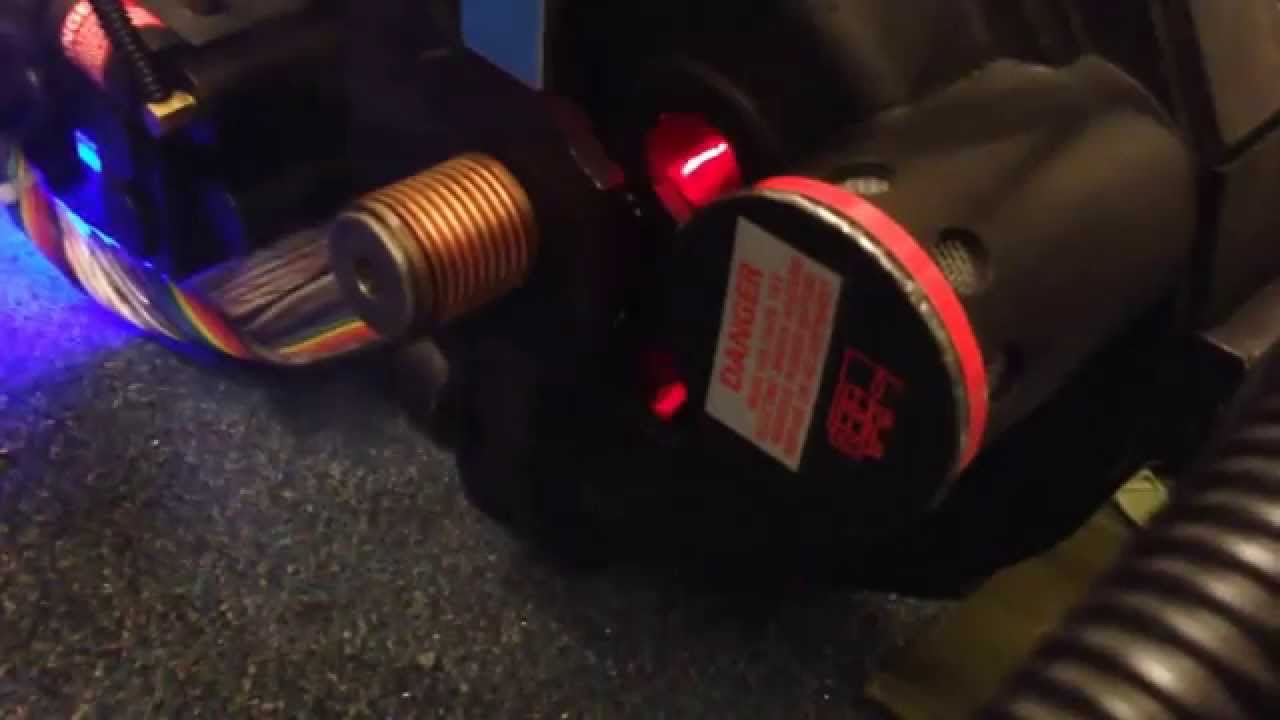
Video of e-vent effect (with strobe)
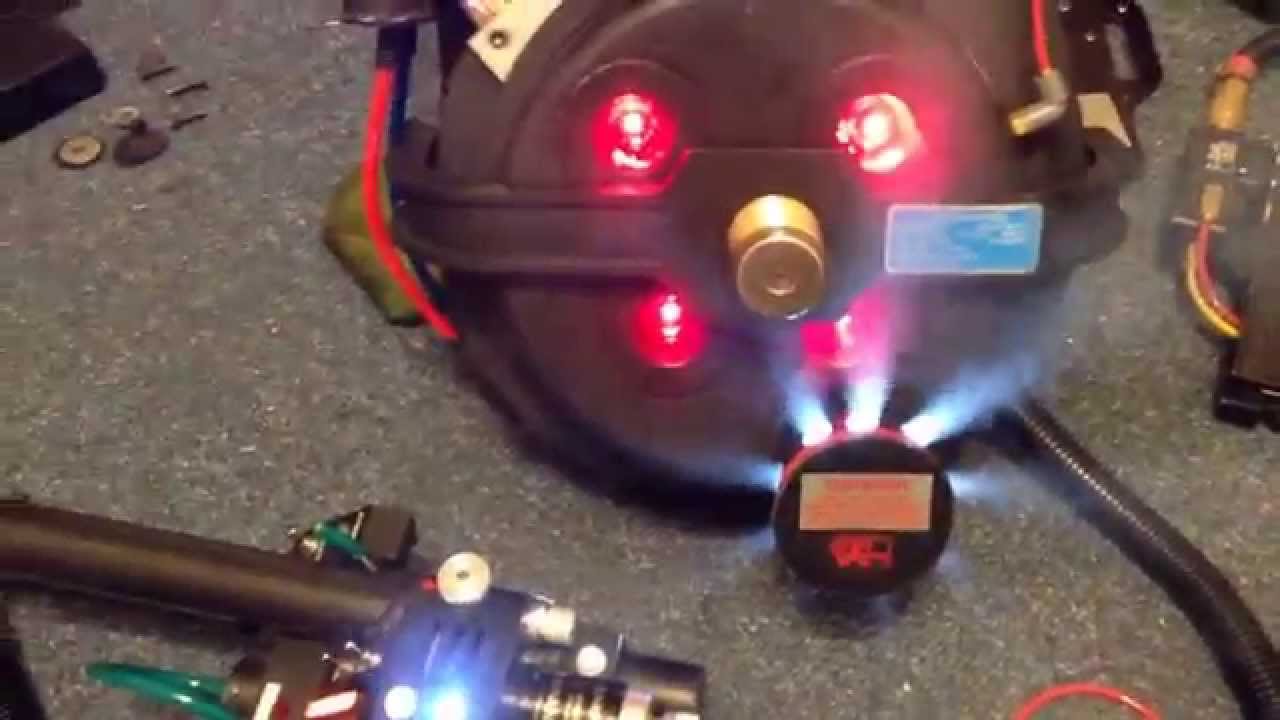
Video of Internal components connected and switched on
Links in this post may be affiliate links. Purchases made through them help support this site at no additional cost to you.