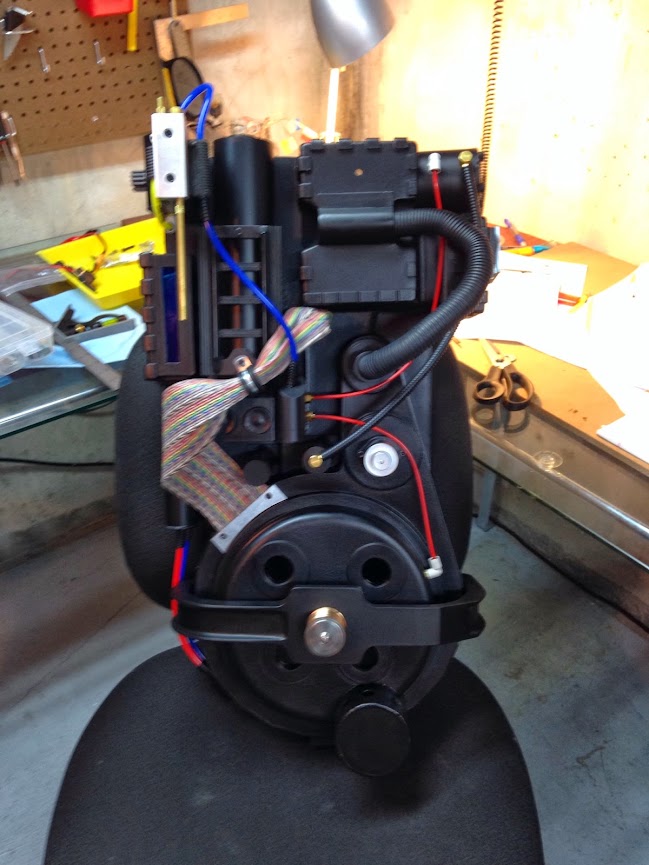
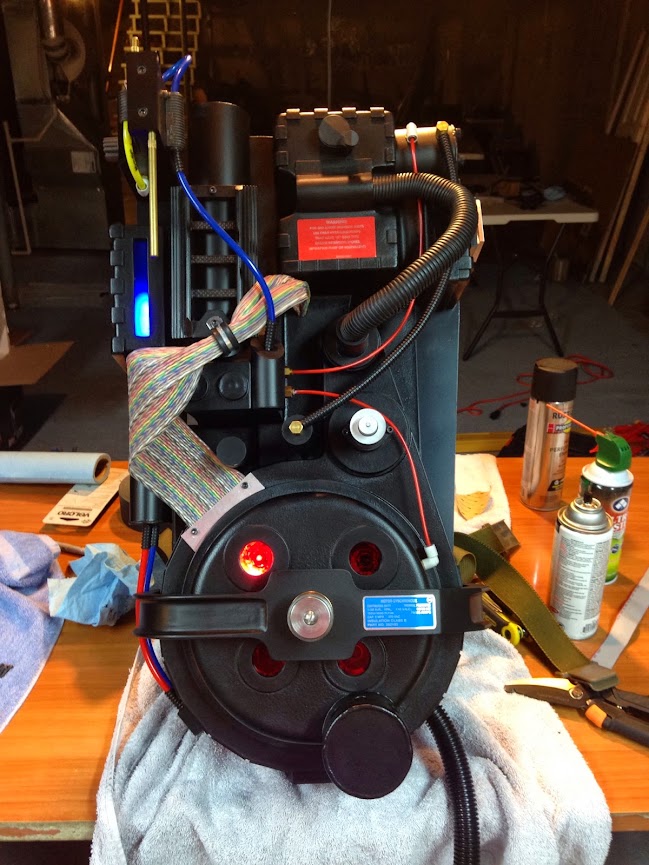
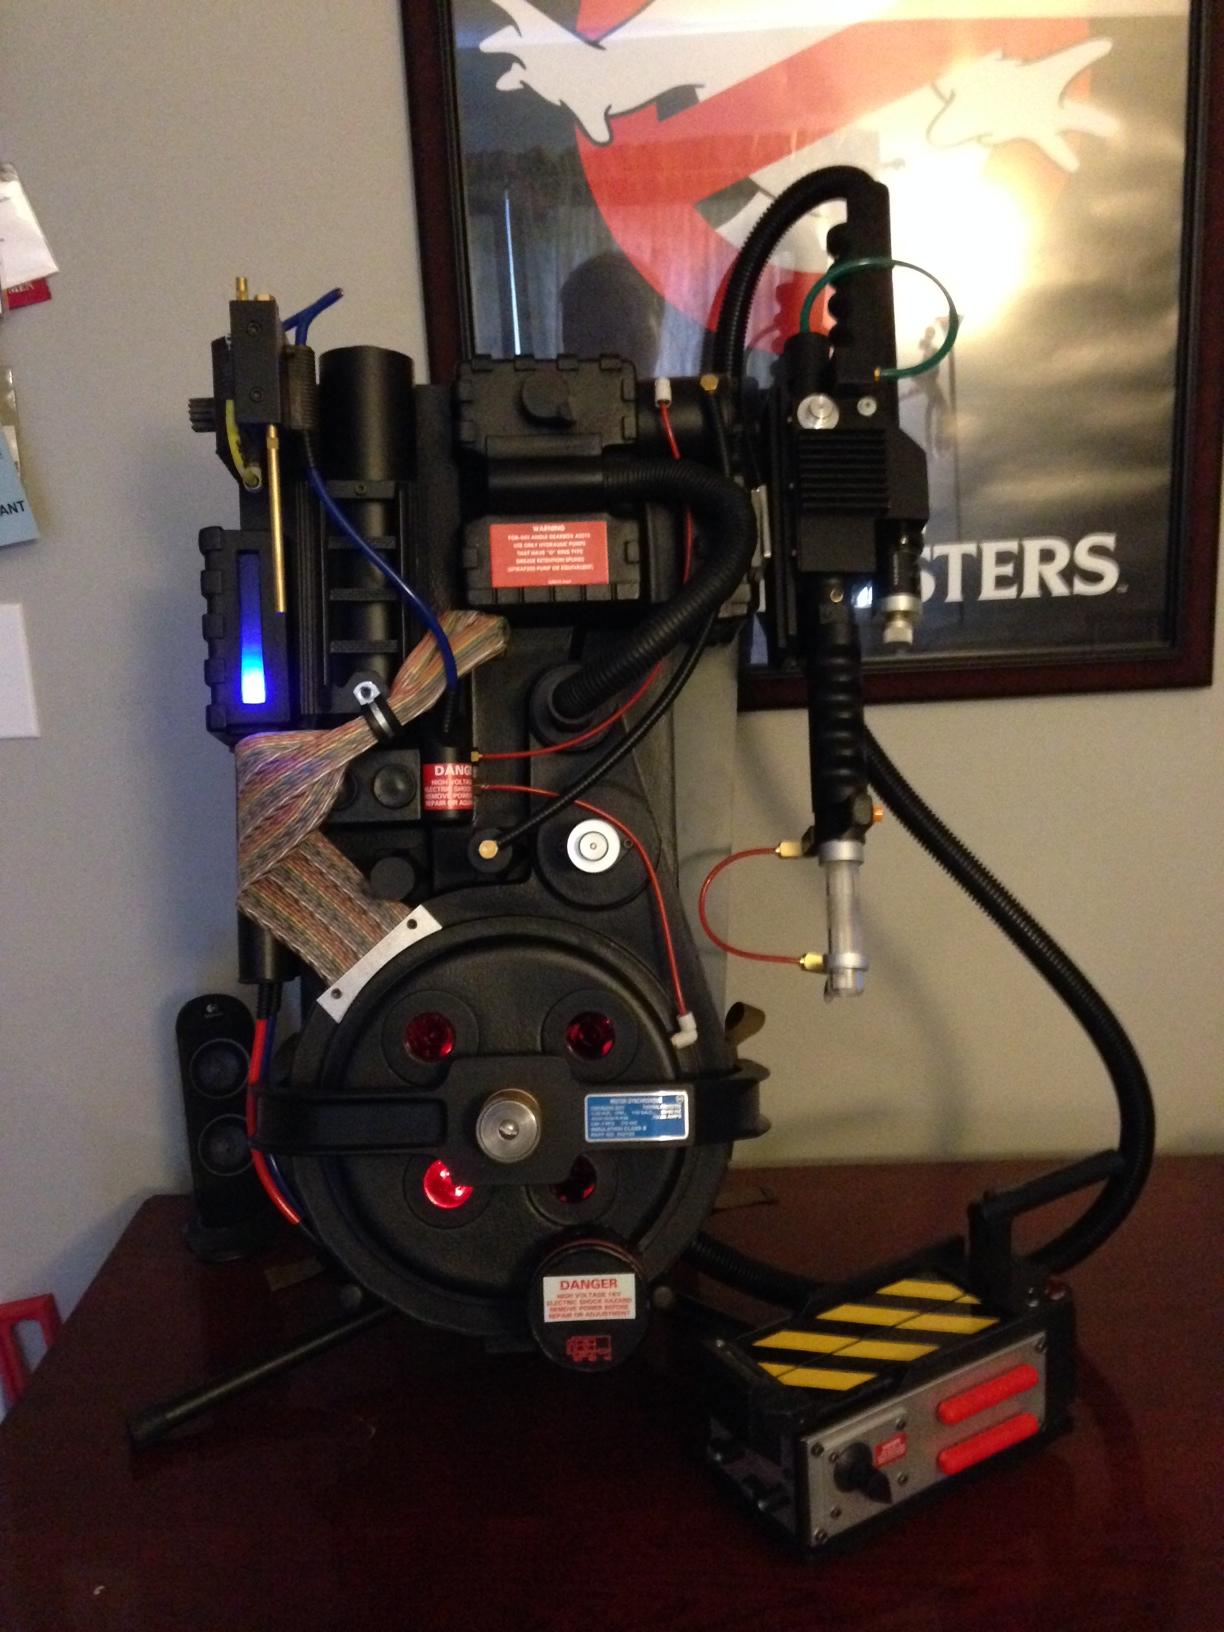
I’m bad at progress pictures. I got the fever over the last week and went nuts. Only reason it isn’t on the teetering brink of completion is that I ran out of paint before I could finish the motherboard!
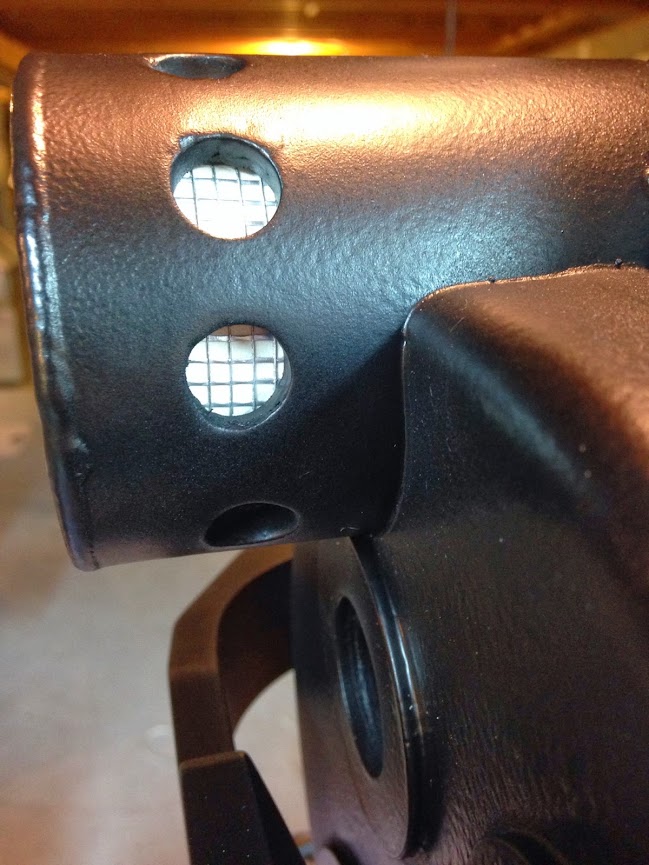
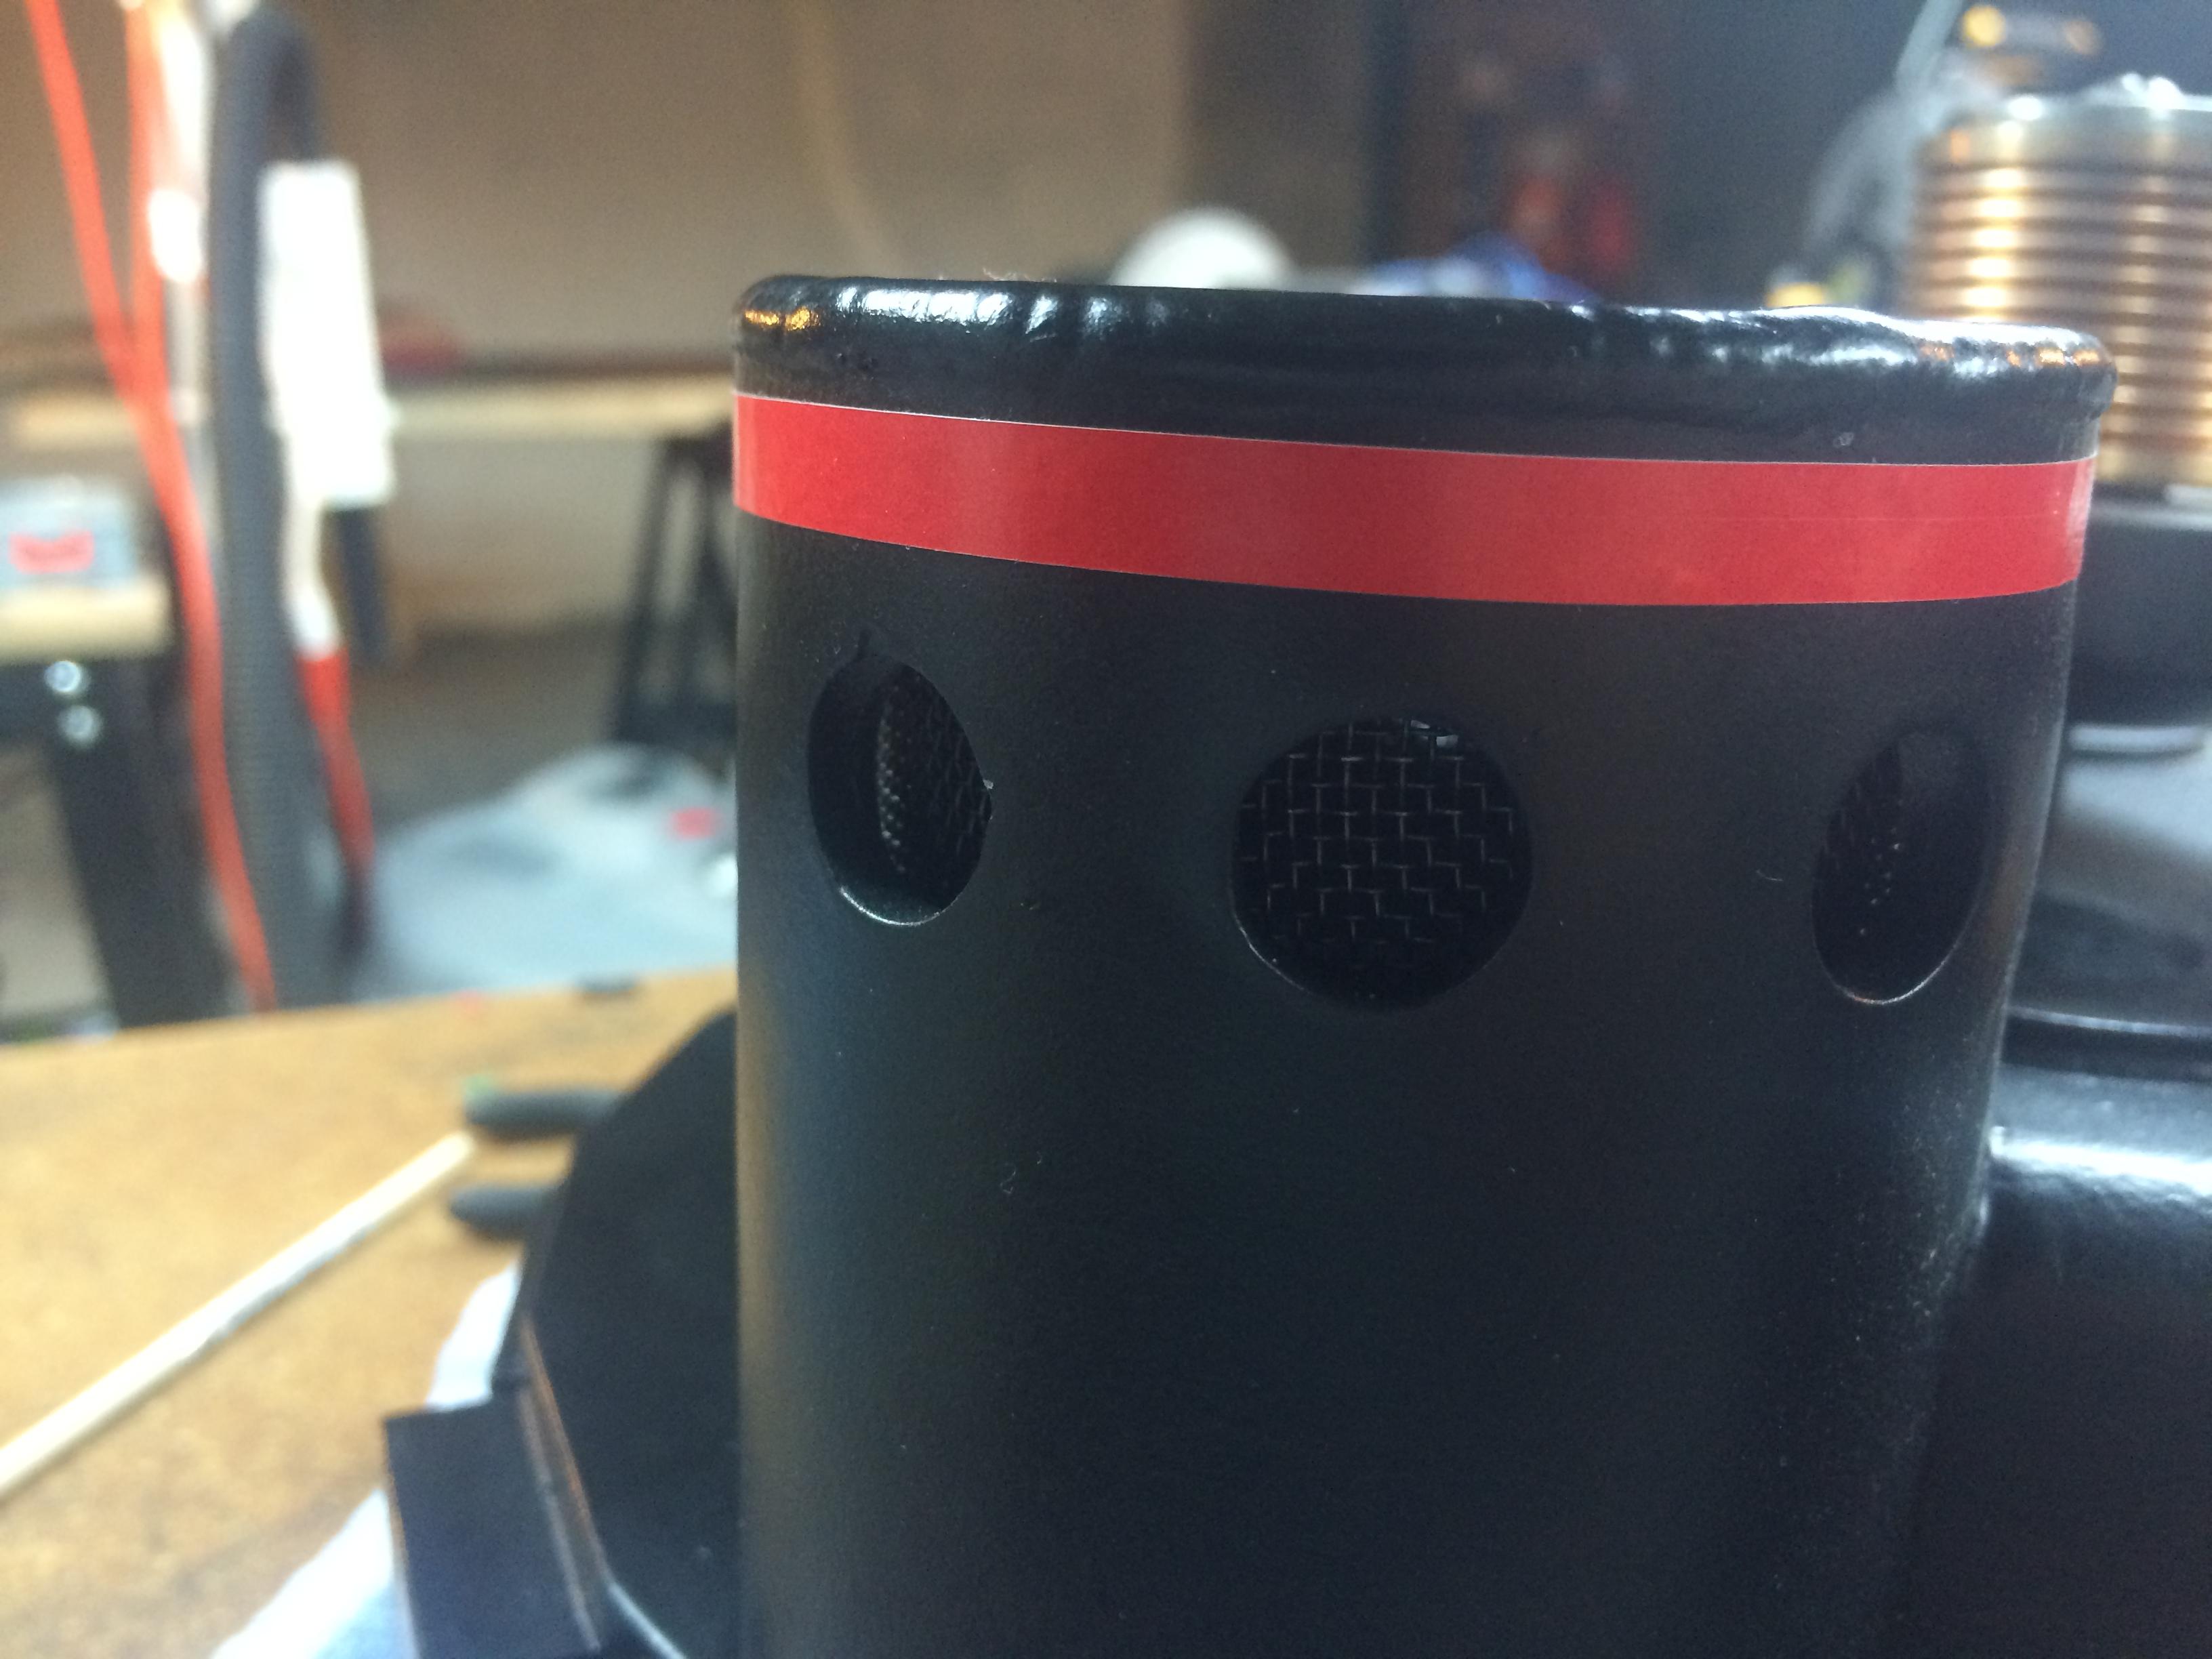
Drilling the n-filter holes was the most painful process of the entire build. I’m still not happy with the results, but it’s good enough “for now”. I’d like to swap in an aluminum replacement at some point in the future because I’m not sure the fiberglass/resin/gelcoat/blood/tears composite monster will ever meet my satisfaction regardless of how much epoxy putty I throw at it :).
Final motherboard painting and final electronics assembly is tonight, then it’s finishing touches time. I’m going to wait to reassess the thrower’s seam problem and my n-filter disfunction until after the holiday season.
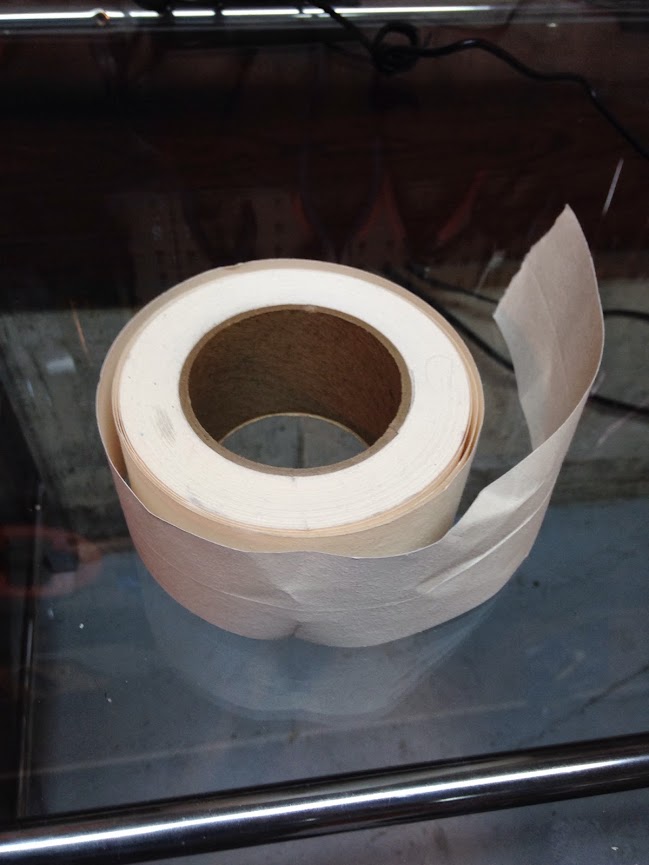
I wandered around my local hardware store in search of good nfilter solutions. I’m happy enough with the solution I came up with, but it is all somewhat temporary - in the mid-long term future I’d like to get a different backing material and include venting functionality.
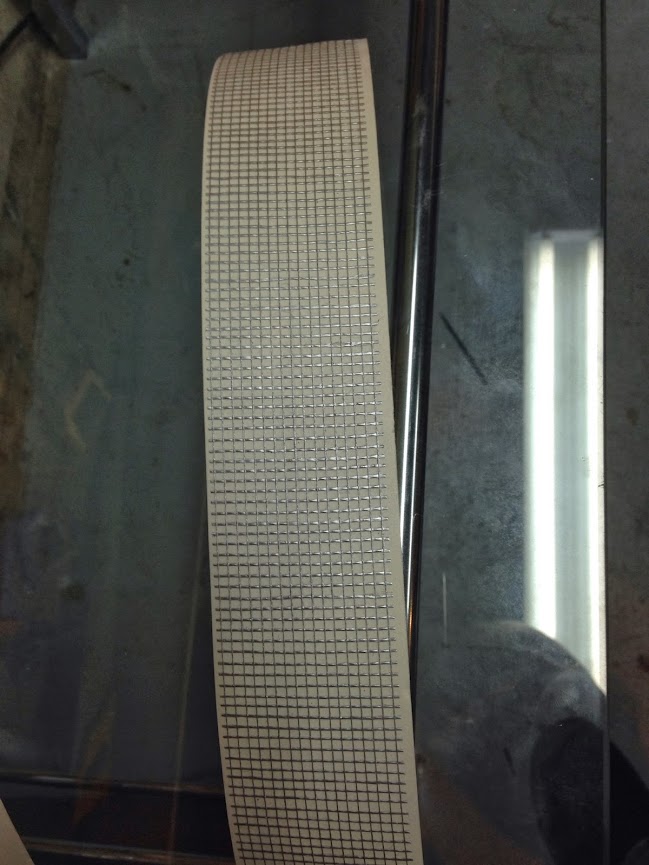
I used drywall mesh tape, aluminum paint, and paper drywall tape (It has a very porous,grainy,off-white,filtery look to it. It looks better to me in person than in photos :P).
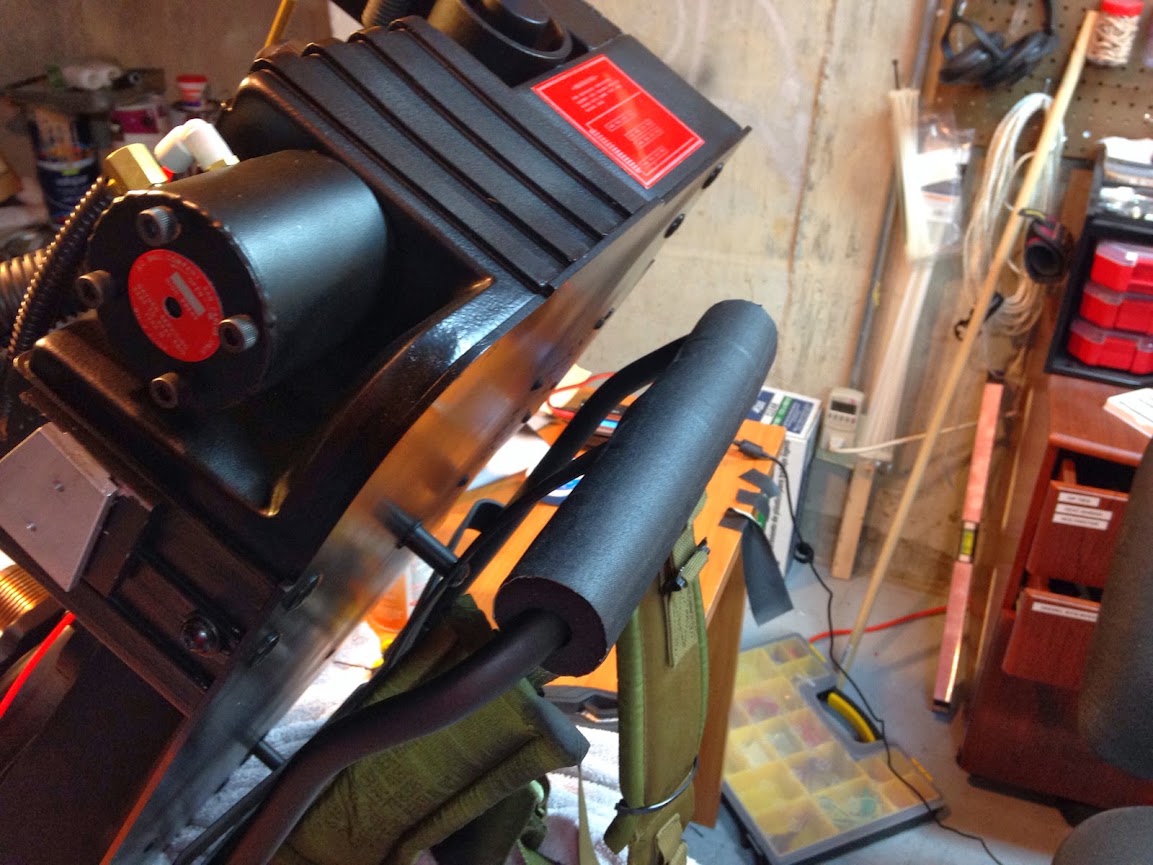
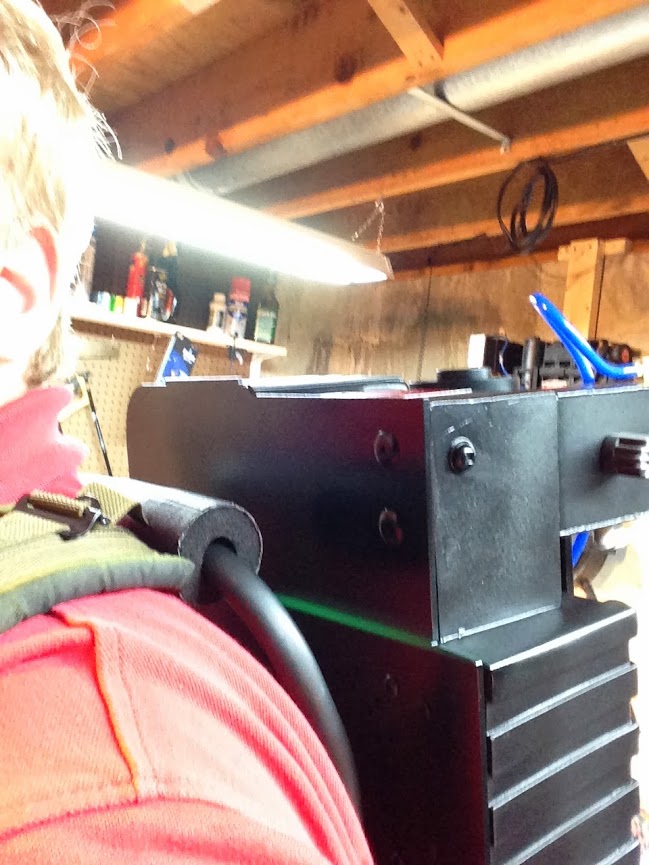
I used the ‘thicker’ rubber pipe insulation found at Home Depot (1/2" Copper Pipe size) and some gaffers tape and I think it looks pretty nice! I went with the method of cutting out windows for the center bar and straps. I didn’t on my old pack and the look of it all lopsy-topsy drove me nuts!
Here’s where she is now… Need to put wax paper in the cyclotron (it looks great in the powercell) and put on dry rubs. The aluminum labels from JoeLuna look incredible! Other labels should be in soon-ish from Crix.
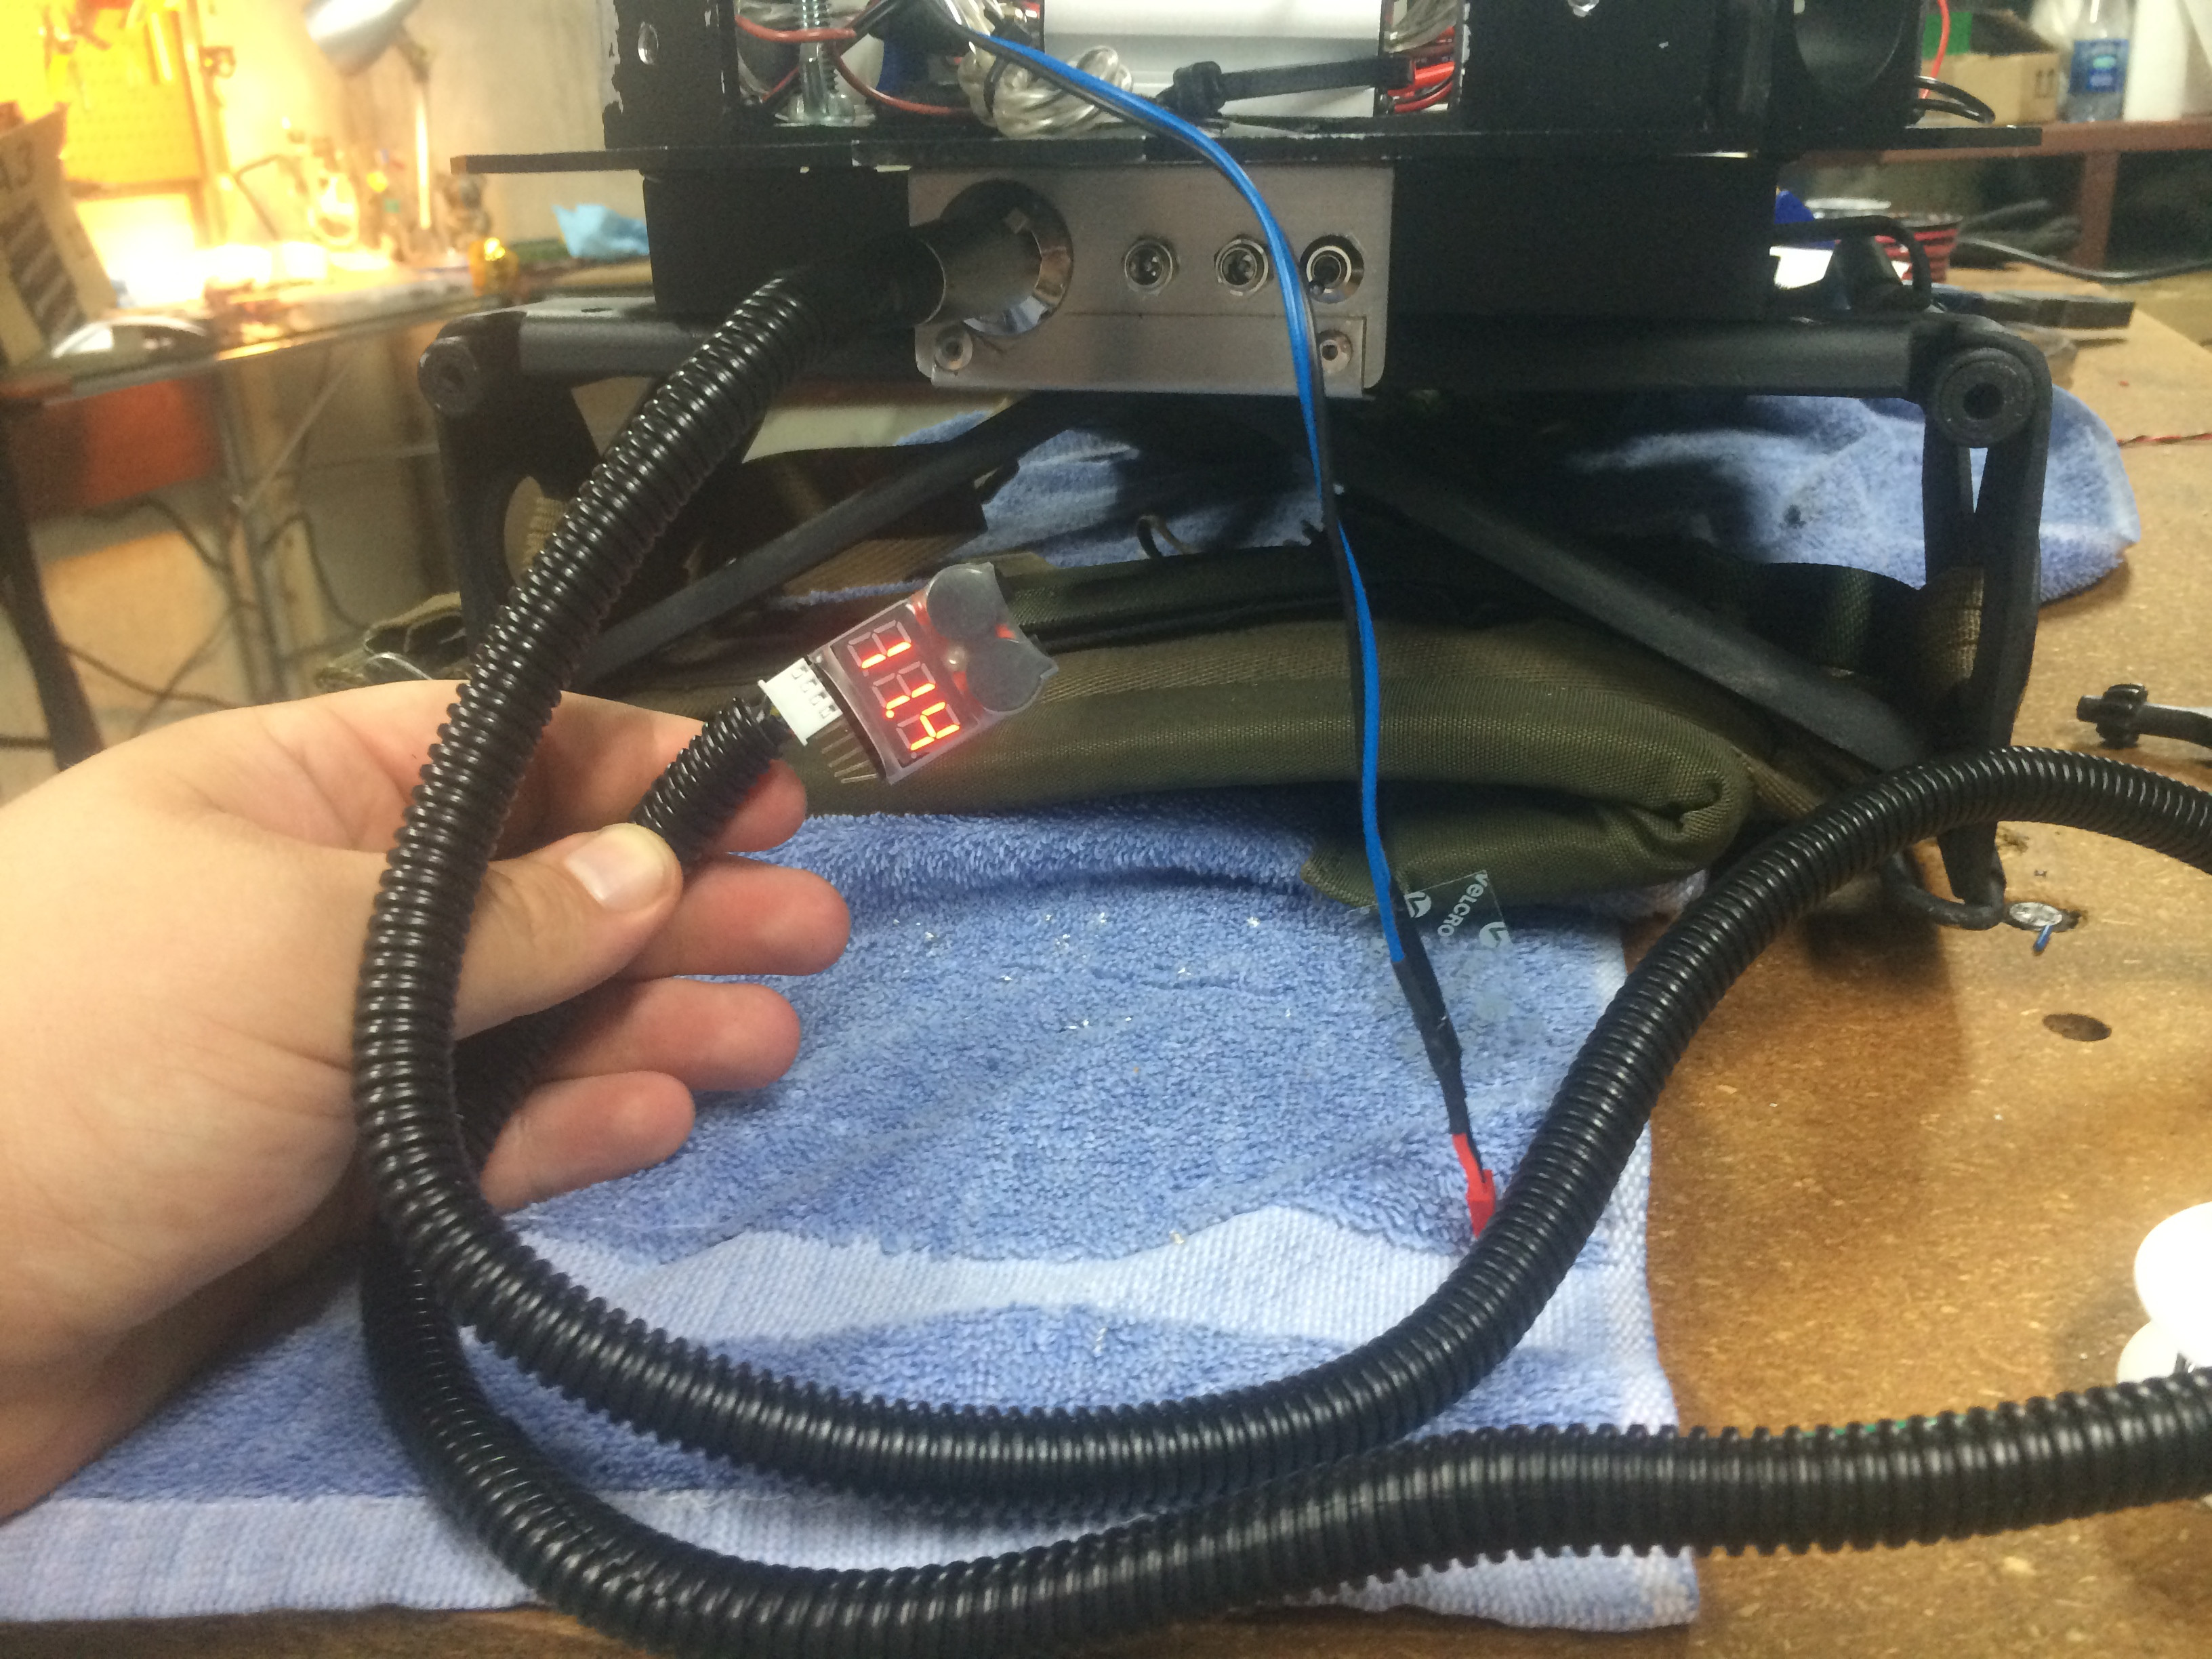
Anyone have any bright ideas regarding the lipo low voltage buzzer? I’m considering finding a 5-pin connector for it and putting that on the makita bracket (when I make it :P), then maybe rigging up a belt clippy for the voltage checker if I can make it ghostbustery. This would let me easily remove the checker and plug the port into my charger without removing the shell while letting me see how much juice is left easily.
Just curious if anyone else has done something clever with the balance plug?
Stating here with hopes that putting it all on paper gets me out in the workshop and back to work! Severall of the sound/light ribbon cables have developed some form of short, so it’s time to rip the whole shebang apart and do a lot of replacing wires. I’ve already replaced a bunch of individual strands (ran alongside the wire) but I think it’s time to toss the crappy cables supplied with the kit.
I’ve also got one of nstevic’s wonderful recharge port plates and I’m working on bits to get that hooked in - more convenient recharging would be great! I’d also like to use the recharge area to attach a belt-mounted battery monitor. Also plan on getting one of jimfin’s n-filter venting kits - time to get to work!
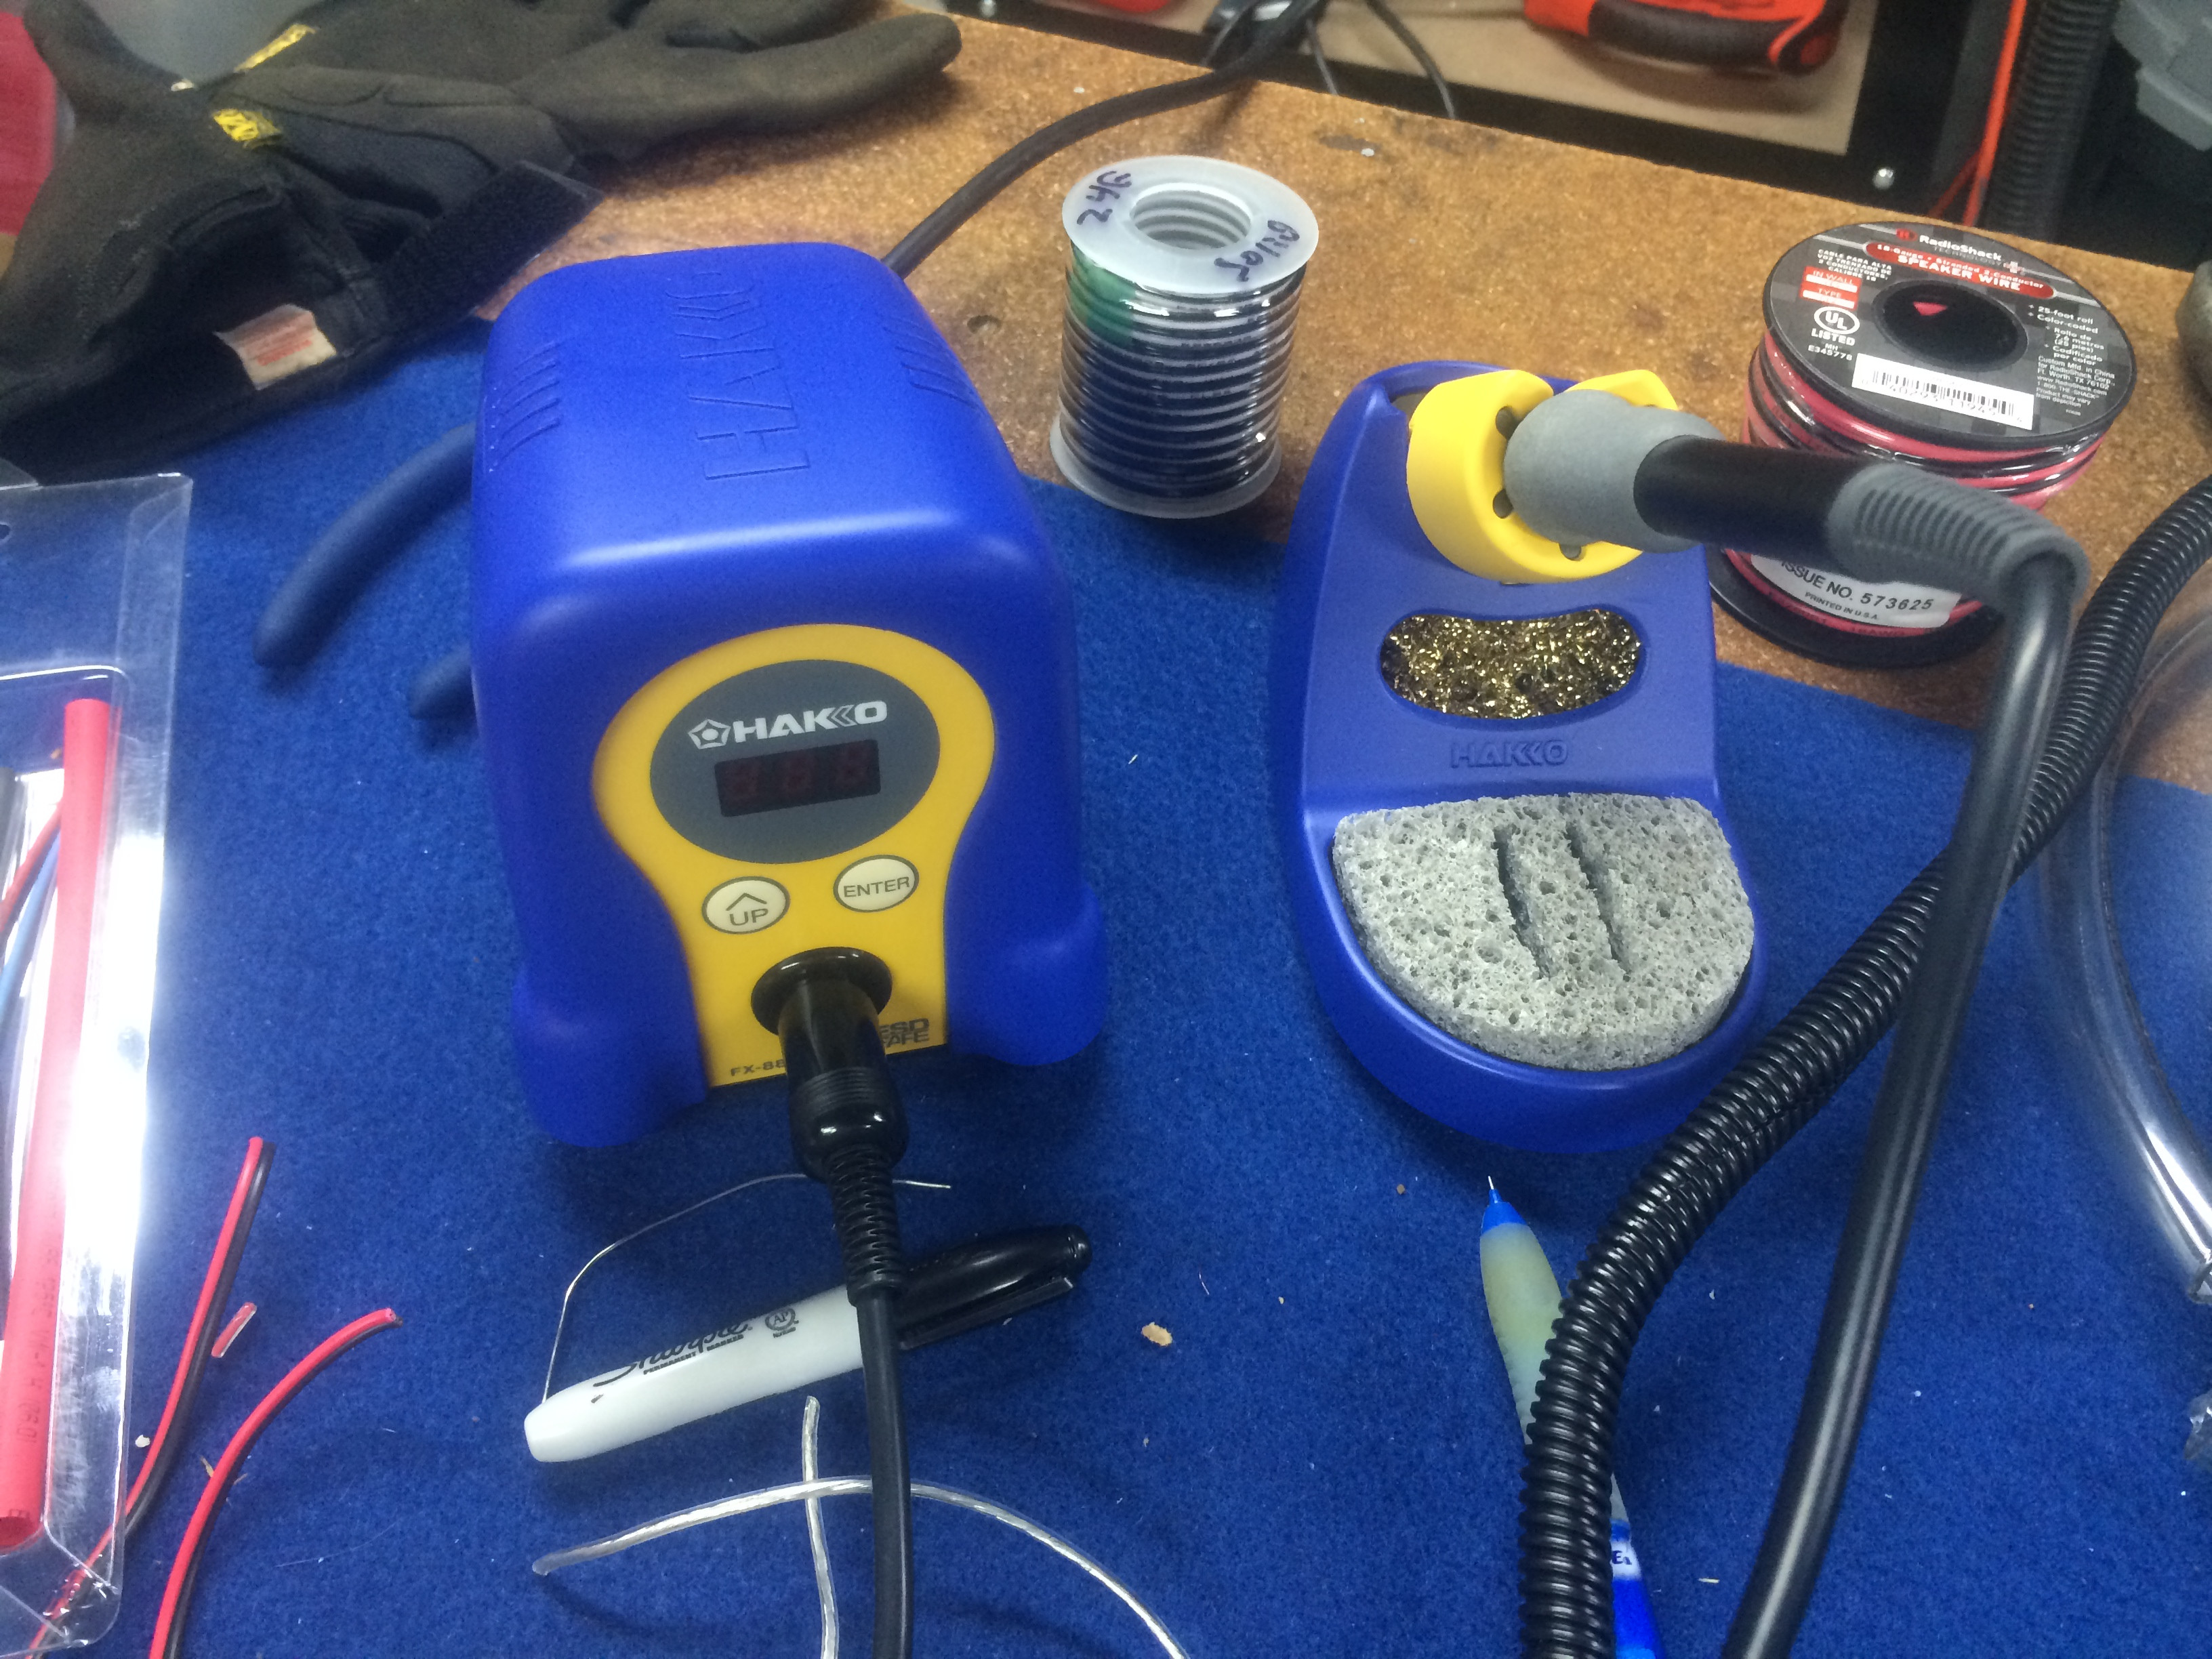
I’ve been using radio shack soldering irons in conjunction with a butane iron for high-mobility situations for years now. They were rather frustrating but I did not know there was a beautiful land out there where the soldering irons heat up to the perfect temperature in 30seconds or less. I figured if the irons in our high-tech electrical engineering lab back in school weren’t much better than it didn’t exist… Then I bought the Hakko FX888D. Don’t let the plastic toy look ■■■■ you, this thing is a seriously awesome little iron with enough flexibility in temperature and tip choices to do a large range of work. How I wish I had this beauty when I built my Gizmo kit… Anyhow, it’s more $$ than your average soldering-only-because-your-building-a-proton-pack guy needs but if you work with electronics regularly don’t live in the dark ages like I did. Get a good iron. End rant :).
I did not keep a good journal of work but nothing I’m doing is terribly groundbreaking so no loss there. Mostly I come with questions for whichever wizard may gaze upon this thread.
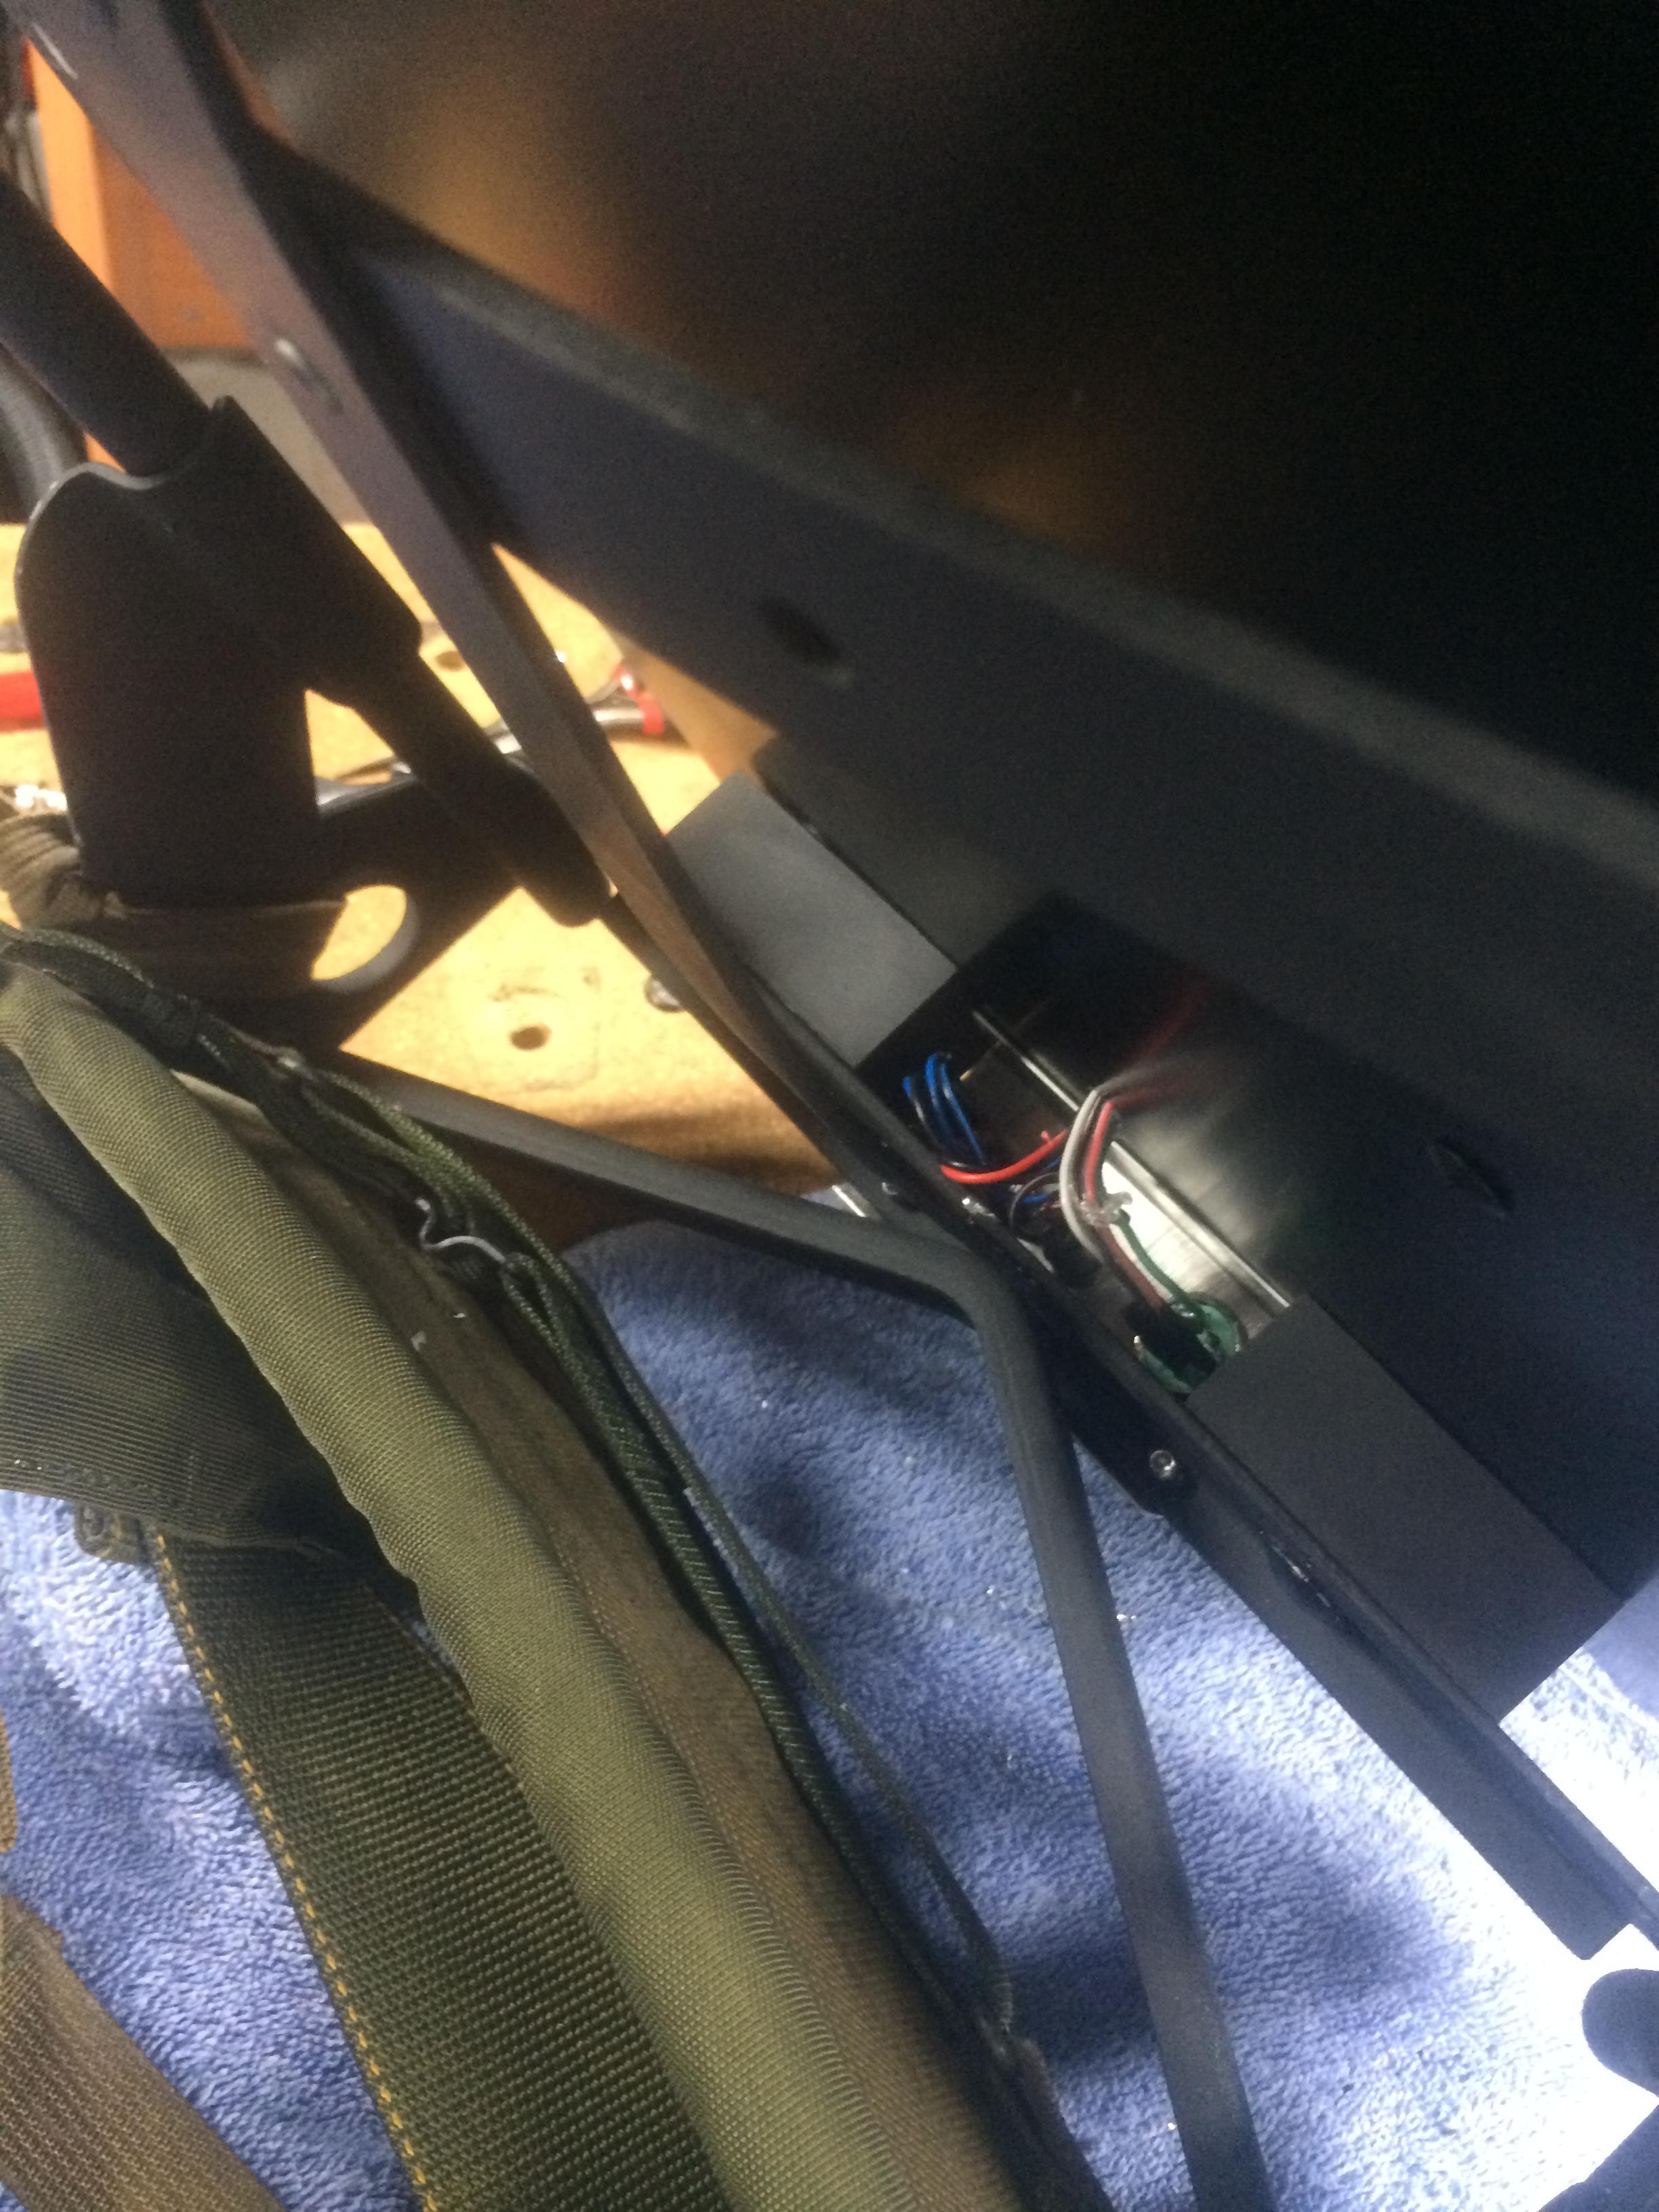
I’ve got my recharge plate installed - are folks typically leaving things ‘bare’ above it or capping it with something? I considered hitting the backside with black paint but am unsure. It’s not somewhere most people look but I’m curious what everyone else does with that area.
Finally, the only part of this that might be even a little bit of an original idea: Using the 4-pin XLR connector nstevic provides with his deluxe recharge plates, I’ve built an extension for my balancing plug so I can keep the big battery properly behaving without popping the shell off - the big benefit here in my opinion is the ability to easily check how much juice I’ve got left on the go. I’d like to build this into some sort of in-theme belt-mounted device. Not sure where I’m going with it yet, but suggestions welcome :).
I like your mesh drywall tape idea for the N Filter. I’ve been trying to come up with a solution. I didn’t really want to spend $20 on a roll of screen door repair mesh and only use a couple inches. But then again, after all the money I’ve put into this project, what’s another $20.
At Wiz’s suggestion I purchased some mesh from McMaster Carr - I really prefer the drywall tape ‘look’ but it isn’t very condusive to a venting mechanism. Here’s what it looks like roughly installed (no glue, just thrown down into the filter).